I used to think protein balls had to taste like cardboard to be healthy. That’s what the ones from the health food store always tasted like, and I’d given up on finding any I actually enjoyed eating.
Then I discovered you could make them taste like butterscotch – yes, really! These no-bake treats combine that sweet, buttery flavor we all love with good-for-you ingredients. And the best part? They’re so simple to make that my kids can help roll them while we chat about their day at school.
Why You’ll Love These Protein Balls
- No-bake convenience – These protein balls require zero oven time – just mix, roll, and chill. Perfect for when you don’t want to heat up the kitchen.
- Healthy snacking – Made with wholesome oats and protein-rich peanut butter, these balls give you sustained energy throughout the day without the guilt.
- Simple ingredients – You only need 5 basic ingredients that you might already have in your pantry – no fancy or hard-to-find items required.
- Make-ahead friendly – These protein balls store well in the fridge, making them perfect for meal prep or grab-and-go snacks throughout the week.
What Kind of Oats Should I Use?
Traditional old-fashioned rolled oats are your best bet for these protein balls, though quick oats can work in a pinch. Old-fashioned oats give the balls better texture and help them hold together well, while instant oats might make them too soft or mushy. Steel-cut oats aren’t recommended here since they’re too firm and won’t bind properly with the other ingredients. If you’re using rolled oats, there’s no need to cook them first – they’ll soften naturally when mixed with the wet ingredients and give your protein balls that perfect chewy texture. Just make sure your oats are fresh by giving them a quick sniff test – they should smell slightly sweet and nutty, not musty.

Options for Substitutions
These protein balls are super adaptable and you can switch things up based on what you have in your pantry:
- Traditional oats: Quick oats can work in place of traditional oats, though the texture will be slightly different. Steel-cut oats won’t work here as they’re too hard.
- Peanut butter: Any nut butter works great – try almond butter, cashew butter, or sunflower seed butter for a nut-free option. Just make sure it’s well-stirred and not too runny.
- Honey: Maple syrup or agave nectar can replace honey. If using maple syrup, you might need to add an extra tablespoon of oats since it’s slightly thinner than honey.
- Butterscotch chips: You can swap these with chocolate chips, white chocolate chips, or even dried fruit like raisins or chopped dates. The balls will still hold together just fine.
- Walnuts: Any chopped nuts work here – pecans, almonds, or cashews are all good options. For nut-free, try sunflower seeds or pumpkin seeds.
Watch Out for These Mistakes While Making
The biggest challenge when making protein balls is getting the right consistency – if your mixture is too dry, the balls won’t hold together, while too wet and they’ll be sticky and hard to roll. A simple fix is to add oats one tablespoon at a time if too wet, or a touch more honey if too dry.
Temperature plays a crucial role too – working with room temperature peanut butter makes mixing easier, and chilling the mixture for 15-20 minutes before rolling helps prevent sticky hands and creates perfectly shaped balls.
One common mistake is rushing the butterscotch chip addition – wait until your mixture has cooled slightly, or the chips will melt completely instead of providing those tasty butterscotch bursts. For the best texture, store these protein balls in the fridge, where they’ll stay firm and fresh for up to a week.

What to Serve With Protein Balls?
These butterscotch protein balls make a perfect grab-and-go snack, but there are lots of tasty ways to enjoy them as part of a bigger spread. I love serving them alongside a warm cup of coffee or tea for a cozy afternoon pick-me-up. For breakfast, try placing a couple protein balls in a bowl with Greek yogurt and fresh berries – the combination of creamy yogurt and chewy protein balls is so satisfying. They also work great as part of a snack board with fresh fruit slices, nuts, and maybe even some dark chocolate pieces for a fun treat platter that’ll keep you energized.
Storage Instructions
Keep Fresh: These butterscotch protein balls are perfect for grab-and-go snacking! Pop them in an airtight container and keep them in the fridge for up to 2 weeks. I like to separate layers with parchment paper to prevent them from sticking together.
Freeze: Want to make a bigger batch? These little treats freeze really well! Place them in a freezer-safe container or zip-top bag and they’ll stay good for up to 3 months. It’s such a time-saver to make a double batch and have some ready in the freezer.
Thaw: When you’re ready to enjoy your frozen protein balls, just transfer them to the fridge the night before. They’ll be perfectly chewy by morning! You can also let them sit at room temperature for about 30 minutes if you’re in a hurry.
| Preparation Time | 10-15 minutes |
| Cooking Time | 0 minutes |
| Total Time | 70-75 minutes |
| Level of Difficulty | Easy |
Estimated Nutrition
Estimated nutrition for the whole recipe (without optional ingredients):
- Calories: 1600-1800
- Protein: 40-50 g
- Fat: 80-90 g
- Carbohydrates: 210-230 g
Ingredients
- 1/4 cup chopped walnuts (for extra crunch)
- 1/4 cup butterscotch chips
- 1/3 cup honey
- 2 cups old fashioned oats
- 1/2 cup peanut butter (creamy or crunchy)
Step 1: Combine Ingredients
In a mixing bowl, gather your ingredients: 2 cups of old-fashioned oats, 1/2 cup of peanut butter (heated in the microwave for approximately 30 seconds), 1/3 cup of honey, 1/4 cup of butterscotch chips, and 1/4 cup of chopped walnuts.
Optionally, you can add other ingredients, such as chia seeds or mini chocolate chips, or omit the walnuts depending on your preference.
Step 2: Mix Until Blended
Mix all the ingredients together until they are completely blended.
Make sure the oats, chips, and walnuts are evenly distributed throughout the peanut butter and honey mixture for consistent flavor in each bite.
Step 3: Chill the Mixture
Refrigerate the mixture for about 1 hour or leave it overnight to allow it to bind together properly.
Chilling helps in rolling the mixture into firm and cohesive balls later on.
Step 4: Form Protein Balls
After chilling, remove the mixture from the refrigerator and begin to roll it into bite-sized balls.
Using your hands is the simplest method, ensuring each ball is compact enough to hold together.
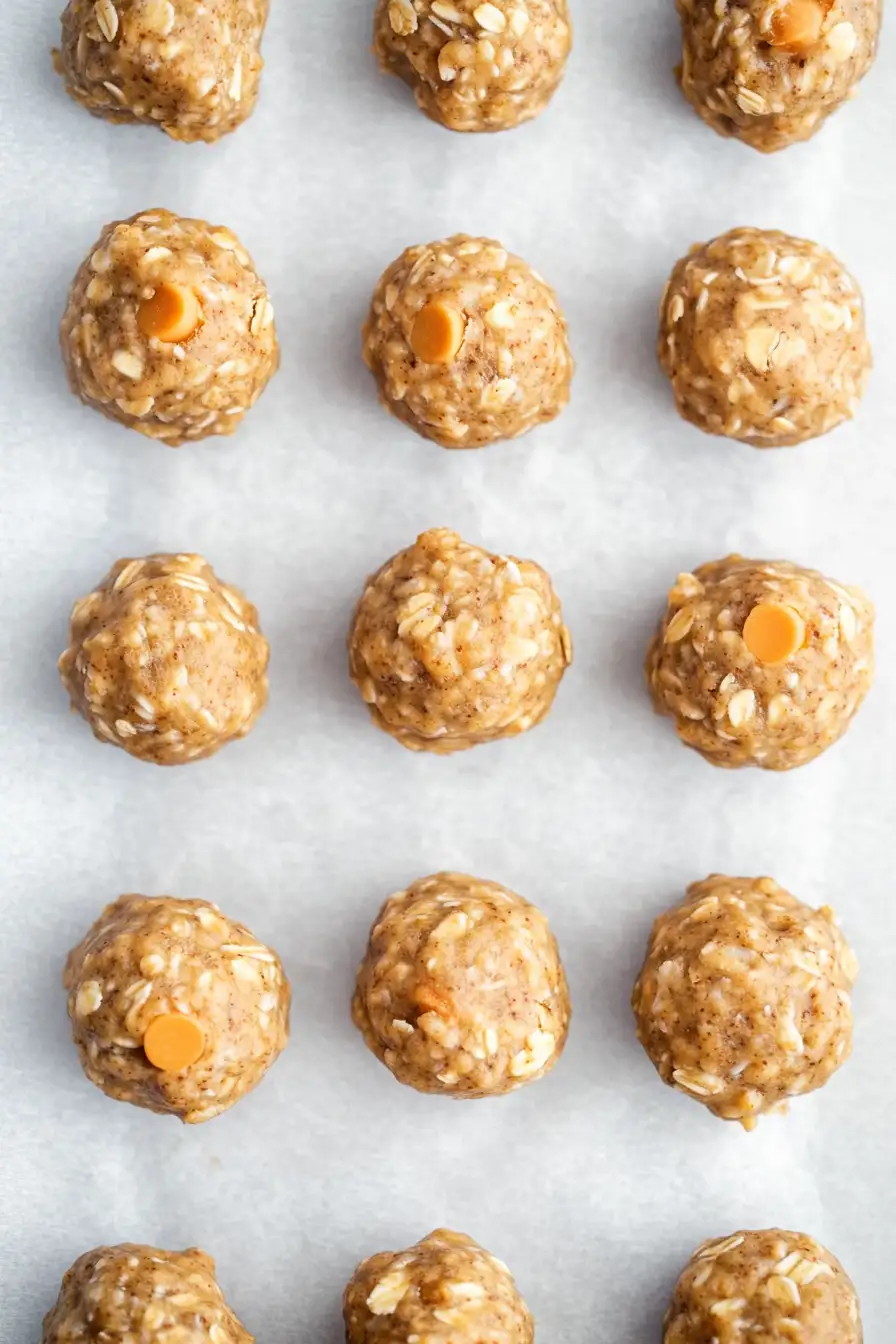
Step 5: Prepare for Storage
Place the rolled protein balls onto parchment paper to prevent sticking.
This step will make it easier to remove them individually when you’re ready to enjoy a quick snack.
Step 6: Store and Serve
Store the protein balls in a ziplock bag or airtight container in the refrigerator.
They can be kept fresh for up to two weeks, providing you with a convenient, nutritious snack option whenever needed.
Enjoy your homemade protein balls as a quick energy boost!
