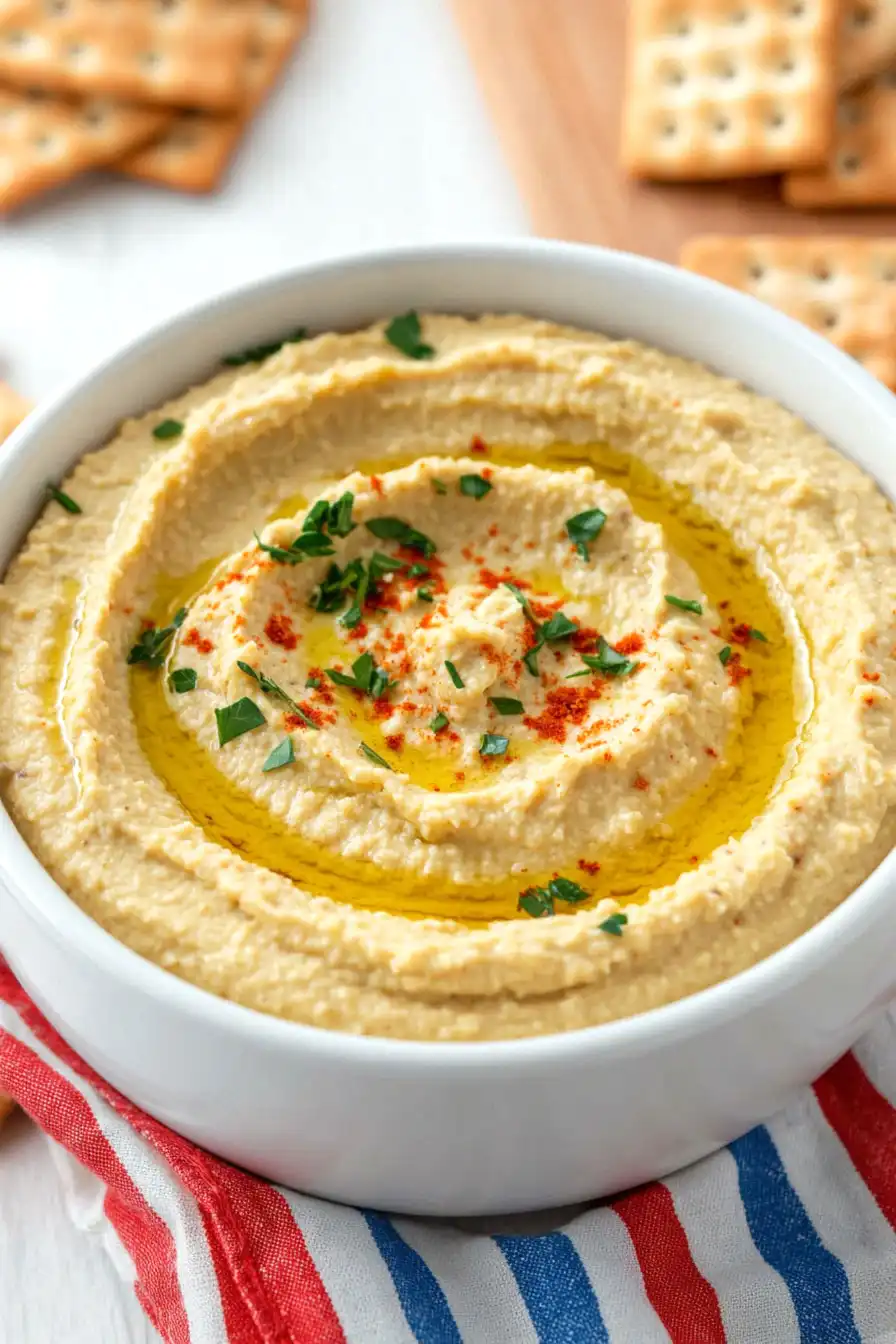
Here’s my go-to chickpea hummus recipe that skips the tahini but still delivers that smooth, creamy texture we all love. With just a few basic ingredients like chickpeas, olive oil, lemon juice, and garlic, you’ll have a fresh batch of homemade hummus in minutes.
I make this version at least twice a month for quick lunches and after-school snacks. My kids love it with carrot sticks, and I always keep extra in the fridge for impromptu get-togethers. Because let’s be honest – who doesn’t love a good hummus?
Why You’ll Love This Tahini-Free Hummus
- 5-minute preparation – With just a few ingredients and a food processor, you can whip up this hummus in less time than it takes to run to the store.
- Allergy-friendly – This recipe skips the tahini, making it perfect for those with sesame allergies or when you simply don’t have tahini on hand.
- Budget-friendly ingredients – Using just basic pantry staples like canned chickpeas and olive oil, this recipe costs much less than store-bought hummus.
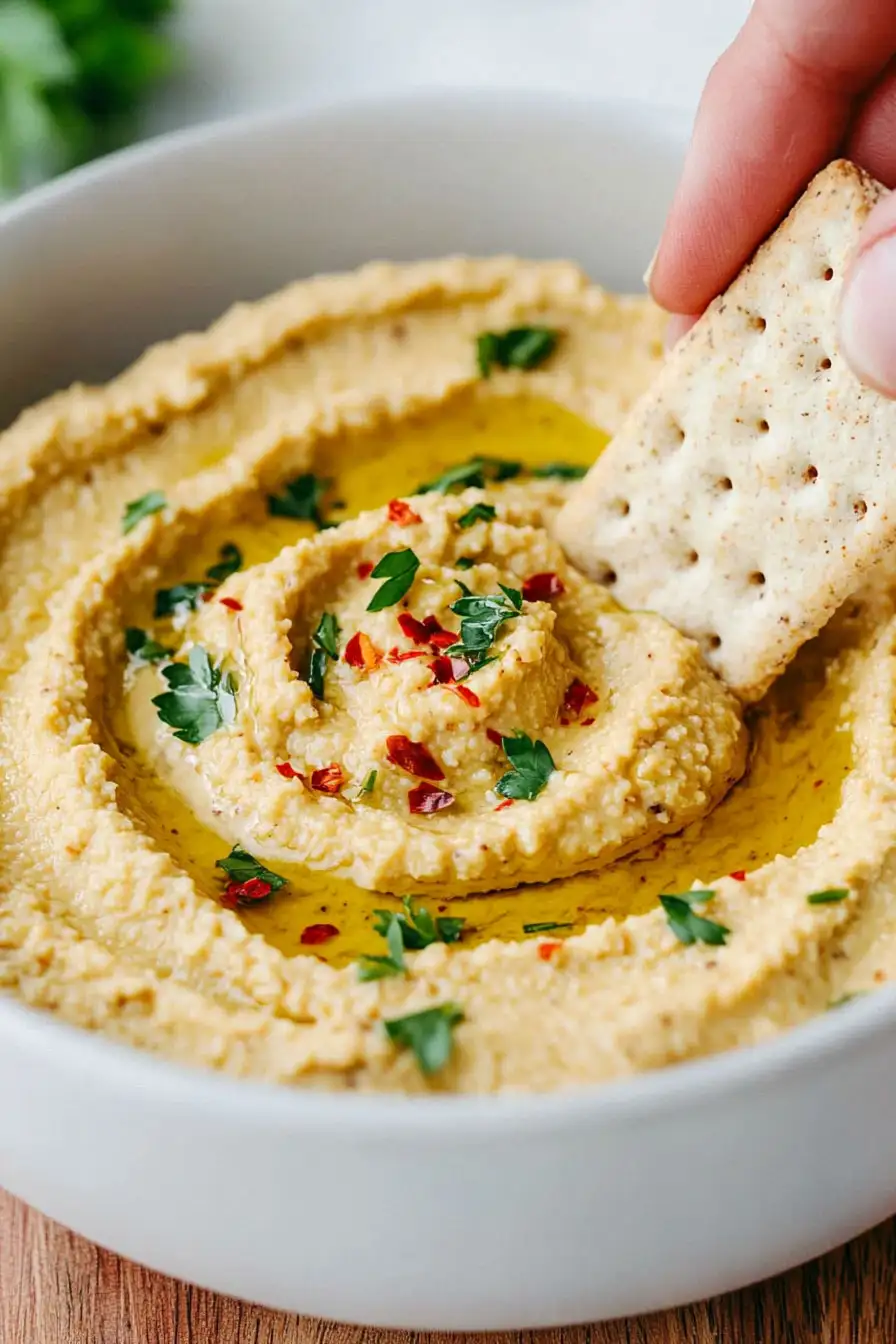
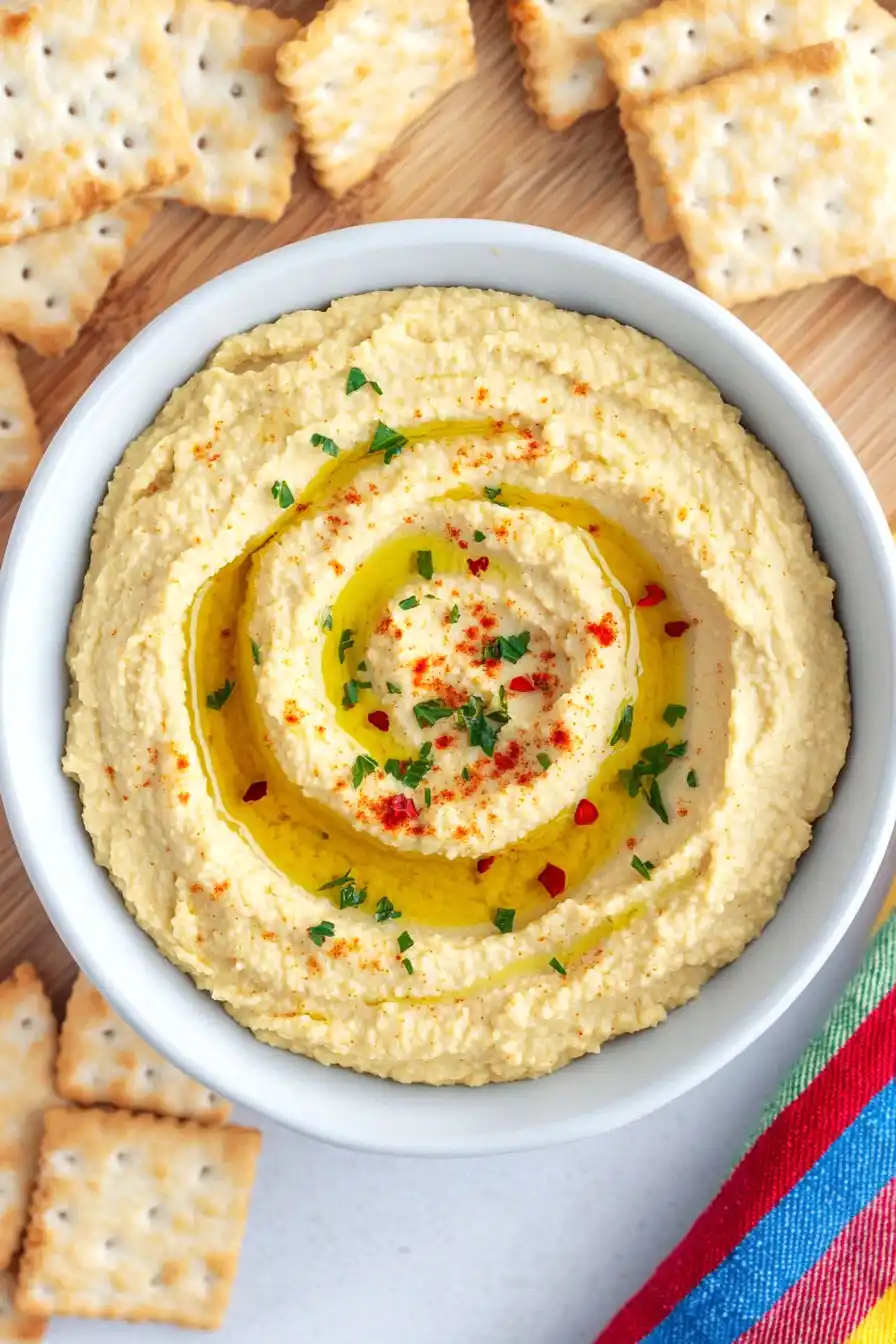
- Customizable recipe – You can easily adjust the garlic, lemon, and seasonings to match your taste preferences, or add your favorite toppings like paprika or pine nuts.
What Kind of Chickpeas Should I Use?
While canned chickpeas are super convenient for making hummus, not all cans are created equal. Regular-sized chickpeas work better than the smaller varieties since they tend to create a smoother, creamier texture when blended. If you’re using canned chickpeas, look for brands that keep their chickpeas whole and intact rather than ones where the beans appear mushy or broken. For the smoothest hummus possible, try removing the thin outer skins from your chickpeas – though this step is totally optional and your hummus will still taste great if you skip it. And while dried chickpeas that you’ve cooked yourself can definitely be used, canned ones work perfectly fine and save tons of time.
Options for Substitutions
This simple hummus recipe can be adapted with several easy swaps if needed:
- Chickpeas: While chickpeas are the main star here, you can experiment with white beans (cannellini) or even butter beans. Keep in mind this will change the classic hummus taste, but you’ll still get a nice, creamy dip.
- Olive oil: You can swap the olive oil with avocado oil or grapeseed oil. If you’re looking to reduce fat, replace half the oil with additional water, though this will make the hummus less rich.
- Lemon juice: Fresh lime juice works great as a substitute. In a pinch, you can use apple cider vinegar (start with half the amount and adjust to taste).
- Fresh garlic: If you’re out of fresh garlic, use ¼ teaspoon of garlic powder instead. You can also use 1 teaspoon of pre-minced garlic from a jar.
- Cumin: While cumin adds that traditional flavor, you can try ground coriander or a mix of paprika and black pepper for a different spin.
Watch Out for These Mistakes While Cooking
The biggest challenge when making tahini-free hummus is achieving that perfectly smooth texture – the secret lies in removing the chickpea skins, which takes a few extra minutes but makes a huge difference in creating silky-smooth hummus.
Another common mistake is adding all the water at once, which can make your hummus too runny – instead, start with 2 tablespoons and gradually add more while blending until you reach your desired consistency.
The order of ingredients matters too: blend the chickpeas, garlic, and olive oil first until smooth, then add the lemon juice, cumin, and salt, as this method helps develop better flavor and prevents the hummus from becoming bitter from over-processed garlic.
For the creamiest results, make sure your food processor runs for at least 3-4 minutes, scraping down the sides occasionally, and remember that warm chickpeas blend much more smoothly than cold ones.
What to Serve With Hummus?
This homemade hummus makes a perfect centerpiece for a casual snack board or appetizer spread! For dipping, set out a colorful mix of fresh vegetables like carrot sticks, cucumber slices, bell pepper strips, and cherry tomatoes. Warm pita bread or pita chips are classic choices that everyone loves, while pretzel crisps and tortilla chips offer different textures and flavors for scooping. If you’re serving this as part of a larger Mediterranean-style meal, try pairing it with grilled chicken, falafel, or roasted vegetables – the creamy hummus works as both a dip and a sauce.
Storage Instructions
Keep Fresh: This tahini-free hummus stays good in an airtight container in the fridge for up to 5 days. Pro tip: pour a thin layer of olive oil on top before storing – this helps prevent the hummus from drying out and keeps it nice and creamy.
Freeze: If you’ve made a big batch, you can freeze portions in freezer-safe containers for up to 3 months. Just leave a bit of space at the top since it might expand slightly. When you’re ready to use it, move it to the fridge the night before.
Serve: Once you take your hummus out of the fridge, let it sit at room temperature for about 15 minutes – this makes it easier to scoop and brings out the flavors. If it seems a bit thick after storing, just stir in a splash of olive oil or water until you get the consistency you like.
| Preparation Time | 10-15 minutes |
| Cooking Time | 0 minutes |
| Total Time | 10-15 minutes |
| Level of Difficulty | Easy |
Estimated Nutrition
Estimated nutrition for the whole recipe (without optional ingredients):
- Calories: 400-450
- Protein: 15-20 g
- Fat: 25-30 g
- Carbohydrates: 40-45 g
Ingredients
- 1 can chickpeas (drained and rinsed well)
- 2 to 4 tbsp water (cold or ice water works best)
- 3/4 tsp ground cumin
- 1 tbsp lemon juice (freshly squeezed for best flavor)
- 2 tbsp olive oil (I like California Olive Ranch extra virgin)
- 1/4 to 1/2 tsp salt (to taste)
- 1 minced garlic clove
Step 1: Combine Ingredients in Food Processor
Begin by adding the garbanzo beans, 2 tablespoons of water, olive oil, lemon juice, garlic, cumin, and 1/4 teaspoon of salt into a food processor.
These are the foundational ingredients for a deliciously creamy hummus.
Step 2: Process Until Smooth
Process the ingredients until the mixture is smooth and creamy.
Check the consistency and taste.
If the hummus is too thick, gradually add more water until you reach your desired consistency.
Adjust the seasoning by adding an additional 1/4 teaspoon of salt, if needed, according to your taste preference.
Step 3: Store Properly
Once the hummus has reached the preferred texture and taste, transfer it to a container with a tight-fitting lid.
Store it covered in the refrigerator to keep it fresh until you’re ready to enjoy it.
