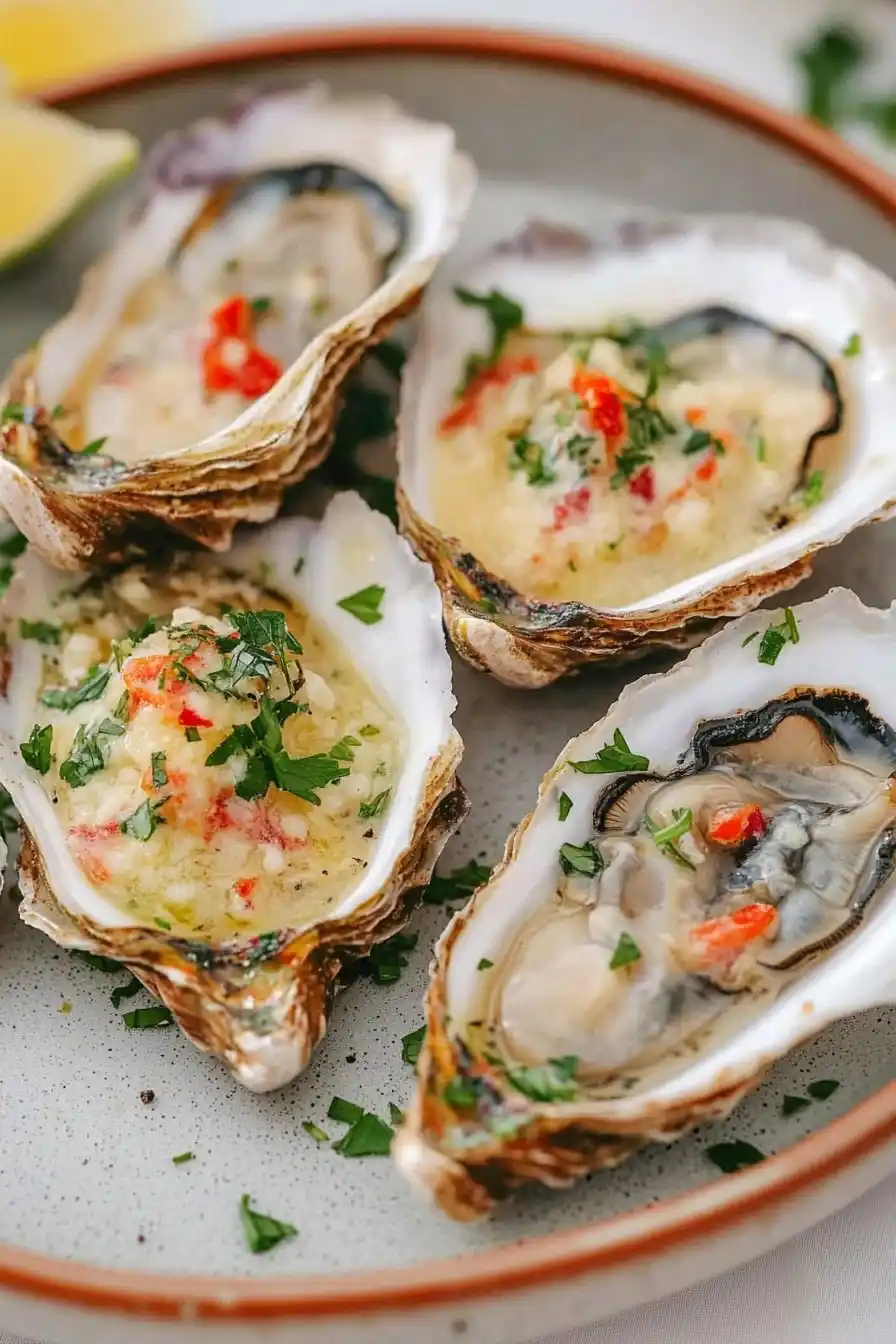
There’s something special about grilled oysters that takes me back to summer evenings by the coast. While raw oysters have their place, I’ve found that throwing them on a hot grill brings out flavors that even seafood skeptics enjoy. The best part? They’re actually pretty simple to prepare at home – no fancy restaurant needed.
I started grilling oysters after a friend showed me how easy it was during a beach cookout. Now they’re my go-to when I want to make something that feels fancy but doesn’t require hours in the kitchen. Just a hot grill, fresh oysters, and a few basic ingredients are all you need.
Whether you’re planning a backyard gathering or just want to try something new for dinner, these grilled oysters hit the spot. They cook quickly, and the hardest part is just shucking them – but I’ll walk you through that too.
Why You’ll Love These Grilled Oysters
- Quick preparation – These grilled oysters come together in just 30 minutes, making them perfect for both casual gatherings and special occasions.
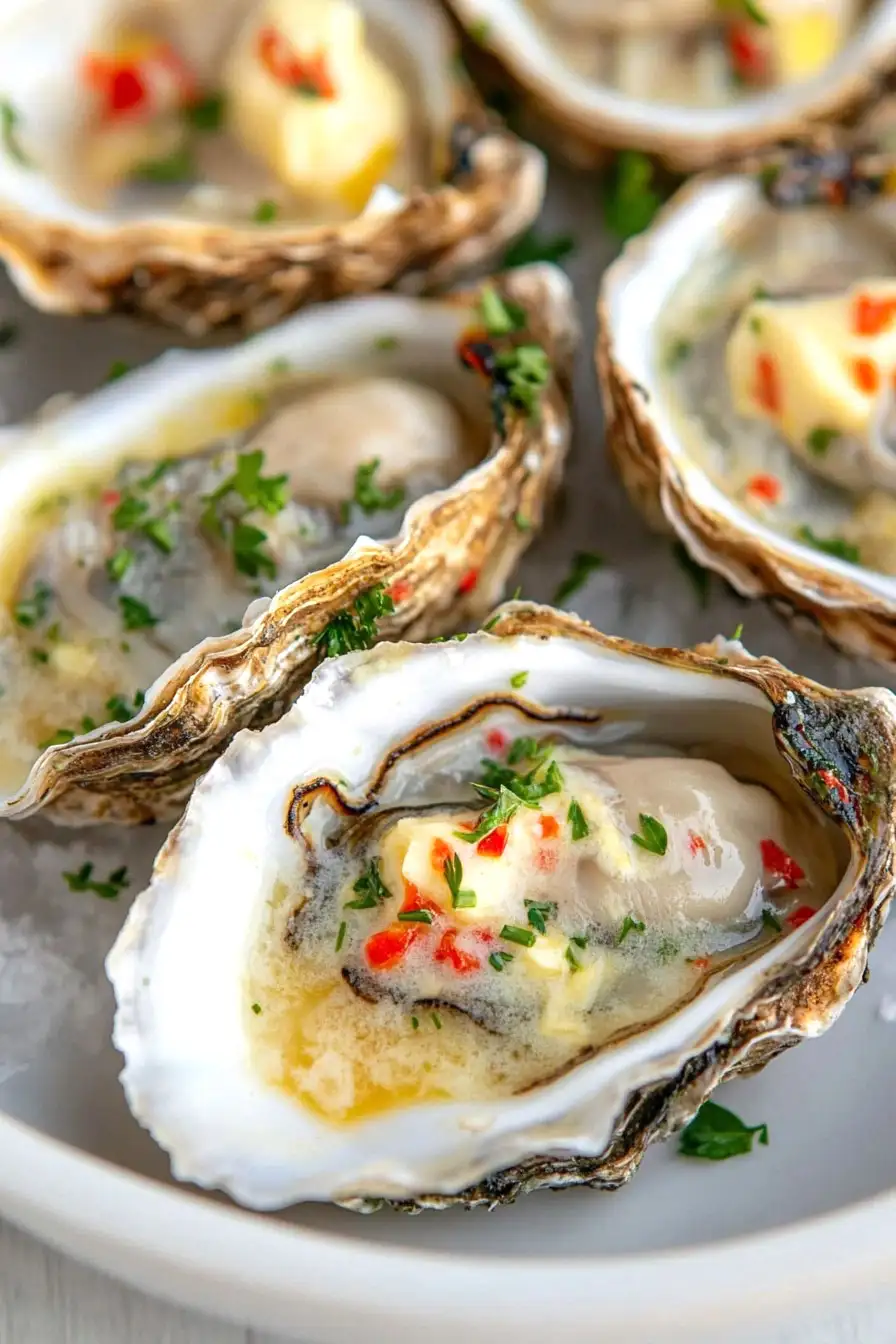
- Restaurant-quality results – The combination of herb-infused butter, beer, and fresh herbs creates that same amazing taste you’d get at a high-end seafood restaurant, right in your backyard.
- Simple ingredients – Most of these ingredients are easy to find at your local grocery store, and the fresh herbs make all the difference in creating that perfect flavor.
- Perfect for entertaining – These oysters cook quickly on the grill and look impressive when served, making them an ideal appetizer or party dish that won’t keep you stuck in the kitchen.
What Kind of Oysters Should I Use?
While this recipe calls for Blue Points, you’ve got plenty of options when it comes to choosing your oysters. East Coast varieties like Blue Points tend to be brinier and have a clean, crisp taste that works great for grilling, while West Coast oysters like Kumamotos are typically smaller and sweeter. The most important thing is to make sure your oysters are fresh – they should smell like the ocean and be tightly closed if you’re buying them unshucked. If you’re new to oysters, ask your fishmonger for medium-sized ones that are about 3-4 inches long, as these are easier to handle on the grill and cook more evenly. Just remember that smaller oysters will cook faster than larger ones, so you’ll need to adjust your grilling time accordingly.
Options for Substitutions
While fresh oysters are the star here, there’s room for some smart swaps in this recipe:
- Oysters: Blue points are great, but you can use any fresh oysters available in your area – Kumamoto, Pacific, or Wellfleet all work nicely. Just keep in mind that smaller oysters might need less cooking time.
- Pilsner beer: No pilsner? You can use any light beer, or substitute with white wine or even clam juice for a different but equally tasty flavor.
- Shallot: If you’re out of shallots, use finely minced sweet onion or red onion – about 2-3 tablespoons will do the trick.
- Fresh herbs: Fresh herbs work best here, but if you need to use dried ones, use 1 teaspoon each of dried parsley and tarragon instead of 1 tablespoon fresh. You could also swap tarragon with fresh thyme or chives.
- Crushed red pepper: Feel free to use cayenne pepper (start with 1/4 teaspoon) or a few dashes of hot sauce instead. You can also skip it if you’re not into heat.
- Unsalted butter: If you only have salted butter, that’s fine – just reduce the amount of sea salt you add to taste.
Watch Out for These Mistakes While Grilling
The biggest challenge when grilling oysters is maintaining the right temperature – too hot and you’ll end up with rubbery, overcooked oysters, while too cool will leave you with barely warmed, raw ones. For perfect results, set up your grill for medium-high heat (around 400°F) and place the oysters over indirect heat, letting them cook for just 4-5 minutes until the edges start to curl. Another common mistake is losing all those precious oyster juices during grilling – make sure to keep the oysters level on the grill grates, perhaps using a bed of rock salt on a sheet pan to stabilize them. To avoid bland results, don’t skip the resting time for your compound butter (at least 2 hours in the fridge), as this allows the flavors to properly blend and develop. Remember to shuck the oysters just before grilling – pre-shucking too far in advance can lead to dried-out oysters that won’t be as juicy or flavorful.

What to Serve With Grilled Oysters?
These buttery, herb-topped grilled oysters make a fantastic starter or party dish, and they pair really well with some simple sides. A classic French baguette or crusty sourdough is perfect for soaking up all that amazing garlic-herb butter sauce that pools in the shells. I like to serve these alongside a crisp green salad with a light lemon vinaigrette to balance out the richness of the oysters. For drinks, go with something that won’t overpower the delicate seafood flavors – a cold pilsner (like the one used in the recipe), a dry white wine, or even some sparkling water with lemon works great.
Storage Instructions
Prepare Ahead: You can make the herb butter mixture up to 3 days ahead of time. Just keep it wrapped tightly in plastic wrap or in an airtight container in the fridge. This makes party prep so much easier, and the flavors actually get better as they meld together!
Fresh Serving: Grilled oysters are best enjoyed right off the grill while they’re still hot and sizzling. If you have any leftover cooked oysters (which rarely happens!), it’s best not to store them – fresh seafood like oysters should be eaten the same day they’re prepared.
Raw Oysters: If you need to store raw, unshucked oysters before grilling, keep them cup-side down in the refrigerator at 40°F or below. Cover them with a damp kitchen towel and use within 7 days. Remember, they should be tightly closed and smell like the ocean – if any are open or smell fishy, toss them out.
| Preparation Time | 15-20 minutes |
| Cooking Time | 10-12 minutes |
| Total Time | 25-32 minutes |
| Level of Difficulty | Medium |
Estimated Nutrition
Estimated nutrition for the whole recipe (without optional ingredients):
- Calories: 800-900
- Protein: 40-50 g
- Fat: 70-80 g
- Carbohydrates: 10-15 g
Ingredients
For the compound butter:
- 1/2 tsp crushed red pepper
- 1 tbsp fresh parsley, minced
- Sea salt to taste
- Black pepper to taste (freshly cracked preferred)
- Zest and juice from 1 lemon
- 2 fl oz pilsner beer
- 1 shallot (finely diced for even distribution)
- 4 cloves garlic (freshly minced for best flavor)
- 2 sticks unsalted butter (I like Kerrygold unsalted butter for this)
- 1 tbsp fresh tarragon, minced
For the oysters:
- 24 shucked oysters (Patagonia Oysters are a great choice for grilling)
Step 1: Prepare the Smart Oven+
Begin by placing the grill attachment into the KitchenAid Smart Oven+ and plugging it in.
Preheat the oven to medium heat, allowing it to reach the ideal cooking temperature for grilling the oysters.
Step 2: Whip the Butter Mixture
In a KitchenAid stand mixer with the paddle attachment, add the butter.
Whip on high speed for 5 to 7 minutes until the butter is light and fluffy.
Once whipped, incorporate the beer, shallots, garlic, lemon, parsley, tarragon, pepper flakes, salt, and pepper.
Mix on low speed until all ingredients are combined well.
Set the mixture aside to use as a flavorful topping for the oysters.
Step 3: Grill the Oysters
Once the oven has reached the desired temperature, place the oysters on the half shell directly onto the grill attachment.
Carefully add about 2 teaspoons of the prepared butter mixture on top of each oyster for enhanced flavor.
Step 4: Cook and Serve the Oysters
Close the oven and grill the oysters for 10 to 12 minutes, or until the oysters are cooked through and the butter is bubbling and lightly browned.
Once cooked, remove the oysters from the oven, being cautious as they will be hot.
Arrange the grilled oysters on a serving platter and enjoy this delicious dish warm.
