Finding a snack that both kids and adults will actually get excited about can feel like an impossible task. Store-bought crackers are convenient, sure, but they’re often loaded with ingredients you can’t pronounce, and let’s be honest – they usually taste pretty bland too.
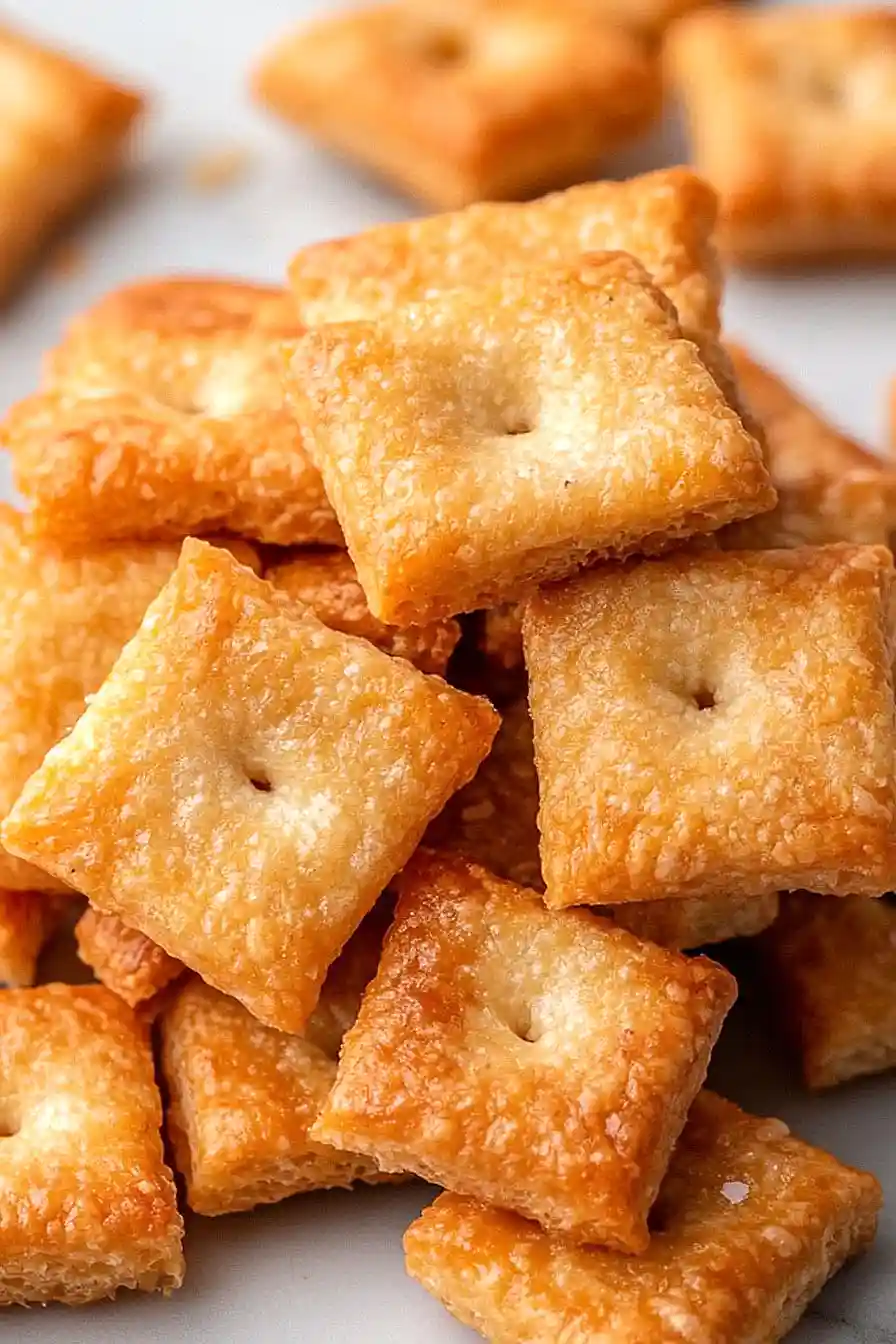
These homemade cheese crackers solve all those problems: they’re made with simple ingredients you probably already have in your kitchen, they taste way better than anything from a box, and they’re surprisingly easy to whip up when you need a crowd-pleasing snack.
Why You’ll Love These Homemade Cheese Crackers
- Simple ingredients – You probably have most of these pantry staples on hand already – just cheese, flour, butter, and a few other basics.
- No preservatives or additives – Unlike store-bought crackers, you know exactly what goes into these homemade ones, making them a cleaner snack option for your family.
- Customizable flavor – You can adjust the cheese type or add your favorite seasonings to make them exactly how you like them.
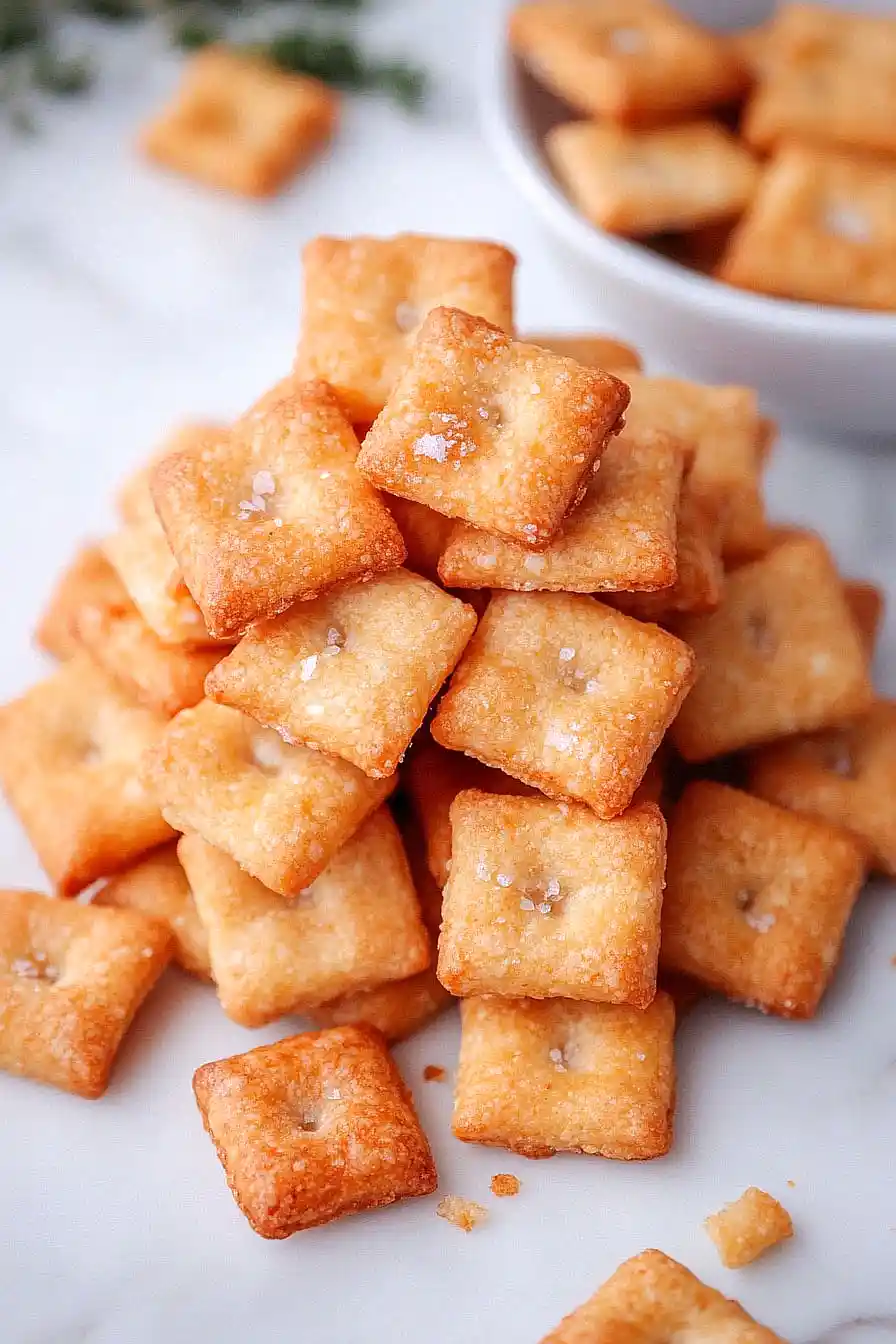
- Perfect for snacking or entertaining – These crispy, cheesy crackers are great for lunch boxes, party platters, or just munching while watching TV.
- Budget-friendly – Making your own crackers costs way less than buying fancy artisan ones at the store, and you get more for your money.
What Kind of Cheddar Cheese Should I Use?
Sharp yellow cheddar is your best bet for these crackers since it packs the most flavor punch and gives you that classic cheesy taste we’re all after. You could also use sharp white cheddar if that’s what you have on hand – the color won’t affect the taste at all. Medium cheddar will work too, but your crackers might taste a bit milder, so you may want to add a pinch more salt to compensate. Make sure to shred the cheese yourself rather than buying pre-shredded, as freshly grated cheese melts and incorporates much better into the dough.
Options for Substitutions
These crackers are pretty forgiving when it comes to swaps, so here’s what you can try:
- Sharp cheddar cheese: You can use other hard cheeses like gruyere, aged gouda, or even parmesan for different flavors. Just make sure to use a cheese that melts well and has good flavor since it’s the star of these crackers.
- All-purpose flour: White whole wheat flour works as a 1:1 substitute if you want a bit more nutrition, though the texture will be slightly denser.
- Cornstarch: If you’re out of cornstarch, you can skip it entirely or replace it with an equal amount of all-purpose flour. The cornstarch helps make them extra crispy, but they’ll still taste great without it.
- Unsalted butter: Salted butter works fine – just reduce the added salt to a pinch. Cold cream cheese can also work as a substitute, though it will give the crackers a slightly different texture.
- Cold water: If your dough seems too dry, you can add an extra tablespoon of water. Some people like using cold milk instead for a richer flavor.
Watch Out for These Mistakes While Baking
The biggest mistake when making homemade cheese crackers is using warm or room temperature butter, which will make your dough too sticky and difficult to roll out – keep that butter cold and cut it into small pieces for the best texture.
Another common error is overworking the dough once you add the water, so mix just until it comes together and stop there to avoid tough crackers.
Rolling the dough too thick is a surefire way to end up with chewy instead of crispy crackers, so aim for about 1/8-inch thickness and use a light dusting of flour to prevent sticking.
Finally, don’t skip checking your crackers a few minutes before the timer goes off since they can go from golden to burnt quickly – look for light golden edges and remove them as soon as they’re set.
What to Serve With Homemade Cheese Crackers?
These homemade cheese crackers are perfect for snacking on their own, but they really shine when paired with a good cheese board or charcuterie spread. I love serving them alongside some sliced salami, grapes, and maybe a small bowl of honey for dipping. They’re also great with soups – especially tomato or butternut squash soup where you can use them for dipping instead of regular crackers. For a simple appetizer, try them with some cream cheese spread or even just a cold glass of wine for an easy evening snack.
Storage Instructions
Keep Fresh: These homemade cheese crackers stay crispy when stored in an airtight container at room temperature for up to one week. I like to toss a piece of parchment paper between layers to keep them from sticking together. Make sure they’re completely cool before storing or they’ll get soft.
Freeze: You can freeze the baked crackers in a freezer-safe container for up to 3 months, but I actually prefer freezing the dough! Roll it into logs, wrap tightly in plastic wrap, and slice off rounds whenever you want fresh crackers. The frozen dough keeps for up to 2 months.
Refresh: If your crackers lose their crunch after a few days, just pop them in a 300°F oven for about 5 minutes to crisp them back up. Let them cool completely before eating – they’ll taste just like fresh! This trick works great for crackers that have been stored in humid weather.
| Preparation Time | 45-120 minutes |
| Cooking Time | 16-20 minutes |
| Total Time | 61-140 minutes |
| Level of Difficulty | Medium |
Estimated Nutrition
Estimated nutrition for the whole recipe (without optional ingredients):
- Calories: 800-900
- Protein: 15-20 g
- Fat: 65-70 g
- Carbohydrates: 60-70 g
Ingredients
For the dough:
- 2 tbsp cold water
- 1 1/2 cups shredded sharp yellow cheddar cheese
- 1 1/2 tsp cornstarch (helps create a tender, flaky cracker)
- 1 cup all-purpose flour
- 6 tbsp unsalted butter (cold and cut into small pieces for best texture)
- 1/4 tsp salt
For the topping:
- Sea salt (optional, for sprinkling on top before baking)
Step 1: Prepare the Dough
- 1 1/2 cups shredded sharp yellow cheddar cheese (6 oz)
- 1 cup all-purpose flour
- 1 1/2 tsp cornstarch
- 1/4 tsp salt
- 6 tbsp unsalted butter, cold, cut into pieces
- 2 tbsp cold water
In a food processor, combine the shredded sharp cheddar cheese, all-purpose flour, cornstarch, and salt.
Process until the mixture is well combined, about 30 seconds.
Add the cold, cut butter and process again until the mixture resembles wet sand, about 20 seconds.
Drizzle in the cold water and pulse the food processor just until the dough forms large clumps, about 10 pulses.
This step creates the base dough for the crackers.
Step 2: Shape and Chill the Dough
- prepared dough from Step 1
- additional cold water (if needed, for moistening fingers)
Transfer the dough to a lightly floured work surface.
Divide it in half, then pat each half into a 6-inch square using your hands (no need for a rolling pin).
If the dough feels dry, moisten your fingers with a little cold water.
Carefully wrap each dough square in plastic wrap and refrigerate until firm, about 45 minutes or up to 2 days.
I find that chilling the dough really helps develop a crisp texture in the crackers.
Step 3: Preheat the Oven and Prepare Baking Sheets
While the dough is chilling, preheat your oven to 350°F (177°C).
Line two large baking sheets with parchment paper or silicone baking mats to prevent the crackers from sticking and to promote even browning.
Step 4: Roll and Cut the Crackers
- chilled dough squares from Step 2
- sea salt, for sprinkling (optional)
Unwrap each dough square and place it onto a lightly floured work surface.
Roll each into a 9-inch square (the shape doesn’t need to be perfect).
Using a fluted pastry wheel, pizza cutter, or small sharp knife, trim each dough to a neat 8-inch square.
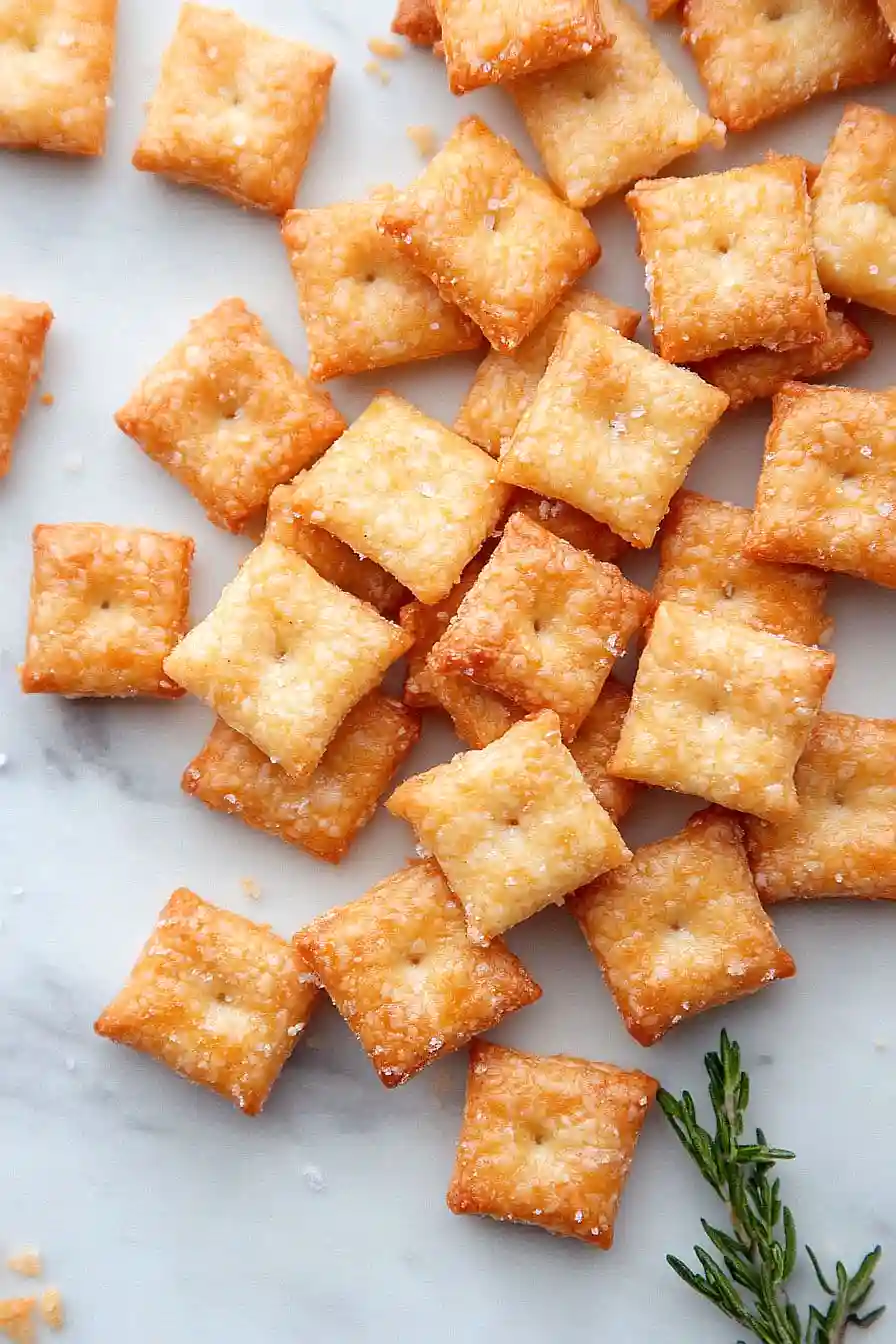
Slice each square into 8 strips, 1 inch wide, then make 8 perpendicular slices to form 64 small squares per dough piece.
Arrange the squares on the prepared baking sheets, and poke a hole in the center of each square using a skewer or toothpick.
For a little extra flavor and crunch, I like to sprinkle a bit of sea salt on top before baking.
Step 5: Bake and Cool the Crackers
- unbaked cracker squares from Step 4
Bake the crackers in the preheated oven until golden brown around the edges, about 16-18 minutes, rotating the baking sheets halfway through for even cooking.
For extra crunch, you can bake them up to 20 minutes.
Remove from the oven and allow the crackers to cool completely on the baking sheets before serving.
Cooling on the tray keeps the crackers crisp.
