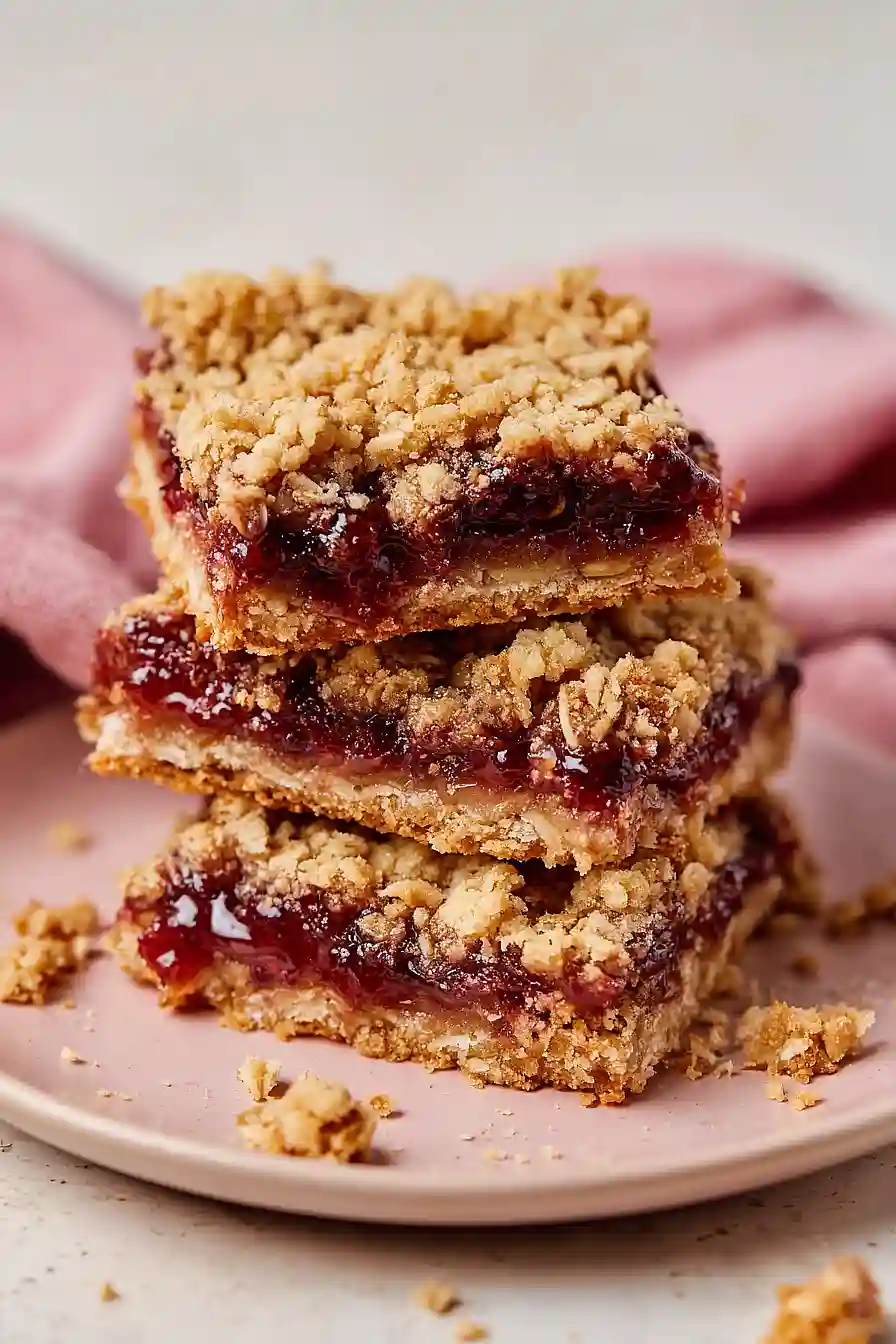
Here are my easy oatmeal bars with jam, made with a simple oat and brown sugar base, a layer of sweet raspberry jam in the middle, and a buttery crumbly topping.
These oatmeal bars are perfect for breakfast, snacks, or even dessert. My kids love finding them in their lunchboxes, and I love that they come together in about 30 minutes with ingredients I always have on hand.
Why You’ll Love These Oatmeal Bars
- Quick and easy to make – These bars come together in under an hour, making them perfect for last-minute gatherings or when you need a sweet treat without spending all day in the kitchen.
- Simple pantry ingredients – You probably already have most of these basics on hand—oats, flour, butter, and your favorite jam.
- Customizable flavors – While I use raspberry jam here, you can swap in any jam or preserve you love, from strawberry to apricot to blueberry.
- Perfect for any occasion – These bars work great as a breakfast treat, afternoon snack, or simple dessert that both kids and adults enjoy.
What Kind of Jam Should I Use?
The great thing about oatmeal bars is that you can use pretty much any jam you have in your pantry. Raspberry jam is a classic choice that pairs perfectly with the buttery oat crust, but strawberry, blueberry, or even apricot jam would work just as well. If you want to mix things up, try using a seedless jam for a smoother texture, or go with a chunky preserve if you like bits of fruit throughout. Just make sure your jam isn’t too runny – a thicker jam will hold up better during baking and won’t make your bars soggy.
Options for Substitutions
These oatmeal bars are pretty forgiving when it comes to swaps:
- Raspberry jam: Any jam or preserve works great here – try strawberry, apricot, blueberry, or even apple butter. You can also use lemon curd for a tangy twist.
- Butter: You can substitute with coconut oil for a dairy-free option, though the flavor will be slightly different. Make sure it’s solid, not melted, when you mix it in.
- Brown sugar: White sugar works in a pinch, though you’ll lose some of that caramel-like flavor. You can also use coconut sugar for a less processed option.
- All-purpose flour: Whole wheat flour can replace half or all of the white flour for a heartier texture. For gluten-free bars, use a 1-to-1 gluten-free baking flour blend.
- Oats: Stick with regular rolled oats or old-fashioned oats for this recipe. Quick oats will make the bars too crumbly, and steel-cut oats won’t soften enough during baking.
Watch Out for These Mistakes While Baking
The biggest mistake with oatmeal jam bars is not pressing the bottom layer firmly enough into the pan, which can cause your bars to crumble and fall apart when you try to cut them – use the bottom of a measuring cup or your hands to really pack it down.
Another common error is spreading the jam all the way to the edges, so leave about a quarter-inch border around the sides to prevent the jam from bubbling over and burning onto your pan.
Don’t skip lining your pan with foil or parchment paper, as these bars can stick stubbornly to the pan, and make sure to let them cool completely before cutting – warm bars will be too soft and messy to slice cleanly.
What to Serve With Oatmeal Bars?
These oatmeal bars are perfect for breakfast alongside a hot cup of coffee or tea, and they also make a great afternoon snack with a cold glass of milk. I love packing them in lunchboxes with some fresh fruit like apple slices or grapes for a balanced treat. They’re also nice to serve at brunch with yogurt and fresh berries on the side, or you can even warm them up slightly and add a scoop of vanilla ice cream for a simple dessert. If you’re having friends over for coffee, set out a plate of these bars with some cheese and crackers for a sweet and savory spread.
Storage Instructions
Store: These oatmeal bars keep really well at room temperature in an airtight container for about 3-4 days. If your kitchen is warm or humid, you might want to pop them in the fridge where they’ll stay fresh for up to a week.
Freeze: You can totally freeze these bars for later! Just wrap them individually in plastic wrap or layer them with parchment paper in a freezer container, and they’ll keep for up to 3 months. Perfect for when you want a quick snack without having to bake.
Enjoy: Thaw frozen bars at room temperature for about 30 minutes, or grab one straight from the fridge if you like them cold. They’re great either way, and honestly taste just as good on day three as they do fresh from the oven!
| Preparation Time | 10-15 minutes |
| Cooking Time | 35-40 minutes |
| Total Time | 45-55 minutes |
| Level of Difficulty | Easy |
| Servings | 12 bars |
Estimated Nutrition
Estimated nutrition for the whole recipe (without optional ingredients):
- Calories: 1750-1900
- Protein: 18-22 g
- Fat: 52-60 g
- Carbohydrates: 295-320 g
Ingredients
For the oat mixture:
- 1 1/4 cups flour (I always use King Arthur all-purpose flour)
- 1 1/4 cups oats
- 3/4 cup brown sugar (packed firmly for a chewier texture)
- 1/4 tsp baking soda
- 1/4 tsp salt
- 1/2 cup butter (I like Kerrygold unsalted butter for this)
- 1/4 teaspoon ground cinnamon
For the filling:
- 3/4 cup raspberry jam (I use Smucker’s Natural fruit spread)
Step 1: Prepare the Pan and Preheat
Heat your oven to 350°F.
While it preheats, line an 8×8 inch baking dish (or 9×9 if you prefer thinner bars) with foil, leaving some overhang on the sides—this makes it easy to lift the bars out after baking and cooling.
Step 2: Mix the Dry Ingredients
- 1 1/4 cups flour
- 1 1/4 cups oats
- 3/4 cup brown sugar
- 1/4 tsp baking soda
- 1/4 tsp salt
- 1/4 teaspoon ground cinnamon
In a large bowl, whisk together the flour, oats, brown sugar, baking soda, salt, and cinnamon.
This ensures the leavening and spices distribute evenly throughout the oat mixture, preventing any pockets of baking soda flavor in the final bars.
Step 3: Cut in the Butter to Create the Crumbly Base
- 1/2 cup butter
- dry ingredient mixture from Step 2
Cut the cold butter into small cubes and add it to the dry ingredient mixture.
Using a pastry cutter, fork, or your fingertips, work the butter into the flour mixture until it resembles coarse breadcrumbs with pea-sized pieces throughout.
I find using cold butter straight from the fridge gives you the best texture—it creates little pockets that stay distinct rather than getting fully absorbed.
Step 4: Press in the Base Layer
- 2 cups oat mixture from Step 3
- prepared baking dish from Step 1
Firmly press 2 cups of the oat mixture into the prepared baking dish, creating an even, compact layer on the bottom.
Press it down well so it holds together during baking.
If the mixture feels too loose, it won’t set properly as the base.
Step 5: Layer the Jam and Top with Remaining Mix
- 3/4 cup raspberry jam
- remaining oat mixture from Step 3
Spread the raspberry jam evenly over the base layer, staying about 1/4 inch from the edges to prevent overflow.
Sprinkle the remaining oat mixture over the jam, then gently press it down with your hands or the bottom of a measuring cup.
Press firmly but not aggressively—you want the top layer to hold together but not be rock-hard.
Step 6: Bake Until Golden and Set
Bake for 35-40 minutes, until the top is light golden brown and the edges are slightly darker.
The bars should feel set when you gently press them with a finger, though the center will still have a slight give.
Don’t overbake—oatmeal bars can dry out quickly if left in the oven too long.
Step 7: Cool, Cut, and Serve
Remove from the oven and let the bars cool completely in the pan on a wire rack—at least 30 minutes, though cooling for an hour gives cleaner cuts.
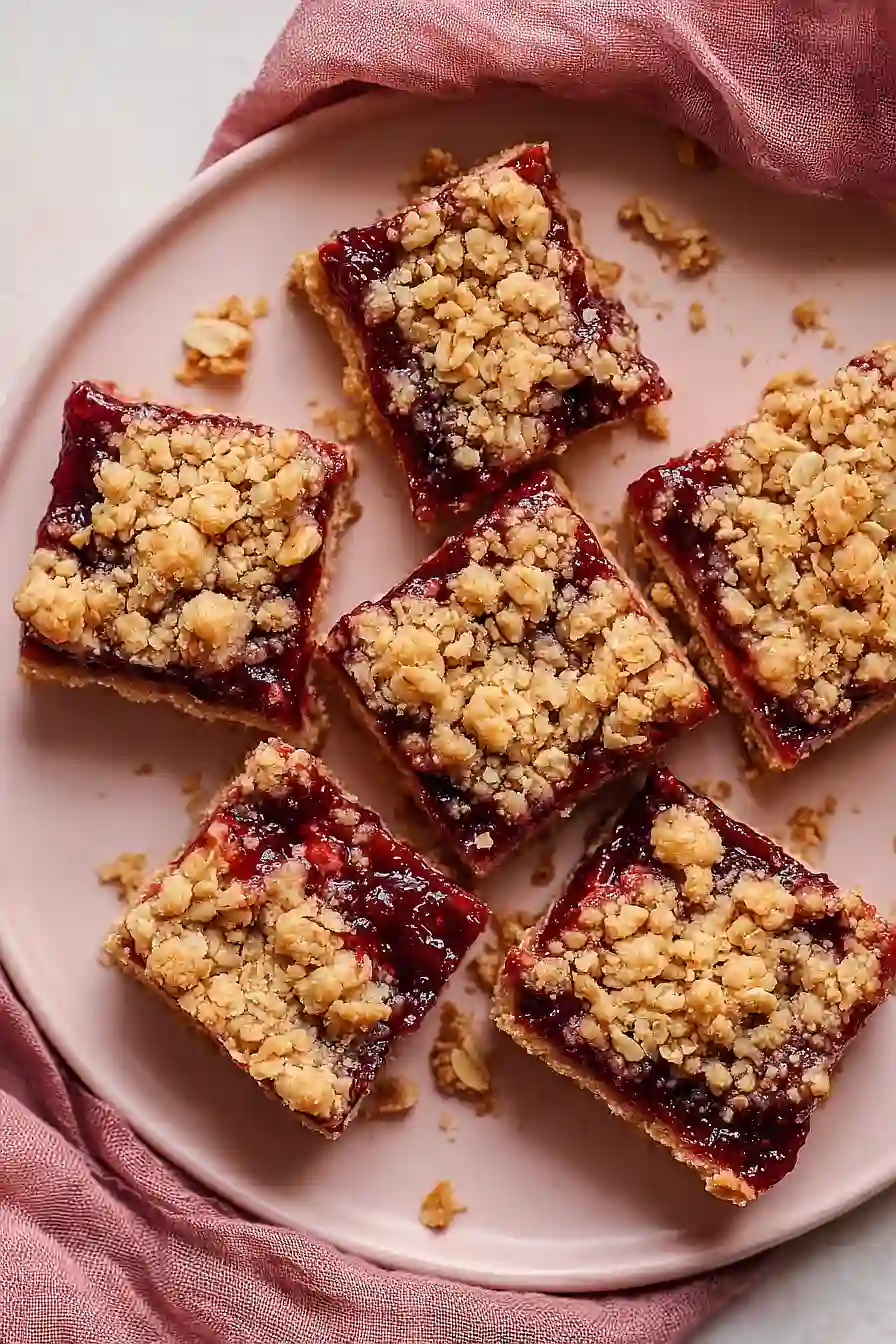
Once cooled, use the foil overhang to lift the entire batch out, then cut into 12-16 bars depending on your preferred size.
Store in an airtight container for up to 3 days.
Tasty Oatmeal Bars with Jam
Ingredients
For the oat mixture::
- 1 1/4 cups flour (I always use King Arthur all-purpose flour)
- 1 1/4 cups oats
- 3/4 cup brown sugar (packed firmly for a chewier texture)
- 1/4 tsp baking soda
- 1/4 tsp salt
- 1/2 cup butter (I like Kerrygold unsalted butter for this)
- 1/4 teaspoon ground cinnamon
For the filling::
- 3/4 cup raspberry jam (I use Smucker's Natural fruit spread)
Instructions
- Heat your oven to 350°F. While it preheats, line an 8x8 inch baking dish (or 9x9 if you prefer thinner bars) with foil, leaving some overhang on the sides—this makes it easy to lift the bars out after baking and cooling.
- In a large bowl, whisk together the flour, oats, brown sugar, baking soda, salt, and cinnamon. This ensures the leavening and spices distribute evenly throughout the oat mixture, preventing any pockets of baking soda flavor in the final bars.
- Cut the cold butter into small cubes and add it to the dry ingredient mixture. Using a pastry cutter, fork, or your fingertips, work the butter into the flour mixture until it resembles coarse breadcrumbs with pea-sized pieces throughout. I find using cold butter straight from the fridge gives you the best texture—it creates little pockets that stay distinct rather than getting fully absorbed.
- Firmly press 2 cups of the oat mixture into the prepared baking dish, creating an even, compact layer on the bottom. Press it down well so it holds together during baking. If the mixture feels too loose, it won't set properly as the base.
- Spread the raspberry jam evenly over the base layer, staying about 1/4 inch from the edges to prevent overflow. Sprinkle the remaining oat mixture over the jam, then gently press it down with your hands or the bottom of a measuring cup. Press firmly but not aggressively—you want the top layer to hold together but not be rock-hard.
- Bake for 35-40 minutes, until the top is light golden brown and the edges are slightly darker. The bars should feel set when you gently press them with a finger, though the center will still have a slight give. Don't overbake—oatmeal bars can dry out quickly if left in the oven too long.
- Remove from the oven and let the bars cool completely in the pan on a wire rack—at least 30 minutes, though cooling for an hour gives cleaner cuts. Once cooled, use the foil overhang to lift the entire batch out, then cut into 12-16 bars depending on your preferred size. Store in an airtight container for up to 3 days.
