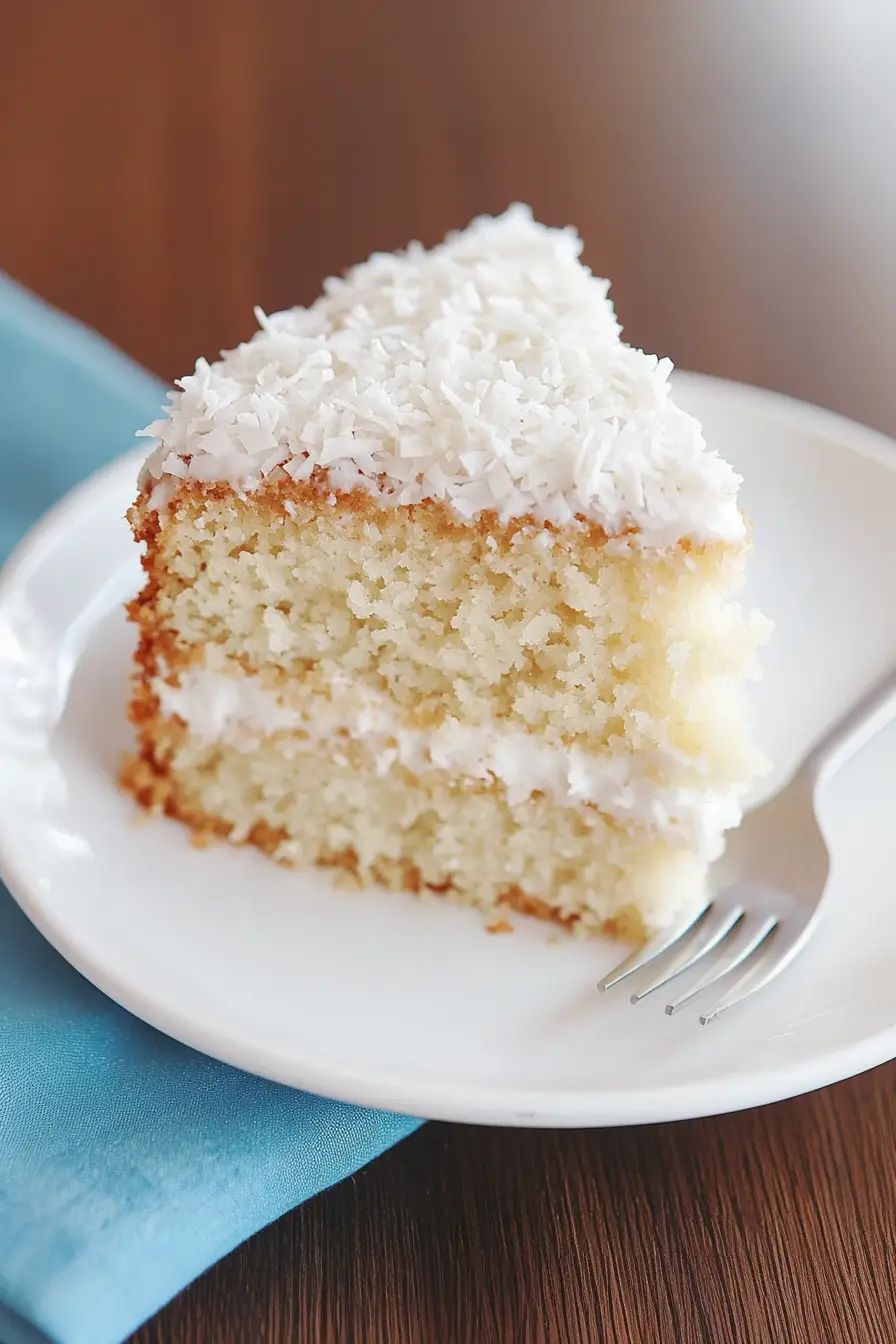
Here is my trusted old-fashioned coconut cake recipe, with a tender, moist cake base, classic buttercream frosting, and plenty of fresh coconut flakes layered throughout and covering the outside.
This coconut cake has been my go-to celebration dessert for years. I make it for birthdays, holidays, and any time someone needs a little pick-me-up. There’s something so comforting about those sweet coconut layers – they remind me of Sunday dinners at grandma’s house.
Why You’ll Love This Coconut Cake
- Classic recipe – This old-fashioned coconut cake brings back memories of grandma’s kitchen with its traditional ingredients and time-tested preparation method.
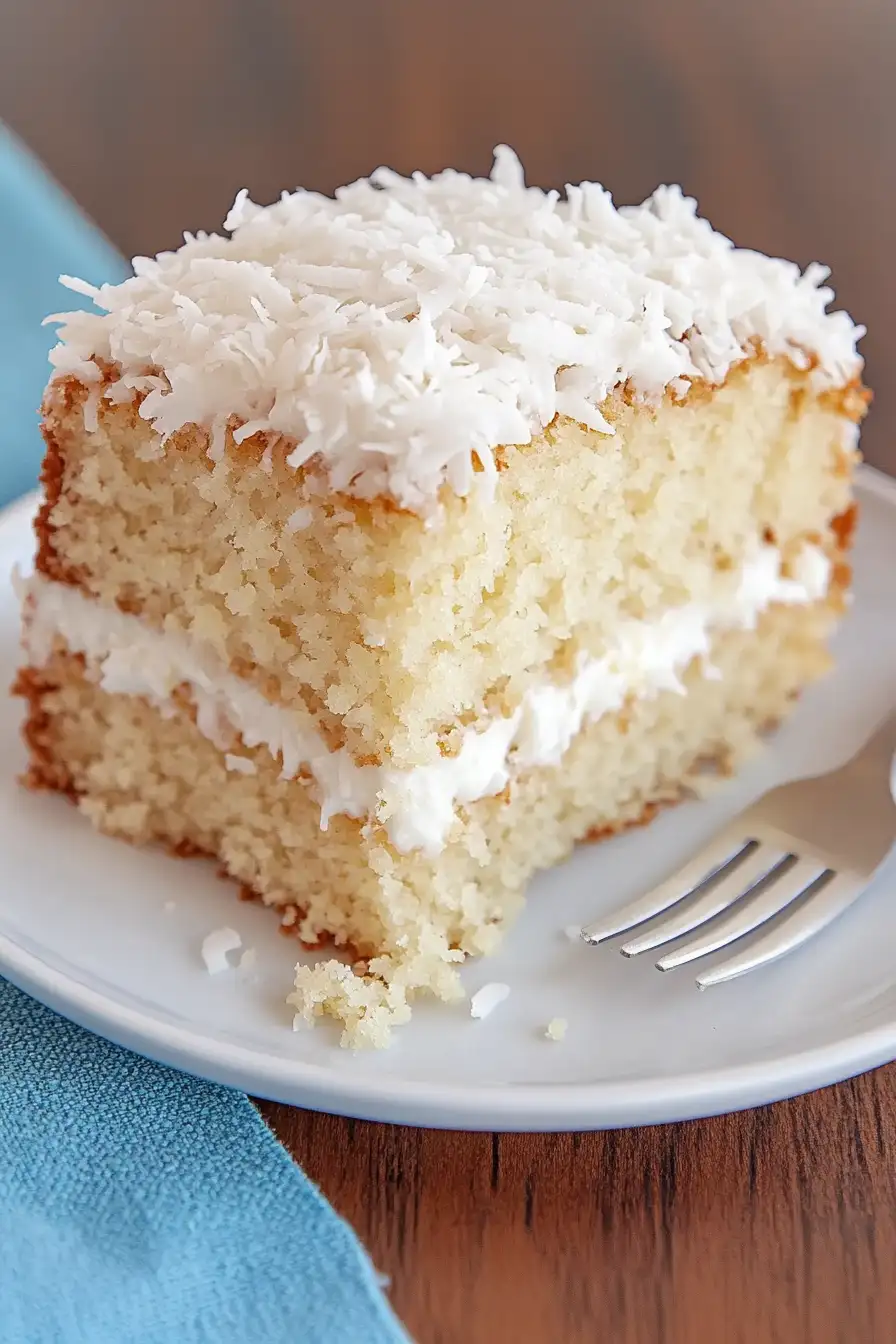
- Perfect texture – The combination of butter, buttermilk, and proper mixing creates a cake that’s incredibly moist and tender, with a soft, fluffy crumb that melts in your mouth.
- Double coconut flavor – With both coconut extract in the batter and shredded coconut on top, you’ll get that perfect tropical taste in every bite.
- Make-ahead friendly – This cake actually tastes better the next day, making it perfect for preparing in advance for special occasions or family gatherings.
- Simple ingredients – You’ll find most of these ingredients in your pantry already, and the rest are easily available at any grocery store.
What Kind of Coconut Should I Use?
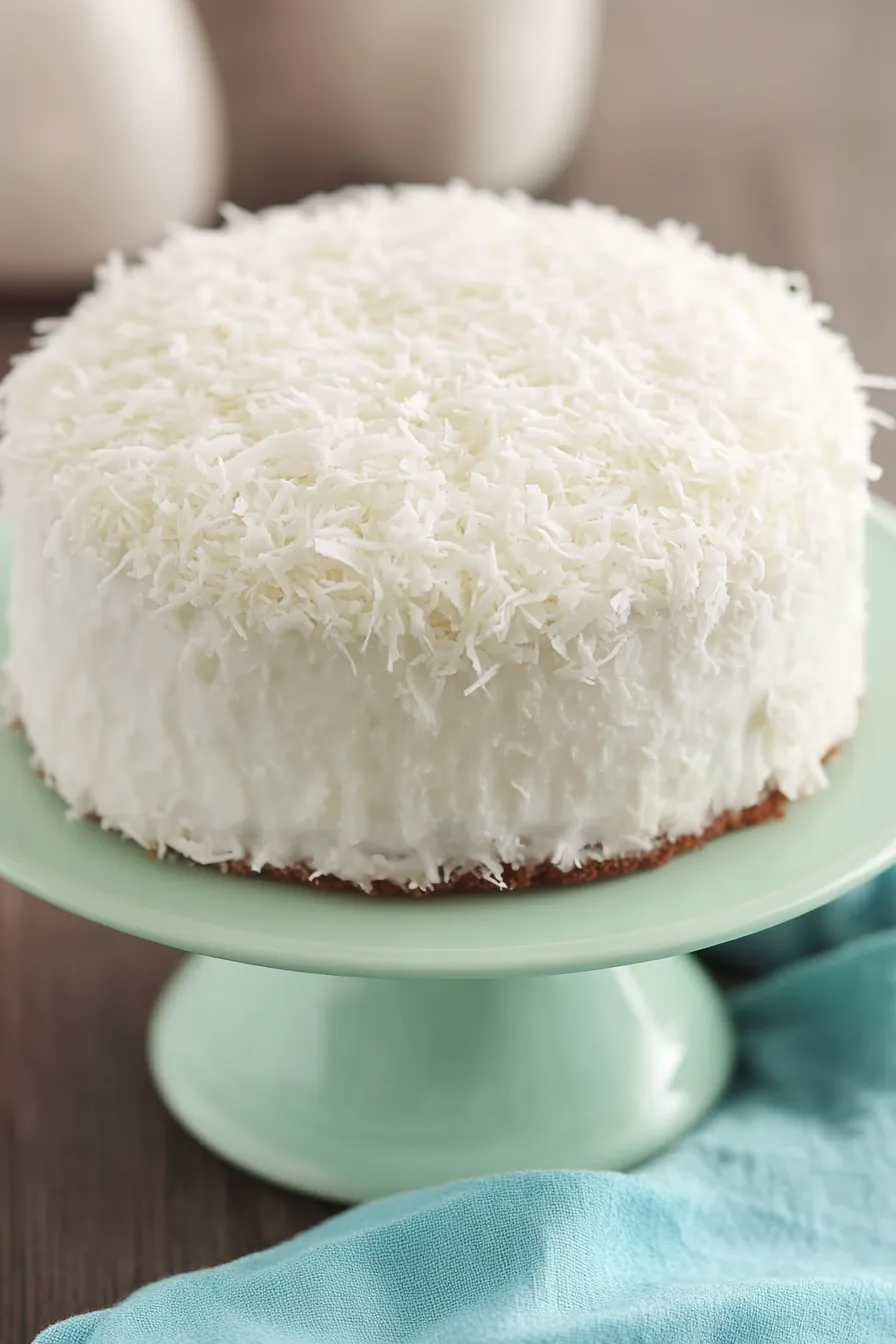
For this classic coconut cake, sweetened shredded coconut is the way to go – it’s the type you’ll most commonly find in the baking aisle of your grocery store. The sweetened variety works best for this recipe because it’s more moist and tender than unsweetened coconut, making it perfect for pressing into the frosting as a decoration. If you happen to find yourself with unsweetened shredded coconut, you can still use it, but keep in mind the final result won’t be quite as sweet or moist. Just make sure to avoid using coconut flakes (the larger pieces) as they’re too big and won’t stick well to the frosting, and steer clear of fresh coconut as it contains too much moisture and can make your frosting slide off.
Options for Substitutions
This classic coconut cake recipe can be adapted with several substitutions if needed:
- Buttermilk: No buttermilk? Make your own by adding 1 tablespoon of white vinegar or lemon juice to 1 cup of regular milk. Let it sit for 5 minutes before using.
- Unsalted butter: You can use salted butter – just skip the added salt in the recipe. For dairy-free options, use coconut oil (same amount), though this will add more coconut flavor.
- Coconut flavoring: If you can’t find coconut flavoring, try using coconut extract or increase the vanilla to 1½ teaspoons and add ¼ cup coconut cream to the buttermilk.
- All-purpose flour: Cake flour works great here too – use 2¾ cups of cake flour for a softer texture. For gluten-free needs, use a 1:1 gluten-free flour blend with xanthan gum.
- Shredded coconut: You can use unsweetened coconut instead of sweetened – the cake will just be a bit less sweet. Fresh grated coconut works too, but make sure to pat it dry first.
- Vegetable shortening: For greasing the pans, you can use butter or cooking spray instead. Just make sure to flour the pans either way.
Watch Out for These Mistakes While Baking
The success of this classic coconut cake heavily depends on having all ingredients at room temperature – cold butter and eggs can lead to a lumpy, uneven batter that won’t rise properly. The mixing order matters more than you might think: overbeating the batter after adding flour can develop too much gluten, resulting in a tough, dense cake instead of a light, tender crumb. When it comes to the seven-minute frosting, timing is crucial – don’t stop beating until the frosting forms stiff peaks, but be careful not to overbeat or it can become grainy and start to separate. For the best coconut coverage, press the shredded coconut onto the sides of the cake while the frosting is still tacky, and make sure to toast a portion of the coconut for the top if you want to add extra flavor and visual appeal.
What to Serve With Coconut Cake?
This old-fashioned coconut cake pairs wonderfully with a hot cup of coffee or tea, making it perfect for afternoon gatherings or dessert time. For a refreshing twist, serve it alongside fresh berries – strawberries and raspberries work especially well with the sweet coconut flavor. If you’re serving this at a party, a scoop of vanilla ice cream on the side makes it even more special, and the cold ice cream creates a nice contrast with the soft, fluffy cake. You might also want to offer some fresh whipped cream on the side for guests who love an extra touch of creaminess with their desserts.
Storage Instructions
Keep Fresh: This coconut cake stays moist and yummy when kept at room temperature, covered with a cake dome or stored in an airtight container, for up to 3 days. If you live somewhere humid, it’s better to pop it in the fridge to keep the frosting from getting too soft.
Refrigerate: The cake will stay fresh in the fridge for up to a week when stored in an airtight container. Just remember to take it out about 30 minutes before serving so it can come to room temperature – that’s when the texture and flavor are at their best!
Make Ahead: You can bake the cake layers up to 2 days ahead and wrap them well in plastic wrap once they’re completely cool. When you’re ready, make the seven-minute frosting fresh (it’s best when made the day you plan to serve), assemble your cake, and add the coconut topping. The frosting doesn’t freeze well, so I don’t recommend freezing the finished cake.
| Preparation Time | 20-30 minutes |
| Cooking Time | 25-35 minutes |
| Total Time | 45-65 minutes |
| Level of Difficulty | Medium |
Estimated Nutrition
Estimated nutrition for the whole recipe (without optional ingredients):
- Calories: 2800-3200
- Protein: 30-40 g
- Fat: 150-170 g
- Carbohydrates: 350-400 g
Ingredients
- Vegetable shortening and flour (for prepping pans)
- 1 cup room temperature unsalted butter (two sticks)
- 2 cups white sugar
- 5 large eggs
- 1 teaspoon vanilla essence
- 1 teaspoon coconut flavoring (usually near the vanilla essence in stores)
- 2 1/2 cups regular all-purpose flour
- 1 teaspoon baking soda
- 1 teaspoon baking powder
- 1/4 teaspoon salt
- 1 cup buttermilk
- Seven-minute frosting, guaranteed to work
- 2 cups sweetened shredded coconut (for topping the cake)
Step 1: Prepare the Cake Pans
Preheat your oven to 350°F (175°C).
Lightly grease and flour two 9-inch round cake pans or one 9×13-inch cake pan.
Set the prepared pans aside as you continue with the recipe.
Step 2: Cream Butter and Sugar
In a large mixing bowl, use an electric mixer set to medium speed to cream together the butter and sugar until the mixture is very smooth and creamy.
This process should take at least four minutes.
Step 3: Mix in Wet Ingredients
Add the eggs, vanilla, and coconut flavoring to the creamed butter and sugar.
Beat well with the electric mixer to fully combine the ingredients into a silky, uniform batter.
Step 4: Combine Dry Ingredients
In a separate medium-sized bowl, stir together the flour, baking soda, baking powder, and salt until they are evenly mixed and no lumps remain.
Step 5: Blend the Cake Batter
Add the dry flour mixture and the buttermilk to the wet butter mixture.
Beat everything together with the electric mixer on medium speed, scraping down the sides of the bowl as needed.
Continue mixing until the batter is thoroughly blended and smooth, which should take about two to three minutes.
Step 6: Bake the Cake
Pour the smooth batter into the prepared cake pans.
Place the pans in the preheated oven and bake until a toothpick inserted into the center of the cake comes out clean.
This will take approximately 25 to 30 minutes for round cakes and around 30 to 35 minutes for a 9×13 cake.
Step 7: Cool and Frost the Cake
Once baked, allow the cakes to cool completely.
Frost with no-fail seven-minute frosting, ensuring an even coat over the cake’s surface.
Immediately after frosting, sprinkle coconut over the top and press it into the sides of the cake to adhere.
Step 8: Storing the Cake
Keep the frosted cake covered at room temperature for up to two days, or store it in the refrigerator for up to one week to maintain its freshness.
Enjoy your delicious homemade coconut cake!
