Looking for a quick dinner solution after a long day? We’ve all been there – staring into the fridge at 6 PM, wondering what to make with that leftover rotisserie chicken from the grocery store. These rotisserie chicken nachos are the answer to those “too tired to cook” evenings. They come together in minutes, feed a hungry crowd, and let you put that pre-cooked chicken to good use. Plus, they’re completely customizable – throw on whatever toppings you have in your fridge, and you’ve got yourself a satisfying meal that feels more like a treat than a leftover makeover.

Possible Ingredient Alternatives
For the rotisserie chicken, shredded cooked turkey or plant-based chicken alternatives can be used to accommodate different dietary preferences. These options maintain a similar texture and protein content. Adjust seasoning as needed to match the flavor profile of rotisserie chicken.
Tortilla chips can be replaced with baked sweet potato slices or cauliflower florets for a lower-carb option. These substitutions offer additional nutrients and fiber. Arrange them in a single layer on the baking sheet and adjust cooking time as needed to ensure they become crispy.
The cheese blend can be substituted with dairy-free alternatives made from nuts or soy for those avoiding dairy. Use a combination of mild and sharp-flavored vegan cheeses to replicate the cheddar and pepper jack mix. These alternatives may melt differently, so monitor closely during baking and adjust quantities if necessary to achieve desired coverage and texture.
| Preparation Time | 15-20 minutes |
| Cooking Time | 10-15 minutes |
| Total Time | 25-35 minutes |
| Level of Difficulty | Easy |
Estimated Nutrition
Estimated nutrition for the whole recipe (without optional ingredients):
- Calories: 3700-4200
- Protein: 250-300 g
- Fat: 220-250 g
- Carbohydrates: 350-400 g
Ingredients
For the base:
- 13 oz tortilla chips (restaurant-style preferred for sturdiness)
For the chicken and beans:
- 1 can refried black beans (I use Rosarita brand)
- 1 rotisserie chicken (shredded, about 4 cups meat)
For the salsa:
- 1 large jalapeño (finely chopped, seeds and ribs removed for less heat)
- 1 cup chopped onion (yellow or white)
- 1/2 tsp ground coriander
- 1/4 cup chopped cilantro
- 1/2 tsp chili powder
- 2 tbsp extra virgin olive oil
- 1 can diced tomatoes with juice (Hunts or Muir Glen are good options)
- 1/2 tsp ground cumin
- 1 tbsp minced garlic (freshly minced for best flavor)
For the topping:
- 2 cups shredded sharp cheddar cheese
- 2 cups shredded pepper jack cheese
For the garnish:
- 2 tbsp diced red onion
- 2 tbsp chopped cilantro
Step 1: Prepare the Oven and Tortilla Chip Base
Preheat your oven to 450°F (232°C).
In a large oven-proof skillet, spread a generous layer of tortilla chips.
This will serve as the crunchy foundation for your dish.
Step 2: Make the Salsa
In a skillet, heat some olive oil over medium heat.
Add diced jalapeño and onion, sautéing for several minutes until they become tender.
Add minced garlic and continue to sauté for another minute or two.
Incorporate the remaining salsa ingredients and bring the mixture to a boil.
Once boiling, reduce the heat and simmer, uncovered, for 5-10 minutes to allow the flavors to meld together.
Step 3: Prepare the Refried Beans and Chicken
While the salsa is simmering, heat the refried beans in the microwave until warm.
Next, shred the cooked chicken and warm it in the microwave as well to ensure it’s ready for layering.
Step 4: Assemble the Layers
On top of the tortilla chips in the skillet, gently drop dollops of the warmed refried beans.
Continue by layering the warm salsa evenly over the refried beans.
Next, distribute the warmed shredded chicken over the salsa, ensuring an even coverage.
Step 5: Add Cheese and Bake
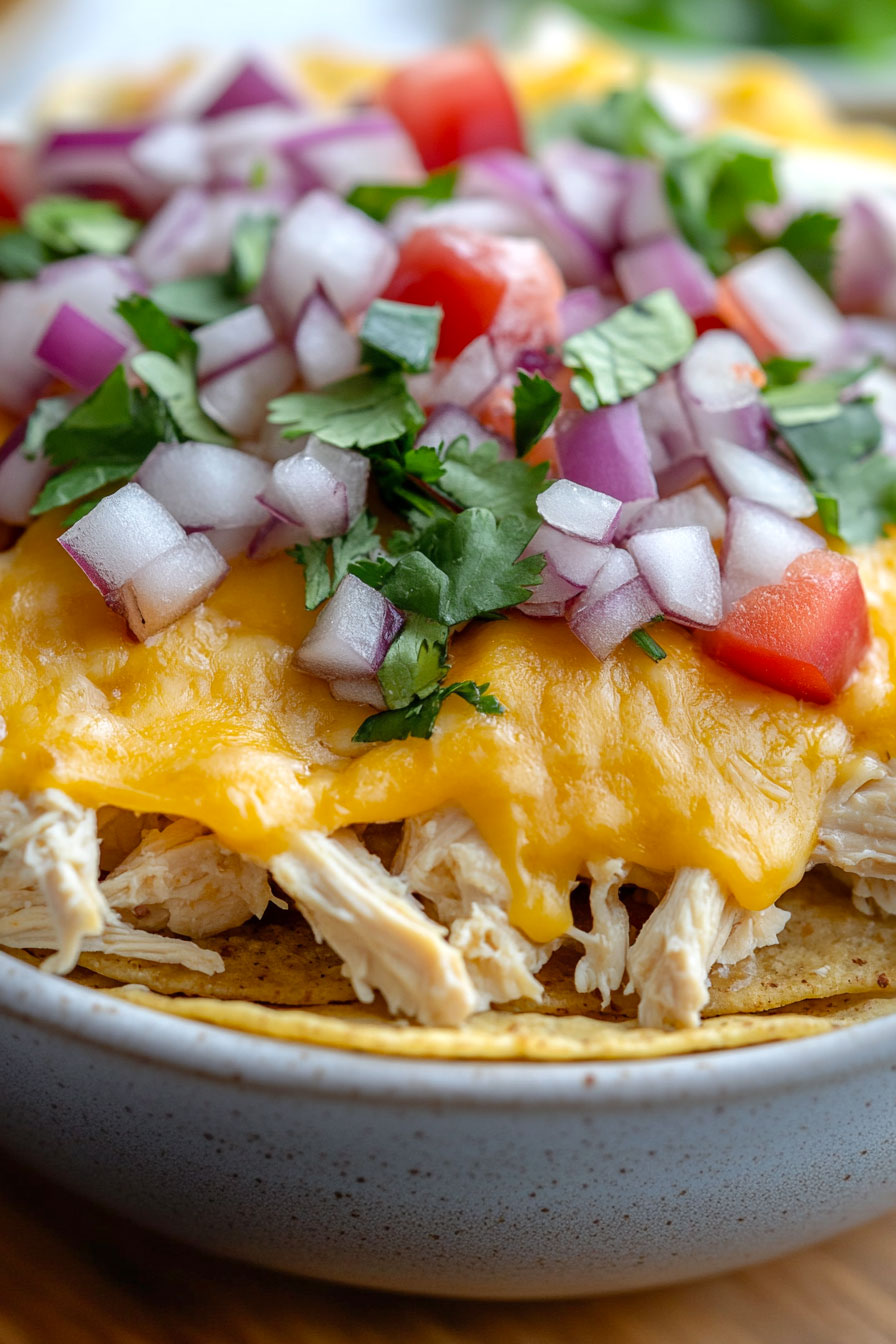
Sprinkle both types of cheese generously over the chicken layer.
Transfer the skillet to the preheated oven and bake for 5-7 minutes, or until the cheese is melted and bubbly.
Step 6: Garnish and Serve
Remove the skillet from the oven with care.
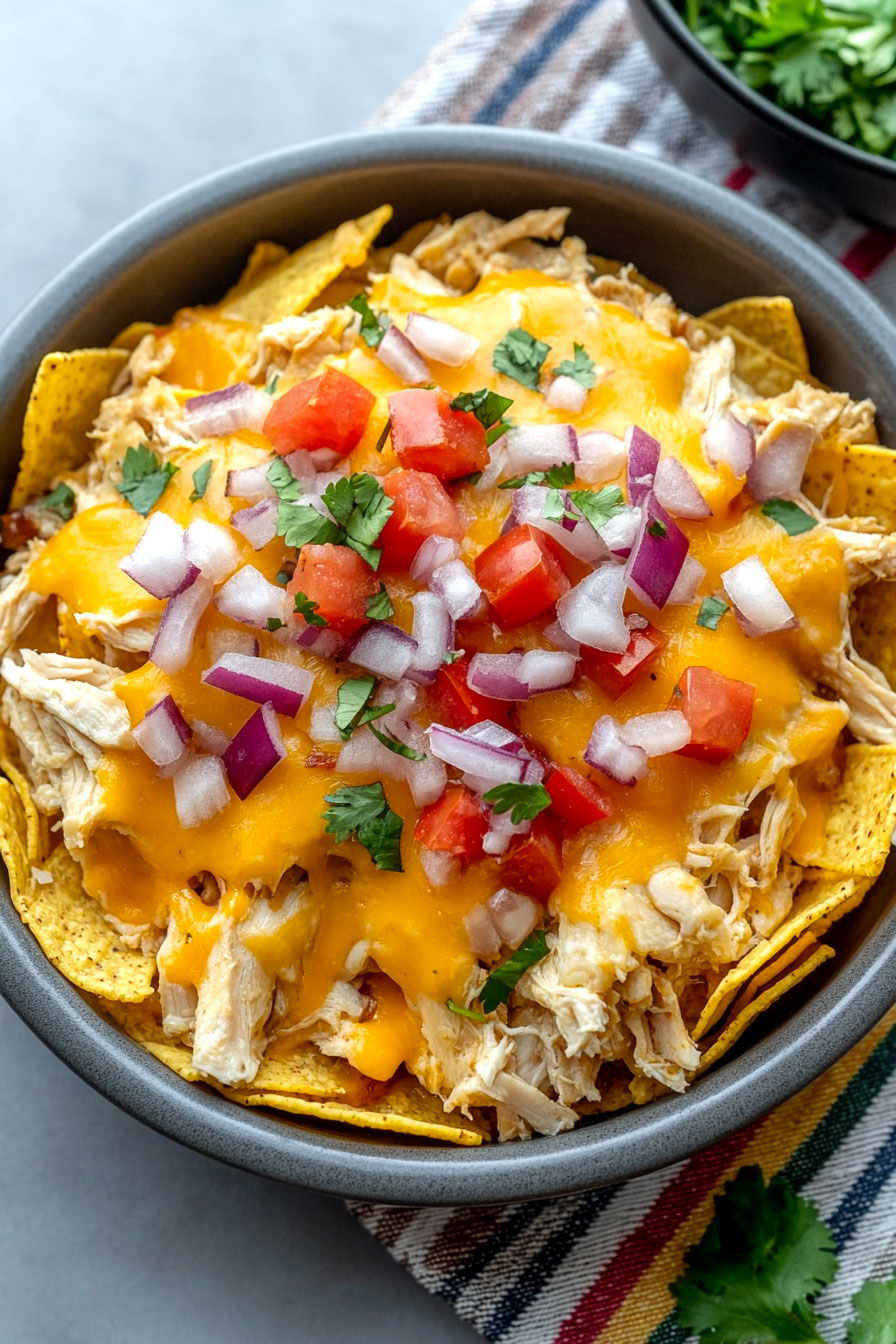
For a fresh finish, sprinkle chopped cilantro and diced red onion over the top.
Serve immediately and enjoy this warm, cheesy delight with friends and family.