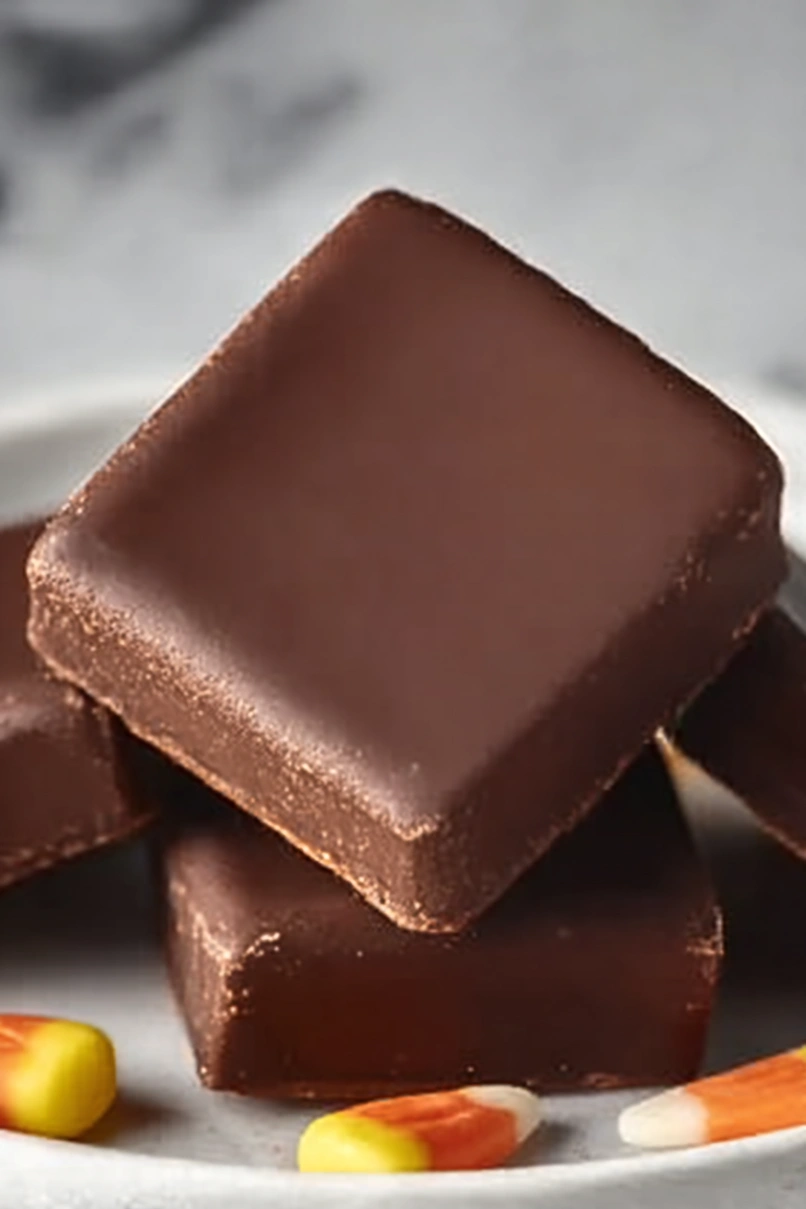
I was today years old when I realized you could make homemade Butterfingers. Growing up, they were always that special candy bar we’d grab at the checkout counter. My kids go crazy for them during Halloween, but they’re gone in two days flat.
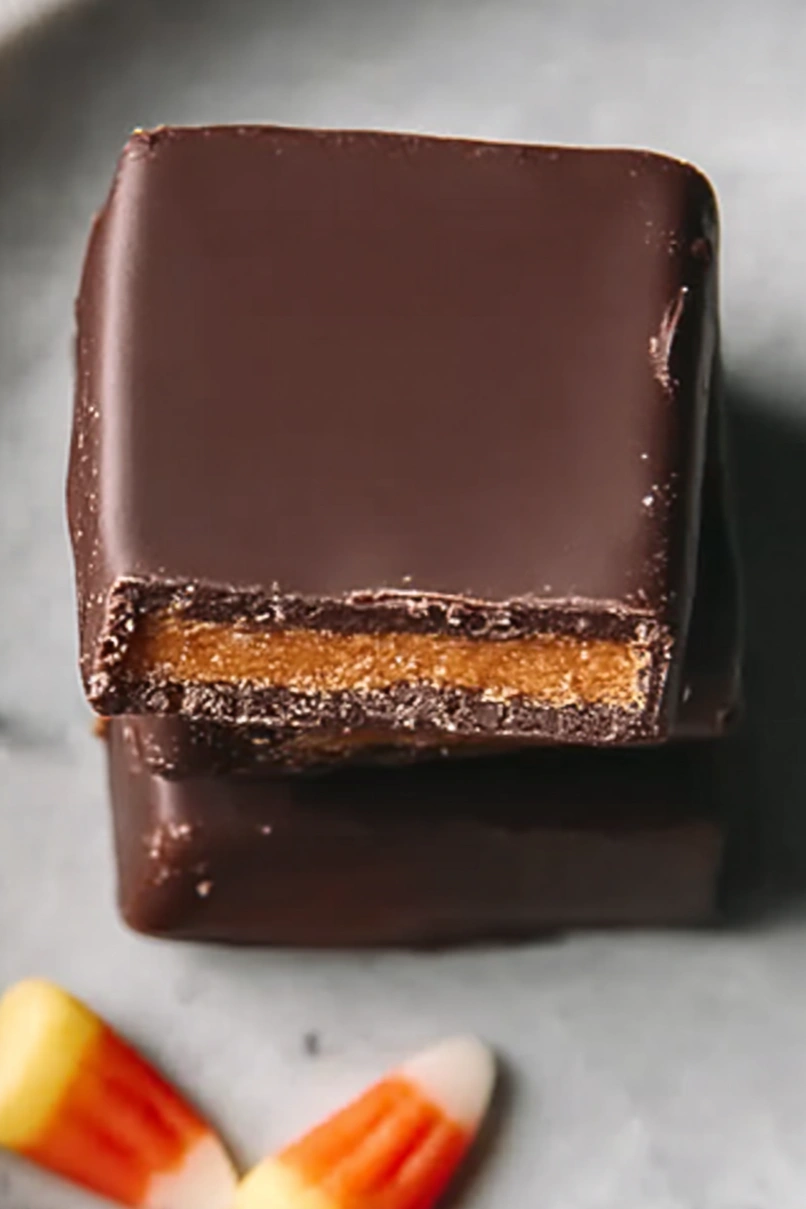
That’s when I discovered you can actually recreate that crispy, peanut buttery goodness at home using candy corn. I know it sounds weird, but candy corn melts down into the perfect base for that signature Butterfinger crunch. Plus, you probably have a bag sitting around from trick-or-treating anyway.
Why You’ll Love This Candy Corn Butterfingers
- Only 3 ingredients – You probably already have peanut butter at home, and candy corn and chocolate are easy to find at any grocery store.
- No-bake recipe – No need to turn on the oven – just melt, mix, and chill for a sweet treat that’s ready in no time.
- Perfect fall treat – This recipe gives you a fun way to use up all that candy corn from Halloween while creating something that tastes just like your favorite candy bar.
- Great for sharing – These homemade candy bars are perfect for parties, bake sales, or giving as gifts to friends and neighbors.
- Kid-friendly activity – The simple steps make this a fun recipe to make with children who want to help in the kitchen.
What Kind of Candy Corn Should I Use?
Any standard candy corn from the grocery store will work perfectly for this recipe – you don’t need to hunt down a fancy brand. The classic tri-colored candy corn is what you’re after, and most major brands like Brach’s or store brands will give you the same great results. Make sure your candy corn is fresh and not stale, as older candy corn can be harder and won’t melt down as smoothly. If you’re making this recipe around Halloween, you’ll have plenty of options, but candy corn is usually available year-round in the candy aisle.

Options for Substitutions
This simple candy recipe is pretty forgiving, but here are some swaps you can make:
- Candy corn: You really need candy corn for that signature Butterfinger crunch and flavor – it’s what makes this recipe work! Don’t substitute this one.
- Creamy peanut butter: Stick with regular creamy peanut butter like Jif or Skippy. Natural peanut butter won’t set up properly because of the oil separation. If you only have crunchy, that works too and adds extra texture.
- Milk chocolate: Chocolate almond bark or candy melts work best because they’re made for melting. If you only have chocolate chips, add 1 tablespoon of coconut oil or shortening to help them melt smoothly and set properly.
- Milk chocolate coating: Want to switch things up? Dark chocolate works great if you prefer less sweetness, or try white chocolate for a different look. Semi-sweet chocolate chips are fine too with that added oil.
Watch Out for These Mistakes While Cooking
The biggest mistake when making candy corn butterfingers is using natural peanut butter, which has too much oil and won’t set properly – stick with regular creamy peanut butter like Jif or Skippy for the best texture.
Another common error is not melting the candy corn completely, so make sure to stir frequently and heat in 30-second intervals in the microwave until it’s completely smooth with no lumps remaining.
When it comes to the chocolate coating, avoid using regular chocolate chips since they don’t melt as smoothly – chocolate almond bark or candy melts work much better and give you that perfect glossy finish.
Finally, don’t skip the chilling step between layers, as rushing this process will cause your chocolate to crack or the filling to ooze out when you try to cut the bars.
What to Serve With Candy Corn Butterfingers?
These sweet treats are perfect on their own, but they’re also great for sharing at Halloween parties or fall gatherings. I love setting them out alongside other homemade candies like chocolate-covered pretzels or caramel apples for a fun dessert spread. They pair really well with a cold glass of milk or even some hot apple cider if you’re going for that cozy autumn vibe. You can also chop them up and use them as toppings for vanilla ice cream or mix them into cookie dough for an extra special treat.
Storage Instructions
Keep Fresh: Store your candy corn butterfingers in an airtight container at room temperature for up to 2 weeks. I like to layer them between sheets of parchment paper so they don’t stick together. Keep them in a cool, dry place away from direct sunlight to prevent the chocolate from melting.
Refrigerate: If your kitchen gets warm or you want them to last longer, pop them in the fridge for up to a month. The chocolate will get nice and firm, giving you that satisfying snap when you bite into them. Just let them sit out for a few minutes before eating if you prefer them less cold.
Make Ahead: These are perfect for making ahead since they actually taste better after sitting for a day or two. The flavors meld together nicely and the texture becomes just right. I often make a big batch before Halloween parties and they’re always a hit!
| Preparation Time | 10-15 minutes |
| Cooking Time | 10-15 minutes |
| Total Time | 1-2 hours |
| Level of Difficulty | Easy |
Estimated Nutrition
Estimated nutrition for the whole recipe (without optional ingredients):
- Calories: 4350-4650
- Protein: 60-70 g
- Fat: 190-210 g
- Carbohydrates: 620-660 g
Ingredients
For the filling:
- 1 bag candy corn (18 oz, about 3 cups)
- 1 1/2 cups smooth peanut butter (I use Jif creamy peanut butter)
For the coating:
- 12 oz milk chocolate (preferably almond bark or candy melts, like Wilton brand)
Step 1: Prepare the Pan
Line a 9×9 or 8×8 baking pan with parchment paper or foil and spray it lightly with cooking spray.
You can use a different size pan if desired, but this may change the thickness of the butterfingers.
Step 2: Melt the Candy Corn
- 1 bag (18 oz, about 3 cups) candy corn
Place the candy corn in a large microwave-safe bowl.
Microwave the candy corn in 20 second increments, stirring well after each interval, until it is completely melted and smooth.
This typically takes about 2 minutes in total.
Step 3: Combine Peanut Butter and Candy Corn
- 1 1/2 cups smooth peanut butter (not natural style)
- melted candy corn from Step 2
Add the smooth peanut butter to the melted candy corn.
Microwave the mixture for another 20 to 30 seconds, then stir until the peanut butter and candy corn are thoroughly combined and the mixture is smooth.
Quickly transfer the mixture to your prepared pan and press it into an even, smooth layer.
I like to use a small offset spatula or even the back of a spoon to get it level.
Step 4: Chill and Cut the Bars
Let the candy mixture cool until it’s no longer hot to the touch.
Cut it into 1×2 inch rectangles using a sharp knife.
The bars are easiest to cut if they are chilled but not frozen.
Once cut, place the bars in the freezer for 1 hour to firm them up.
Step 5: Coat Bars in Chocolate
- 12 oz milk chocolate, preferably almond bark or candy melts (see note for chocolate chips)
- cut and chilled bars from Step 4
Melt the milk chocolate (preferably almond bark or candy melts for smooth coating) in a microwave-safe bowl in 20 second increments, stirring after each, until fully melted and smooth.
Dip each chilled butterfinger bar into the melted chocolate, ensuring an even coating, then place them on a sheet of parchment paper or a cooling rack.
Chill the coated bars until the chocolate is set.
Personally, I love enjoying these straight out of the freezer for that extra crunch!
