If you’ve ever seen Knockout roses in a garden and wished you could grow some without spending a lot of money, you’re in luck. Growing these roses from cuttings is a practical way to expand your garden without breaking the bank. Many gardeners don’t realize how simple this process can be once you know the right steps.
In this guide, I’ll share seven tested methods that have helped me successfully grow Knockout roses from cuttings in my own backyard. These approaches work well for beginners and experienced gardeners alike, and most use materials you probably already have at home.
1. Choose the Right Time and Stem
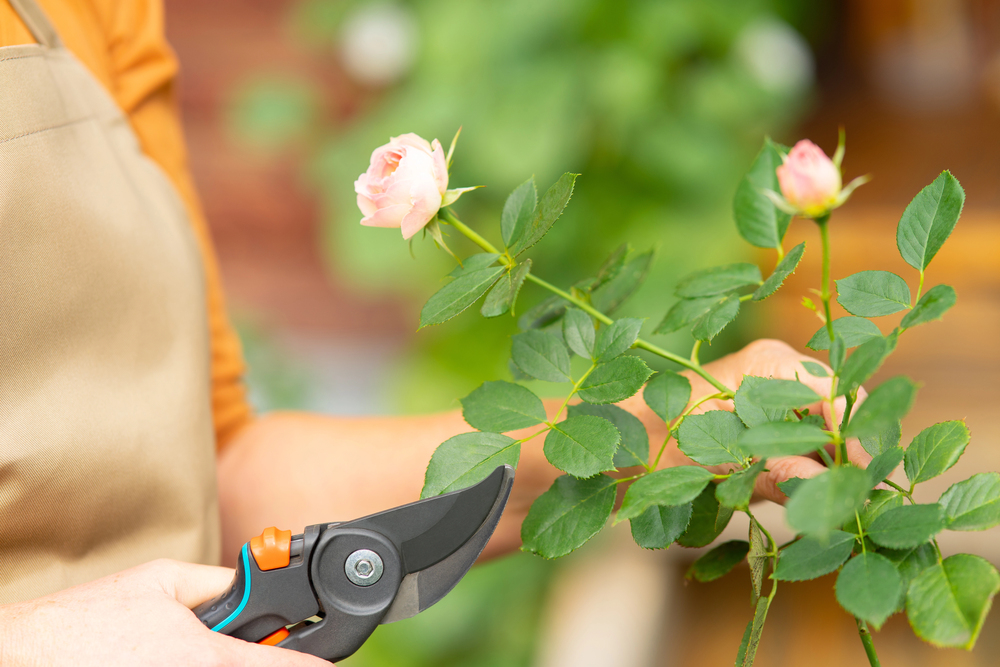
Timing is crucial when taking rose cuttings. Late spring to early summer is ideal, as the stems are neither too soft nor too woody.
Select a healthy stem with at least three sets of leaves, preferably one that has recently bloomed.
Cut at a 45-degree angle just below a leaf node, making the cutting about 6-8 inches long.
2. Prepare the Cutting
Remove all but the top two sets of leaves from your cutting. This reduces water loss and focuses the plant’s energy on root development.
If desired, dip the cut end in rooting hormone to stimulate root growth, although Knockout Roses often root well without it.
3. Create the Right Growing Environment
Fill a small pot with a well-draining rooting medium, such as a mix of perlite and peat moss.
Make a hole in the center with a pencil and insert the cutting, ensuring the remaining leaves are above the soil line.
Water thoroughly and cover the pot with a clear plastic bag to create a humid environment, which aids in rooting.
4. Provide Optimal Light and Temperature
Place the covered pot in a location that receives bright, indirect light. Avoid direct sunlight, which can overheat the cutting. Maintain a temperature between 60-70°F (15-21°C) for best results.
5. Maintain Moisture and Humidity
Keep the rooting medium consistently moist but not waterlogged. Mist the cutting occasionally to maintain humidity.
Remove the plastic cover for a few minutes daily to prevent mold growth and allow for air circulation.
6. Monitor for Root Development
After about 4-6 weeks, gently tug on the cutting. If you feel resistance, roots have likely formed.
You can also look for new growth at the top of the cutting, which is another sign of successful rooting.
7. Transplant and Acclimate
Once roots have developed, gradually remove the plastic cover over a week to acclimate the new plant.
After another week, transplant the rooted cutting into a larger pot with regular potting soil. Continue to grow in the pot for several months before planting in the garden.
Additional Tips:
- Take multiple cuttings to increase your chances of success.
- Be patient – rooting can take anywhere from 4-8 weeks.
- Once established, treat your new Knockout Rose as you would any other rose bush, providing adequate sunlight, water, and fertilizer.
By following these tactics, you can successfully propagate Knockout Roses from cuttings, allowing you to expand your rose garden or share these beautiful plants with friends and family.
Remember, practice makes perfect, so don’t be discouraged if your first attempts aren’t successful. With time and experience, you’ll become adept at growing these resilient and stunning roses.
