Thinking about growing hops?
You’re in the right place!
Hops are essential for brewing. Discover 8 easy tactics to help you grow them successfully.
Let’s get those hops flourishing! Ready to learn more?
Let’s get started!
Select the Right Varieties
Choosing the right hop varieties is key. There are loads of different types out there, each with its own flavor and aroma.
Think about what you want to brew. Citrusy, piney, floral?
Do a little research and pick the hops that will best match your brewing goals. Popular varieties include Cascade, Centennial, and Chinook.
Picking the right hops sets the foundation for a bountiful harvest, so spend some time making your selection.
Prepare Your Soil
Good soil equals good hops; it’s really that simple. Hops thrive in well-drained, sandy loam soil with a pH level between 6.0 and 7.0.
Before planting, mix in some compost or well-rotted manure to give your hops a healthy start. If you’re unsure about your soil, a simple soil test kit can help.
Prep your soil well to see those hops grow strong and healthy.
Plant in the Right Spot

Sunlight is your hops’ best friend. Make sure to plant them in a spot that gets at least 6-8 hours of direct sunlight daily.
Hops also need plenty of space to climb, so think vertical. A tall trellis or sturdy poles will give your hops the support they need as they grow upwards, sometimes reaching up to 20 feet!
Water Wisely
Hops love water, but they don’t like their roots to stay soggy. Aim to water deeply and regularly, especially during their first year.
Drip irrigation works well to keep the soil consistently moist but not waterlogged. Water early in the morning so the plant has time to absorb it before the sun gets too hot.
A good soak once or twice a week should do the trick.
Feed Your Hops

Your hops will benefit from a good feeding regime. A balanced fertilizer with equal parts nitrogen, phosphorus, and potassium will give them the nutrients they need.
Start feeding them in early spring when you see new growth, and continue every 4-6 weeks throughout the growing season. Organic options like bone meal or fish emulsion work great too.
Prune for Better Growth
Pruning isn’t just for roses! In early spring, cut back the weaker shoots to focus the plant’s energy on the strongest ones.
Once the bines (the stems) start growing, train the best 3-4 bines up your trellis, and cut away the rest. This helps your plant put its energy into producing bigger and better hops cones.
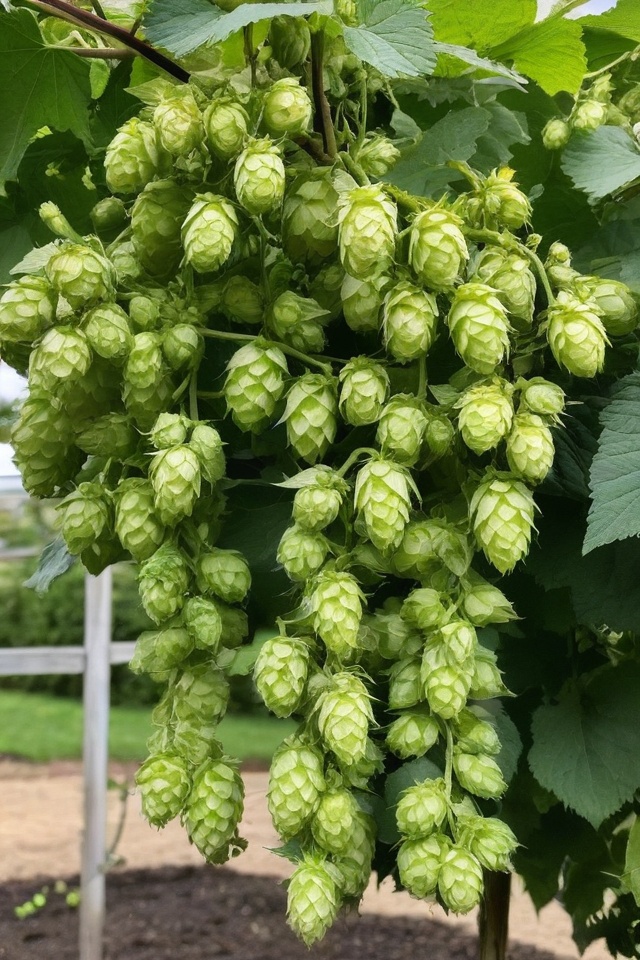
Harvest at the Right Time
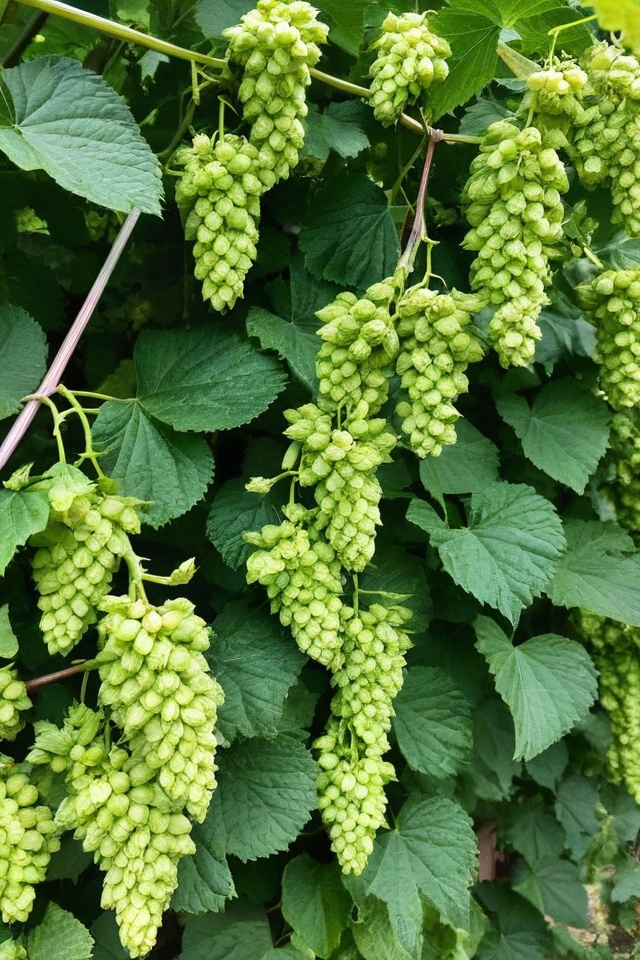
Knowing when to harvest your hops is crucial. Late summer is usually the prime time.
The cones should feel papery and dry and should spring back when you squeeze them. You’ll also notice a strong, hoppy aroma.
Pick them at the peak of ripeness for the best flavors in your brews. Remember, timing is everything!
Dry and Store Your Hops
After you pick your hops, drying them properly ensures they last. Spread them out in a warm, dry place with good air circulation.
A screen works wonders for this. They should be dry to the touch but not crumbly.
Once dried, store them in vacuum-sealed bags in the freezer to keep them fresh and flavorful for your future brewing adventures.
