Finding the perfect sausage recipe that brings real flavor to your dinner table can feel impossible sometimes. You want something that’s packed with taste but doesn’t require you to spend hours in the kitchen, especially when you’re juggling work deadlines and getting the kids to their activities.
That’s where this hatch chile sausage comes in perfectly. It’s got just the right amount of spice to wake up your taste buds, it’s simple enough to make on a weeknight, and you can use it in everything from breakfast scrambles to pasta dishes throughout the week.
Why You’ll Love This Hatch Chile Sausage
- Bold, smoky flavor – The roasted Hatch green chiles bring that perfect balance of heat and smokiness that makes every bite exciting without being overwhelming.
- Homemade quality – Making your own sausage means you control exactly what goes in it – no mystery ingredients or preservatives, just pure, fresh flavors.
- Unique tequila twist – The splash of tequila adds a subtle depth that pairs beautifully with the chiles and spices, making this sausage stand out from store-bought versions.
- Perfect for grilling season – These sausages are ideal for backyard barbecues, camping trips, or any time you want to impress guests with something they can’t buy at the grocery store.
- Freezer-friendly – Make a big batch and freeze portions for quick weeknight dinners or spontaneous gatherings – they keep their flavor beautifully.
What Kind of Hatch Green Chiles Should I Use?
Fresh Hatch green chiles are your best bet for this sausage recipe, especially if you can get them during peak season from late August through September. You’ll want to roast them yourself over an open flame or under the broiler until the skin is charred and blistered, then peel away the skin before chopping. If fresh Hatch chiles aren’t available, frozen ones work well too – just make sure to thaw and drain them thoroughly before using. Canned Hatch chiles can work in a pinch, but they won’t give you quite the same smoky flavor and might add extra moisture to your sausage mixture, so you may need to adjust the liquid accordingly.
Options for Substitutions
This spicy sausage recipe has some room for swaps if you need to make adjustments:
- Chicken thighs: You can use chicken breast instead, but add a bit more oil since breast meat is leaner. Pork shoulder or turkey thighs also work great and will give you a more traditional sausage flavor.
- Hatch green chiles: If you can’t find Hatch chiles, poblano peppers or Anaheim chiles make good substitutes. Roast them the same way and adjust the amount based on your heat preference.
- Tequila: Don’t have tequila? Try white wine, beer, or even lime juice mixed with a splash of water. The alcohol cooks off, but it adds great flavor depth.
- Hog casings: You can skip the casings entirely and make this as loose sausage for tacos, pasta, or breakfast scrambles. If you want links, synthetic casings work too, though natural ones give better texture.
- Spice blend: Feel free to adjust the spices to your taste. Add smoked paprika for smokiness, or throw in some chipotle powder if you want more heat and complexity.
Watch Out for These Mistakes While Cooking
The biggest mistake when making homemade sausage is not keeping your meat and equipment cold throughout the process, which can lead to a greasy, poorly textured final product – chill your grinder parts in the freezer for at least 30 minutes before use and work quickly.
Another common error is overmixing the meat once you add the seasonings and liquid, so mix just until everything is evenly distributed to avoid a tough, dense sausage.
When stuffing the casings, don’t pack them too tightly or they’ll burst during cooking – leave some room for expansion and twist gently to form links.
Finally, resist the urge to cook your fresh sausages over high heat, as medium heat will ensure they cook evenly without splitting the casings and drying out the meat.
What to Serve With Hatch Chile Sausage?
These spicy sausages are perfect for breakfast alongside scrambled eggs and crispy hash browns, or you can slice them up and toss them into a breakfast burrito with some cheese and salsa. For dinner, I love grilling them and serving with Mexican street corn, black beans, and warm tortillas for an easy weeknight meal. The smoky heat from the Hatch chiles pairs really well with cooling sides like avocado slices, sour cream, or a simple cucumber salad. You can also chop them up and add them to pasta dishes, pizza, or even stir them into mac and cheese for a spicy kick.
Storage Instructions
Refrigerate: Fresh hatch chile sausage will keep in the fridge for up to 3 days before cooking. Just wrap it loosely in butcher paper or keep it in a covered container. Once you cook the sausages, they’ll stay good for another 4-5 days in the refrigerator.
Freeze: These sausages freeze really well! You can freeze them raw or cooked for up to 3 months. I like to wrap individual sausages in plastic wrap, then put them all in a freezer bag. This way you can grab just what you need for dinner without thawing the whole batch.
Cook from Frozen: No need to thaw before cooking – just add a few extra minutes to your cooking time. If you’re grilling or pan-frying, cook them on medium-low heat so they cook through evenly. Frozen cooked sausages can go straight from freezer to pan or even the microwave for a quick meal.
| Preparation Time | 60-90 minutes |
| Cooking Time | 15-30 minutes |
| Total Time | 75-120 minutes |
| Level of Difficulty | Medium |
Estimated Nutrition
Estimated nutrition for the whole recipe (without optional ingredients):
- Calories: 700-800
- Protein: 60-70 g
- Fat: 45-55 g
- Carbohydrates: 10-15 g
Ingredients
For the sausage filling:
- 1 cup roasted hatch green chiles (chopped, I use 505 Southwestern brand)
- 2 cups boneless skinless chicken thighs (diced into 1/2-inch pieces)
- 2 tbsp vegetable oil
- 2 tbsp water
- 3 tbsp tequila
For the seasoning blend:
- 1 tbsp dried oregano
- 1 tbsp ground cumin (freshly ground preferred for more flavor)
- 1 1/2 tbsp kosher salt
- 1 tbsp granulated garlic
- 1 tbsp dried basil
For assembly:
- Hog casings (rinsed and ready for stuffing)
Step 1: Prepare the Green Chiles and Hog Casings
- 1 cup roasted Hatch green chiles, chopped
- hog casings, rinsed and ready
Thaw the Hatch green chiles if using frozen, then cut them open, remove the seeds, and chop them finely.
Place the chopped chiles in a bowl and refrigerate to keep them cold.
Rinse the hog casings thoroughly under cold water to remove all the salt, being careful to handle them gently so they don’t tear.
Set the rinsed casings aside until ready to use.
Step 2: Mix the Dry and Wet Seasonings
- 3 tbsp tequila
- 2 tbsp vegetable oil
- 2 tbsp water
- 1 tbsp ground cumin
- 1 tbsp dried basil
- 1 tbsp dried oregano
- 1 tbsp granulated garlic
- 1 1/2 tbsp kosher salt
In a small bowl, combine the ground cumin, dried basil, dried oregano, granulated garlic, and kosher salt to create the seasoning blend.
In a separate bowl, mix together the tequila, vegetable oil, and water.
Place the bowl with the wet mixture in the freezer for about an hour so it becomes very cold but not frozen.
I always make sure the liquids are ice-cold—this helps keep the sausage texture just right during mixing.
Step 3: Cube and Season the Chicken
- 2 cups boneless skinless chicken thighs, diced
- dry seasoning blend from Step 2
Cut the boneless skinless chicken thighs into small cubes, keeping the meat very cold or even slightly frozen to make this easier.
It’s important not to trim away the fat since it adds great flavor and juiciness to the sausage.
Once cubed, thoroughly mix the dry seasoning blend from Step 2 into the chicken cubes, ensuring an even coating.
Step 4: Grind and Combine the Sausage Mixture
- seasoned chicken cubes from Step 3
- cold liquid mixture from Step 2
- chopped green chiles from Step 1
Set up your meat grinder attachment, making sure all parts are chilled.
Place a bowl filled with ice underneath the grinder outlet to keep everything as cold as possible.
Grind the seasoned chicken cubes from Step 3 through the grinder, letting the ground chicken fall into a chilled bowl.
Add the cold wet mixture from Step 2 and the chopped green chiles from Step 1 to the ground chicken.
Using a stand mixer with the paddle attachment, mix on low speed for 1-2 minutes, until the mixture is well combined and slightly sticky.
Step 5: Test the Seasoning and Prepare the Casings
- sausage mixture from Step 4
- hog casings from Step 1
Take a small amount of the sausage mixture from Step 4 and cook it in a hot skillet to taste and check for seasoning.
Adjust salt or spices in the mixture as needed.
Meanwhile, attach the sausage stuffing device with the appropriate-sized tube.
Rinse and thread the hog casing from Step 1 onto the stuffing tube, preparing it for filling.
Step 6: Stuff and Form the Sausages
- stuffed sausage mixture from Step 5
- hog casings from Step 5
Fill the sausage stuffer with the prepared sausage mixture.
With one person managing the casing and another turning the handle, slowly stuff the sausage mixture into the casing, coiling the filled casing onto a slightly slippery surface.
Twist the sausage coil into individual links by marking the desired link size and twisting each section 7 times along the length of the casing.
Prick any large air bubbles with a sterilized pin.
Step 7: Refrigerate, Cook, and Serve the Sausages
Keep the linked sausages attached and refrigerate them overnight to allow the casings to dry and the flavors to meld.
The next day, cut the sausage links apart.
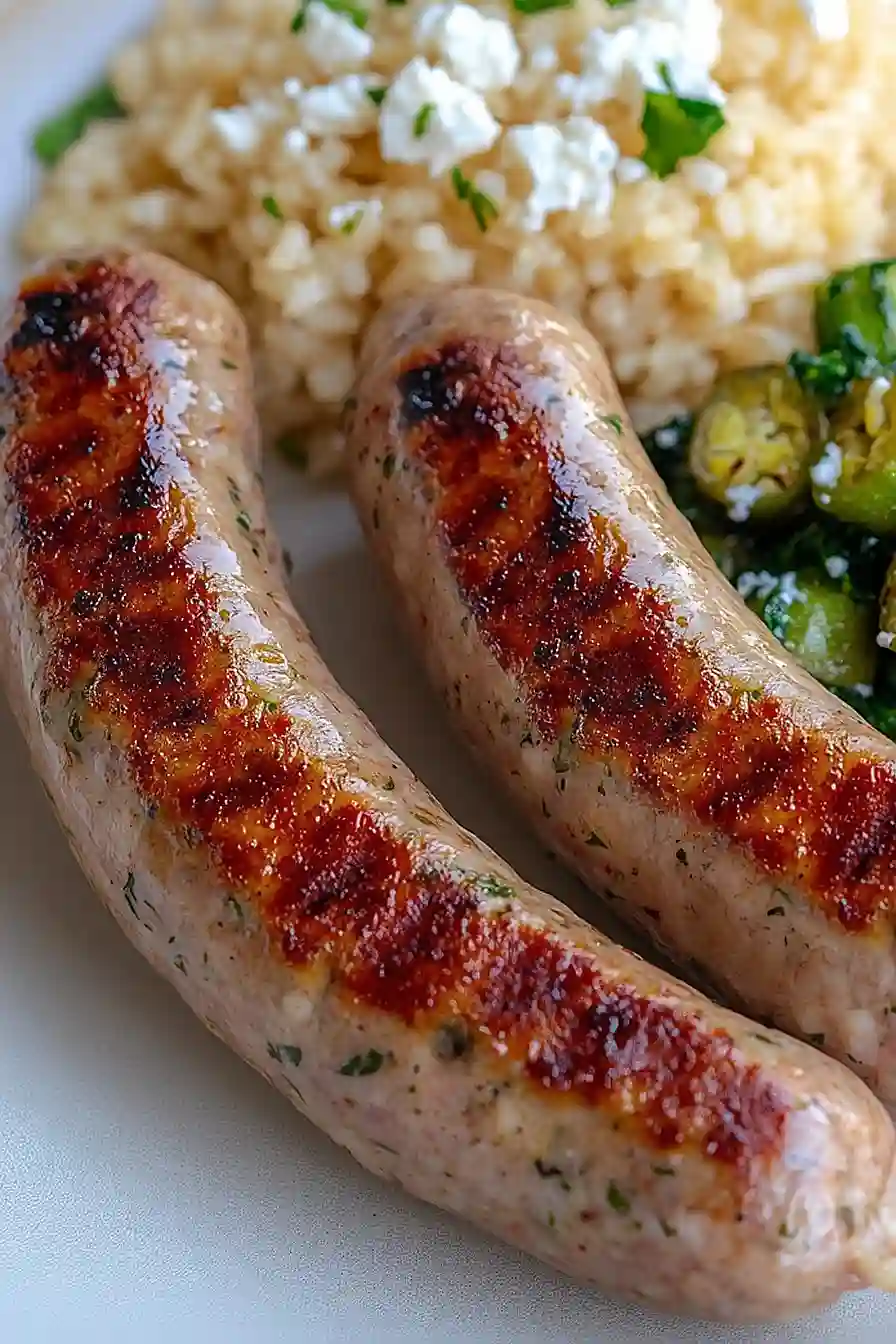
To cook, blanch the sausages in a skillet with hot water for about 4 minutes on each side.
Then grill over medium heat for another 4 minutes per side, or until the chicken is fully cooked and opaque.
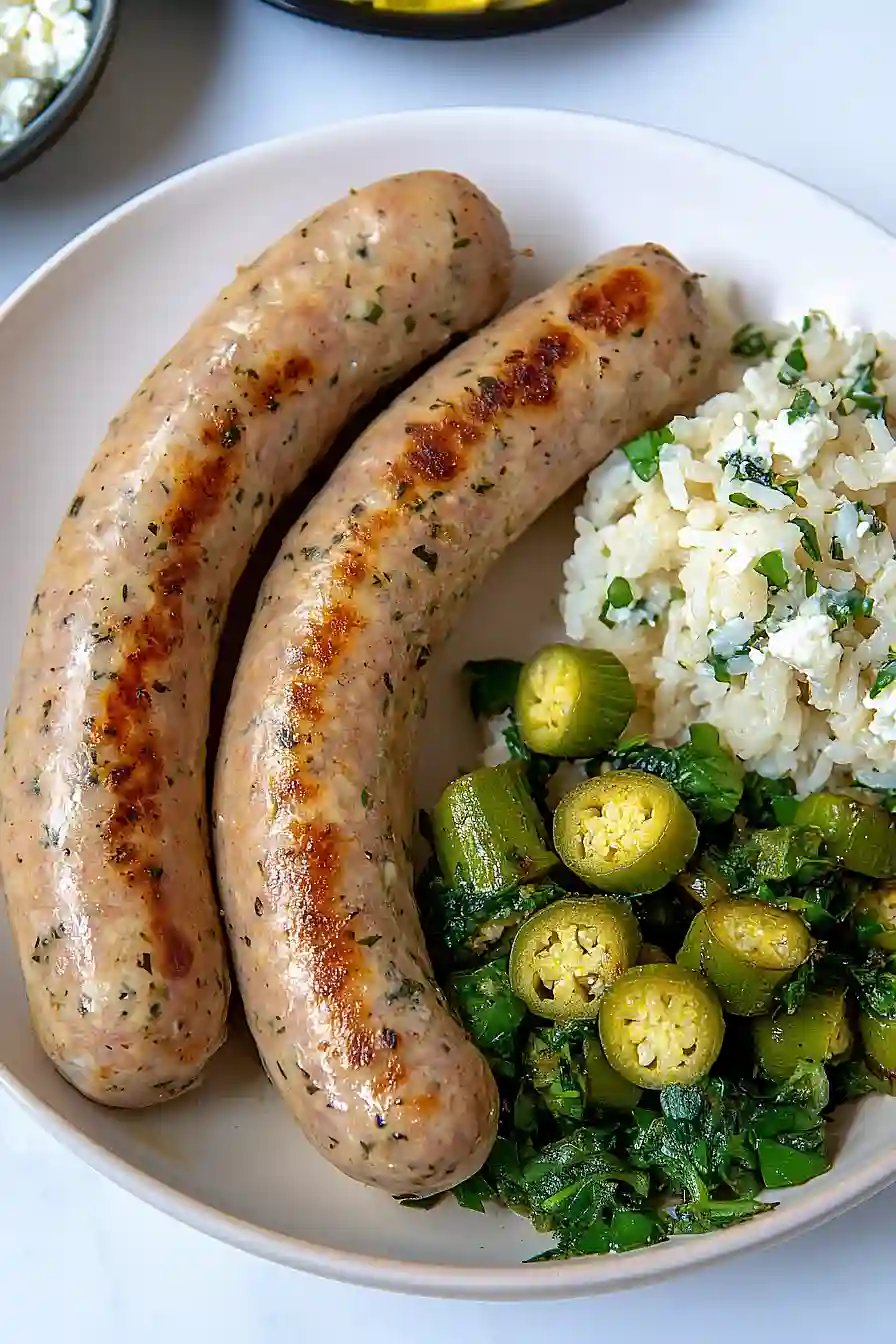
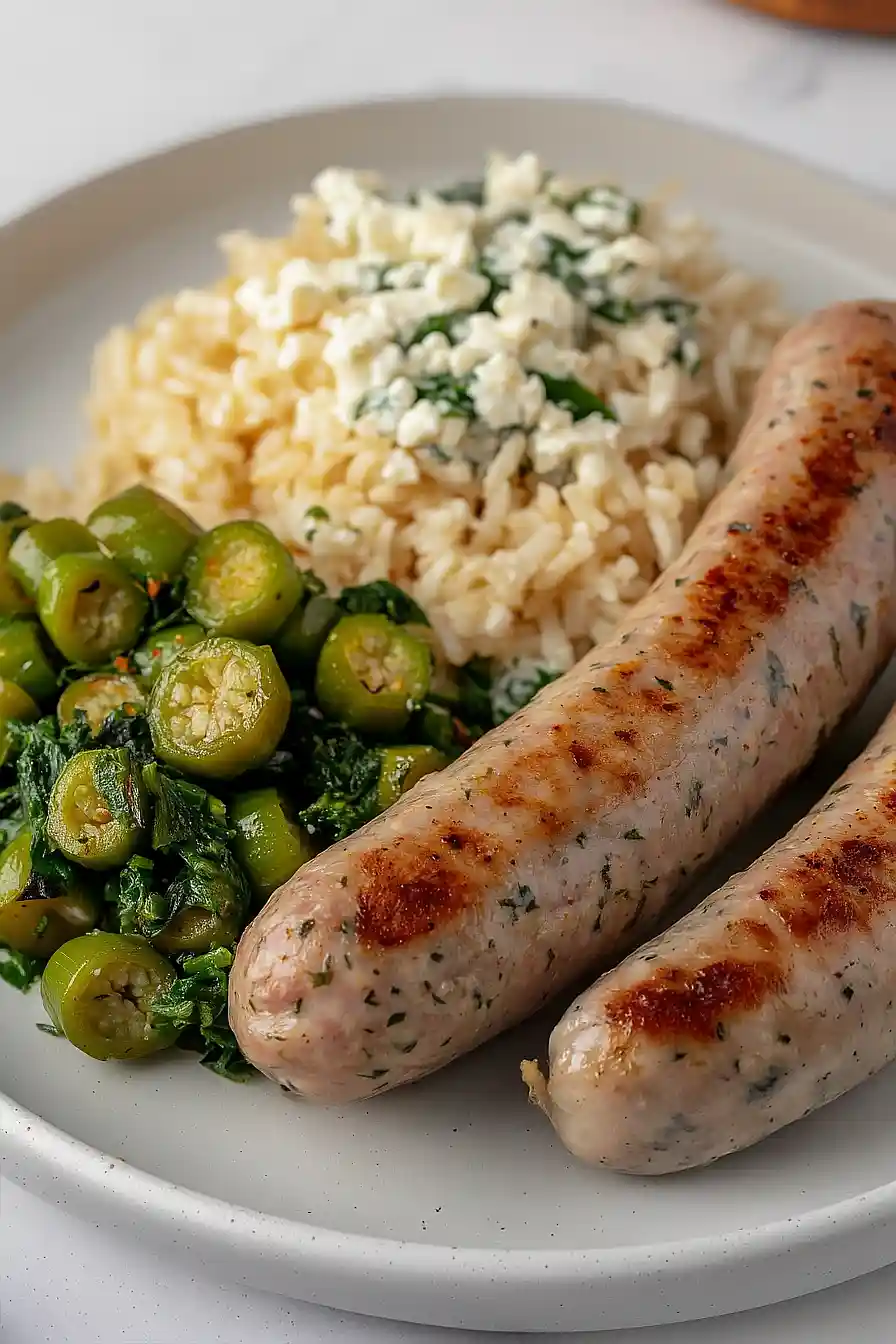
Serve the finished sausages with your choice of sides.
Personally, I love them with sautéed okra and rice—the flavors balance perfectly!
