There’s something special about making noodles from scratch. Maybe it’s the simple rhythm of kneading the dough, or how the house fills with that warm, comforting smell. Whatever it is, homemade udon always feels like a small victory in my kitchen.
I used to think making noodles was too complicated for a weeknight meal. Then I realized that udon dough is actually pretty forgiving. You don’t need fancy equipment or years of practice. Just flour, salt, water, and a little patience. The kids love helping me roll out the dough, even if their noodles come out looking more like abstract art than dinner.
The best part? Fresh udon tastes nothing like the packaged stuff. These noodles have a chewy bite that soaks up broth like a dream. Whether you’re making a simple soup or something more elaborate, homemade udon makes everything taste better.
Why You’ll Love This Homemade Udon
- Just 4 simple ingredients – You probably already have flour, water, and salt in your kitchen, making this an accessible recipe that doesn’t require a trip to specialty stores.
- Authentic chewy texture – Nothing beats the satisfying bite of fresh homemade udon noodles that you simply can’t get from store-bought versions.
- Cost-effective – Making your own udon costs a fraction of what you’d pay for fresh noodles at the store, and you get way more servings.
- Fun hands-on cooking project – The kneading and rolling process is actually quite relaxing, and it’s a great activity to do with family or friends on a weekend.
- Freezer-friendly – You can make a big batch and freeze portions for quick weeknight meals, giving you restaurant-quality noodles whenever you want them.
What Kind of Flour Should I Use?
All-purpose flour is perfect for making homemade udon noodles, and it’s likely what you already have in your pantry. You don’t need to hunt down special bread flour or cake flour – regular all-purpose flour will give you that chewy, satisfying texture that makes udon so good. Different brands of all-purpose flour can vary slightly in protein content, but they’ll all work well for this recipe. If you’re gluten-free, you can try a 1:1 gluten-free flour substitute, though the texture might be a bit different from traditional udon. The key is making sure your flour is fresh and hasn’t been sitting in your pantry for years, as older flour can affect the dough’s ability to come together properly.
Options for Substitutions
While udon noodles are pretty simple, there are a few swaps you can make if needed:
- All-purpose flour: This is really the heart of udon noodles, so I’d recommend sticking with all-purpose flour for the best texture. Bread flour can work in a pinch and will give you chewier noodles, but avoid cake flour as it’s too soft.
- Diamond Crystal kosher salt: If you don’t have Diamond Crystal, you can use Morton kosher salt but reduce the amount to about 2½ teaspoons since it’s denser. Table salt works too – just use about 2 teaspoons instead.
- Potato starch: Cornstarch works perfectly fine for dusting and rolling. You can also use regular all-purpose flour, though it might make the noodles slightly less smooth.
- Water: Just use room temperature tap water – nothing fancy needed here. The amount might need slight adjustments depending on your flour and humidity, so add it gradually.
Watch Out for These Mistakes While Cooking
The biggest mistake when making homemade udon is not kneading the dough long enough – you need to knead for at least 10 minutes until the dough becomes smooth and elastic, otherwise your noodles will be tough and chewy in a bad way.
Another common error is rolling the dough too thin, which makes the noodles break apart when cooking – aim for about 1/8 inch thickness so they hold their satisfying, bouncy texture.
Don’t skip the resting period after kneading (at least 30 minutes covered), as this allows the gluten to relax and makes rolling much easier, and always dust generously with potato starch or cornstarch to prevent the cut noodles from sticking together.
When boiling, use plenty of salted water and don’t overcook – fresh udon only needs 2-3 minutes in boiling water, and they’re done when they float to the surface.

What to Serve With Homemade Udon?
Fresh homemade udon noodles are perfect for slurping up in a warm, comforting broth – try them in a simple dashi soup with green onions and a soft-boiled egg. You can also toss these thick, chewy noodles in a savory stir-fry with vegetables like bell peppers, carrots, and snap peas, along with some soy sauce and sesame oil. For a heartier meal, serve your udon in a rich miso soup with tofu and seaweed, or make a cold udon salad with cucumber, edamame, and a tangy sesame dressing. Don’t forget to have some tempura on the side – crispy vegetables or shrimp make the perfect crunchy contrast to those soft, pillowy noodles.
Storage Instructions
Keep Fresh: Fresh homemade udon noodles are best used within a day or two. If you’re not cooking them right away, dust them generously with potato starch or cornstarch and store them in an airtight container in the fridge for up to 2 days. The starch prevents them from sticking together into one big clump.
Freeze: These noodles freeze really well for longer storage! Dust them with plenty of starch, then lay them out on a baking sheet in single portions before freezing. Once frozen solid, transfer to freezer bags and they’ll keep for up to 3 months.
Cook: You can cook frozen udon noodles straight from the freezer – no need to thaw first! Just drop them into boiling water and they’ll cook in about the same time as fresh ones, maybe just a minute or two longer. Fresh refrigerated noodles cook super quick, usually in just 2-3 minutes.
| Preparation Time | 30-40 minutes |
| Cooking Time | 10-15 minutes |
| Total Time | 150-160 minutes |
| Level of Difficulty | Medium |
Estimated Nutrition
Estimated nutrition for the whole recipe (without optional ingredients):
- Calories: 700-800
- Protein: 17-20 g
- Fat: 0-1 g
- Carbohydrates: 150-170 g
Ingredients
For the dough:
- 7 oz all-purpose flour
- 6 tbsp water
- 3 1/2 tsp kosher salt (weighing this for accuracy is highly recommended)
For dusting and rolling:
- Cornstarch (or potato starch, important for preventing sticking without adding flour flavor)
Step 1: Dissolve the Salt and Hydrate the Flour
- 6 tbsp water
- 3 1/2 tsp Diamond Crystal kosher salt (0.35 oz; weigh for accuracy)
- 7 oz plain flour (all-purpose)
Begin by combining 6 tablespoons of water with 3 1/2 teaspoons (0.35 oz) Diamond Crystal kosher salt.
Stir until the salt is fully dissolved.
Place 7 oz of plain flour (all-purpose) in a large bowl.
Gradually pour the salted water over the flour while mixing with your hands, ensuring the salt is evenly distributed and no dry flour remains.
If a little dry flour persists, add only the smallest splash of water needed.
Form a rough dough ball — note that the dough should be much tougher than typical bread dough.
Step 2: Rest and Knead the Dough Using the Stepping Method
- dough ball from Step 1
Transfer the dough ball into a large, durable plastic bag such as a 2-gallon Ziploc bag.
Close the bag, leaving a small gap for air, and let the dough rest on the counter for 30 minutes to relax the gluten.
Once rested, place the sealed bag between two kitchen towels on the floor.
Step on the bag with your heels, turning and rotating to stretch the dough evenly until flat.
Remove the dough, fold the edges toward the center, flip, and form into a ball.
Repeat the stepping (or kneading by hand if you prefer) and folding process four more times, for a total of five kneading rounds, placing the dough back in the bag between kneads.
After the final round, the dough should be as soft as an earlobe.
Finally, return the dough to the bag and let it rest for 2 hours at room temperature (or up to 3 hours in winter).
For convenience, you can refrigerate the dough overnight at this stage.
Step 3: Roll and Cut the Udon Noodles
- rested dough from Step 2
- potato starch or cornstarch as needed
Dust your work surface with potato starch or cornstarch and remove the rested dough from the bag.
Flatten the dough with your hand, then use a rolling pin to roll it out lengthwise to an oval, turning 90 degrees to roll evenly into a rectangle about 3 mm (⅛ inch) thick and 10–12 inches long.
Roll out each corner for uniform noodle length.
Sprinkle additional potato starch/cornstarch as needed to prevent sticking.
Lightly dust the dough, fold it in half or thirds, and dust the top again.
Using a sharp knife or cleaver, cut the folded dough into noodles about 3 mm (⅛ inch) wide.
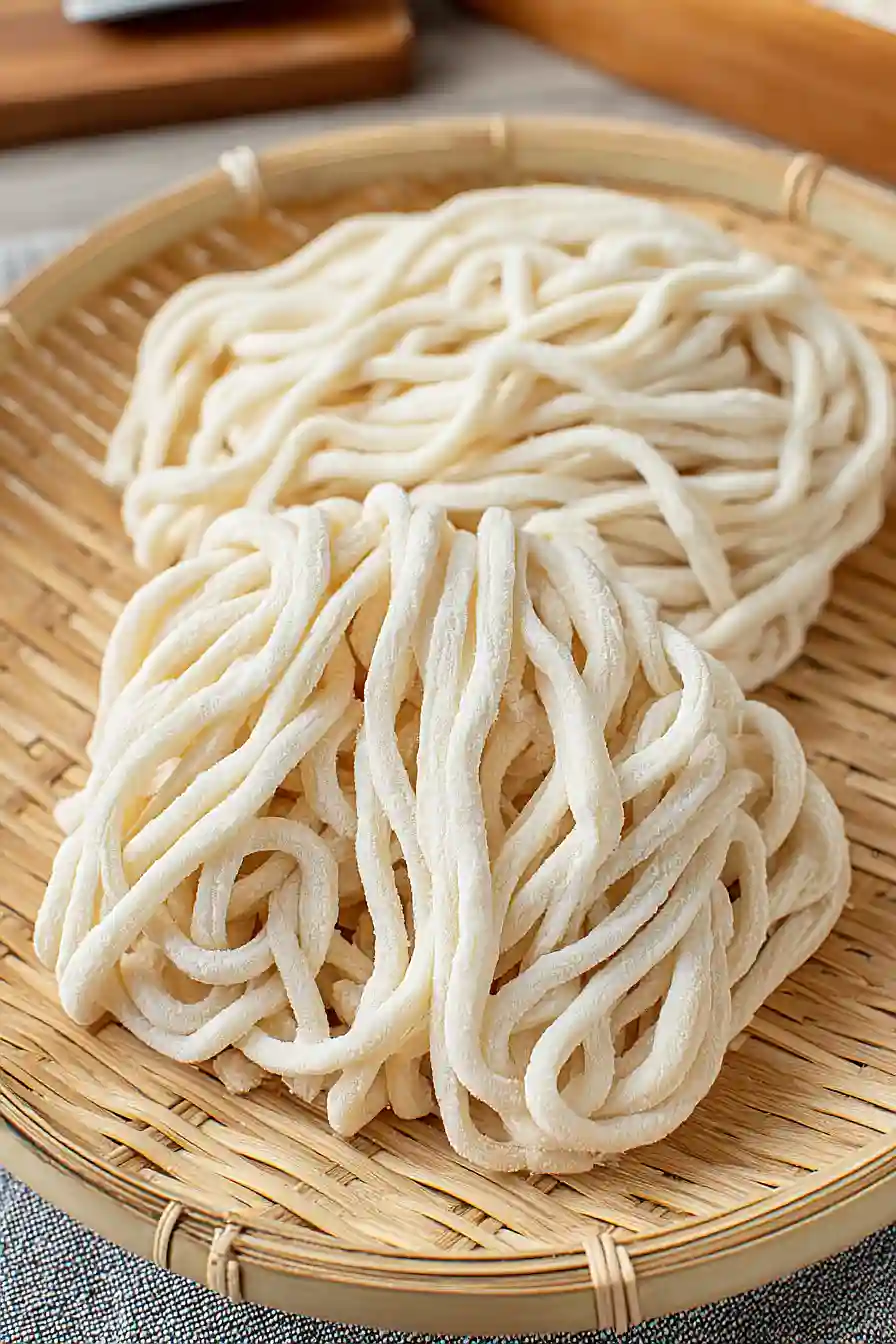
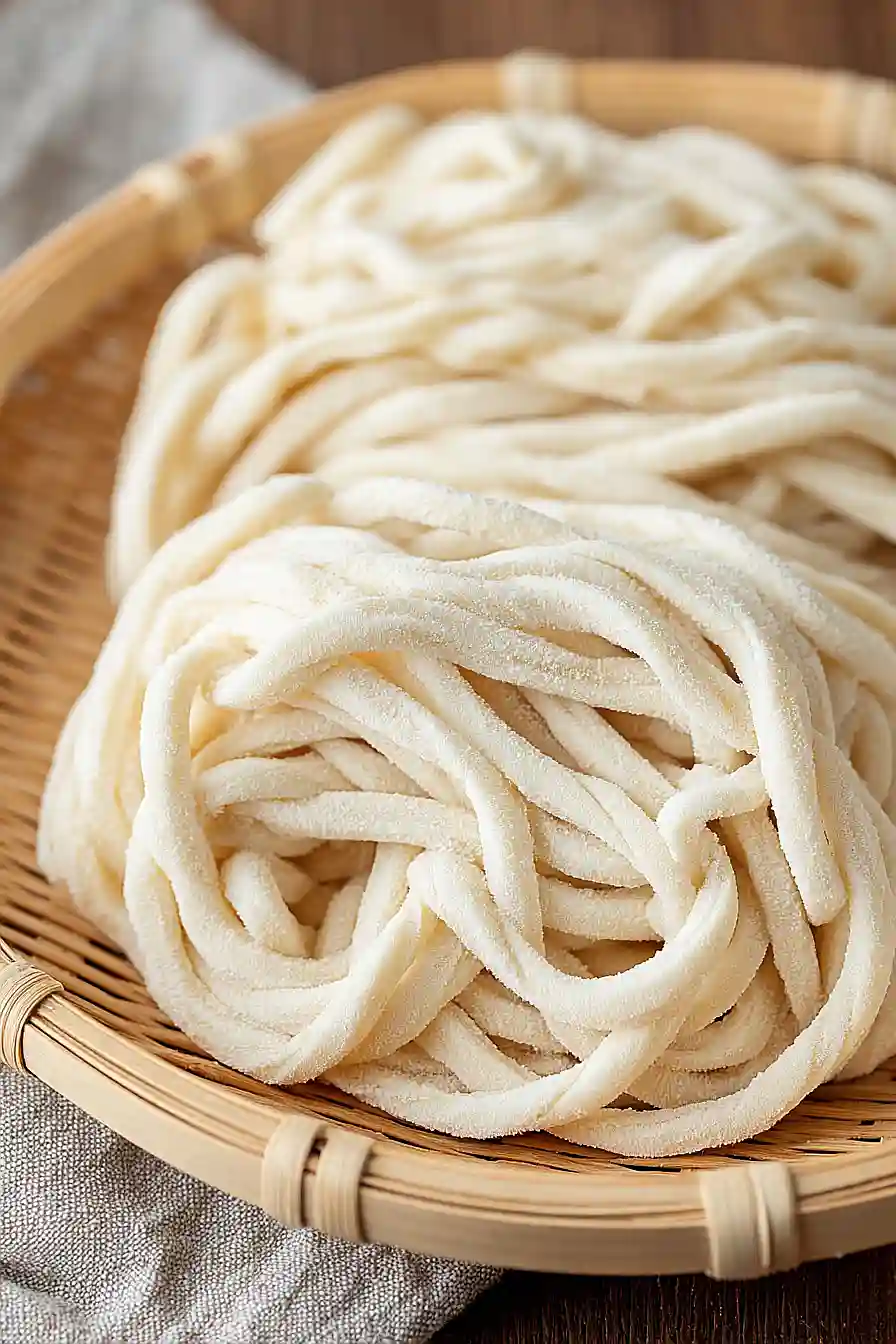
Gently fluff the noodles with your fingers and coat them with more potato starch or cornstarch to keep them from sticking.
I always make sure to use plenty of starch at this stage, especially if planning to freeze the noodles later.
Step 4: Cook and Rinse the Udon Noodles
- freshly cut noodles from Step 3
Bring a large pot of unsalted water to a rolling boil.
Loosen up the freshly cut noodles, shaking off any excess starch, and add them to the boiling water.
Cook the noodles, stirring occasionally, for about 10 minutes or until they reach your desired texture.
Drain the noodles and rinse them thoroughly under cold running water to remove any remaining starch and to firm up their texture.
At this point, the udon noodles are ready to use in your favorite dishes, such as hot broth soups or chilled preparations.
For an even chewier texture, I like to rinse them until they’re completely cool before using.
Step 5: Store or Serve the Udon Noodles
You can now use your homemade udon noodles in soups, stir-fries, or chilled dishes.
To serve in hot broth, quickly heat the cooked noodles in hot water or under hot running water before assembling your dish.
If not using immediately, divide the fresh uncooked noodles into individual portions (about 150 g each) and freeze in an airtight container or bag for up to a month.
For best quality, freeze the noodles right away rather than refrigerating them.
To cook from frozen, boil directly from the freezer for 12 minutes and rinse well before serving.
