Getting that perfect crispy skin and juicy meat with Japanese roasted duck might seem like something best left to fancy restaurants. Between timing the glaze just right and making sure the duck doesn’t dry out, it’s the kind of dish that can make even experienced home cooks a bit nervous.
But here’s the good news – this Japanese roasted duck recipe breaks it down into simple steps that anyone can follow, and the results are consistently good. With just a handful of ingredients and some patience, you’ll end up with a duck that’s crispy on the outside, tender on the inside, and full of those classic Japanese flavors we all love.
Why You’ll Love This Japanese Duck
- Restaurant-quality results – This recipe helps you create tender, flavorful duck that tastes like it came from your favorite Japanese restaurant, right in your own kitchen.
- Simple Asian marinade – The marinade uses classic Japanese ingredients like dashi, rice wine, and soy sauce to create deep, authentic flavors without any complicated techniques.
- Make-ahead friendly – You can marinate the duck ahead of time, making it perfect for dinner parties or special occasions when you want to plan ahead.
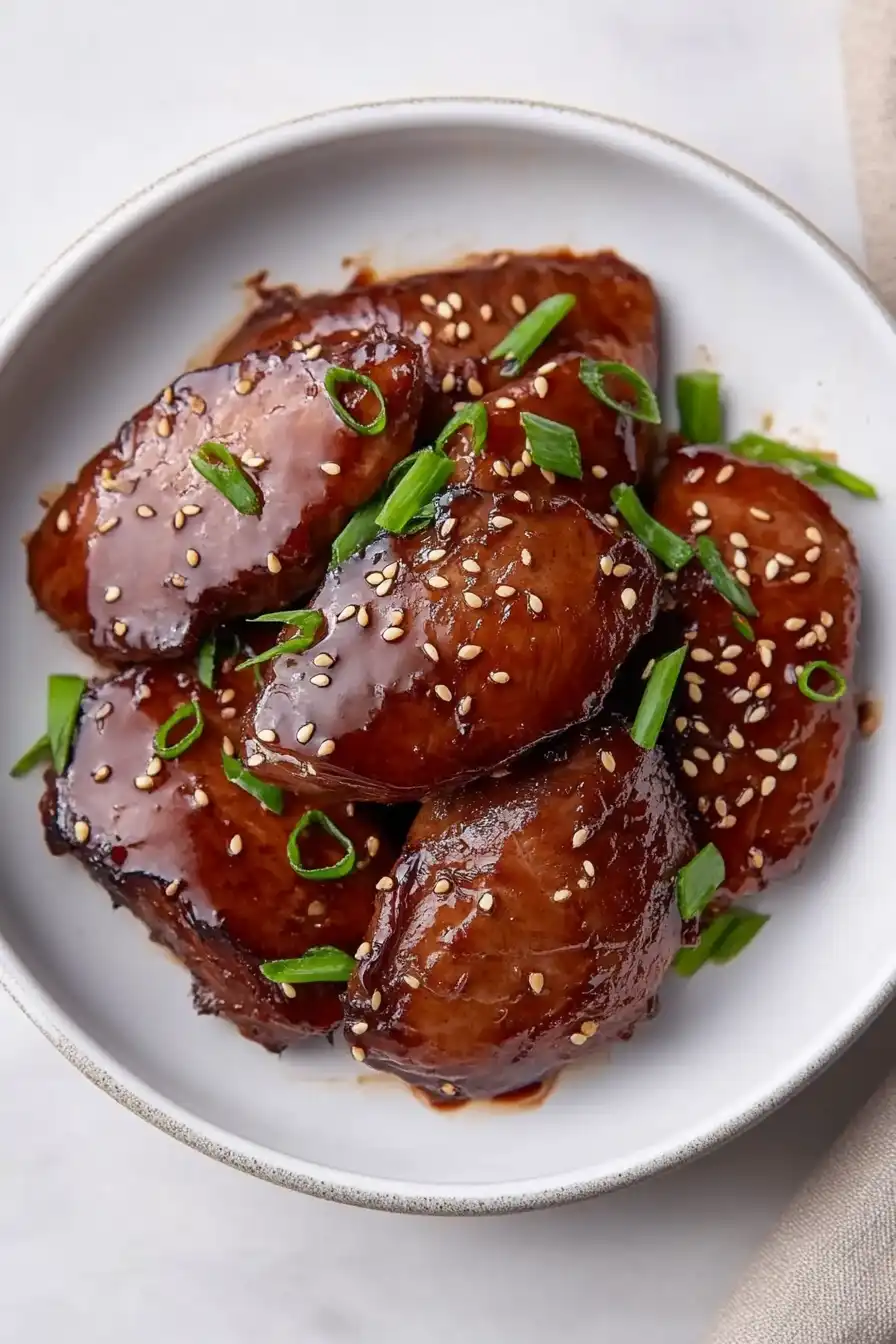
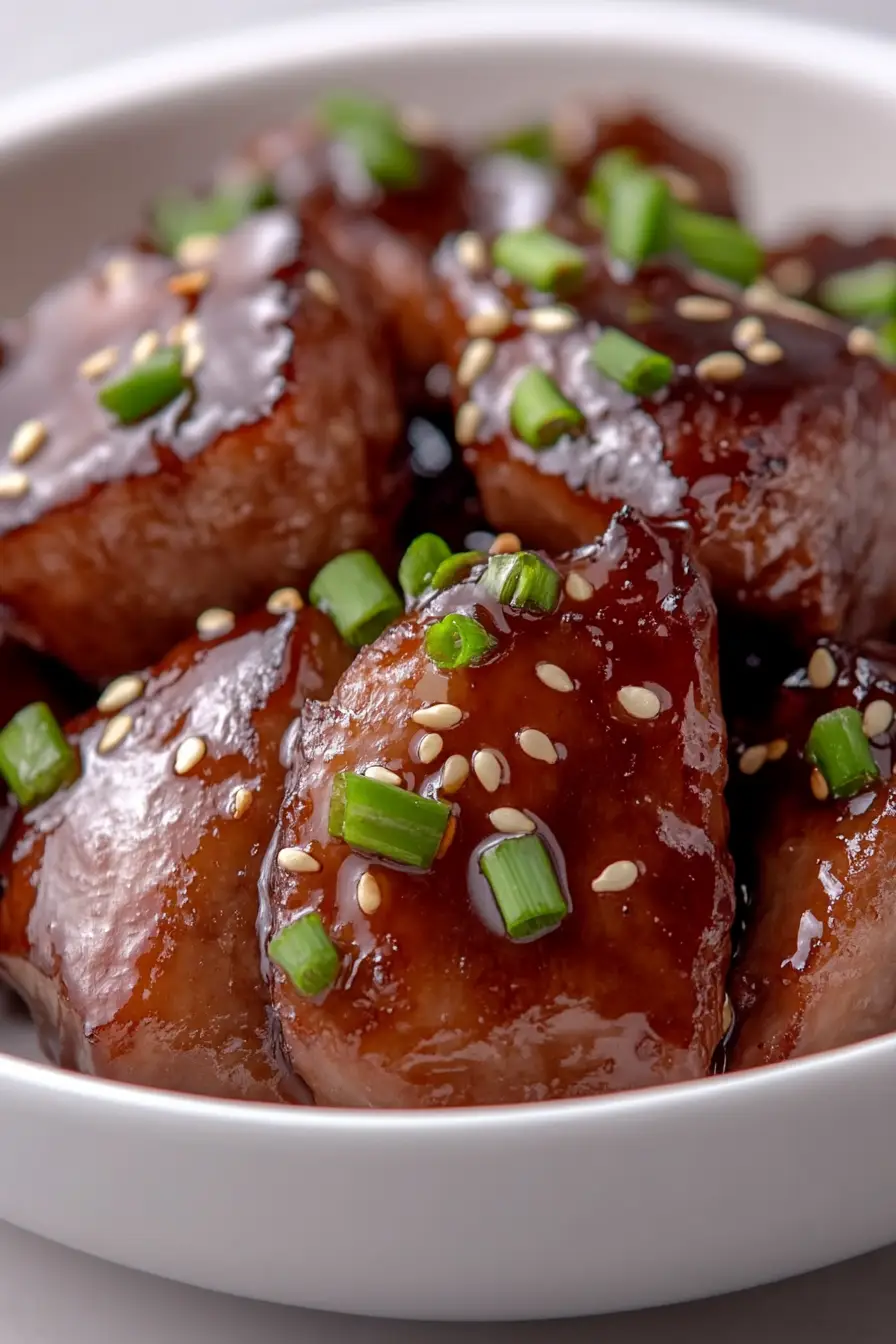
- Impressive presentation – With the garnish of green onions and sesame seeds, this dish looks as good as it tastes – perfect for when you want to wow your guests.
What Kind of Duck Should I Use?
For Japanese-style roasted duck, Pekin (also called Long Island) duck is your best bet since it’s readily available and has a great balance of meat and fat. Muscovy duck would also work well here – it’s a bit leaner and has a stronger flavor that holds up nicely against the bold marinade ingredients. If you’re buying from a regular grocery store, you’ll most likely find Pekin duck, which is perfect for this recipe. Just make sure your duck breasts are fresh and have a pink, firm appearance without any strong odors. Since this recipe calls for skinless breasts, ask your butcher to remove the skin for you if you’re not comfortable doing it yourself – though keeping the skin on during cooking and removing it later can add extra flavor to the meat.

Options for Substitutions
This Japanese duck recipe can be adapted with some smart substitutions if needed:
- Dashi granules: If you can’t find dashi granules, you can use chicken or vegetable bouillon instead. For a more authentic taste, steep dried kombu (kelp) in hot water for 30 minutes to make a quick dashi.
- Rice wine and sweet rice wine: For rice wine (sake), dry sherry makes a good substitute. For sweet rice wine (mirin), you can mix 1 part rice wine with 2 parts sugar, or use sweet marsala wine. In a pinch, dry white wine with a pinch of sugar works too.
- Peanut oil: Any neutral oil with a high smoke point works well here – try canola, grapeseed, or vegetable oil. Avoid olive oil as its flavor is too strong.
- Duck breasts: While duck is really the star here, you could use chicken breasts for a lighter version. Just reduce cooking time by about 1/3 since chicken cooks faster than duck.
- Green onions: Chives or finely sliced leeks can work as garnish alternatives. For a different crunch, try thinly sliced regular onions that have been soaked in cold water.
Watch Out for These Mistakes While Cooking
The biggest challenge when cooking duck breast is getting the temperature right – cooking it too hot will cause the outside to burn while leaving the inside raw, so maintain a medium heat and start with the duck at room temperature for even cooking.
A common error is not scoring the duck skin in a crosshatch pattern, which prevents the fat from rendering properly – make sure to score without cutting into the meat, and pat the skin completely dry before cooking to achieve that perfect crispy exterior.
When preparing the sauce, avoid the mistake of reducing it too much or too quickly, as this can make it overly salty and intense – instead, simmer it gently and taste frequently to achieve the right balance of sweet and savory flavors.
For the best results, let the duck rest for 8-10 minutes after cooking, and remember to slice it against the grain at a slight angle to ensure maximum tenderness.
What to Serve With Japanese Duck?
This savory roasted duck pairs perfectly with steamed white rice, which helps soak up all those amazing Asian-inspired flavors from the marinade. I like to add some simple stir-fried vegetables on the side – think snap peas, bok choy, or Japanese eggplant cooked with just a touch of sesame oil. For a complete meal, you might want to start with a light miso soup or add a small side of pickled vegetables (like Japanese cucumber or daikon) to cut through the richness of the duck. If you’re feeding a crowd, serving some edamame as an appetizer while the duck rests is always a good idea!
Storage Instructions
Keep Fresh: Place your leftover roasted duck in an airtight container and pop it in the fridge. It’ll stay good for up to 3 days. Pro tip: store the duck meat separate from any garnishes like green onions or sesame seeds to keep everything fresh and crisp.
Freeze: This Japanese duck freezes really well! Wrap it tightly in plastic wrap or aluminum foil, then place it in a freezer bag with the air squeezed out. It’ll keep its flavor for up to 2 months in the freezer. Just remember to label it with the date!
Warm Up: To enjoy your duck again, thaw it overnight in the fridge if frozen. Then gently warm it in a covered pan over low heat with a splash of water to keep it moist. You can also heat it in the microwave at 50% power in short bursts, but be careful not to overcook it or it might get tough.
| Preparation Time | 10-15 minutes |
| Cooking Time | 65-75 minutes |
| Total Time | 75-90 minutes |
| Level of Difficulty | Medium |
Estimated Nutrition
Estimated nutrition for the whole recipe (without optional ingredients):
- Calories: 3100-3500
- Protein: 180-210 g
- Fat: 180-210 g
- Carbohydrates: 200-220 g
Ingredients
For the sauce:
- 1/2 cup sugar
- 3 cups rice wine
- 1 cup soy sauce (like Kikkoman, for authentic flavor)
- 1 tsp dashi granules
- 3/4 cup sweet rice wine
For the duck:
- 1 bunch green onions (thinly sliced as garnish)
- toasted sesame seeds (for garnish)
- 2 tbsp peanut oil (or any neutral oil like canola)
- 3 duck breasts (about 1 lb each, skin scored diagonally)
Step 1: Prepare and Reduce the Sauce
In a small saucepan, combine 1 cup of water with dashi powder, stirring until the powder is fully dissolved.
Add the sake, soy sauce, mirin, and sugar into the mixture.
Bring the liquid to a boil, then lower the heat and simmer over moderately low heat.
Allow the sauce to reduce and become syrupy, which should take about 1 hour.
Once reduced to 1 cup, transfer all but 1/3 cup of the sauce to a jar for future use.
This reserved portion will be used to glaze the duck.
Step 2: Cook the Duck Breasts
In a large skillet, heat the peanut oil over moderate heat until it shimmers.
Carefully add the duck breasts to the skillet and cook them until they are nearly medium-rare, approximately 4 minutes on each side.
This initial cooking will create a crispy exterior while keeping the inside tender.
Step 3: Glaze the Duck
With the duck still in the skillet, pour the reserved 1/3 cup of sauce into the pan.
Cook the duck breasts with the sauce for an additional 4 minutes, swirling the pan occasionally.
Turn the duck once or twice during this time to ensure an even glaze forms over the surface.
Once the duck is glazed, remove the skillet from the heat and let the meat rest for about 5 minutes.
Step 4: Serve the Duck
Transfer the cooked duck breasts to a serving platter.
Drizzle any remaining glaze from the pan over the duck.
Sprinkle chopped scallions and sesame seeds over the top to garnish.
Serve hot and enjoy the rich, savory flavors paired with the tender duck.
