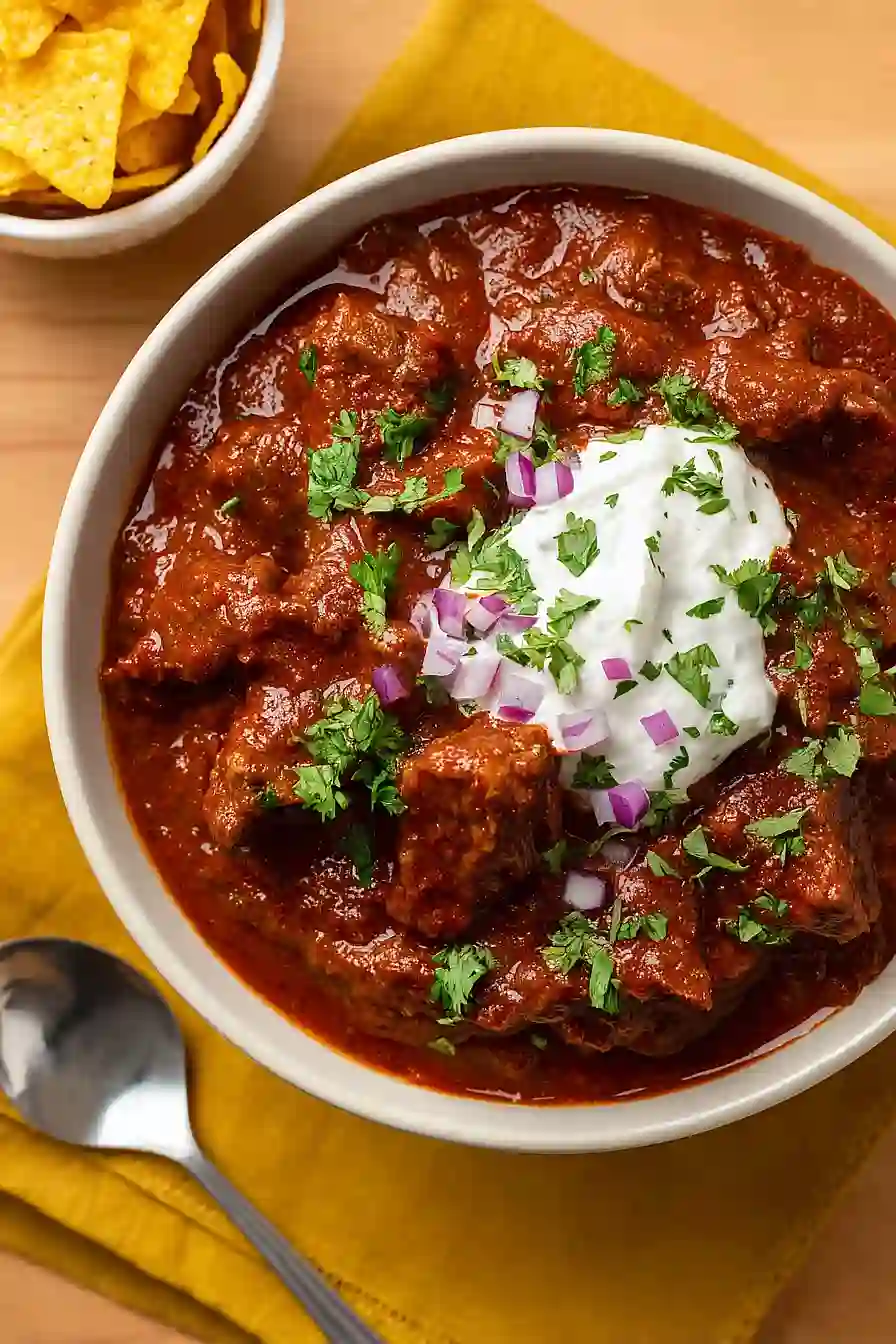
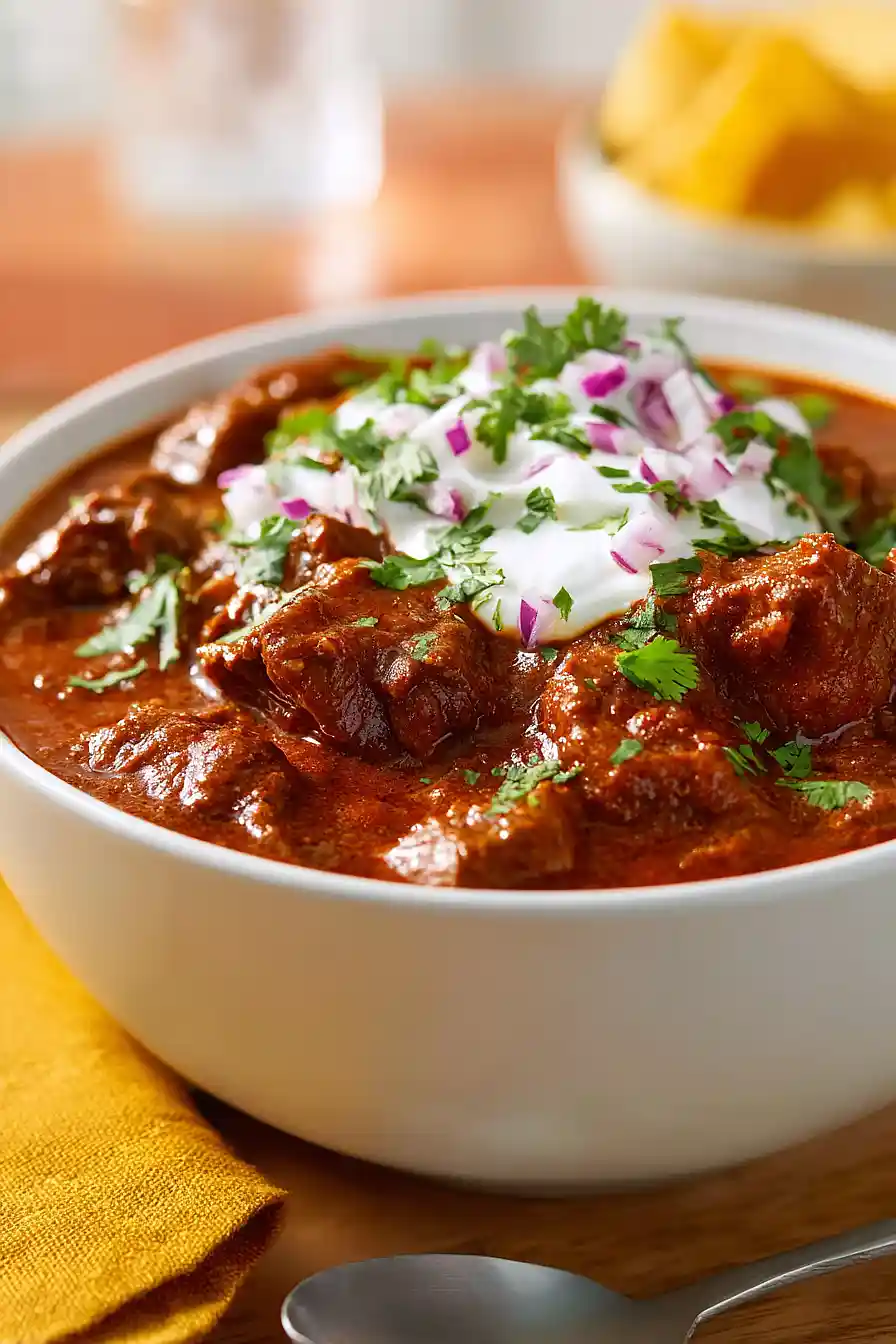
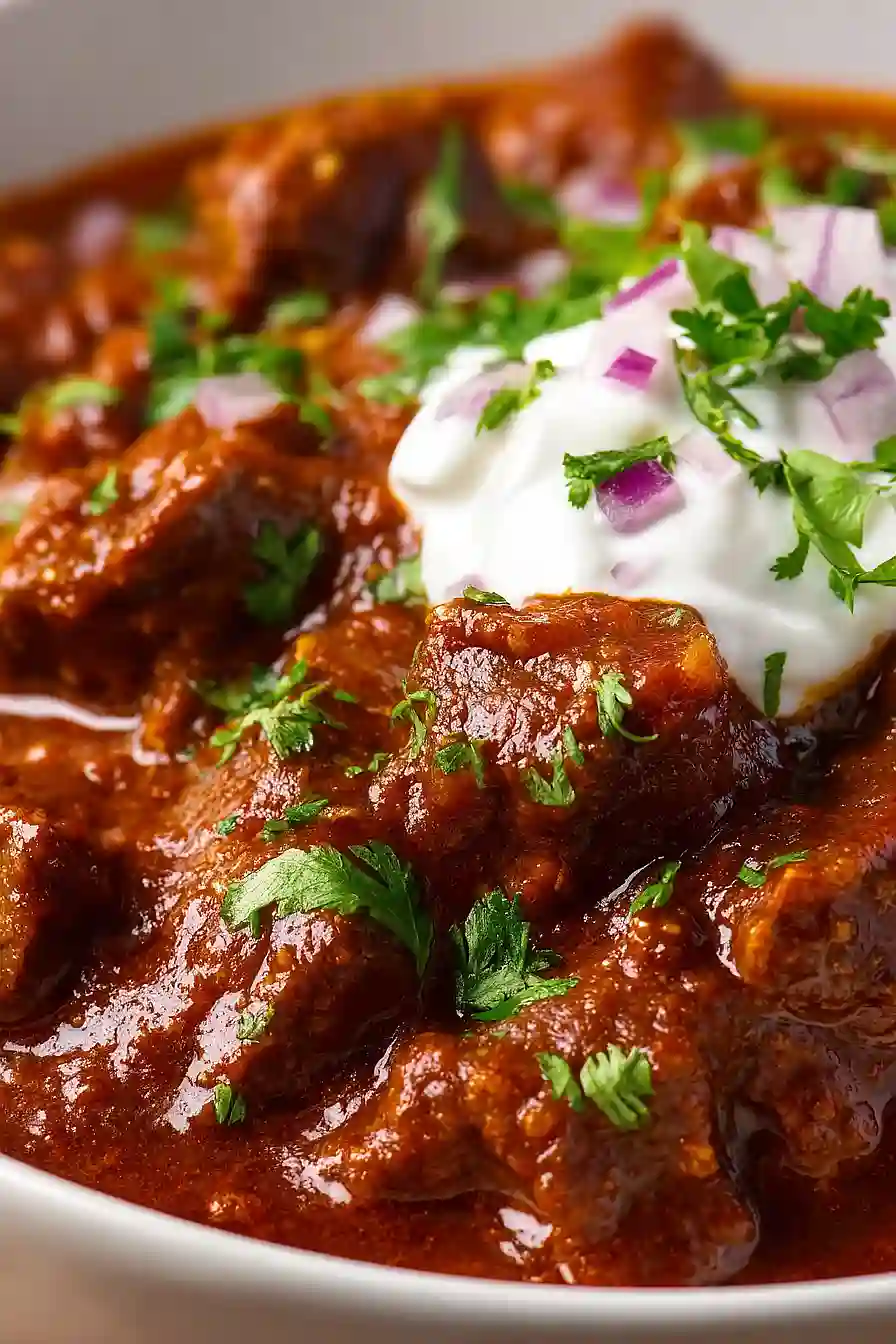
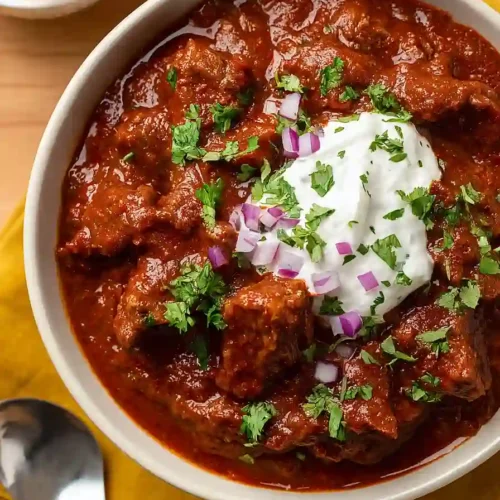
I didn’t taste real Texas chili until I was in my twenties, and let me tell you, it was nothing like what I’d been calling chili my whole life. No beans. No ground beef. Just chunks of tender beef swimming in a thick, spicy sauce that had more depth than I knew was possible.
This recipe is the real deal—the kind that wins competitions across Texas. It takes time and uses a whole lot of chili powder (yes, that much is correct), but that’s what makes it so good. The beef fat or ghee gives it a richness you just can’t get from vegetable oil, and all those spices work together to create something that tastes like it’s been simmering in a cast iron pot over an open fire. It hasn’t, but your kitchen will smell like it has.
Why You’ll Love This Texas Chili
- Bold, authentic flavors – This award-winning recipe delivers the real deal with layers of spices and tender beef that make every bite satisfying.
- Perfect for feeding a crowd – With 7-8 pounds of beef, this recipe makes enough chili to serve at parties, game day gatherings, or to freeze for easy meals later.
- Customizable heat level – You can easily adjust the cayenne pepper and hot sauce to make it as mild or spicy as you like, so everyone at your table will be happy.
- Great for meal prep – Chili actually tastes better the next day, making it ideal for making ahead and enjoying throughout the week.
What Kind of Beef Should I Use?
Beef chuck is really the way to go for this Texas chili, and it’s what you’ll find in most competition-winning recipes. Chuck roast has just the right amount of fat marbling that breaks down during the long cooking process, making the meat incredibly tender and flavorful. You can buy it pre-cut into stew meat at the grocery store, but I actually prefer buying a whole chuck roast and cutting it myself into bite-sized pieces – that way you can control the size and trim off any excess fat you don’t want. If chuck isn’t available, you could also use beef round or even brisket, though chuck really is the gold standard for chili.
Options for Substitutions
This chili recipe has some room for adjustments based on what you have in your kitchen:
- Beef chuck: Beef chuck is really the best choice here for tender, flavorful chili. If you must substitute, try beef brisket or short ribs, but avoid lean cuts as they’ll dry out during the long cooking time.
- Ghee or clarified butter: Regular butter works fine, though it may brown a bit more. Canola, vegetable, or avocado oil are all good alternatives if you want to skip the dairy.
- Ancho chili powder: If you can’t find ancho chili powder, you can use all regular chili powder instead. Just know that ancho adds a smoky sweetness that regular chili powder won’t quite match.
- Cayenne pepper: This controls the heat level, so feel free to cut it in half or leave it out entirely if you prefer a milder chili. You can always add more hot sauce at the table.
- Tomato paste: In a pinch, you can use crushed tomatoes instead, but you’ll need to simmer the chili longer to thicken it up properly. Start with about 3 cups and adjust as needed.
Watch Out for These Mistakes While Cooking
The biggest mistake people make with Texas chili is rushing the browning process – if you crowd the pot with too much beef at once, it’ll steam instead of sear, so work in batches and give each piece enough space to develop that deep, caramelized crust that adds serious flavor.
Don’t skip the 12-minute tomato paste cooking step either, as this transforms the raw, metallic taste into a rich, sweet base that makes all the difference in your final chili.
When it comes to the long simmer, resist the urge to crank up the heat to speed things along – a gentle, low bubble for those 2-3 hours is what breaks down the tough chuck into melt-in-your-mouth tender pieces.
If your chili seems too thick during cooking, add water a half cup at a time rather than dumping in a bunch at once, and remember to taste and adjust your salt at the end since the flavors concentrate as it reduces.
What to Serve With Texas Chili?
Texas chili is hearty enough to stand on its own, but I love serving it with warm cornbread or flour tortillas on the side for scooping. A dollop of sour cream and shredded cheddar cheese on top helps balance out the heat from all that chili powder and cayenne. For a complete meal, I’ll add a simple side of Mexican rice or set out some tortilla chips with guacamole. If you want to go all out, top your bowl with diced onions, jalapeños, and fresh cilantro for extra flavor and crunch.
Storage Instructions
Store: Texas chili actually gets better after a day or two in the fridge! Store it in an airtight container for up to 5 days. The flavors really meld together overnight, so don’t be surprised if it tastes even better the next day than when you first made it.
Freeze: This chili is perfect for freezing in portions. Let it cool completely, then freeze in freezer-safe containers or heavy-duty freezer bags for up to 3 months. I like to freeze it in smaller portions so I can thaw just what I need for dinner.
Reheat: Warm the chili gently on the stovetop over medium-low heat, stirring occasionally. You might need to add a splash of water or broth if it’s thickened up too much in the fridge. You can also reheat individual portions in the microwave, just be sure to stir it halfway through.
| Preparation Time | 10-15 minutes |
| Cooking Time | 120-180 minutes |
| Total Time | 130-195 minutes |
| Level of Difficulty | Medium |
| Servings | 12 servings |
Estimated Nutrition
Estimated nutrition for the whole recipe (without optional ingredients):
- Calories: 8000-9000
- Protein: 700-800 g
- Fat: 500-600 g
- Carbohydrates: 250-300 g
Ingredients
- 4 tbsp chili powder
- 1/2 cup ghee (or rendered beef fat)
- kosher salt to taste
- 8 tbsp dried oregano (Mexican oregano preferred for authentic flavor)
- 24 oz tomato paste
- 8 medium onions (diced into 1/2-inch pieces)
- 2 tbsp hot sauce
- 2 tsp ground cumin (freshly ground if possible)
- black pepper to taste
- 2 tbsp paprika
- 7.5 lb beef chuck (cut into 3/4-inch cubes)
- 10 garlic cloves (freshly minced)
- 4 tsp cayenne pepper
- 2 tbsp ancho chili powder (for deeper, smoky heat)
Step 1: Prepare Mise en Place and Toast Spices
- 7.5 lb beef chuck
- 8 medium onions
- 10 garlic cloves
- 4 tbsp chili powder
- 2 tbsp ancho chili powder
- 2 tbsp paprika
- 4 tsp cayenne pepper
- 2 tsp ground cumin
- 8 tbsp dried oregano
Cut the beef chuck into 3/4-inch cubes and set aside on a plate.
Dice all 8 onions into 1/2-inch pieces and mince the 10 garlic cloves; keep these separate.
In a small bowl, combine the chili powder, ancho chili powder, paprika, cayenne pepper, ground cumin, and Mexican oregano.
I like to lightly toast dried spices in a dry pan for about 30 seconds before using them—this awakens their oils and deepens their flavor significantly, though this step is optional if you’re short on time.
Set the spice blend aside.
Step 2: Brown the Beef in Batches
- 7.5 lb beef chuck
- 1/2 cup ghee
Heat 1/4 cup of the ghee in a large heavy-bottomed pot or Dutch oven over medium-high heat until shimmering.
Working in batches to avoid crowding the pan (which would steam the meat rather than brown it), add the beef cubes and let them develop a deep golden-brown crust on all sides, about 3-4 minutes per batch.
Transfer each batch to a clean plate.
This browning step creates fond on the bottom of the pot and develops rich, savory flavors through the Maillard reaction—don’t skip this even though it takes time.
You should have browned beef set aside by the end of this step.
Step 3: Build the Aromatic Base
- 1/2 cup ghee
- 8 medium onions, diced
- 10 garlic cloves, minced
Reduce heat to medium and add the remaining 1/4 cup ghee to the pot.
Add the diced onions and sauté for 8-10 minutes, stirring occasionally, until they’re soft and beginning to caramelize at the edges.
Add the minced garlic and cook for another 1-2 minutes until fragrant.
The onions and garlic are your flavor foundation, so don’t rush this—taking time to develop their natural sweetness creates depth that quick cooking can’t achieve.
The pot should smell incredible at this point.
Step 4: Develop the Sauce Base with Tomato Paste
- 24 oz tomato paste
Add the tomato paste to the softened onions and garlic, stirring constantly to coat everything evenly.
Let this mixture cook undisturbed for 10-12 minutes, allowing the tomato paste to caramelize and concentrate—you’ll see it deepen in color and smell slightly sweet and slightly burnt at the edges.
This caramelization step transforms raw tomato paste into a rich, complex component that anchors the entire chili.
Stir occasionally during this time to ensure even browning.
Step 5: Layer in Spices and Combine All Components
- spice blend from Step 1
- 2 tbsp hot sauce
- browned beef from Step 2
- 5 cups water
- kosher salt to taste
- black pepper to taste
Add the spice blend from Step 1 to the caramelized tomato paste mixture, stirring constantly for about 1 minute to toast the spices in the hot fat and release their essential oils.
Pour in the hot sauce and stir to combine.
Return the browned beef from Step 2 to the pot along with 5 cups of water, stirring well to distribute all ingredients evenly.
The mixture should bubble gently; if it’s not simmering, increase heat slightly to bring it to a simmer.
Season lightly with kosher salt and black pepper at this stage—you’ll adjust the seasoning later when the liquid has reduced and flavors have concentrated.
Step 6: Low and Slow Braise Until Tender
- Chili from Step 5
Once the chili reaches a gentle simmer, reduce the heat to low and partially cover the pot with a lid (leave it slightly ajar to allow some evaporation).
Braise for 2.5 to 3 hours, stirring occasionally, until the beef is fork-tender and the flavors have melded into a rich, cohesive sauce.
The low temperature ensures the meat becomes tender rather than tough, and the long cooking time allows the spices to fully integrate.
When done, the beef should break apart easily with a spoon.
Taste and adjust seasoning with more salt, black pepper, or individual spices to your preference—each pot of chili may need slightly different seasoning depending on the intensity of your ingredients.
Best Award Winning Texas Chili
Ingredients
- 4 tbsp chili powder
- 1/2 cup ghee (or rendered beef fat)
- kosher salt to taste
- 8 tbsp dried oregano (Mexican oregano preferred for authentic flavor)
- 24 oz tomato paste
- 8 medium onions (diced into 1/2-inch pieces)
- 2 tbsp hot sauce
- 2 tsp ground cumin (freshly ground if possible)
- black pepper to taste
- 2 tbsp paprika
- 7.5 lb beef chuck (cut into 3/4-inch cubes)
- 10 garlic cloves (freshly minced)
- 4 tsp cayenne pepper
- 2 tbsp ancho chili powder (for deeper, smoky heat)
Instructions
- Cut the beef chuck into 3/4-inch cubes and set aside on a plate. Dice all 8 onions into 1/2-inch pieces and mince the 10 garlic cloves; keep these separate. In a small bowl, combine the chili powder, ancho chili powder, paprika, cayenne pepper, ground cumin, and Mexican oregano. I like to lightly toast dried spices in a dry pan for about 30 seconds before using them—this awakens their oils and deepens their flavor significantly, though this step is optional if you're short on time. Set the spice blend aside.
- Heat 1/4 cup of the ghee in a large heavy-bottomed pot or Dutch oven over medium-high heat until shimmering. Working in batches to avoid crowding the pan (which would steam the meat rather than brown it), add the beef cubes and let them develop a deep golden-brown crust on all sides, about 3-4 minutes per batch. Transfer each batch to a clean plate. This browning step creates fond on the bottom of the pot and develops rich, savory flavors through the Maillard reaction—don't skip this even though it takes time. You should have browned beef set aside by the end of this step.
- Reduce heat to medium and add the remaining 1/4 cup ghee to the pot. Add the diced onions and sauté for 8-10 minutes, stirring occasionally, until they're soft and beginning to caramelize at the edges. Add the minced garlic and cook for another 1-2 minutes until fragrant. The onions and garlic are your flavor foundation, so don't rush this—taking time to develop their natural sweetness creates depth that quick cooking can't achieve. The pot should smell incredible at this point.
- Add the tomato paste to the softened onions and garlic, stirring constantly to coat everything evenly. Let this mixture cook undisturbed for 10-12 minutes, allowing the tomato paste to caramelize and concentrate—you'll see it deepen in color and smell slightly sweet and slightly burnt at the edges. This caramelization step transforms raw tomato paste into a rich, complex component that anchors the entire chili. Stir occasionally during this time to ensure even browning.
- Add the spice blend from Step 1 to the caramelized tomato paste mixture, stirring constantly for about 1 minute to toast the spices in the hot fat and release their essential oils. Pour in the hot sauce and stir to combine. Return the browned beef from Step 2 to the pot along with 5 cups of water, stirring well to distribute all ingredients evenly. The mixture should bubble gently; if it's not simmering, increase heat slightly to bring it to a simmer. Season lightly with kosher salt and black pepper at this stage—you'll adjust the seasoning later when the liquid has reduced and flavors have concentrated.
- Once the chili reaches a gentle simmer, reduce the heat to low and partially cover the pot with a lid (leave it slightly ajar to allow some evaporation). Braise for 2.5 to 3 hours, stirring occasionally, until the beef is fork-tender and the flavors have melded into a rich, cohesive sauce. The low temperature ensures the meat becomes tender rather than tough, and the long cooking time allows the spices to fully integrate. When done, the beef should break apart easily with a spoon. Taste and adjust seasoning with more salt, black pepper, or individual spices to your preference—each pot of chili may need slightly different seasoning depending on the intensity of your ingredients.
