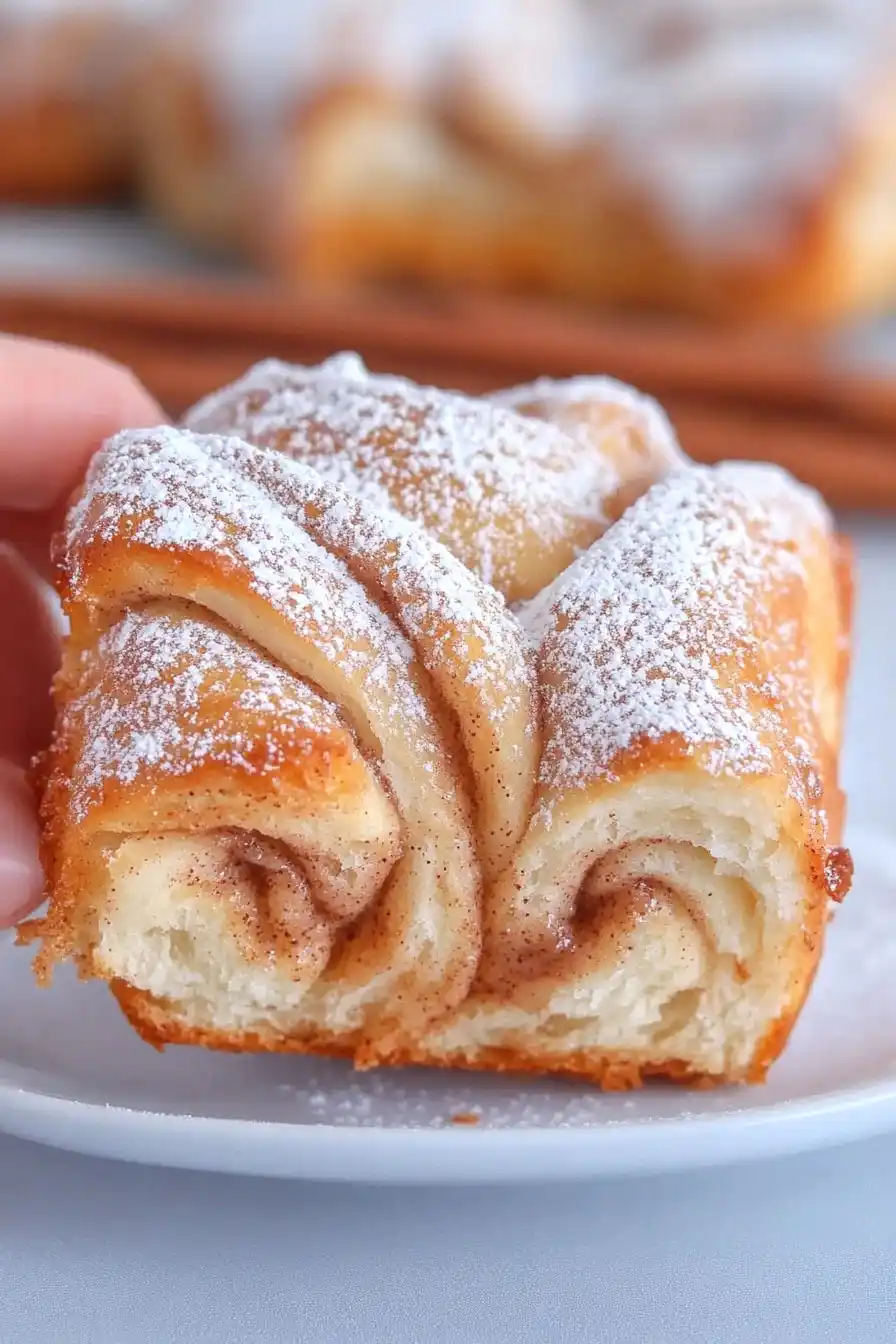
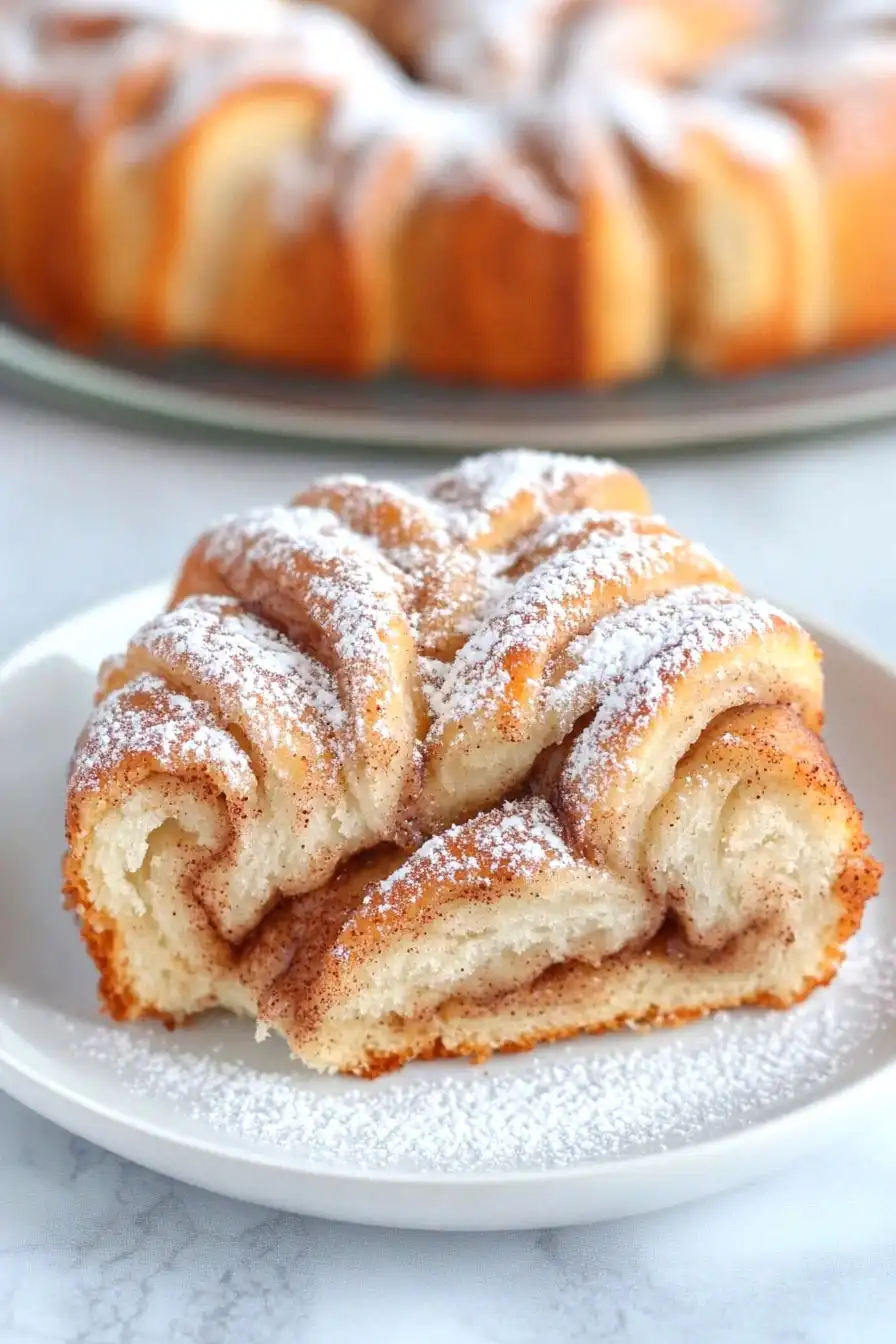
Here’s my favorite cinnamon roll pull apart snowflake recipe, with soft, pillowy dough that’s layered with brown sugar and cinnamon, then shaped into a fun snowflake design that everyone can pull apart and share.
This pull apart bread has become our Sunday morning tradition during the holiday season. I often make an extra batch because it disappears so quickly – especially when the kids wake up to the smell of cinnamon coming from the kitchen. Nothing beats warm, gooey cinnamon rolls on a cozy winter morning, right?
Why You’ll Love This Cinnamon Roll Snowflake
- Show-stopping presentation – This unique snowflake shape turns classic cinnamon rolls into a beautiful centerpiece that’s perfect for brunches or holiday gatherings – no fancy decorating skills needed!
- Simple ingredients – You probably have most of these basic pantry staples at home already – just flour, butter, sugar, and cinnamon create this impressive treat.
- Fun to make – The pull-apart design is surprisingly easy to create and makes a great baking project to do with kids or friends.
- Perfect for sharing – The pull-apart sections make serving easy and fun – everyone can grab their own piece without any cutting or extra plates needed.
What Kind of Flour Should I Use?
For this cinnamon roll recipe, plain all-purpose flour is your best bet, though bread flour can work too if that’s what you have on hand. All-purpose flour has just the right amount of protein content (around 10-12%) to give you that perfect balance of structure and tenderness in your pull-apart bread. While you might see recipes calling for fancy specialty flours, regular all-purpose flour from any major brand will do the job nicely. Just make sure your flour is fresh and hasn’t been sitting in the pantry for years, as old flour can affect how well your dough rises and develops gluten.
Options for Substitutions
Let me share some helpful substitutions for this pull-apart treat:
- Instant yeast: If you only have active dry yeast, use the same amount but dissolve it in the warm milk with a pinch of sugar and let it sit for 5-10 minutes until foamy before proceeding.
- Plain flour: All-purpose flour is key for the right texture, but bread flour can work too – just expect a slightly chewier result. Avoid using whole wheat flour as the sole flour as it will make the rolls too dense.
- Brown sugar: Out of brown sugar? Mix white sugar with 1 tablespoon of molasses. Or just use white sugar alone, though you’ll miss some of that caramel-like flavor.
- Milk: Any type of milk works here – whole, 2%, or plant-based options like almond or soy milk. If using non-dairy milk, add an extra tablespoon of butter to maintain richness.
- Salted butter: Unsalted butter works fine – just add an extra 1/4 teaspoon of salt to the dough. You can also use margarine, though the flavor won’t be quite the same.
Watch Out for These Mistakes While Baking
The temperature of your milk is crucial when making this snowflake bread – if it’s too hot (above 110°F), it will kill the yeast, but if it’s too cold, the yeast won’t activate properly, so aim for warm, not hot milk that feels comfortable on your wrist. Another common mistake is rushing the proofing process – your dough needs adequate time to rise (usually about 1 hour or until doubled in size) in a warm, draft-free spot to achieve that perfect fluffy texture. When spreading your butter filling, make sure it’s properly softened but not melted, as melted butter will run out during baking and leave you with dry spots in your snowflake. For the best results, don’t skip the second rise after shaping your snowflake (about 20-30 minutes), and remember to leave enough space between the layers when twisting – overcrowding will prevent them from baking evenly and pulling apart beautifully.
What to Serve With Cinnamon Roll Snowflake?
This sweet and cozy pull-apart bread is perfect for breakfast or brunch, and it pairs wonderfully with a hot cup of coffee or tea to balance out the sweetness. A side of fresh fruit like berries or sliced apples adds a nice fresh contrast to the warm, gooey cinnamon-sugar filling. If you’re serving this for a weekend breakfast, consider adding some crispy bacon or breakfast sausage on the side – the salty meat is a great complement to the sweet bread. For an extra special touch, serve it with some vanilla bean ice cream if you’re enjoying it as a dessert!
Storage Instructions
Keep Fresh: Your cinnamon roll snowflake is best enjoyed fresh and warm, but if you have leftovers, keep them in an airtight container at room temperature for up to 2 days. The bread stays soft and the cinnamon-sugar filling maintains its flavor, though the texture might not be quite as perfect as when fresh.
Refrigerate: Pop your leftover snowflake in the fridge in an airtight container, and it’ll stay good for up to 5 days. Just know that the texture might become a bit firmer when chilled, but don’t worry – a quick warm-up brings it right back to life!
Warm Up: To bring back that fresh-baked goodness, warm individual portions in the microwave for 15-20 seconds, or pop the whole snowflake in a 300°F oven for about 5-7 minutes. The butter and cinnamon sugar will get all warm and gooey again, making it taste almost like it just came out of the oven.
Make Ahead: You can prep this the night before! After shaping the snowflake, cover it and let it rise in the fridge overnight. The next morning, just let it sit at room temperature for about 30 minutes before baking. This is perfect for stress-free holiday morning treats!
| Preparation Time | 30-45 minutes |
| Cooking Time | 20-25 minutes |
| Total Time | 50-70 minutes |
| Level of Difficulty | Medium |
Estimated Nutrition
Estimated nutrition for the whole recipe (without optional ingredients):
- Calories: 2000-2200
- Protein: 30-35 g
- Fat: 90-100 g
- Carbohydrates: 300-320 g
Ingredients
For the dough:
- 2 tbsp white sugar
- 1 tbsp instant yeast (I use SAF Instant Yeast)
- 1 tsp salt (fine sea salt is best)
- 3 cups all-purpose flour (I use King Arthur all-purpose flour)
- 1 cup warm milk (about 105-115°F)
- 3 tbsp softened salted butter (room temperature, about 70°F)
- 1 large egg
For the filling:
- 1 tbsp ground cinnamon
- 1/4 cup softened salted butter (for easier spreading)
- 1/2 cup brown sugar (packed for accurate measurement)
Step 1: Prepare the Dough
In the bowl of a stand mixer, combine warm milk, yeast, sugar, salt, butter, and eggs.
Gradually add the flour to the mixture.
Use a dough hook and start mixing on a low speed.
Once the flour begins to integrate into the dough, increase the speed to medium.
Continue to add more flour as needed so that the dough pulls away from the sides of the bowl.
The dough should be soft and tacky but should not stick to your hands.
Adjust the amount of flour as necessary to achieve the desired consistency.
Step 2: Let the Dough Rise
Transfer the dough to a lightly greased mixing bowl, cover it with a towel, and allow it to rise until it has doubled in size, which will take about 1 hour.
The warmth and humidity of your kitchen can affect the rising time, so check the dough occasionally.
Step 3: Divide and Shape the Dough
Once the dough has risen, take it out and divide it into 4 even pieces.
Roll each piece into a large circle, approximately the width of your baking sheet.
Place one circle on a parchment-lined baking sheet.
Spread 1-2 tablespoons of softened butter over the circle, leaving a 1/4-inch border.
Combine cinnamon and sugar in a small bowl, and sprinkle 1/3 of the mixture evenly over the buttered surface.
Repeat the layering process with the remaining dough circles, except for the top fourth piece, which remains plain.
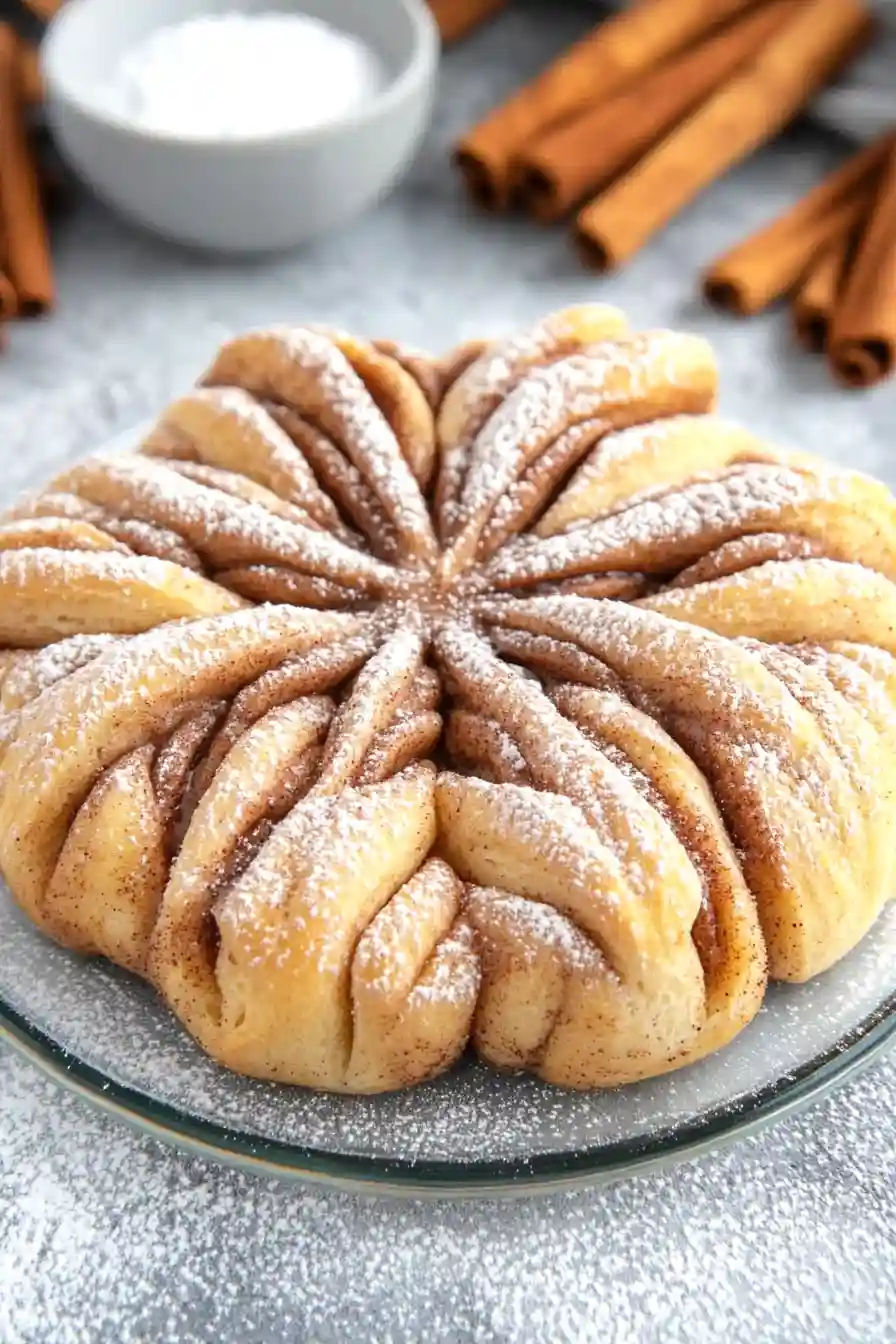
Step 4: Create the Star Shape
With all layers stacked, use a small 2-inch bowl to mark the center, or eyeball it, then cut 16 equal strands from the outer edges to the mark in the center.
Take two adjacent strands and twist them in opposite directions 2-3 times before pinching the ends together to seal them.
Continue twisting all strands until your dough resembles a large star shape.
Step 5: Bake and Serve
Preheat your oven to 350°F (175°C).
Bake the twisted dough star immediately for 20-25 minutes until it is golden brown.
Allow it to cool once done.
You can serve this delicious bread plain, frost it with your favorite icing, or dust with powdered sugar before serving.
