Let’s talk about turkey – but not just any turkey. I’ve been making our Thanksgiving bird the same way for years, until I discovered duck fat. It might sound fancy, but trust me, it’s a game-changer that makes sense. The rich flavor it adds to the turkey is something my family now looks forward to every holiday season.
Duck fat has this way of making everything taste better, and turkey is no exception. I started using it after a friend suggested it during one of our holiday prep conversations. Now, I can’t imagine going back to regular roasting. It’s straightforward, doesn’t require any special equipment, and the results are consistently good.
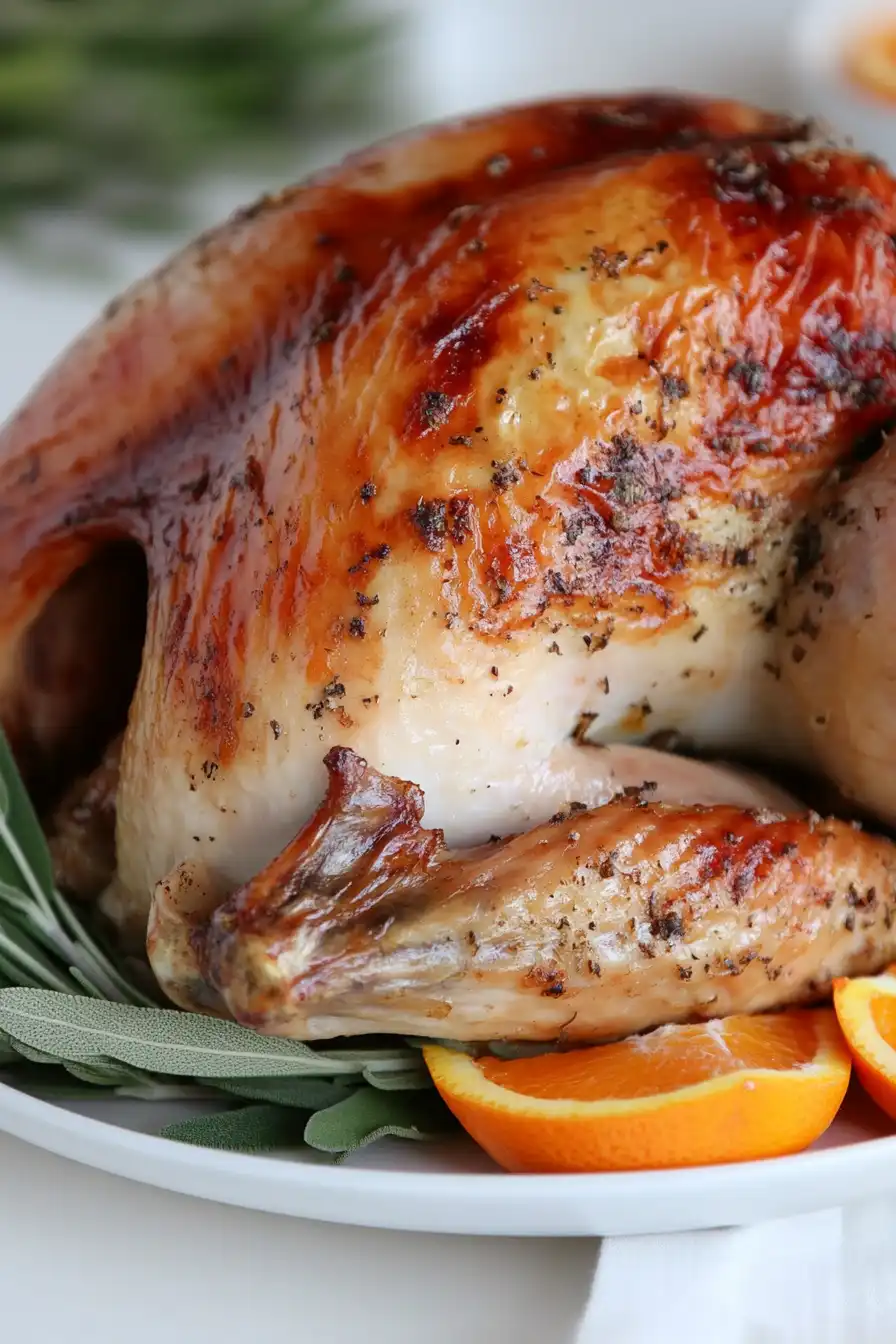
If you’re wondering whether it’s worth trying something new with your holiday turkey this year, I’d say yes. The skin gets wonderfully crispy, and the meat stays juicy – exactly what we’re all hoping for when that turkey comes out of the oven.
Why You’ll Love This Duck Fat Turkey
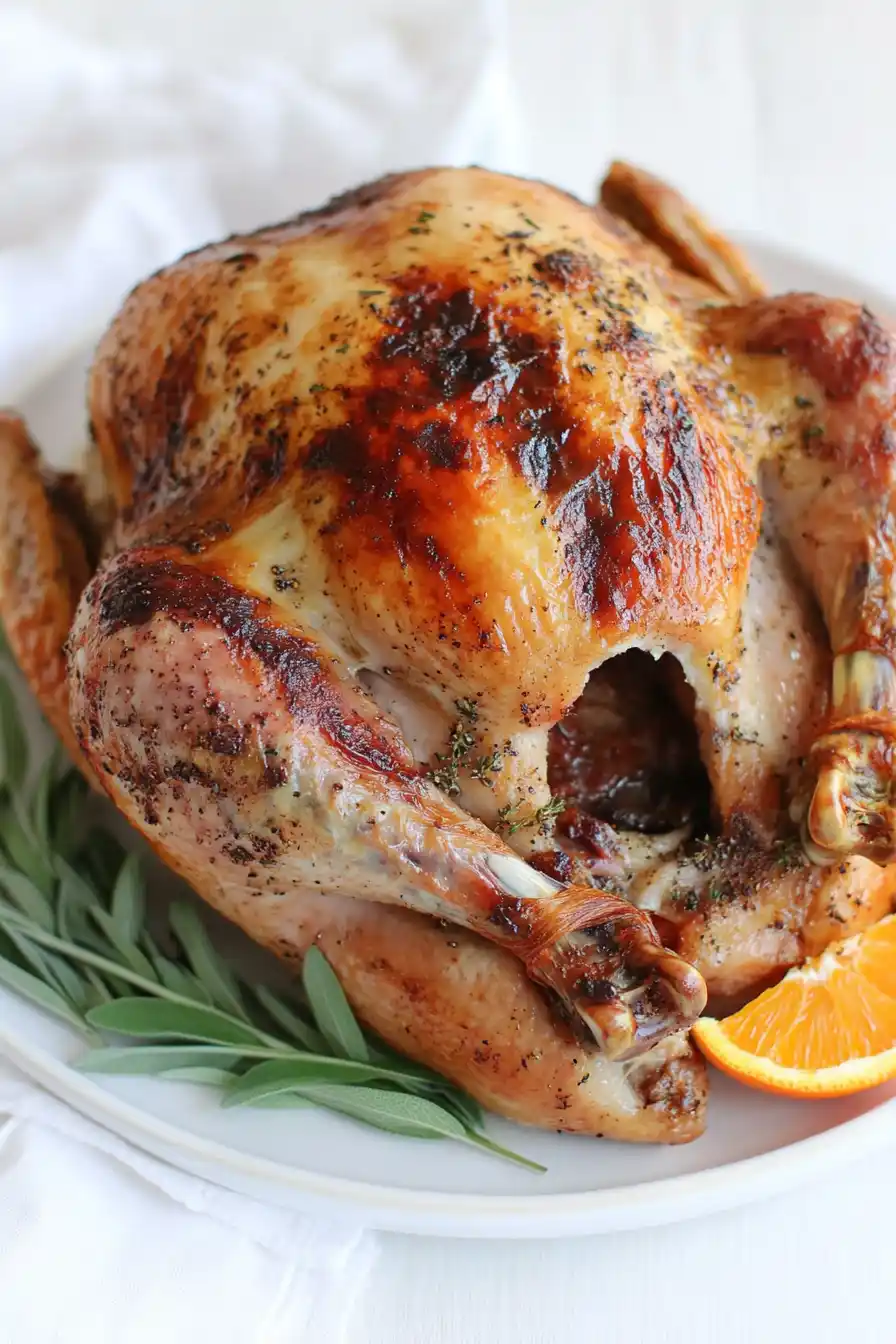
- Extra crispy skin – Duck fat is the secret weapon here – it creates a golden-brown, perfectly crispy skin that’s impossible to achieve with regular butter or oil.
- Incredibly moist meat – The brining process combined with duck fat basting ensures your turkey stays juicy and tender, not dry like traditional roasted turkey can be.
- Make-ahead friendly – While the cooking time is long, most of it is hands-off, and you can brine the turkey up to 24 hours in advance.
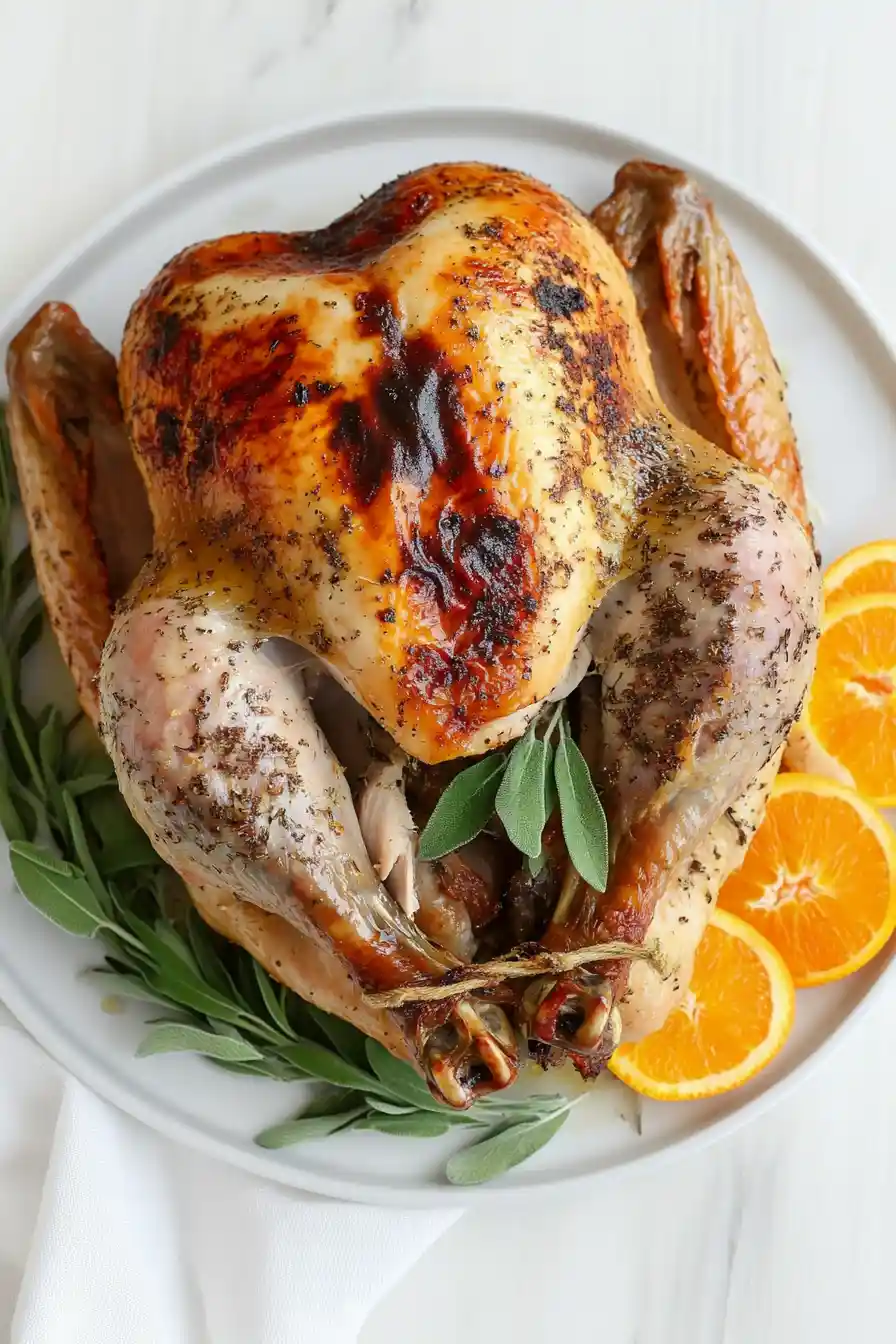
- Show-stopping presentation – This isn’t your average turkey – the beautiful golden color and aromatic herbs make this the centerpiece your holiday table deserves.
- Rich flavor – The combination of duck fat, fresh herbs, and citrus creates layers of flavor that make this turkey taste special and memorable.
What Kind of Turkey Should I Use?
For this recipe, you’ll want to start with a fresh or completely thawed turkey in the 12-16 pound range. While heritage breeds like Bourbon Red or Standard Bronze can add interesting flavor, a regular broad-breasted white turkey from your grocery store will work perfectly fine. Fresh turkeys tend to be more expensive but can offer better texture and flavor compared to frozen ones. If you do go with frozen, make sure to allow plenty of time for thawing – about 24 hours in the refrigerator for every 4-5 pounds of turkey. Just be sure to avoid pre-brined or “self-basting” turkeys, since these have already been treated with salt solutions and could make your final dish too salty when combined with this recipe’s brine.
Options for Substitutions
While this recipe creates a wonderful turkey, you can make some adjustments based on what you have available:
- Duck fat: If you can’t find duck fat, butter or olive oil will work – though you’ll miss some of that rich flavor. Goose fat is the closest substitute and works perfectly if you can get it.
- Fresh sage leaves: No fresh sage? Use 1 teaspoon dried sage for every 4-5 fresh leaves. Fresh thyme or rosemary can also work well here.
- Orange juice and oranges: You can swap orange juice with apple juice or chicken stock. For the whole oranges, lemons or apples make good alternatives for stuffing the cavity.
- White wine: Replace with additional chicken stock plus 1 tablespoon of white wine vinegar or lemon juice to add some acidity.
- Kosher salt: If using table salt instead of kosher salt, reduce the amount by half since table salt is more concentrated.
- Brown sugar: Regular white sugar or honey will work fine – use the same amount of white sugar or 1/3 cup of honey instead.
Watch Out for These Mistakes While Roasting
The biggest mistake when preparing a duck fat roasted turkey is skipping or rushing the brining process – give your bird at least 12-24 hours in the brine to ensure maximum flavor absorption and juiciness throughout the meat. When it comes to the duck fat, a common error is applying it to wet skin; instead, pat the turkey completely dry after brining and let it sit uncovered in the refrigerator for 4-6 hours to ensure the skin will get perfectly crispy. Another crucial mistake is not letting your turkey come to room temperature before roasting (allow 1-2 hours on the counter) and frequently opening the oven door, which leads to uneven cooking and longer roasting times. To achieve the best results, baste the turkey with the duck fat and pan juices every 30-45 minutes, and always let it rest for at least 30 minutes before carving to keep all those flavorful juices locked inside.
What to Serve With Duck Fat Roasted Turkey?
This rich and flavorful turkey deserves some classic sides that can hold their own alongside the star of the show. Creamy mashed potatoes made with plenty of butter are perfect for soaking up all those tasty pan drippings, while traditional stuffing brings comfort and familiarity to the plate. I love to balance out the richness with some roasted vegetables – Brussels sprouts or green beans work great here – and a tart cranberry sauce helps cut through the richness of the duck fat. For something a little different, try roasting root vegetables like carrots and parsnips in some of that extra duck fat – they’ll pick up all those wonderful flavors and complement the turkey beautifully.
Storage Instructions
Keep Fresh: Once your turkey has cooled down, wrap any leftover meat tightly in aluminum foil or place it in an airtight container. It’ll stay good in the fridge for 3-4 days. Pro tip: store the meat with a bit of gravy or broth to keep it from drying out!
Freeze: Turkey freezes really well! Slice or shred the meat, then pack it in freezer-safe containers or heavy-duty freezer bags. Pour a little broth over the meat to prevent freezer burn. It’ll keep nicely for up to 3 months – perfect for pulling out when you’re craving some turkey sandwiches!
Warm Up: To bring your turkey back to life, place it in a baking dish with a splash of chicken broth or leftover gravy, cover with foil, and warm in a 325°F oven until heated through. You can also microwave smaller portions with a bit of liquid, covered, on medium power. Just be careful not to overheat, or the meat might get tough.
| Preparation Time | 15-20 minutes |
| Cooking Time | 120-180 minutes |
| Total Time | 510-720 minutes |
| Level of Difficulty | Medium |
Estimated Nutrition
Estimated nutrition for the whole recipe (without optional ingredients):
- Calories: 4500-5000
- Protein: 300-350 g
- Fat: 250-300 g
- Carbohydrates: 80-100 g
Ingredients
For the brine:
- 5 to 6 fresh sage leaves
- 1 cup orange juice
- 1/2 cup brown sugar
- 16 cups water
- 1 cup kosher salt (Morton Coarse Kosher works well)
- 16 cups ice
- 1 tbsp whole peppercorns
For the turkey:
- 3 to 4 tbsp duck fat (rendered for best results)
- 1 turkey (12 to 16 lb)
- 1 tsp cinnamon
- black pepper (freshly ground)
For the cavity and pan:
- 2 oranges (sliced)
- 1 cup dry white wine
- a handful of fresh sage leaves (for aromatic cavity stuffing)
- 2 onions (quartered)
- 2 to 3 cups chicken stock (low sodium preferred)
Step 1: Prepare and Cool the Brine
In a large pot, mix 1 gallon of water with salt, brown sugar, orange juice, fresh sage, and peppercorns.
Bring this mixture to a simmer, then remove from heat and pour into another bowl to let it cool.
Stir occasionally to expedite cooling.
Add ice while the mixture is still a bit warm to help cool it down further.
Step 2: Prep the Turkey for Brining
While your brine cools, prepare the turkey by removing any organs from the cavity, including checking the neck cavity.
Set aside the giblets and neck bone for gravy if desired.
Make sure the brine is at room temperature or cooler, then place it in a large stockpot or food-safe storage container with the turkey submerged in it, legs facing up.
This helps the cavity to fill with brine.
Weigh down the turkey with a small bowl if needed and cover with a lid.
Place the container in the fridge and let the turkey brine for 8-12 hours.
Step 3: Rinse, Dry, and Truss the Turkey
After brining, remove the turkey from the brine and pour out all the liquid from inside the bird.
Rinse briefly under cold water to remove excess salt, then dry the turkey thoroughly with paper towels.
Truss the turkey using butcher’s twine, which helps with even cooking and easy flipping during roasting.
Place the turkey in a large roasting pan with a rack.
Loosen the skin on the turkey breasts by sliding your hand underneath, then place the turkey uncovered in the fridge for 8 hours or overnight to allow the skin to dry out for crisping.
Step 4: Preheat the Oven and Prepare Turkey for Roasting
Preheat your oven to 450 degrees Fahrenheit.
Prepare the turkey for baking by filling the cavity with a quartered onion, a halved orange, fresh sage, and crushed black pepper.
Rub duck fat under the separated breast skin and add two fresh sage leaves.
Coat the entire bird with duck fat and season with fresh cracked pepper and a sprinkling of cinnamon.
Avoid using salt since the brine has adequately seasoned the meat.
Pour a half-inch of chicken broth into the bottom of the pan and add one cup of white wine.
Step 5: Roast the Turkey
Position the oven rack to the second-to-last slot at the bottom of the oven.
Begin roasting with the turkey breast side down at 450 degrees for 30 minutes.
Reduce the temperature to 350 degrees and continue for another hour.
Remove the pan from the oven and carefully flip the turkey to be breast side up using a wooden spoon and tongs.
Insert a thermometer into the breast, avoiding the bone, and return the turkey to the oven.
Bake until the breast meat reaches 155 degrees Fahrenheit, then remove the thermometer.
Step 6: Crisp the Skin
Squeeze fresh orange juice over the turkey skin.
Turn on the broiler and keep the oven door open to crisp the skin, watching closely to prevent burning.
Rotate the pan halfway through to ensure even browning; this step should only take 5-10 minutes.
Step 7: Rest and Serve
Once the skin is browned, remove the turkey from the oven and check the temperature.
If it reads 161-165 degrees Fahrenheit, the turkey is done as it will continue to cook while resting.
If not, return it to the oven at 350 degrees until it reaches the desired temperature.
Let the turkey rest for 30-45 minutes before carving to allow the juices to redistribute throughout the meat for optimal flavor and juiciness.
