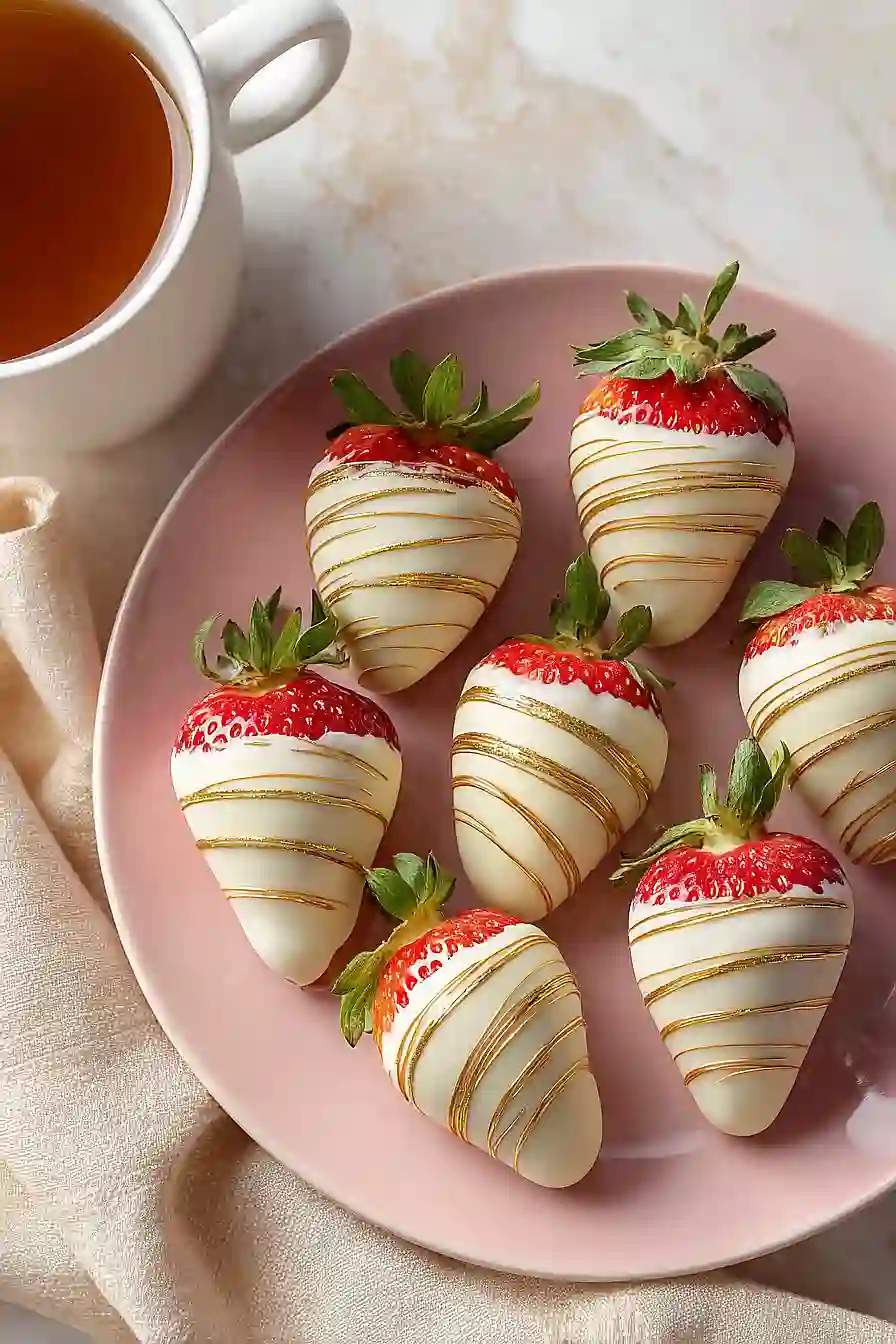
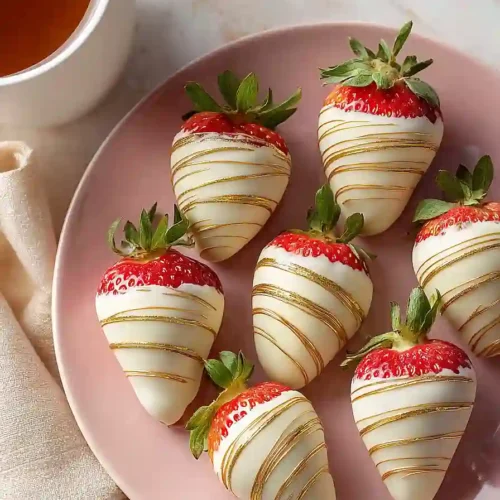
Looking for a dessert that’ll seriously impress at your next party or celebration? These gold chocolate covered strawberries are about to become your secret weapon. They look fancy and expensive, but here’s the truth: they’re incredibly easy to make at home with just four simple ingredients.
The best part? You don’t need any special skills or equipment to pull these off. Just some good quality strawberries, white chocolate, and a bit of edible gold to make them shine. Whether you’re planning a bridal shower, Valentine’s Day dinner, or just want to treat yourself to something special, these golden beauties deliver every single time.
Why You’ll Love These Gold Chocolate Covered Strawberries
- Quick and impressive – These elegant treats come together in under 45 minutes but look like they took hours to make, perfect for when you need a fancy dessert without the stress.
- Simple ingredients – You only need three ingredients to create these show-stopping strawberries that’ll wow your guests.
- Perfect for special occasions – The edible gold paint makes these strawberries look fancy enough for weddings, anniversaries, or any celebration where you want to impress.
- No baking required – Just melt, dip, and paint—no oven needed, which means less cleanup and an easier process from start to finish.
What Kind of Strawberries Should I Use?
Fresh, firm strawberries work best for this recipe since they need to hold up well when dipped in chocolate. Look for berries that are bright red with green, fresh-looking stems still attached – they make for a nice handle when dipping and look prettier on your final presentation. Avoid strawberries that have soft spots or are overly ripe, as they can get mushy and release moisture that might cause your chocolate coating to seize up. If possible, choose medium to large strawberries since they’re easier to work with and give you more surface area for that gorgeous gold finish.

Options for Substitutions
While this recipe is pretty straightforward, here are some swaps you can make:
- White chocolate: You can use milk chocolate or dark chocolate instead if you prefer, though the gold paint will show up better on lighter chocolate. If using chocolate chips, add a teaspoon of coconut oil to help with melting and coating.
- Edible gold paint: If you can’t find gold paint, try edible gold leaf or gold luster dust mixed with a bit of vodka or lemon extract. You could also use edible gold spray for easier application, though the finish will be different.
- Strawberries: Make sure to use fresh, firm strawberries with the stems still attached – don’t substitute frozen ones here, as they’ll be too watery and won’t hold the chocolate coating properly.
Watch Out for These Mistakes While Making
The biggest mistake when making chocolate-covered strawberries is not drying them completely after washing, as even a tiny bit of moisture will cause the chocolate to seize up and become grainy instead of smooth.
Another common error is overheating the white chocolate – it burns easily, so melt it in 30-second intervals in the microwave or use a double boiler, and stop when there are still a few small chunks left since stirring will melt them completely.
To avoid the chocolate sliding off your strawberries, make sure they’re at room temperature before dipping (cold strawberries create condensation that prevents the chocolate from sticking properly), and leave the green tops on to use as a natural handle.
When applying the edible gold paint, wait until the chocolate is fully set and firm to the touch – painting too early will cause the brush to drag through the chocolate and ruin your smooth finish.

What to Serve With Gold Chocolate Covered Strawberries?
These fancy strawberries are perfect on their own as a dessert or party treat, but they pair beautifully with a glass of champagne or sparkling wine for special occasions. You can also serve them alongside other finger desserts like mini cheesecakes, macarons, or chocolate truffles to create a dessert platter that looks impressive without much effort. If you’re putting together a dessert board, add some fresh berries, nuts, and maybe some dark chocolate pieces to balance out the sweetness of the white chocolate. They’re also great as a topping for vanilla ice cream or angel food cake if you want to make things extra special.
Storage Instructions
Store: These gold chocolate covered strawberries are best enjoyed within 24 hours of making them. Keep them in a single layer in an airtight container in the fridge, and they’ll stay fresh for up to 2 days. Just remember that strawberries release moisture over time, so the chocolate might start to sweat a bit after the first day.
Serve: Take your strawberries out of the fridge about 10-15 minutes before serving so the chocolate isn’t too hard. They taste best when slightly chilled but not ice cold. If you’re making these for a party, arrange them on your serving platter right before guests arrive for the prettiest presentation.
| Preparation Time | 10-15 minutes |
| Cooking Time | 20-30 minutes |
| Total Time | 30-45 minutes |
| Level of Difficulty | Easy |
| Servings | 24 pieces |
Estimated Nutrition
Estimated nutrition for the whole recipe (without optional ingredients):
- Calories: 2150-2300
- Protein: 20-25 g
- Fat: 120-130 g
- Carbohydrates: 260-280 g
Ingredients
- 1.25 lb strawberries (I prefer Driscoll’s for their consistent size and shape)
- 14 oz white chocolate (I use Ghirardelli baking bars for a smoother melt)
- edible gold paint
- edible gold glitter
Step 1: Prepare the Strawberries
- 1.25 lb strawberries
Wash the strawberries under cool running water and pat them completely dry with paper towels—this is crucial because any moisture will cause the chocolate to seize and become grainy.
Leave the green tops attached as they provide a natural handle for dipping and look elegant in the final presentation.
Arrange the dried strawberries on a clean plate or cutting board, ready for dipping.
Step 2: Melt the White Chocolate
- 14 oz white chocolate
Chop the white chocolate into small, uniform pieces (about the size of chocolate chips) to ensure even melting.
Place the chopped chocolate in a microwave-safe bowl and melt it in 30-second intervals, stirring between each interval, until completely smooth and glossy—this gentle approach prevents overheating and burning.
I like to add just a tiny bit of coconut oil (about 1 teaspoon) if the chocolate seems too thick; this helps it flow smoothly for dipping without affecting the final texture.
Step 3: Dip and Set the Strawberries
- melted white chocolate from Step 2
- parchment paper
Working with one strawberry at a time, hold it by the green top and dip it into the melted white chocolate from Step 2, rotating gently to coat about three-quarters of the berry while leaving the top exposed.
Place each dipped strawberry on a parchment-lined baking sheet with the pointed end down.
Once all strawberries are dipped, refrigerate the baking sheet for 10-15 minutes until the chocolate is set and firm to the touch.
Step 4: Add Chocolate Drizzle Detail
- white chocolate from Step 2
- strawberries from Step 3
Remelt any remaining white chocolate from Step 2, or melt a fresh small batch if needed.
Working with about half of the chilled strawberries from Step 3, use a small spoon or piping bag to drizzle a decorative line of chocolate across the chocolate-coated portion of each berry.
Return these drizzled strawberries to the refrigerator for 5 minutes to set the drizzle, keeping the remaining half plain for now.
Step 5: Apply Gold Finishes
- edible gold paint
- strawberries from Steps 3 and 4
Remove all strawberries from the refrigerator.
Using a small brush or applicator, paint the edible gold paint on the fully chocolate-coated strawberries from Step 3 (the ones without drizzle), creating an elegant, shimmering finish across the entire chocolate surface.
On the remaining strawberries with the chocolate drizzle, apply the gold paint only to the drizzled lines for a more refined, minimalist look.
I find that letting the paint dry for just 2-3 minutes between applications helps build richer color and prevents streaking.
Step 6: Add Final Sparkle and Serve
- edible gold glitter
- strawberries from Step 5
Once the gold paint is dry to the touch (about 5-10 minutes), sprinkle edible gold glitter over the painted areas for extra shimmer and luxury.
Let the glitter set for a few minutes, then gently tap off any excess glitter that doesn’t adhere.
Arrange the finished strawberries on a serving platter or in a decorative box—they’re best served at room temperature or slightly chilled within a few hours for optimal chocolate texture and appearance.
Best Gold Chocolate Covered Strawberries
Ingredients
- 1.25 lb strawberries (I prefer Driscoll's for their consistent size and shape)
- 14 oz white chocolate (I use Ghirardelli baking bars for a smoother melt)
- edible gold paint
- edible gold glitter
Instructions
- Wash the strawberries under cool running water and pat them completely dry with paper towels—this is crucial because any moisture will cause the chocolate to seize and become grainy. Leave the green tops attached as they provide a natural handle for dipping and look elegant in the final presentation. Arrange the dried strawberries on a clean plate or cutting board, ready for dipping.
- Chop the white chocolate into small, uniform pieces (about the size of chocolate chips) to ensure even melting. Place the chopped chocolate in a microwave-safe bowl and melt it in 30-second intervals, stirring between each interval, until completely smooth and glossy—this gentle approach prevents overheating and burning. I like to add just a tiny bit of coconut oil (about 1 teaspoon) if the chocolate seems too thick; this helps it flow smoothly for dipping without affecting the final texture.
- Working with one strawberry at a time, hold it by the green top and dip it into the melted white chocolate from Step 2, rotating gently to coat about three-quarters of the berry while leaving the top exposed. Place each dipped strawberry on a parchment-lined baking sheet with the pointed end down. Once all strawberries are dipped, refrigerate the baking sheet for 10-15 minutes until the chocolate is set and firm to the touch.
- Remelt any remaining white chocolate from Step 2, or melt a fresh small batch if needed. Working with about half of the chilled strawberries from Step 3, use a small spoon or piping bag to drizzle a decorative line of chocolate across the chocolate-coated portion of each berry. Return these drizzled strawberries to the refrigerator for 5 minutes to set the drizzle, keeping the remaining half plain for now.
- Remove all strawberries from the refrigerator. Using a small brush or applicator, paint the edible gold paint on the fully chocolate-coated strawberries from Step 3 (the ones without drizzle), creating an elegant, shimmering finish across the entire chocolate surface. On the remaining strawberries with the chocolate drizzle, apply the gold paint only to the drizzled lines for a more refined, minimalist look. I find that letting the paint dry for just 2-3 minutes between applications helps build richer color and prevents streaking.
- Once the gold paint is dry to the touch (about 5-10 minutes), sprinkle edible gold glitter over the painted areas for extra shimmer and luxury. Let the glitter set for a few minutes, then gently tap off any excess glitter that doesn't adhere. Arrange the finished strawberries on a serving platter or in a decorative box—they're best served at room temperature or slightly chilled within a few hours for optimal chocolate texture and appearance.
