Let’s talk about one of my go-to party recipes – nachos dip. I’ve brought this to countless gatherings, and it’s always the first thing to disappear from the snack table. But here’s the best part – it’s so simple to make that I often whip it up while helping the kids with homework or catching up on my favorite show.
I started making this dip years ago when I needed something quick for game day, and now it’s become my reliable crowd-pleaser. The layers of melty cheese, seasoned meat, and fresh toppings come together in one dish, which means less cleanup (always a win in my book). Plus, you can prep most of it ahead of time and just heat it up when guests arrive.
Whether you’re hosting a Super Bowl party or just craving some comfort food on a Friday night, this nachos dip hits all the right spots. And the best thing? You can adjust the ingredients based on what you have in your fridge – that’s the kind of cooking I love.
Why You’ll Love This Nacho Cheese Dip
- Quick preparation – Ready in just 15 minutes, this cheese dip is perfect for last-minute gatherings or when sudden snack cravings hit.
- Basic ingredients – You only need a handful of pantry staples and some cheese to whip up this crowd-pleasing dip – no special ingredients required.
- Customizable heat level – With adjustable amounts of jalapeños and hot sauce, you can make this dip as mild or spicy as you like.
- Smooth and creamy texture – Thanks to the combination of evaporated milk and cornstarch, this dip stays perfectly smooth and dippable, without getting grainy or clumpy.
- Party-friendly – This recipe makes enough to serve a crowd and can be easily reheated when needed.
What Kind of Cheese Should I Use?
When making nacho cheese dip, you’ve got quite a few tasty options to work with. The most common choices are sharp cheddar, Monterey Jack, or a mix of both – and honestly, using a blend of cheeses usually gives you the best flavor and texture. Whatever you pick, the most important thing is to shred your cheese fresh rather than using the pre-shredded stuff from the store. Pre-shredded cheese contains anti-caking agents that can make your dip grainy instead of smooth. For the smoothest, meltiest results, grab a block of cheese and shred it yourself just before making the dip. If you’re feeling adventurous, you could even throw some pepper jack into the mix for extra kick.

Options for Substitutions
This cheese dip is pretty adaptable and you can make several swaps depending on what you have in your kitchen:
- Shredded cheese: While freshly shredded cheese works best (pre-shredded has anti-caking agents that can make the dip grainy), you can mix and match different types. Try combinations of cheddar, Monterey Jack, Colby, pepper jack, or even American cheese. Just avoid hard aged cheeses like Parmesan as they won’t melt as smoothly.
- Evaporated milk: If you’re out of evaporated milk, you can use whole milk or half-and-half, but reduce the amount to about 3/4 cup and heat it very gently to prevent curdling. Note that the dip might be slightly less creamy.
- Cornstarch: You can substitute cornstarch with all-purpose flour (use 2 tablespoons instead of 1) or sodium citrate if you have it (use 1 teaspoon). These help prevent the cheese from getting stringy.
- Jalapeños: Feel free to swap jalapeños with green chiles, diced bell peppers for a milder version, or pickled jalapeños. You can also use canned diced green chiles or even a few tablespoons of salsa.
- Hot sauce: Any hot sauce works here – Tabasco, Cholula, Tapatio, or even a few dashes of cayenne pepper. Adjust the amount based on how spicy you like it.
Watch Out for These Mistakes While Cooking
The biggest mistake when making nacho cheese dip is using pre-shredded cheese, which contains anti-caking agents that can make your dip grainy and clumpy – always opt for freshly grated cheese for the smoothest results.
Heat control is crucial: cooking your cheese dip over high heat can cause the proteins to seize up and create a stringy, separated mess, so keep the heat on medium-low and stir constantly.
Many people skip the cornstarch, but this ingredient is essential as it helps prevent the cheese from separating and creates that perfect, silky-smooth texture you’re looking for – just make sure to thoroughly coat the shredded cheese with cornstarch before adding it to the warm evaporated milk.
If your dip starts to thicken too much as it cools, simply stir in a splash of warm evaporated milk (not regular milk) to bring it back to the perfect consistency.
What to Serve With Nacho Cheese Dip?
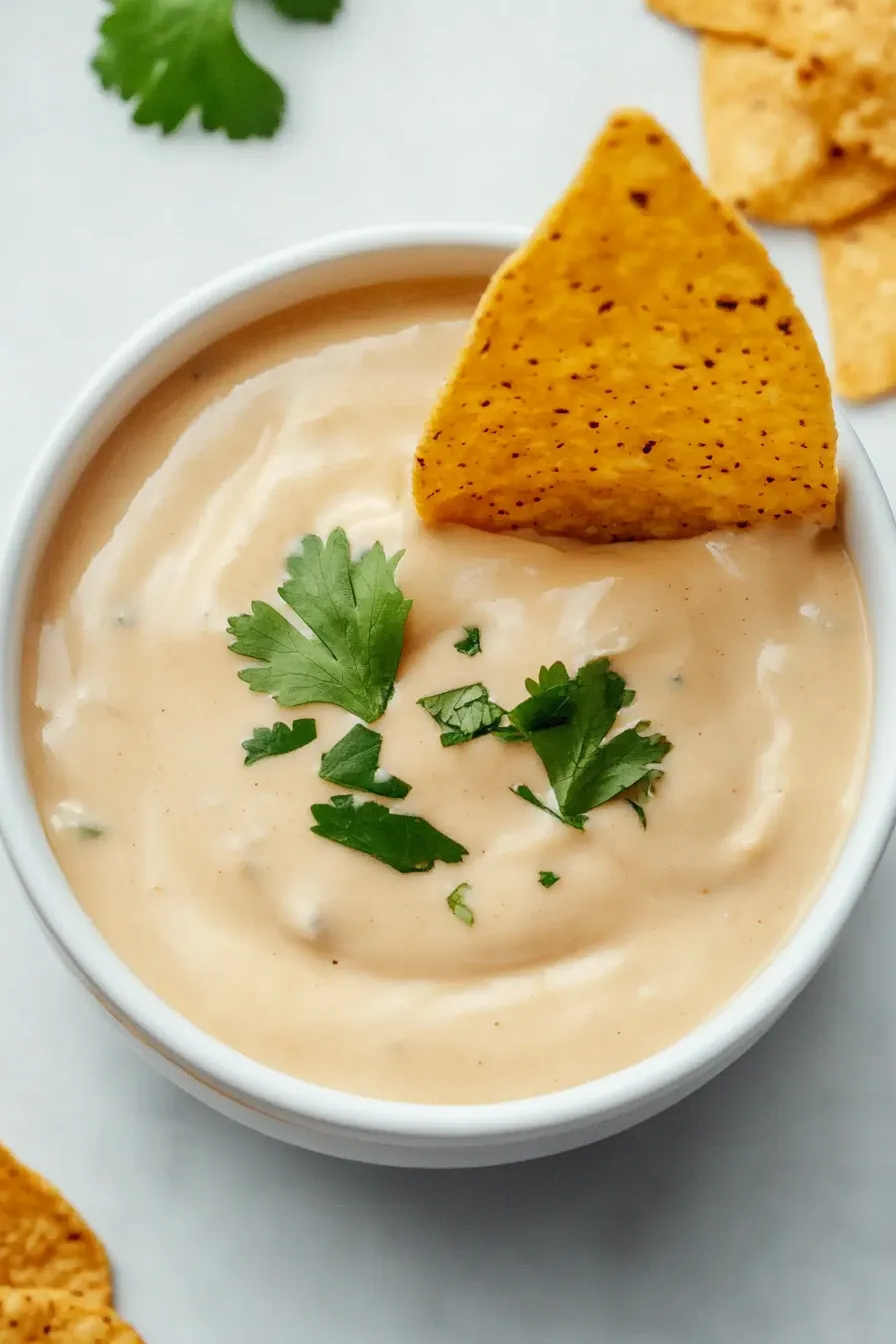
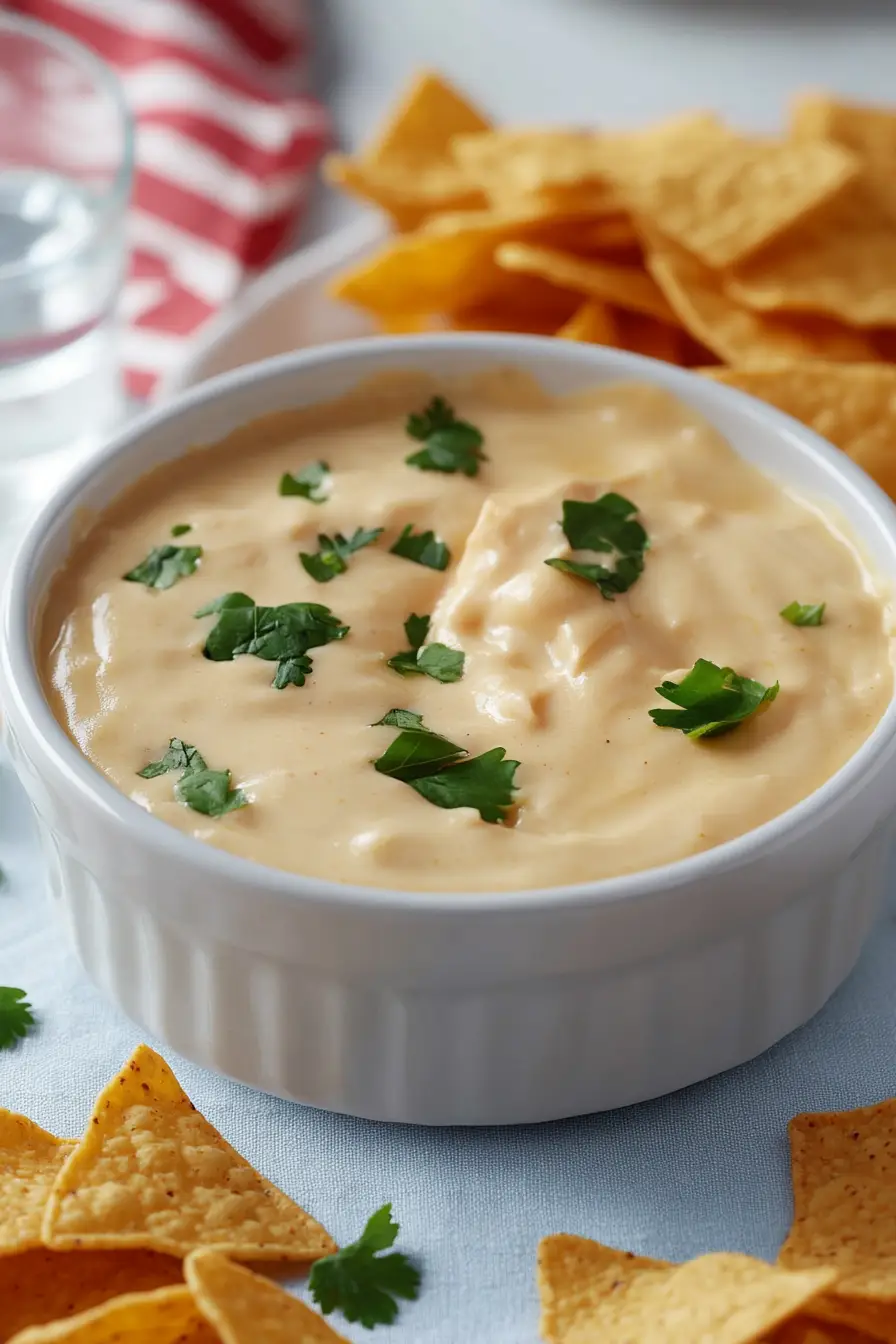
This warm, melty cheese dip is just begging for a variety of dippers to make it the star of your snack spread! Tortilla chips are the classic choice (and my personal favorite), but don’t stop there. Try serving it with pretzel bites, chunks of crusty bread, or even raw veggies like carrots and celery for a nice crunch. For taco night, you can spoon this dip over burritos or use it as a topping for loaded nachos with ground beef, black beans, diced tomatoes, and sliced black olives. If you’re hosting a party, set up a dipping station with different chips and vegetables so everyone can choose their favorite way to enjoy this cheesy goodness.
Storage Instructions
Keep: This cheesy nacho dip stays good in the fridge for up to 4 days when stored in an airtight container. The texture might thicken up a bit when cold, but don’t worry – that’s totally normal! Just know that the spiciness from the jalapeños might get a little stronger after a day or two.
Make Ahead: You can prepare this dip a day before your party or gathering. Just keep it in the fridge and when you’re ready to serve, warm it up slowly while stirring to get that smooth, dippable consistency back. It’s perfect for busy hosts who want to prep in advance!
Warm Up: To bring your cold dip back to life, warm it up in short bursts in the microwave, stirring every 30 seconds, or heat it gently on the stovetop over low heat. Add a splash of evaporated milk if it seems too thick. Just remember to stir frequently to prevent the cheese from sticking to the bottom.
| Preparation Time | 5-10 minutes |
| Cooking Time | 10-15 minutes |
| Total Time | 15-25 minutes |
| Level of Difficulty | Easy |
Estimated Nutrition
Estimated nutrition for the whole recipe (without optional ingredients):
- Calories: 1000-1100
- Protein: 60-70 g
- Fat: 70-80 g
- Carbohydrates: 40-50 g
Ingredients
- 0.5 tsp garlic powder
- 2 tbsp minced jalapenos (fresh or pickled)
- 2.5 cups shredded cheese (a mix of cheddar and Monterey Jack works best)
- 1 tbsp hot sauce (like Frank’s RedHot)
- 0.5 tsp onion powder
- 1 tsp salt
- 1 can evaporated milk (I use Carnation evaporated milk)
- 1 tbsp corn starch
Step 1: Combine Cheese and Cornstarch
Begin by tossing your cheese and cornstarch together in a saucepan.
This helps to evenly distribute the cornstarch and ensure a smooth texture when melted.
Step 2: Cook the Cheese Sauce
Add all other ingredients to the saucepan.
Cook over medium heat, whisking often, until the cheese is melted and the mixture is smooth.
Adjust the seasoning to your taste with additional hot sauce and salt if desired.
Step 3: Achieve Desired Consistency
While hot, the cheese mixture will have a sauce-like consistency, perfect for pouring over nachos.
As it cools, it will thicken and become more dip-like.
Whisk occasionally to mix in any skin that may form on top.
If a pourable sauce is preferred, stir in additional evaporated or regular milk to reach the desired consistency.
Step 4: Reheat and Adjust as Necessary
When reheating, the cheese sauce will naturally loosen up.
Adjust the consistency by mixing in more milk if needed.
Enjoy the cheese sauce while hot or as a thicker dip once cooled.
