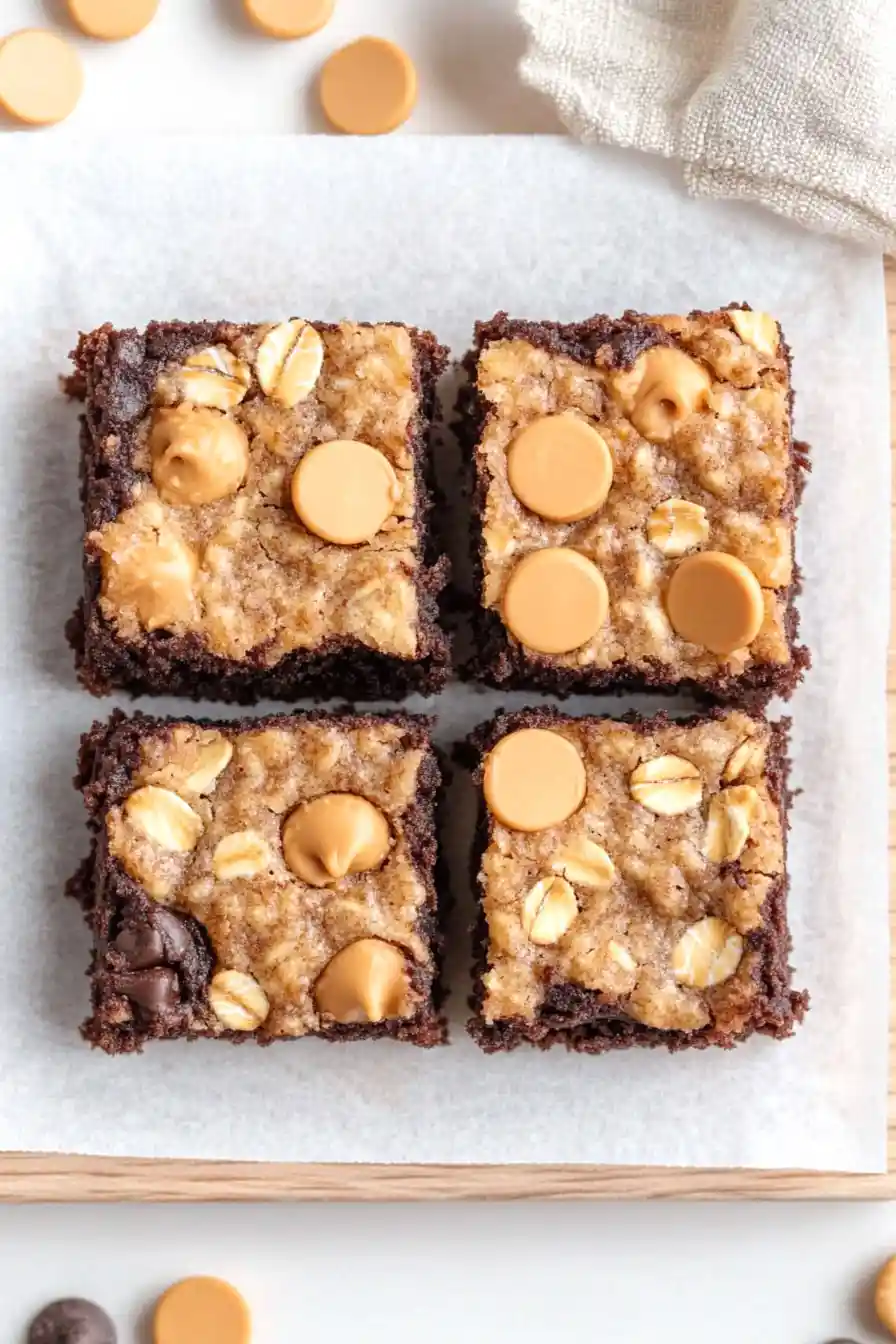
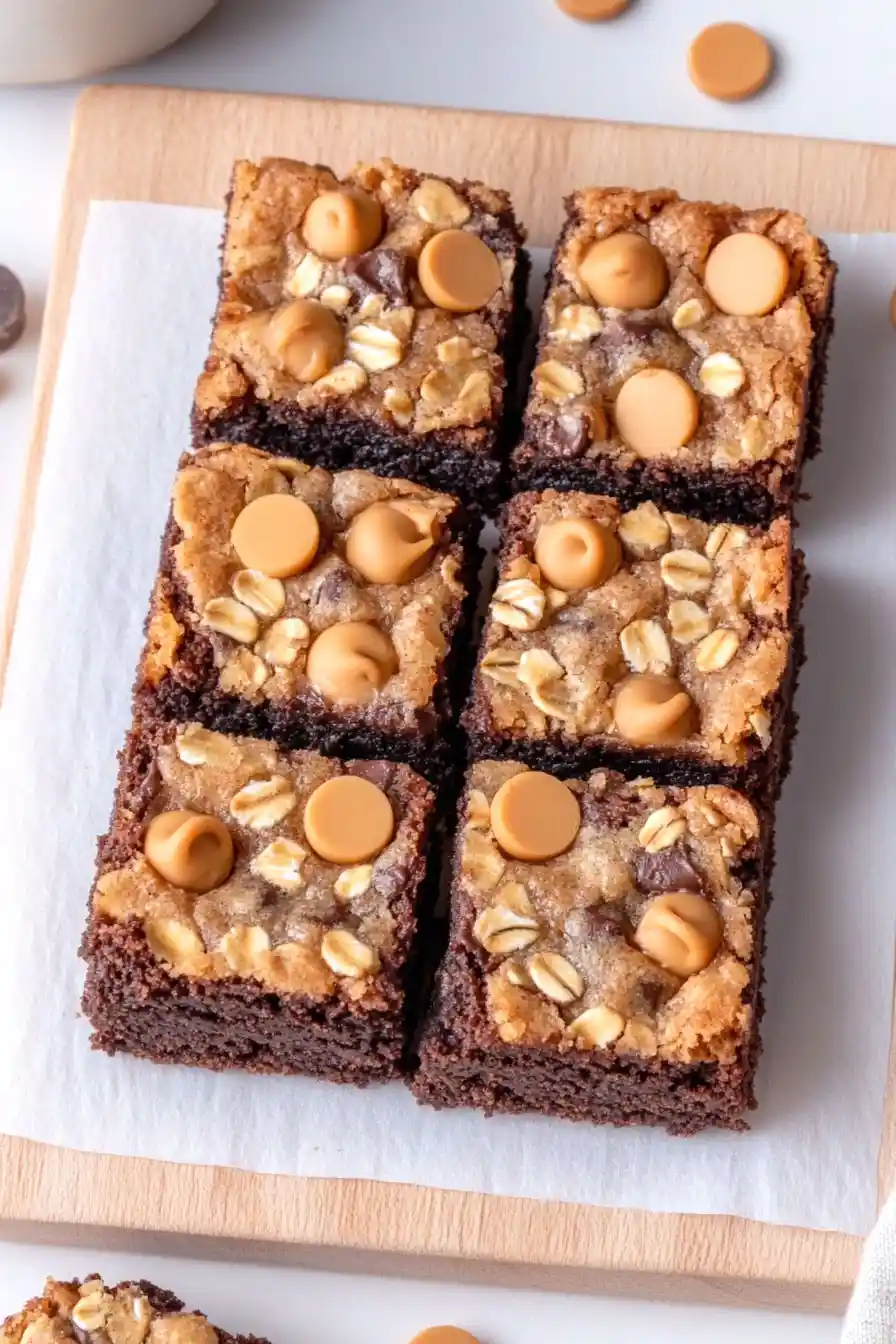
Here’s my favorite oatmeal scotchie brookies recipe, combining the chewy goodness of chocolate chip cookies, oatmeal cookies, and brownies all in one treat. They’ve got butterscotch chips, plenty of chocolate, and that perfect fudgy texture you expect from a good brownie.
These brookies have become my go-to dessert for bake sales and potlucks. I always make a double batch because they disappear so quickly at home. Nothing beats having one (or two!) with a cold glass of milk, especially when they’re still a bit warm from the oven.
Why You’ll Love These Brookies
- Two desserts in one – These treats combine fudgy brownies with chewy oatmeal scotchies, giving you the best of both worlds in every bite.
- Flexible recipe – You can use your favorite boxed brownie mix or make it from scratch – either way works perfectly for these layered bars.
- Make-ahead friendly – These brookies stay fresh for several days when stored properly, making them perfect for bake sales, parties, or weekend meal prep.
- Simple ingredients – Most of these ingredients are probably already in your pantry, and you’ll only need basic baking tools to make them.
- Family favorite – The combination of chocolate, butterscotch, and oatmeal makes these treats appealing to both kids and adults.
What Kind of Oats Should I Use?
Quick oats are the way to go for this recipe, as they create the perfect chewy texture without being too chunky or overwhelming in the cookie layer. While you might be tempted to swap in old-fashioned rolled oats, they’re a bit too thick and can make your brookies more dense and rustic than intended. Quick oats blend more seamlessly into the dough, giving you that classic oatmeal cookie texture we all know and love. If you only have old-fashioned oats on hand, you can pulse them a few times in a food processor to create your own quick oats – just be careful not to turn them into oat flour!
Options for Substitutions
This fun combo cookie recipe has several ingredients that you can swap around if needed:
- Brownie mix: You can use any brand of brownie mix, or make it from scratch using the homemade ingredients listed. Just make sure to follow the box instructions for the wet ingredients if using a mix.
- Quick oats: If you only have old-fashioned oats, you can use those instead – just pulse them briefly in a food processor to break them down slightly. Steel-cut oats won’t work here though, as they’re too hard.
- Butterscotch morsels: Can’t find butterscotch chips? Try using caramel chips, white chocolate chips, or even toffee bits. Each will give a different but equally tasty result.
- Light brown sugar: Dark brown sugar works fine too – it’ll just give a slightly deeper molasses flavor. You can also make your own by mixing 1/2 cup white sugar with 1 tablespoon molasses.
- Cooking oil: Any neutral-flavored oil works here – vegetable, canola, or even melted coconut oil (though this might add a slight coconut taste).
- Regular flour: All-purpose flour is best here, but you can use pastry flour too. Just avoid bread flour as it will make the cookies too tough.
Watch Out for These Mistakes While Baking
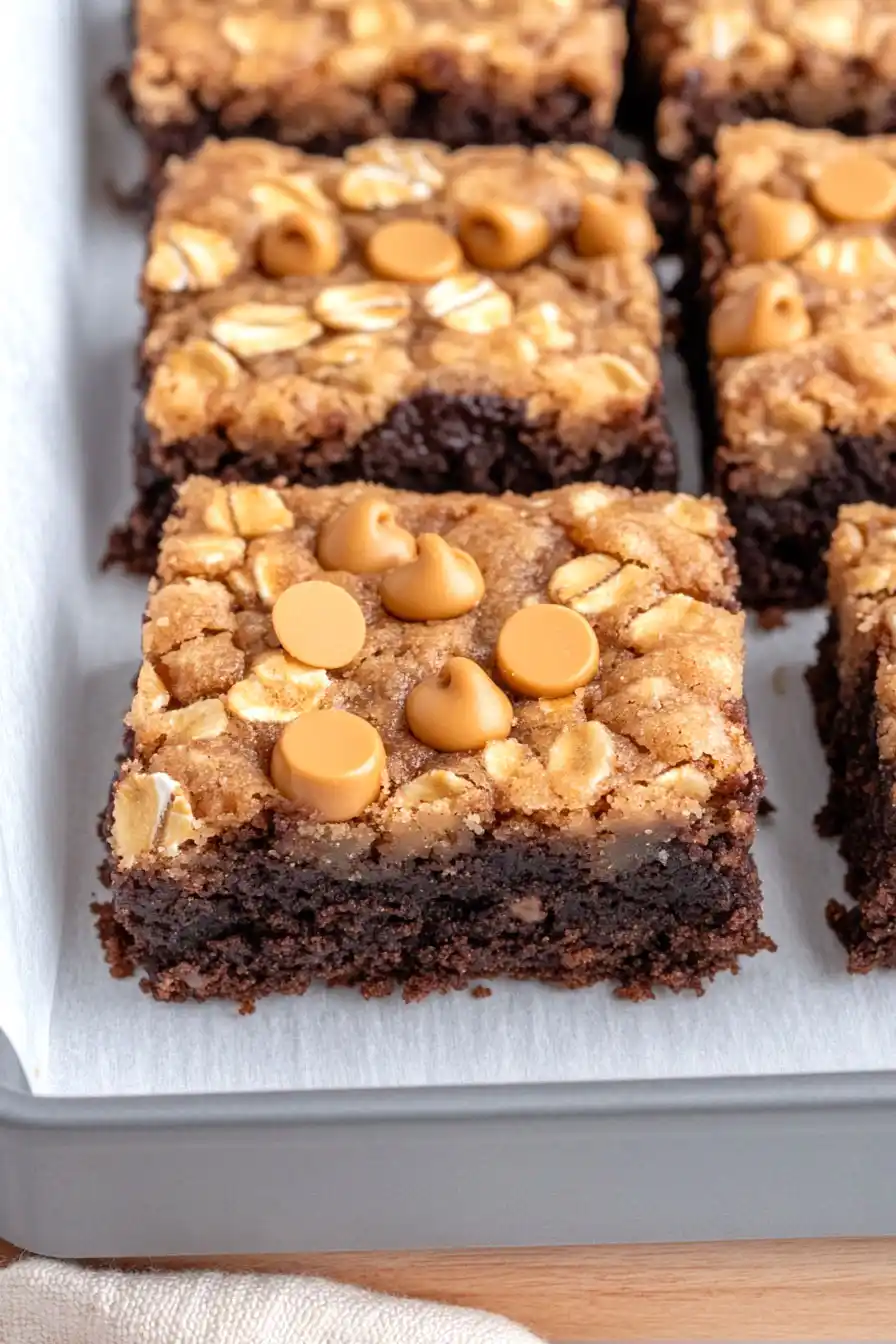
The trickiest part of making brookies is achieving the right consistency for both layers – overmixing either the brownie batter or the cookie dough will lead to tough, dense results instead of that perfect fudgy-chewy combination. When layering the two batters, avoid pressing too hard or mixing them together, as you want distinct layers that show off both the brownie and cookie textures. A common mistake is overbaking these treats – they should come out of the oven when a toothpick inserted in the center comes out with a few moist crumbs, as they’ll continue cooking slightly while cooling in the pan. For the best butterscotch flavor, try toasting your oats for 5-7 minutes before adding them to the cookie dough, and make sure your butter is truly at room temperature (not melted) to get the right cookie texture.
What to Serve With Brookies?
These oatmeal scotchie brookies are perfect with a cold glass of milk – the classic combo never fails when you’re dealing with rich, chocolatey treats! If you’re feeling fancy, try serving them slightly warm with a scoop of vanilla ice cream on top, letting it get just a bit melty. For a cozy afternoon treat, pair them with hot coffee or tea, which helps balance out the sweetness of the butterscotch and chocolate. You could also make an easy dessert board by serving these brookies alongside some fresh berries and whipped cream for a nice mix of flavors and textures.
Storage Instructions
Keep Fresh: These oatmeal scotchie brookies stay perfectly chewy when kept in an airtight container at room temperature for up to 5 days. I like to add a piece of bread to the container – it helps keep the brookies soft and prevents them from drying out too quickly.
Freeze: Good news – these brookies freeze really well! Place them in a freezer-safe container with wax paper between layers and they’ll keep for up to 3 months. It’s super handy to make a double batch and save some for later when those sweet cravings hit.
Thaw & Enjoy: When you’re ready for a frozen brookie, just let it thaw at room temperature for about 30 minutes. If you want that fresh-baked taste, pop it in the microwave for 10-15 seconds – the butterscotch chips get slightly melty again, which is pretty amazing!
| Preparation Time | 15-20 minutes |
| Cooking Time | 25-30 minutes |
| Total Time | 40-50 minutes |
| Level of Difficulty | Medium |
Estimated Nutrition
Estimated nutrition for the whole recipe (without optional ingredients):
- Calories: 2500-2800
- Protein: 30-40 g
- Fat: 120-140 g
- Carbohydrates: 350-400 g
Ingredients
For the brownie base:
- 1 1/2 tbsp water
- 3 cups brownie mix dry ingredients (I use Ghirardelli brownie mix for convenience)
- 3 eggs (large, at room temperature)
- 1 1/2 tsp vanilla essence (use a good quality vanilla for best flavor)
- 3/4 cup cooking oil (vegetable or canola oil works well)
For the oatmeal scotchies:
- 1/2 tsp ground cinnamon (freshly ground preferred for more aroma)
- 1/2 cup unsalted butter (softened, about 1 stick for easy creaming)
- 3/4 cup flour (all-purpose flour is fine)
- 1/2 tsp baking soda
- 1 cup butterscotch morsels (Nestlé Toll House are a classic choice for this)
- 1 egg
- 1/4 cup white sugar
- 1/2 cup packed light brown sugar
- 1 tsp vanilla extract
- 1 1/2 cups quick oats
- 1/2 tsp salt
Step 1: Prepare the Baking Pan
Preheat your oven to 350°F (175°C).
Line a 9×13” baking pan with foil and spray the foil with cooking spray.
This will ensure that your brownies and cookies release easily from the pan after baking.
Step 2: Prepare the Brownie Base
Mix the brownie batter according to the directions on the box, or if using a homemade mix, stir all the necessary ingredients together.
Once the batter is ready, spread it evenly in the bottom of your prepared pan, creating a smooth, even layer.
Step 3: Make the Cookie Dough
In the bowl of a stand mixer fitted with the paddle attachment (or using a hand mixer), cream together the butter and both sugars until smooth and creamy.
Beat in the egg, vanilla extract, baking soda, and salt until the mixture is smooth.
Gradually mix in the flour, then gently stir in the oats and butterscotch chips until evenly distributed throughout the dough.
Step 4: Layer the Cookie Dough
Drop spoonfuls of the cookie dough mixture evenly over the top of the brownie batter.
Use your hands to press the cookie dough down lightly.
The goal is to flatten the dough without mixing it into the brownie layer.
It’s okay if the cookie dough doesn’t completely cover the brownies; just try to get it as close to the edges as possible.
Step 5: Bake the Brownie-Cookie Bars
Bake in the preheated oven for 25-30 minutes, or until the cookie layer is golden brown.
Keep in mind that a toothpick test will not work well for these bars because the brownies will remain very fudgy.
Step 6: Cool and Serve
Allow the brownie-cookie bars to cool completely in the pan before slicing.
This ensures clean slices and helps the layers set.
Store the bars in an airtight container for up to 3 days, or freeze for up to one month for longer storage.
Enjoy your delicious creation with family and friends!
