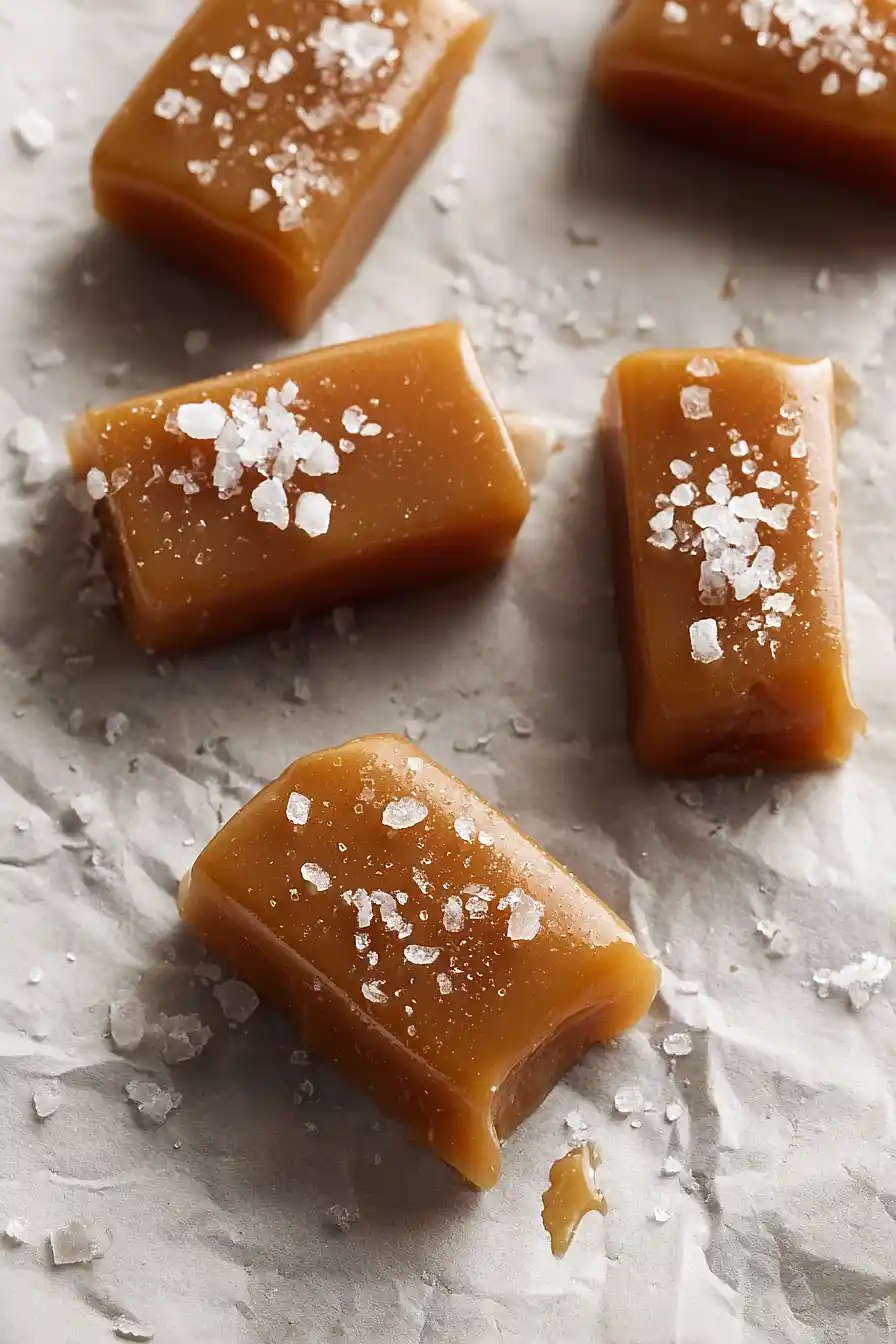
Here is my favorite sea salt caramel recipe, with just a handful of simple ingredients that come together to make soft, buttery caramels with the perfect sweet and salty balance.
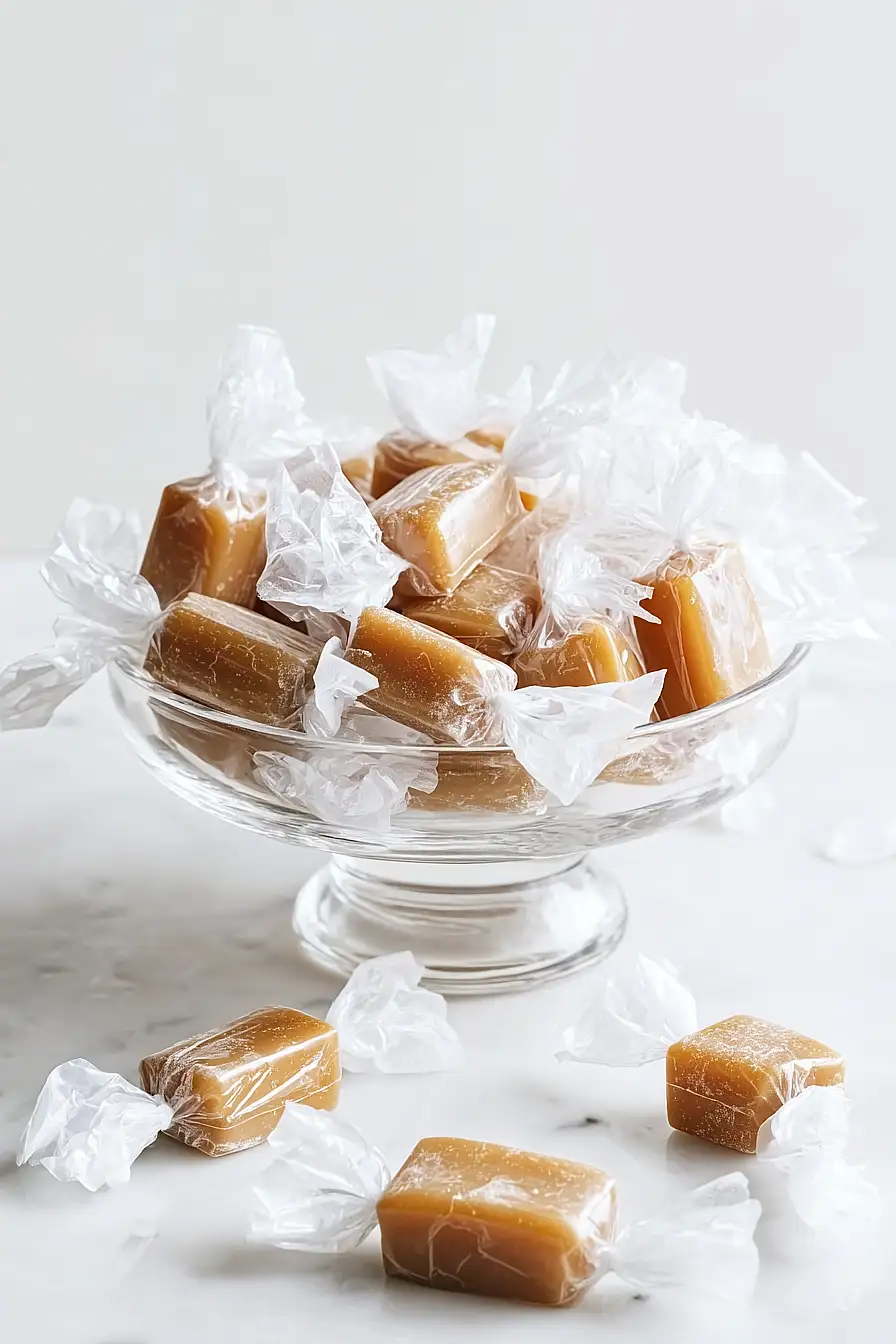
These sea salt caramels are always the first to disappear from my holiday candy tins. I love making big batches to wrap up as gifts, though I’ll admit we always keep plenty for ourselves too.
Why You’ll Love These Sea Salt Caramels
- Perfect homemade gift – These caramels make thoughtful presents for holidays, birthdays, or any special occasion. Wrap them up in pretty packaging and watch everyone’s face light up.
- Simple ingredients – You probably have most of these pantry staples on hand already, so you can whip up a batch whenever the craving strikes.
- Sweet and salty perfection – The combination of rich, buttery caramel with a sprinkle of sea salt creates an addictive flavor that’s hard to resist.
- Impressive but easy – While they look and taste like something from a fancy candy shop, these caramels are surprisingly straightforward to make at home.
What Kind of Butter Should I Use?
For this recipe, stick with unsalted butter so you can control the salt level in your caramels. European-style butter with higher fat content will give you a richer, creamier result, but regular unsalted butter from your grocery store works perfectly fine too. Make sure your butter is fresh and hasn’t been sitting in the fridge for months, as old butter can have an off flavor that’ll come through in your caramels. Some people like to use salted butter and skip the sea salt topping, but I find that defeats the purpose of making sea salt caramels since you want that nice contrast between the sweet caramel and the flaky salt on top.
Options for Substitutions
While caramels are pretty specific about their ingredients, here are a few swaps you can make if needed:
- Unsalted butter: You can use salted butter if that’s what you have, but reduce the sea salt to just a pinch since the butter already contains salt.
- Light brown sugar: Dark brown sugar works fine and will give you a slightly deeper molasses flavor. You can also make your own by mixing 2 1/2 cups white sugar with 2 tablespoons of molasses.
- Light corn syrup: Dark corn syrup can be used instead, though it will give your caramels a stronger flavor and darker color. Don’t skip the corn syrup entirely though – it prevents crystallization and keeps your caramels smooth.
- Vanilla paste: Vanilla extract works just as well. If you want to get fancy, you can scrape the seeds from one vanilla bean, but the extract is perfectly fine for great-tasting caramels.
- Coarse sea salt: Flaky sea salt like Maldon works beautifully, or you can use kosher salt. Just avoid regular table salt as it’s too fine and can make the caramels taste overly salty.
- Sweetened condensed milk: This ingredient is really important for the texture and sweetness of your caramels, so I’d recommend not substituting it if possible.
Watch Out for These Mistakes While Cooking
The biggest mistake when making caramels is not using a candy thermometer or stopping the cooking too early, which will leave you with a sticky, soft mess that never firms up – you need to reach exactly 248°F for that perfect chewy texture.
Stirring too vigorously or not enough can also ruin your batch, so aim for a steady, constant stir once all ingredients are combined to prevent scorching on the bottom of the pan.
Another common error is cutting the caramels before they’ve completely cooled (give them at least 4 hours or overnight), and when you do cut them, make sure to use a sharp knife lightly coated with cooking spray to get clean edges.
Finally, don’t skip lining your pan with parchment paper and greasing it well – this simple step makes removing and cutting your caramels so much easier and prevents frustration later.
What to Serve With Sea Salt Caramels?
These caramels are perfect on their own, but they’re also amazing when paired with a few simple treats. I love setting them out alongside dark chocolate squares and roasted nuts like almonds or pecans for a little dessert board situation. They’re also great wrapped up in small bags as gifts for friends and family, especially during the holidays. If you want to get fancy, try chopping them up and sprinkling them over vanilla ice cream or stirring them into your hot chocolate for an extra sweet touch.
Storage Instructions
Store: Keep your caramels wrapped individually in wax paper or parchment paper squares, then store them in an airtight container at room temperature for up to 2 weeks. If it’s really warm in your house, you might want to pop them in the fridge so they don’t get too soft and sticky.
Refrigerate: For longer storage, the fridge is your friend! Your wrapped caramels will stay fresh in an airtight container for up to a month. Just let them sit out for a few minutes before eating if you prefer a softer, chewier texture.
Freeze: These caramels freeze really well for up to 3 months. Wrap them individually first, then store in a freezer-safe container or bag. Thaw them in the fridge overnight or at room temperature for about 30 minutes before enjoying.
| Preparation Time | 15-20 minutes |
| Cooking Time | 30-45 minutes |
| Total Time | 24 hours |
| Level of Difficulty | Medium |
Estimated Nutrition
Estimated nutrition for the whole recipe (without optional ingredients):
- Calories: 4100-4400
- Protein: 18-22 g
- Fat: 130-150 g
- Carbohydrates: 720-760 g
Ingredients
- 1 can (14 oz) sweetened condensed milk
- 2 1/2 cups light brown sugar, packed
- 1/4 tsp coarse sea salt (I use Maldon)
- 1 cup unsalted butter (room temperature)
- 1 tbsp vanilla paste (gives better flavor)
- 1 cup light corn syrup
Step 1: Prepare the Pan
- 1 cup unsalted butter (room temperature)
Line a 9×13-inch jelly pan with parchment paper, ensuring the paper fits the bottom and sides.
Coat the parchment thoroughly with some softened butter so the caramels release easily after cooling.
Step 2: Melt the Butter
- 1 cup unsalted butter (room temperature)
In a large heavy-bottomed saucepan or pot, melt the butter over medium heat until fully liquefied.
Step 3: Combine Remaining Ingredients
- 2 1/2 cups light brown sugar, packed
- 1/4 tsp coarse sea salt (I use Maldon)
- 1 cup light corn syrup
- 1 can (14 oz) sweetened condensed milk
In a medium bowl, mix together the light brown sugar, 1/4 teaspoon of coarse sea salt, light corn syrup, and sweetened condensed milk until well blended.
Then, add this sugar mixture to the melted butter in the large pot on the stove.
Step 4: Cook the Caramel Mixture
- all ingredients combined in previous steps
Increase the heat to medium-high and cook, stirring occasionally, until the mixture begins to boil (about 10-15 minutes).
Once boiling, reduce heat to medium, attach a candy thermometer to the pot, and cook while stirring constantly until the mixture reaches the Firm Ball Stage (245–248°F).
This can take 20-30 minutes.
The caramel should become thick, paste-like, and develop a deep hue.
I always make sure to stir constantly during this step to keep the mixture from scorching.
Step 5: Add Vanilla and Pour
- 1 tbsp vanilla paste (gives better flavor)
Once the caramel reaches 245–248°F and is thick and dark, remove the pot from the heat.
Carefully stir in the vanilla paste—it will bubble rapidly, so be cautious.
Immediately pour the hot caramel into the prepared pan, spreading it evenly.
Step 6: Finish and Cool the Caramel
- 1/4 tsp coarse sea salt (I use Maldon)
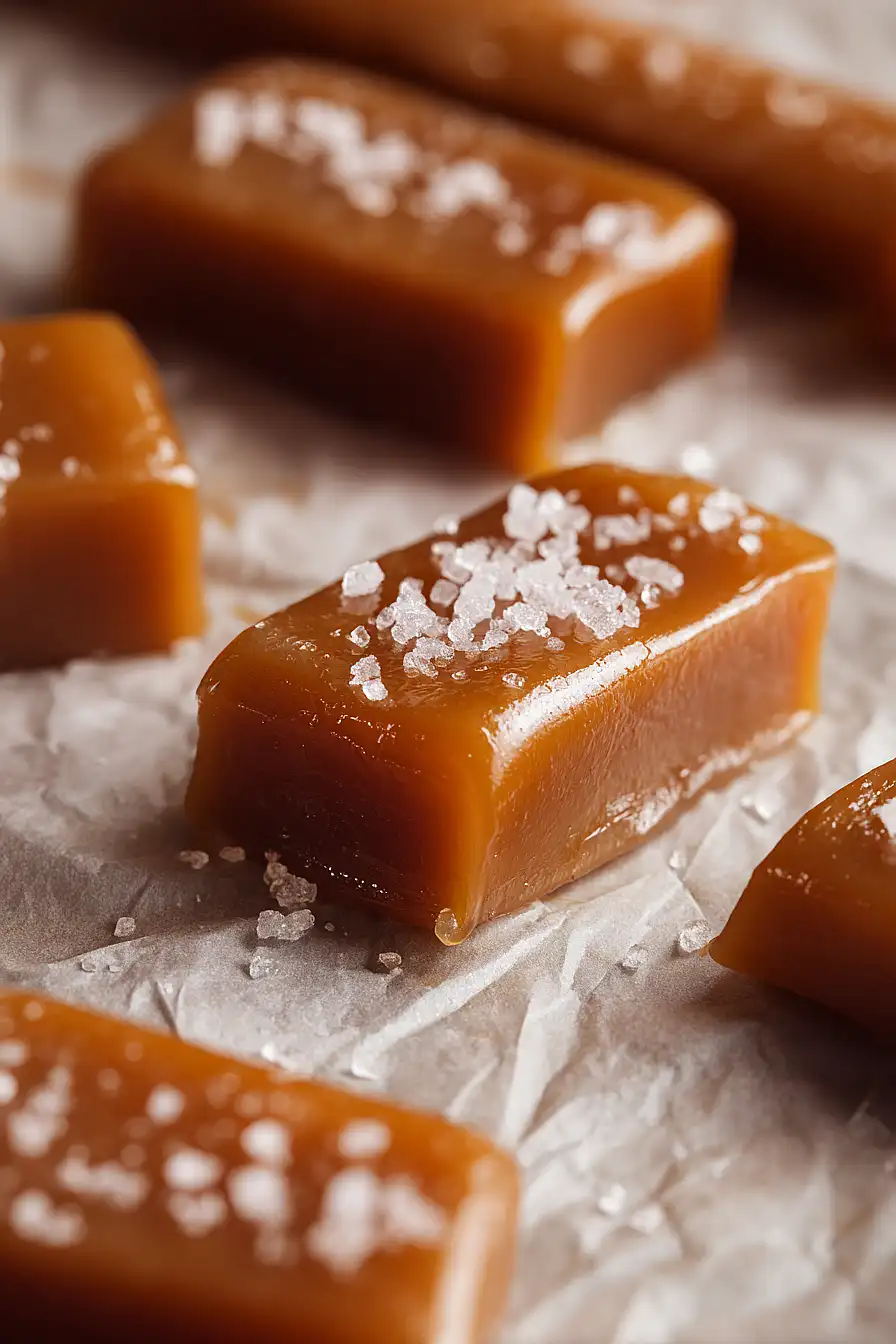
Allow the warm caramel to cool in the pan for 20–30 minutes, then sprinkle the remaining coarse sea salt evenly over the surface for a beautiful finish.
Let the caramel cool completely at room temperature, ideally overnight, so it can firm up perfectly.
I always let my caramels sit undisturbed overnight for the best texture.
Step 7: Cut and Wrap the Caramels
Carefully lift the cooled caramel slab from the pan using the parchment paper, then place it on a large cutting board.
Cut the caramel into 1×1-inch squares using a sharp knife or pizza cutter, and wrap each piece in wax candy wrappers to serve or gift.

Best Sea Salt Caramels
Ingredients
- 1 can (14 oz) sweetened condensed milk
- 2 1/2 cups light brown sugar, packed
- 1/4 tsp coarse sea salt (I use Maldon)
- 1 cup unsalted butter (room temperature)
- 1 tbsp vanilla paste (gives better flavor)
- 1 cup light corn syrup
Instructions
- Line a 9x13-inch jelly pan with parchment paper, ensuring the paper fits the bottom and sides. Coat the parchment thoroughly with some softened butter so the caramels release easily after cooling.
- In a large heavy-bottomed saucepan or pot, melt the butter over medium heat until fully liquefied.
- In a medium bowl, mix together the light brown sugar, 1/4 teaspoon of coarse sea salt, light corn syrup, and sweetened condensed milk until well blended. Then, add this sugar mixture to the melted butter in the large pot on the stove.
- Increase the heat to medium-high and cook, stirring occasionally, until the mixture begins to boil (about 10-15 minutes). Once boiling, reduce heat to medium, attach a candy thermometer to the pot, and cook while stirring constantly until the mixture reaches the Firm Ball Stage (245–248°F). This can take 20-30 minutes. The caramel should become thick, paste-like, and develop a deep hue. I always make sure to stir constantly during this step to keep the mixture from scorching.
- Once the caramel reaches 245–248°F and is thick and dark, remove the pot from the heat. Carefully stir in the vanilla paste—it will bubble rapidly, so be cautious. Immediately pour the hot caramel into the prepared pan, spreading it evenly.
- Allow the warm caramel to cool in the pan for 20–30 minutes, then sprinkle the remaining coarse sea salt evenly over the surface for a beautiful finish. Let the caramel cool completely at room temperature, ideally overnight, so it can firm up perfectly. I always let my caramels sit undisturbed overnight for the best texture.
- Carefully lift the cooled caramel slab from the pan using the parchment paper, then place it on a large cutting board. Cut the caramel into 1x1-inch squares using a sharp knife or pizza cutter, and wrap each piece in wax candy wrappers to serve or gift.
