Hey there, fellow food lovers!
Are you craving some comfort food? I’ve got something special for you today!
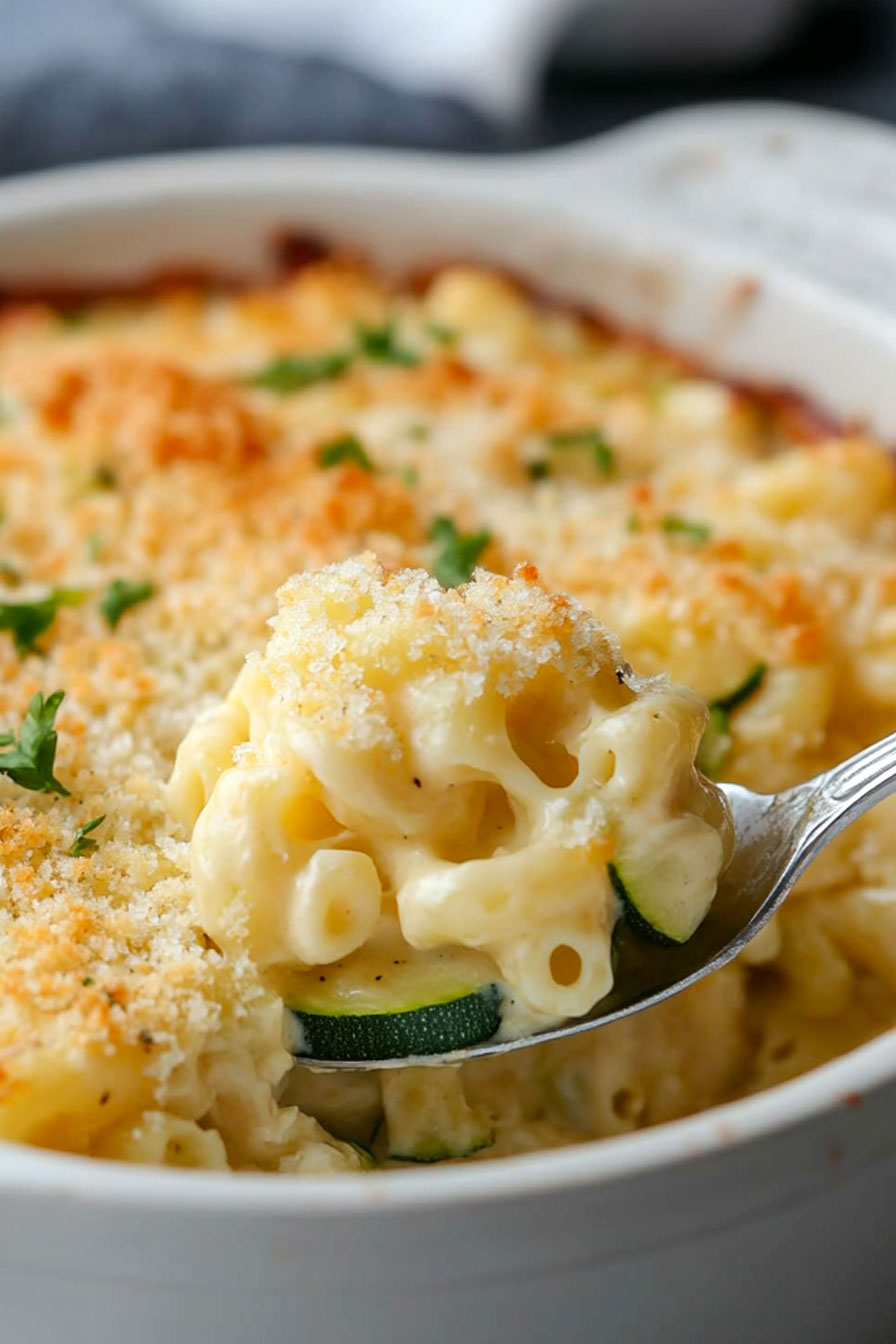
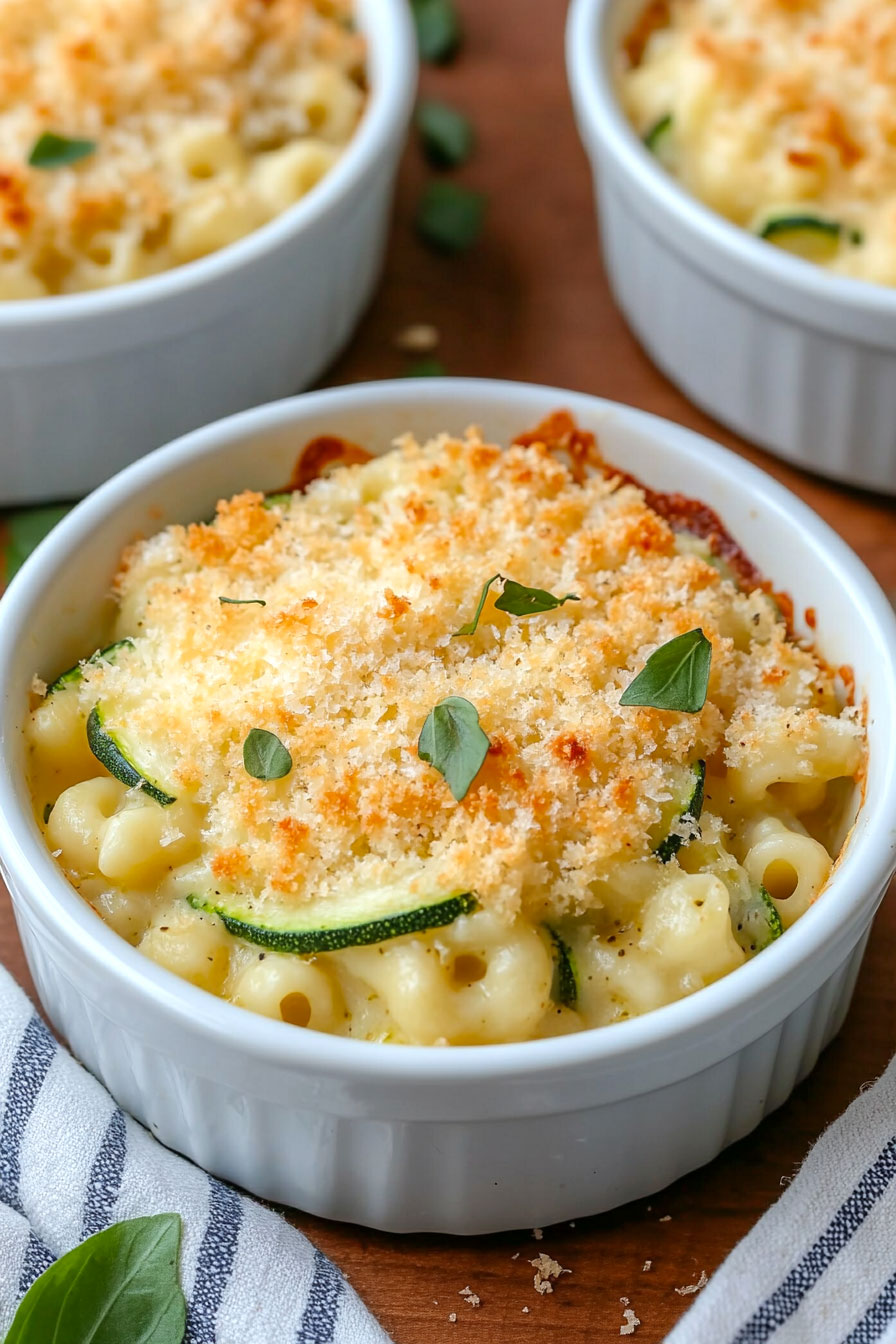
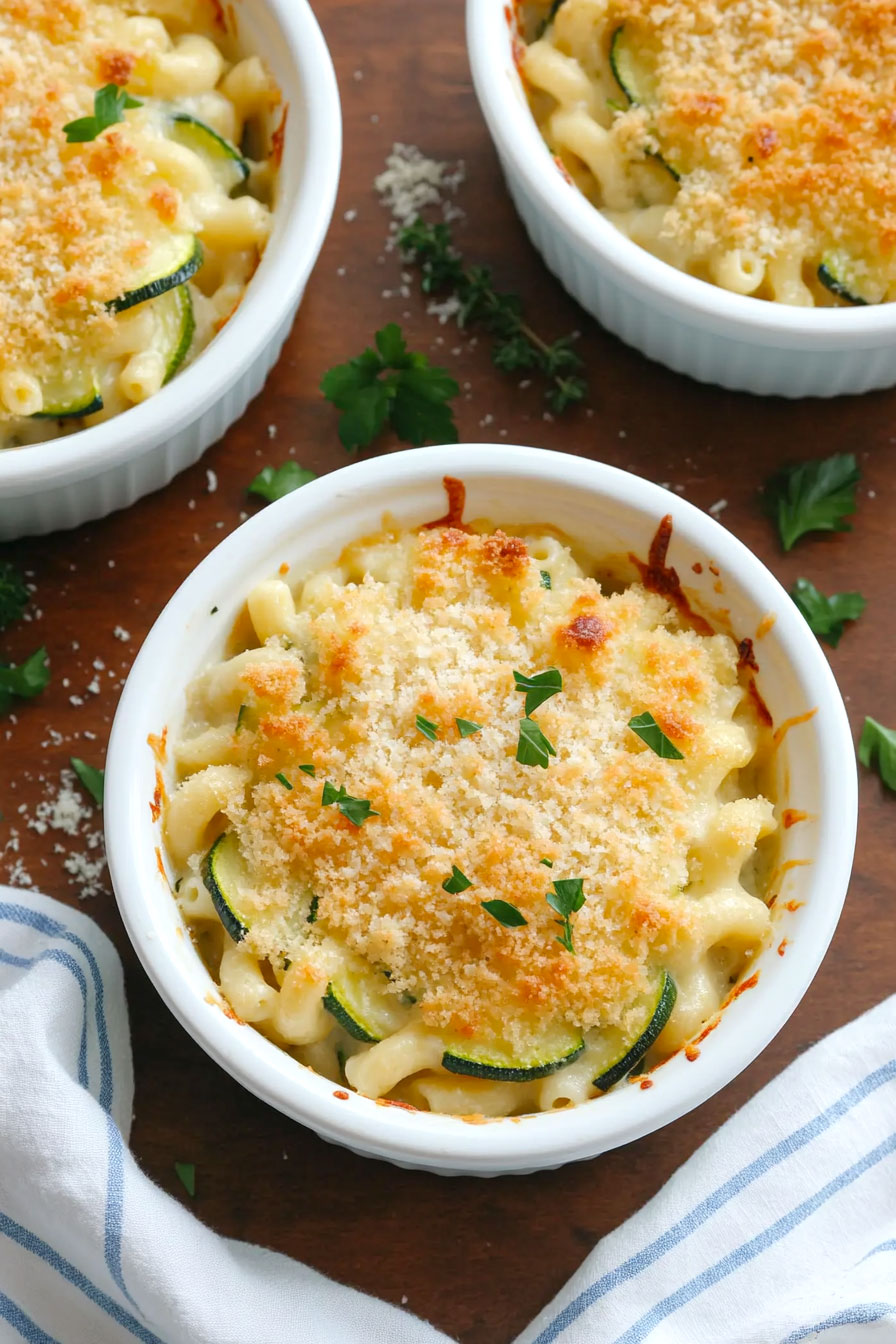
Check out my baked zucchini mac and cheese.
It’s cheesy, creamy, and filled with sneaky veggies. Perfect for kids and adults alike!
Trust me, you won’t even miss the traditional mac and cheese.
Let’s dive into this deliciousness!
Possible Ingredient Alternatives
For a gluten-free version, replace the elbow pasta with chickpea or lentil pasta. These alternatives provide a similar texture and additional protein. Adjust cooking time as needed, as gluten-free pastas often cook faster. All-purpose flour can be substituted with cornstarch or arrowroot powder for thickening. Use about half the amount of cornstarch as you would flour. Heavy cream can be replaced with unsweetened cashew cream or coconut cream for a dairy-free option. These alternatives maintain the dish’s richness while accommodating lactose intolerance or vegan diets. If using coconut cream, be aware that it may impart a subtle coconut flavor to the dish.
| Preparation Time | 15-20 minutes |
| Cooking Time | 30-45 minutes |
| Total Time | 45-65 minutes |
| Level of Difficulty | Medium |
Estimated Nutrition
Estimated nutrition for the whole recipe (without optional ingredients):
- Calories: 2200-2400
- Protein: 80-90 g
- Fat: 130-150 g
- Carbohydrates: 220-240 g
Ingredients
For the mac and cheese:
- 1/4 cup grated Parmesan
- 16.9 fl oz milk
- 1.5 cups shredded cheese (cheddar or a cheddar blend works well)
- 3 tbsp all-purpose flour
- pepper to taste
- 2.6 oz butter (unsalted, for better flavor control)
- 5.1 fl oz heavy cream
- 1 small brown onion (finely diced)
- 1 clove garlic (freshly minced)
- 1 tsp Dijon mustard
- 5.3 oz grated zucchini (squeeze out excess moisture)
- salt to taste
- 14.1 oz elbow pasta
For the topping:
- parsley for garnish
- 1/3 cup breadcrumbs (panko breadcrumbs for extra crispiness)
- 1/2 cup shredded cheese
Step 1: Prepare the Oven and Cook the Pasta
Preheat your oven to 190°C (375°F) and lightly grease a large baking dish to prevent sticking.
Meanwhile, cook the pasta in a large pot according to the package instructions, aiming for al dente texture.
Once cooked, promptly drain the water to stop further cooking.
Step 2: Make the Béchamel Sauce
In a separate saucepan, melt the butter over medium-low heat.
Add the diced onion and garlic, cooking until softened, approximately 3-4 minutes.
Stir in the flour and whisk quickly, cooking the mixture for about 1 minute.
Step 3: Build the Sauce
Slowly add the cream to the mixture, continuing to whisk to prevent lumps from forming.
Follow with the milk, maintaining a smooth texture.
This process should take about 5-10 minutes.
Once the sauce has thickened, incorporate the cheeses, zucchini, and mustard.
Season with salt and pepper.
Simmer gently until the cheese melts, stirring constantly to prevent the sauce from catching on the bottom of the pan.
Step 4: Combine Pasta and Sauce
Add the prepared cheese sauce to the drained pasta, stirring until well combined.
Ensure the pasta is thoroughly coated with the sauce for even flavor distribution.
Step 5: Assemble and Bake
Transfer the pasta and sauce mixture into the pre-greased baking dish.
Top it with breadcrumbs and a layer of cheese to create a crispy, golden topping.
Bake in the preheated oven for 10-15 minutes until the cheese on top has melted and turned slightly golden.
Step 6: Serve
Once baked, allow the dish to cool slightly before serving.
For an optional garnish, sprinkle with fresh parsley.
Enjoy your creamy, cheesy baked pasta!