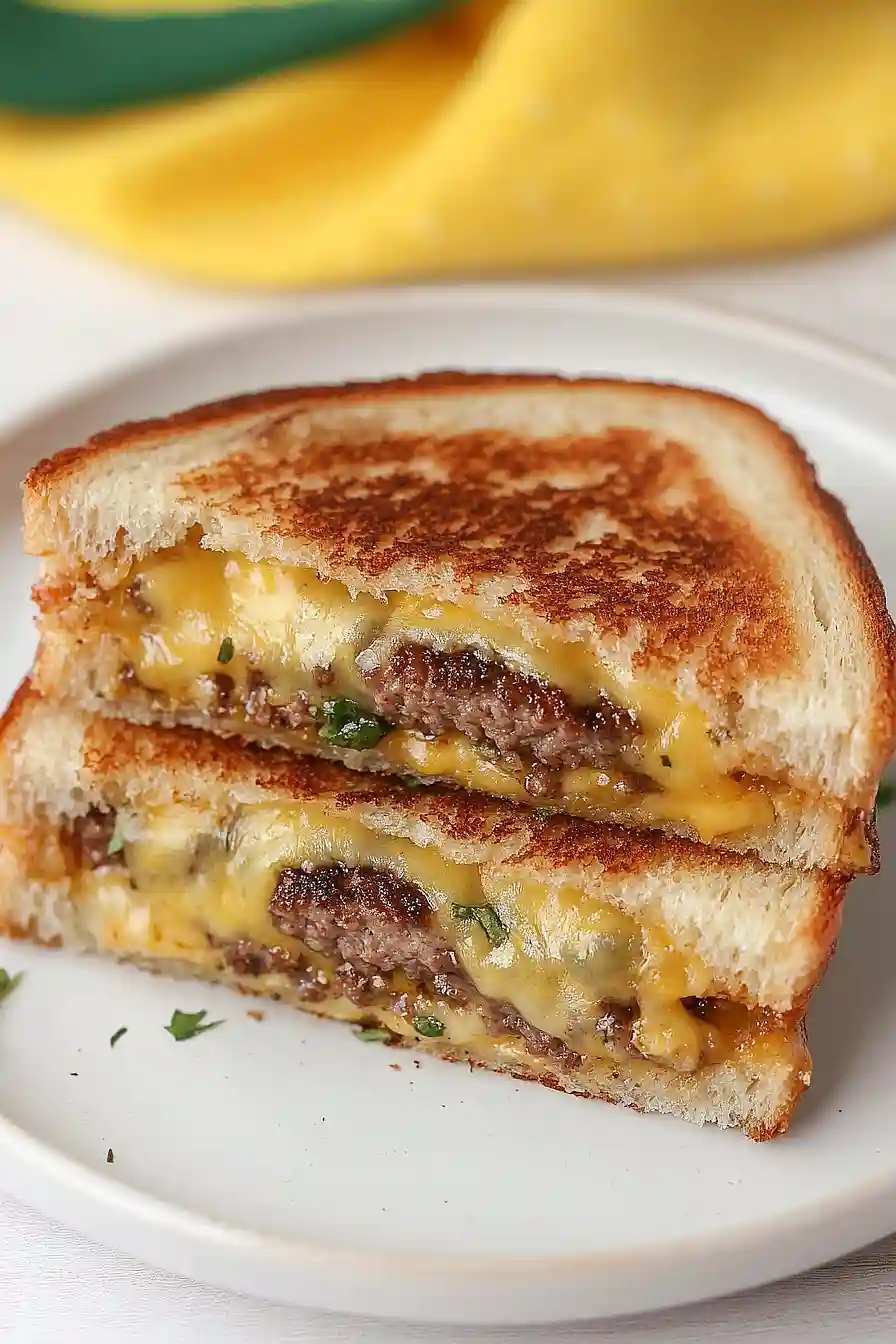
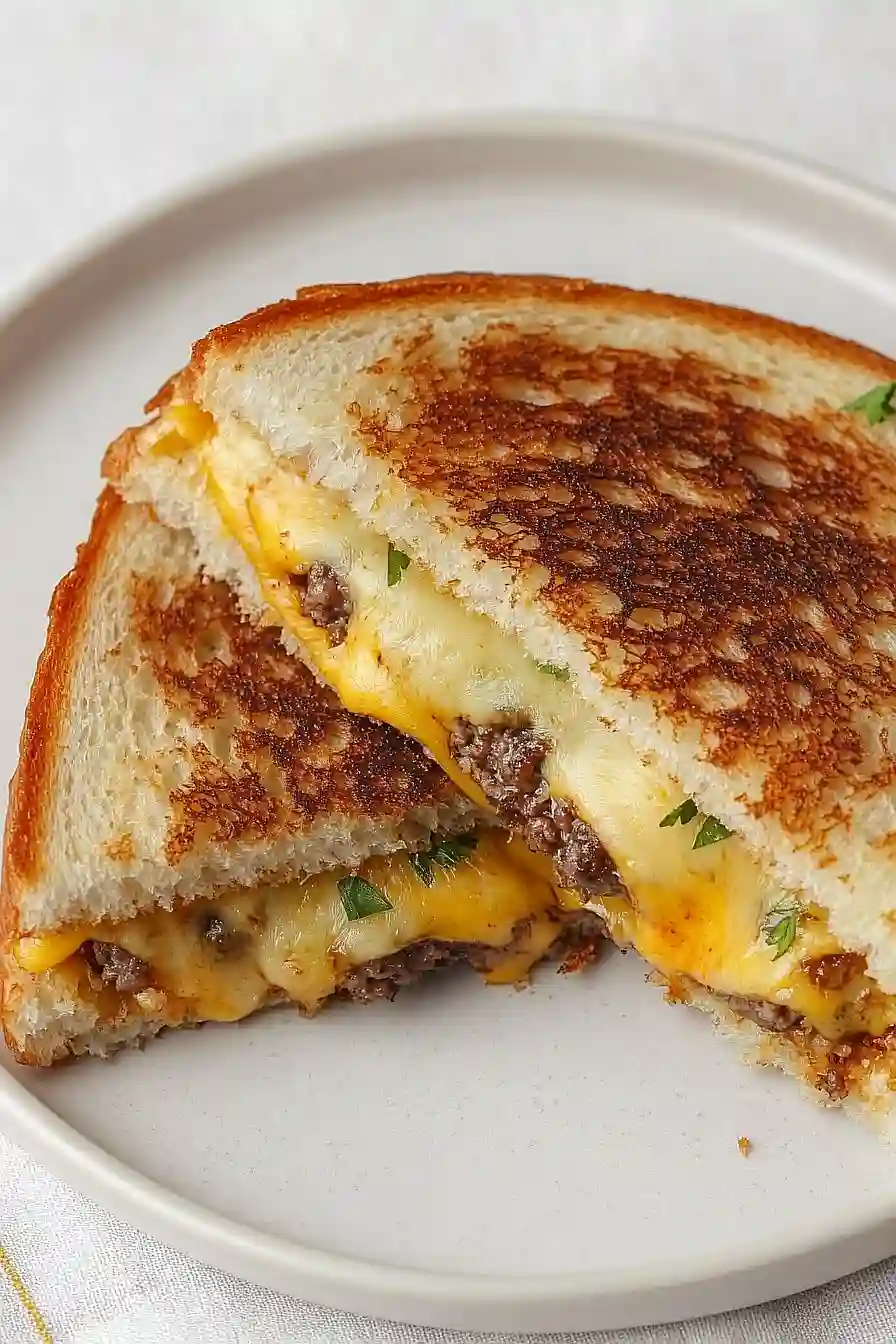
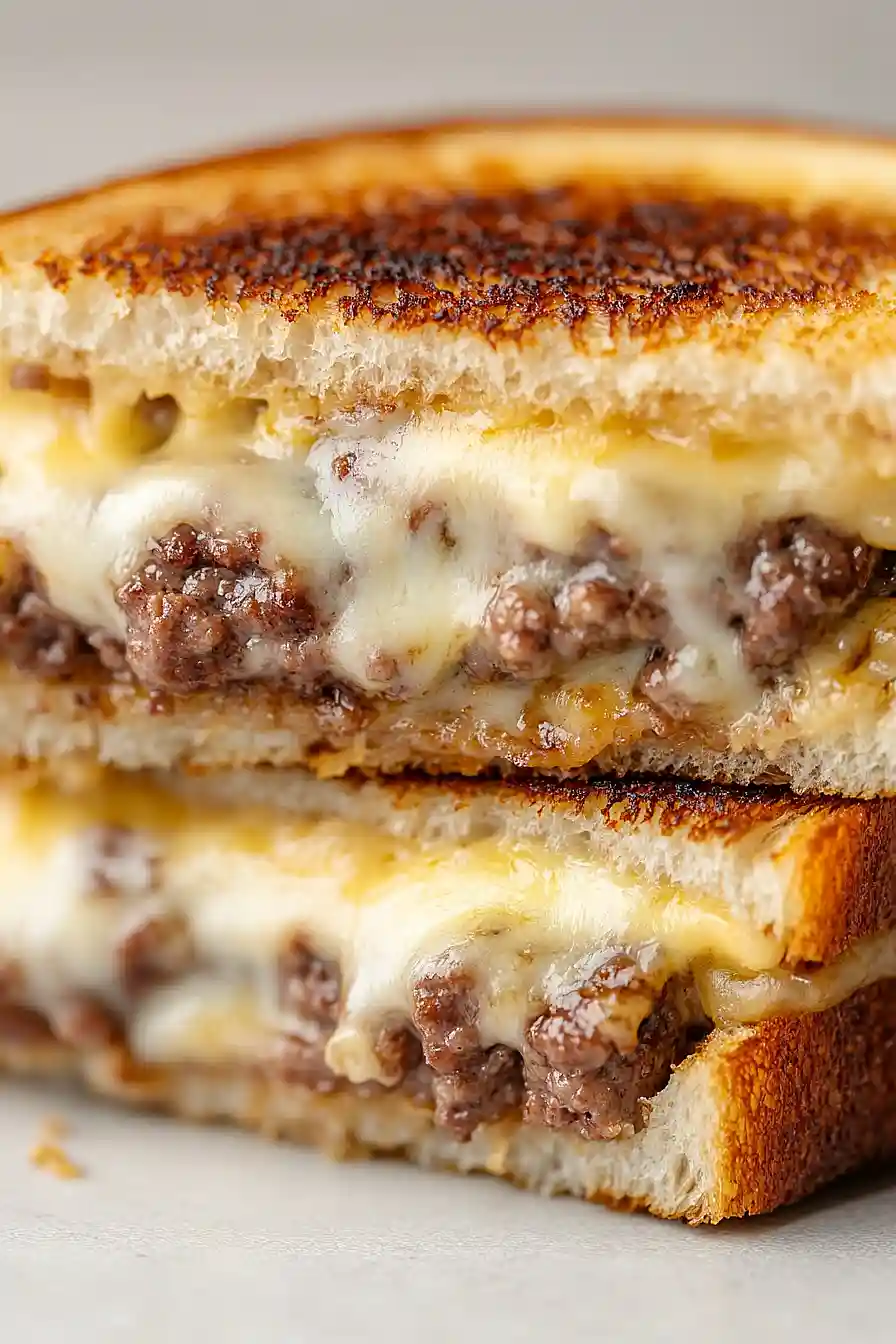
Here is my go-to smash burger grilled cheese recipe, with crispy, thin patties, melted cheese, and all the goodness of a burger tucked between two perfectly toasted slices of bread.
This sandwich has become my kids’ favorite weekend lunch request. I often make extra patties because they disappear so quickly in our house. Nothing beats that combination of juicy beef and gooey cheese in one handheld package, right?
Why You’ll Love This Smash Burger Grilled Cheese
- Two comfort foods in one – This mashup combines the best parts of a juicy smash burger and a gooey grilled cheese, creating the ultimate comfort food experience.
- Quick preparation – Ready in just 25-35 minutes, this recipe is perfect for those busy weeknights when you want something satisfying without spending hours in the kitchen.
- Simple ingredients – Using basic ingredients like ground beef, cheese, and bread that you likely already have in your kitchen, this recipe keeps shopping simple and stress-free.
- Customizable – You can easily adjust the toppings, cheese types, and sauce to match your preferences – making it perfect for both picky eaters and food enthusiasts.
What Kind of Ground Beef Should I Use?
For the best smash burgers, you’ll want to look for ground beef with a fat content of 80/20 (that’s 80% lean meat and 20% fat). This higher fat content is key to getting that amazing crust and flavor that smash burgers are known for. While you could use leaner ground beef like 90/10, you might end up with a drier, less flavorful result. When buying your ground beef, try to get it freshly ground from the butcher counter if possible – this ensures the meat will hold together better when you smash it. Just make sure your beef is very cold right up until cooking time, as this helps create those crispy, lacy edges everyone loves about smash burgers.
Options for Substitutions
This fun mashup sandwich can be customized in several ways. Here are some helpful swaps:
- Ground beef: While 80/20 ground beef is ideal for smash burgers, you can use ground turkey or chicken if you prefer. Just add 1 tablespoon of olive oil per pound to keep the meat juicy since these alternatives are leaner.
- American cheese: Not a fan of American cheese? Cheddar slices work great too. Just keep in mind that American cheese melts the best for that classic burger feel.
- Havarti cheese: You can swap the shredded Havarti with mozzarella, Monterey Jack, or provolone – any good melting cheese will do the job!
- White bread: Feel free to use sourdough, rye, or Texas toast instead. Just make sure it’s sturdy enough to hold up to all the fillings.
- Dill pickle chips: Not into pickles? Try banana peppers, jalapeños, or leave them out completely – it’s your sandwich!
- Butter: Mayo works just as well for grilling the bread, and some folks even prefer it for getting that golden-brown crust.
Watch Out for These Mistakes While Cooking
The biggest mistake when making smash burgers is not getting your pan or griddle hot enough – you need screaming hot temperatures to achieve that perfect crust, so let your cooking surface heat up for at least 5 minutes before starting.
Another common error is pressing the burger multiple times while cooking; you should smash the patty only once, right at the beginning when the meat hits the hot surface, then leave it alone until it’s time to flip.
The cheese selection can make or break your sandwich – while it might be tempting to use only fancy cheese, the combination of American cheese (which melts perfectly) with Havarti creates the ideal balance of flavor and texture, so don’t skip the American cheese entirely.
For the crispiest grilled cheese exterior, butter your bread slices evenly right to the edges, and cook over medium heat rather than high heat – this allows the cheese to melt completely before the bread burns.
What to Serve With Smash Burger Grilled Cheese?
This rich and cheesy sandwich calls for some classic sides that can hold their own against such a hearty main dish. French fries are the natural choice – either regular or sweet potato fries work great, and they’re perfect for dipping in any extra smash burger sauce you have on hand. For a lighter option that still brings some crunch, a simple coleslaw or dill pickle spears help cut through the richness of all that melty cheese and beef. If you’re feeling extra hungry, some crispy onion rings would be amazing alongside this sandwich, especially since there are already caramelized onions in the mix. Just remember to serve everything piping hot – there’s nothing better than that first bite of a warm, gooey grilled cheese with perfectly crispy sides!
Storage Instructions
Keep Fresh: Once cooked, your smash burger grilled cheese is best enjoyed right away while the cheese is all melty and the bread is crispy. If you have leftovers, wrap them in aluminum foil and pop them in the fridge for up to 2 days – though honestly, they’re never quite as good as fresh off the griddle!
Make Ahead: Want to save some time? You can prep your smashburger patties ahead and keep them in the fridge for up to 24 hours. Just separate them with wax paper and store in an airtight container. The sauce can also be made up to 3 days in advance and stored in the fridge.
Warm Up: To bring back some of that fresh-made magic, warm up leftover sandwiches in a skillet over medium-low heat. Cover with a lid to help the cheese melt again, and flip occasionally until heated through. Skip the microwave – it’ll make the bread soggy!
| Preparation Time | 10-15 minutes |
| Cooking Time | 15-20 minutes |
| Total Time | 25-35 minutes |
| Level of Difficulty | Medium |
Estimated Nutrition
Estimated nutrition for the whole recipe (without optional ingredients):
- Calories: 2400-2600
- Protein: 150-160 g
- Fat: 160-170 g
- Carbohydrates: 200-220 g
Ingredients
For the burger patties:
- 1 lb ground beef
- 1/2 cup burger sauce (I use a local brand called ‘Smash Sauce’)
- 1 small onion (thinly sliced using a mandoline)
- freshly ground black pepper, to taste
- kosher salt, to taste (Diamond Crystal brand is my preference)
For the grilled cheese assembly:
- 1/3 cup dill pickle chips (thinly sliced for best burger experience)
- 2 cups shredded Havarti cheese
- 2 tbsp salted butter
- 8 slices thick-cut white bread
- 8 slices American cheese (for ultimate melty goodness)
Step 1: Prepare the Burger Patties
- 1 lb ground beef
Divide the ground beef into four equal portions and roll each into a ball.
This will help form even-sized smash burgers.
Step 2: Cook and Smash the Burgers
- beef balls from Step 1
- kosher salt, to taste
- freshly ground black pepper, to taste
- 1/2 cup burger sauce
- 1 small onion, thinly sliced
Heat a large cast iron skillet or flat-top griddle over high heat until it is smoking hot.
Once the surface is ready, add the beef balls.
Season each ball with a hefty pinch of kosher salt and freshly ground black pepper, then top with 1 teaspoon of burger sauce and some thinly sliced onion.
To smash, place a sheet of wax or parchment paper over each burger and press down firmly with a thin metal spatula and a heavy object, like a sandwich press or meat mallet, until thin.
Cook until the burgers are caramelized on one side and about 60% cooked through.
Step 3: Flip and Cheese the Burgers
- smashed and cooked burgers from Step 2
- 8 slices American cheese
Carefully flip each smashed burger, making sure to scrape up any bits stuck to the pan for maximum flavor.
As soon as you’ve flipped them, top each burger with 2 slices of American cheese and allow it to melt while the burgers finish cooking.
The burgers are done when they reach an internal temperature of 165°F.
Step 4: Prep the Bread and Assemble the Sandwiches
- 8 pieces thick-cut white bread
- remaining 1/2 cup burger sauce (for spreading)
- 2 tbsp salted butter
- cheeseburgers with melted cheese from Step 3
- 1/3 cup dill pickle chips
- 2 cups shredded havarti cheese
Turn the heat to low.
Spread 1 tablespoon of burger sauce each onto four slices of thick-cut white bread.
On a clean side of the skillet, melt 1 tablespoon of butter, ensuring there are no burnt bits.
Place the sauced bread slices, sauce side up, onto the skillet.
Flip the cheeseburgers from Step 3 onto the bread (cheese side down).
Top each burger with a few dill pickle chips and evenly sprinkle the shredded Havarti cheese over them.
Place the remaining bread slices on top and brush with the remaining tablespoon of butter.
I like to be generous with the butter so the bread toasts up extra crispy and golden.
Step 5: Grill the Sandwiches
- assembled sandwiches from Step 4
Cook the sandwiches until the bottom bread is golden brown and most of the cheese has melted.
Carefully flip and continue cooking until the second side is golden brown and all the cheese is fully melted.
Press gently to help fuse everything together.
Step 6: Rest and Serve
Remove the sandwiches from the heat and let them rest for 1 minute before serving.
This resting period helps the cheese set slightly so the sandwiches are easier to handle and less likely to fall apart.
Serve immediately, with extra smash burger sauce on the side for dunking.
I like to serve with an extra side of pickles for even more crunch.
