If you ask me, brookies are one of the best dessert mash-ups ever created.
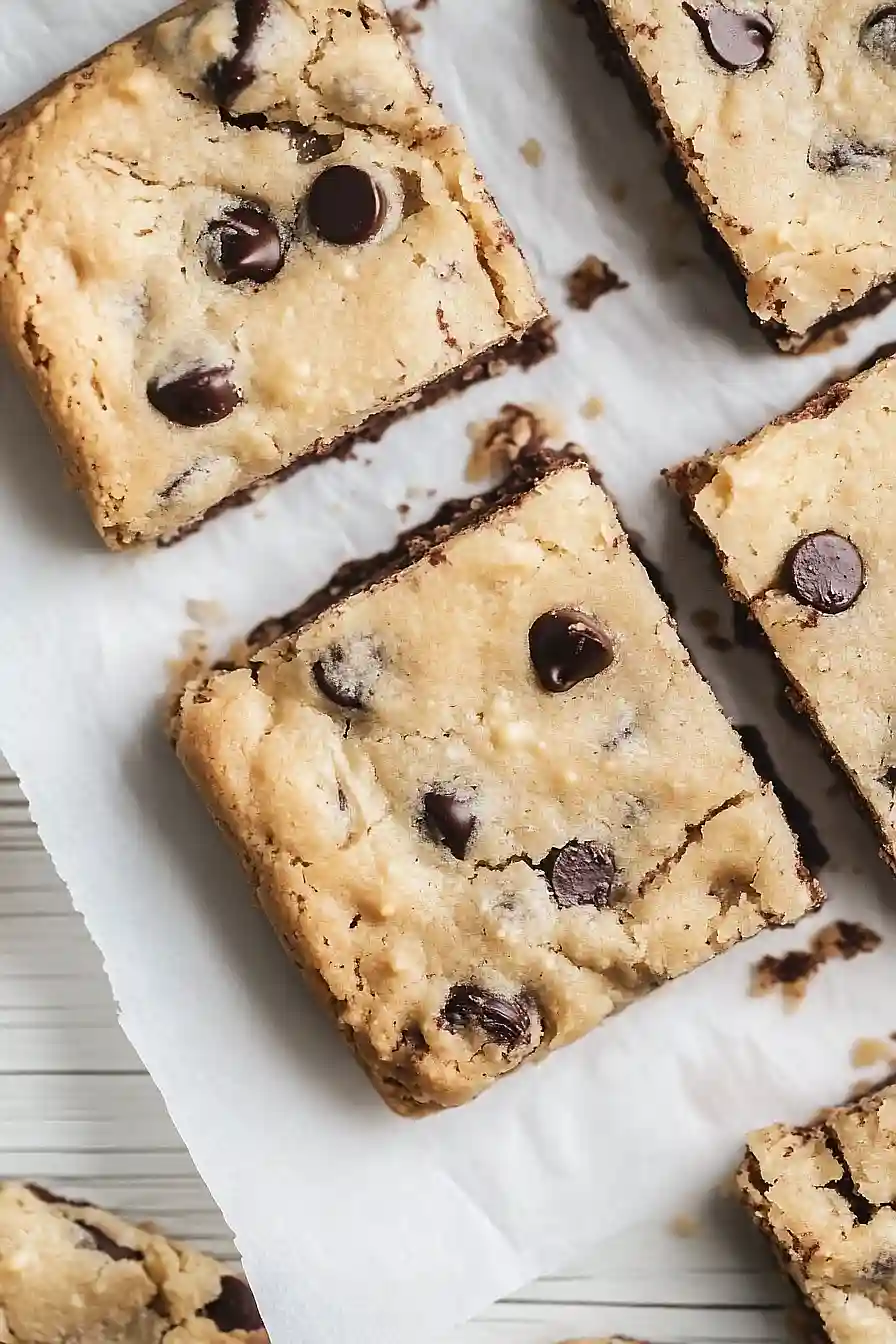
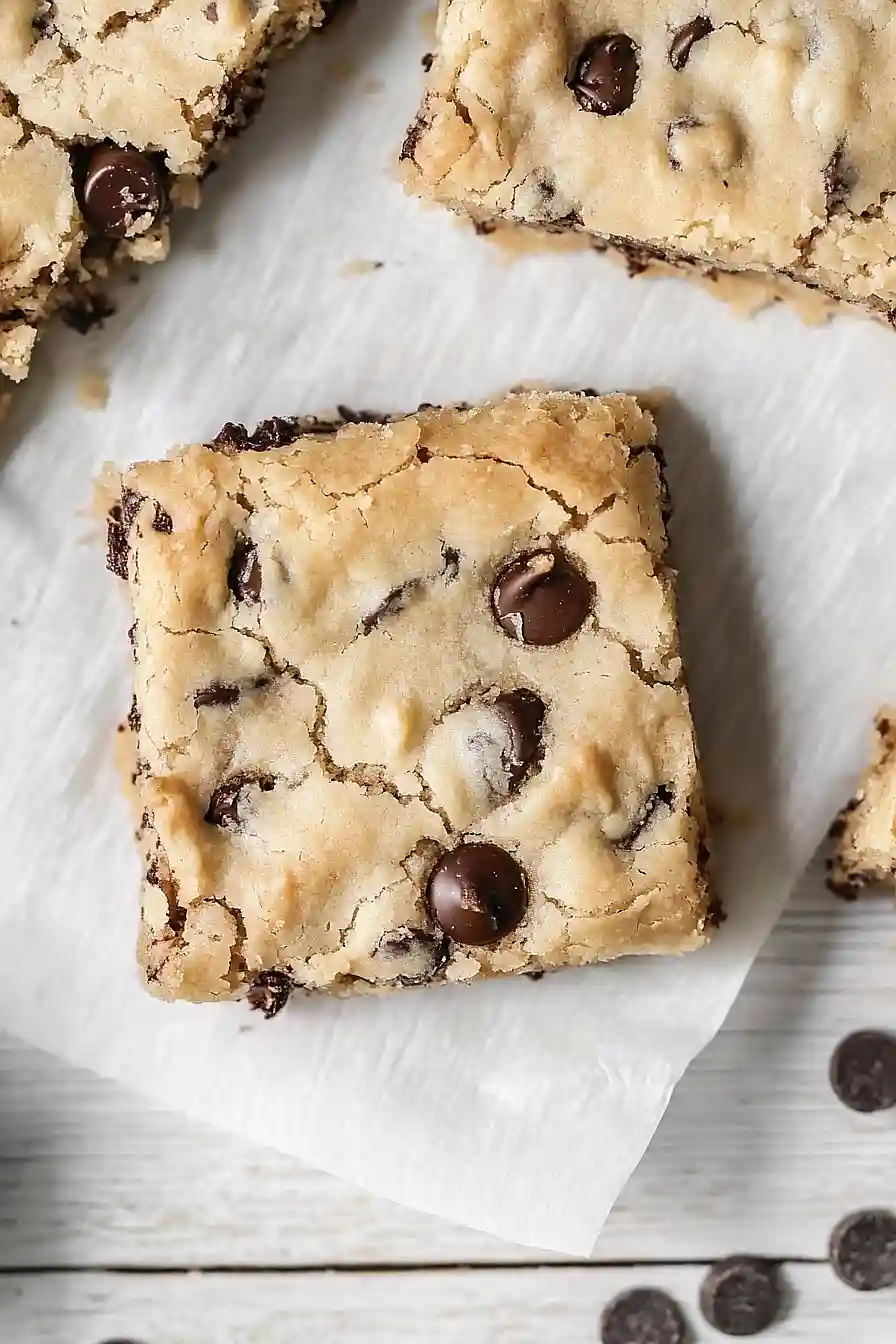
This indulgent combo takes the classic brownie-cookie hybrid and turns it into a rich cheesecake that’s sure to make chocolate lovers smile. Fudgy brownie base meets chocolate chip cookie pieces, all wrapped up in creamy cheesecake filling.
It’s topped with extra cookie chunks and swirls of chocolate that make every bite a perfect balance of flavors. The contrast between dense brownie, smooth cheesecake, and bits of cookie creates something that’s seriously hard to resist.
It’s a family-favorite dessert that satisfies both cookie and brownie cravings in one delicious slice.

Why You’ll Love This Brookie Cheesecake
- Three desserts in one – This recipe combines the best of brownies, chocolate chip cookies, and cheesecake into one amazing dessert – no need to choose between your favorites!
- Make-ahead friendly – Perfect for preparing a day before your special event, as cheesecakes actually taste better after chilling overnight in the fridge.
- Basic pantry ingredients – You likely have most of these ingredients already in your kitchen – just standard baking staples like butter, sugar, flour, and chocolate chips.
- Show-stopping dessert – With its layers of brownie, cookie, and cheesecake, this dessert looks impressive when sliced and served, making it perfect for parties and gatherings.
- Crowd-pleasing recipe – Since it combines three beloved desserts, this treat satisfies chocolate lovers, cookie fans, and cheesecake enthusiasts all at once.
What Kind of Cream Cheese Should I Use?
For cheesecake recipes, you’ll want to stick with full-fat block cream cheese – specifically the kind that comes in a brick, not the spreadable kind in a tub. Philadelphia brand is the go-to choice for most bakers since it has a consistent texture and the right fat content for a smooth, creamy cheesecake. Make sure to let your cream cheese come completely to room temperature before using it, which usually takes about 1-2 hours on the counter. If you’re in a pinch, generic brand block cream cheese will work too, but avoid using low-fat versions as they can make your cheesecake watery and affect the texture.
Options for Substitutions
This fun mashup dessert has some room for substitutions, though some ingredients are must-haves:
- Cream cheese: For the cheesecake layer, stick with full-fat cream cheese – it’s essential for the right texture. Light cream cheese won’t set properly and can make your cheesecake runny.
- Cocoa powder: You can use Dutch-process cocoa instead of natural cocoa powder. The brownie will be darker and have a smoother chocolate taste. Just note that Dutch-process cocoa might make the brownies slightly less fudgy.
- Butter: While unsalted butter is preferred, you can use salted butter – just skip the added salt in the recipe. For dairy-free needs, you can try coconut oil, though the texture and taste will be slightly different.
- Mini chocolate chips: Regular-sized chips work fine in the cookie layer, or try chopped chocolate bars. For variety, use milk chocolate or white chocolate chips instead of semi-sweet.
- All-purpose flour: For a gluten-free version, use a 1-to-1 gluten-free flour blend. Regular cake flour works too, but might make the texture a bit more delicate than intended.
- Milk: Any type of milk works here – whole, 2%, almond, or soy milk will all do the job in the cookie layer.
Watch Out for These Mistakes While Baking
The biggest challenge when making a brookie cheesecake is ensuring all your ingredients are at the right temperature – cold cream cheese or eggs can lead to a lumpy, uneven texture, so make sure they’re properly brought to room temperature for at least 2 hours before starting. Another common mistake is overmixing the cheesecake batter after adding the eggs, which can create cracks on the surface – mix just until the ingredients are combined and no longer. To prevent the brownie layer from becoming too dense or dry, avoid overbaking it before adding the cheesecake layer, and always use a water bath to ensure even baking and prevent cracks. For the cookie dough layer, make sure to thoroughly cream the butter and sugars until light and fluffy – rushing this step can result in a tough, dense texture rather than the soft, tender bite you’re looking for.
What to Serve With Brookie Cheesecake?
This rich and decadent dessert combines three favorites – brownies, cookies, and cheesecake – so you’ll want to keep the accompaniments simple and complementary. A scoop of vanilla ice cream on the side adds a cool, creamy contrast that works really well with the different textures in this dessert. For a coffee shop feel at home, serve slices with a hot cup of coffee or espresso – the slight bitterness pairs perfectly with the sweet chocolate elements. If you’re feeling extra indulgent, a drizzle of warm caramel sauce or a dollop of fresh whipped cream can add that special finishing touch.
Storage Instructions
Keep Fresh: This brookie cheesecake needs to be kept cold! Place it in an airtight container and store in the fridge for up to 5 days. The combination of brownie, cookie, and cheesecake layers actually gets even better after a day as the flavors meld together.
Freeze: Want to save some for later? You can freeze individual slices or the whole cheesecake for up to 3 months. Just wrap it well in plastic wrap and then aluminum foil to prevent freezer burn. Pro tip: slice the cheesecake before freezing to make it easier to grab just what you need!
Thaw: When you’re ready to enjoy your frozen brookie cheesecake, transfer it to the fridge and let it thaw overnight. For the best texture, let it sit at room temperature for about 30 minutes before serving. This helps bring out all those amazing flavors and gives you that perfect creamy consistency.
| Preparation Time | 30-45 minutes |
| Cooking Time | 65-70 minutes |
| Total Time | 95-115 minutes |
| Level of Difficulty | Medium |
Estimated Nutrition
Estimated nutrition for the whole recipe (without optional ingredients):
- Calories: 3800-4200
- Protein: 40-50 g
- Fat: 240-260 g
- Carbohydrates: 450-480 g
Ingredients
For the brownie layer:
- 1/4 tsp fine salt
- 1 cup granulated sugar
- 1 stick unsalted butter (melted and cooled slightly)
- 1/2 tsp vanilla extract
- 1/2 cup all-purpose flour
- 2 large eggs (room temperature, about 70°F)
- 1 cup unsweetened cocoa powder (I use Hershey’s unsweetened cocoa)
For the cookie dough layer:
- 4 tbsp unsalted butter (cool room temperature, not melted)
- 1/4 cup granulated sugar
- 3/4 cup all-purpose flour (I always use King Arthur all-purpose flour)
- 2 tbsp milk (whole milk for richer flavor)
- 1/4 tsp fine salt
- 1 tsp vanilla extract
- 1/3 cup packed light brown sugar
- 1/2 cup mini semisweet chocolate chips
For the cheesecake layer:
- 1 tbsp all-purpose flour
- 1/2 cup granulated sugar
- 2 pkgs cream cheese (room temperature for smooth mixing)
- 1/4 tsp fine salt
- 2 large eggs (at room temperature)
Step 1: Prepare the Baking Pan and Preheat Oven
Preheat your oven to 325°F (163°C).
Line an 8×8-inch metal baking pan with foil, leaving enough overhang to easily lift the brownies out later.
This makes removal and cleanup much easier.
Step 2: Mix the Brownie Batter
- 1 stick unsalted butter, melted
- 1 cup granulated sugar
- 1 cup unsweetened cocoa powder
- 1/4 tsp fine salt
- 1/2 tsp vanilla extract
- 2 large eggs, room temperature
- 1/2 cup all-purpose flour
In a large bowl, combine the melted unsalted butter, granulated sugar, unsweetened cocoa powder, and fine salt.
Stir until the mixture is well combined and thick.
If the butter is still hot, allow the mixture to cool slightly.
Mix in the vanilla extract.
Add the eggs one at a time, stirring thoroughly after each addition to ensure the batter is very well blended.
Finally, stir in the all-purpose flour until just combined.
I always make sure not to overmix at this stage to keep the brownies fudgy.
Step 3: Bake and Chill the Brownie Layer
- brownie batter from Step 2
Spread the prepared brownie batter evenly into the lined pan.
Bake at 325°F (163°C) for 15 minutes—it should be just starting to set but not fully cooked.
Allow the brownie layer to cool to room temperature, then refrigerate until ready to use for the next layers.
I like to chill the layer well—this helps the other layers set nicely.
