Making your own pickles at home might sound like a daunting task that’s best left to grandmas or food preservation experts. After all, most of us are used to grabbing a jar off the grocery store shelf without thinking twice about how those crispy cucumbers got there in the first place.
But here’s the good news: homemade pickles are actually super easy to make, don’t require any special equipment, and taste way better than store-bought versions. Plus, you can control exactly what goes into them and adjust the flavors to match your family’s taste preferences.
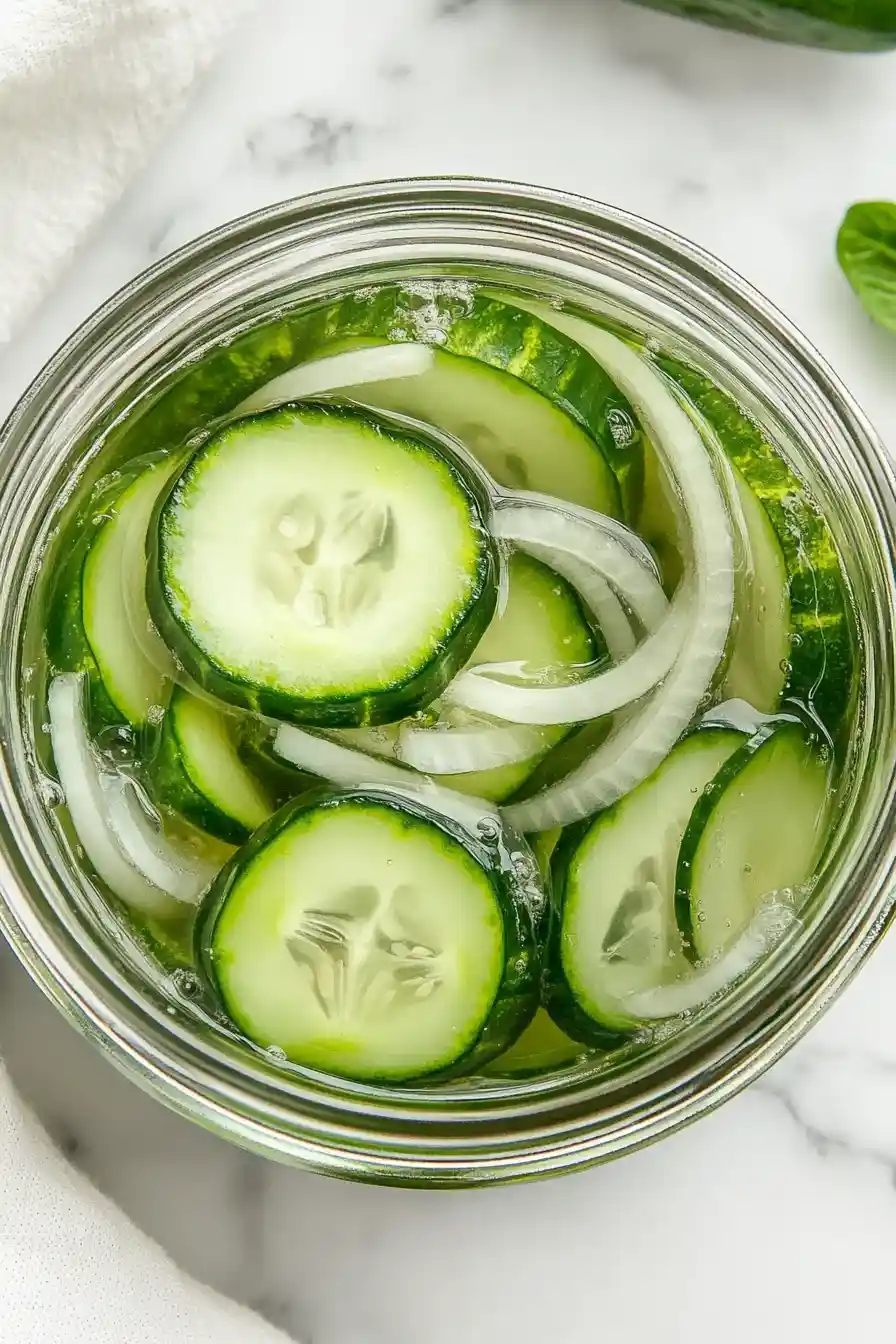
Why You’ll Love These Homemade Pickles
- Quick preparation – These pickles come together in just 30-40 minutes – no long fermentation needed. You’ll have crispy, flavorful pickles ready to enjoy the same day.
- Simple ingredients – With just 6 basic ingredients you probably already have in your kitchen, you can skip the store-bought versions and make your own fresh batch at home.
- Cost-effective – Making pickles at home costs a fraction of what you’d pay for artisanal pickles at the store, and you can make a bigger batch for the same price.
- Customizable flavor – You control the sweetness, saltiness, and crunch factor – adjust the sugar, salt, and vegetable thickness to match your perfect pickle preference.
What Kind of Cucumbers Should I Use?
For homemade pickles, Kirby cucumbers are your best bet since they’re small, firm, and have fewer seeds than regular slicing cucumbers. Persian or English cucumbers also work well because they’re crisp and have thin skins that absorb the brine nicely. If you’re using regular garden cucumbers, look for ones that are small to medium-sized – the big ones tend to be too seedy and watery for pickling. Just make sure whichever type you choose is fresh and firm, without any soft spots or yellowing. A good trick is to slice off the blossom end of the cucumber before pickling, as this contains enzymes that can lead to mushy pickles.
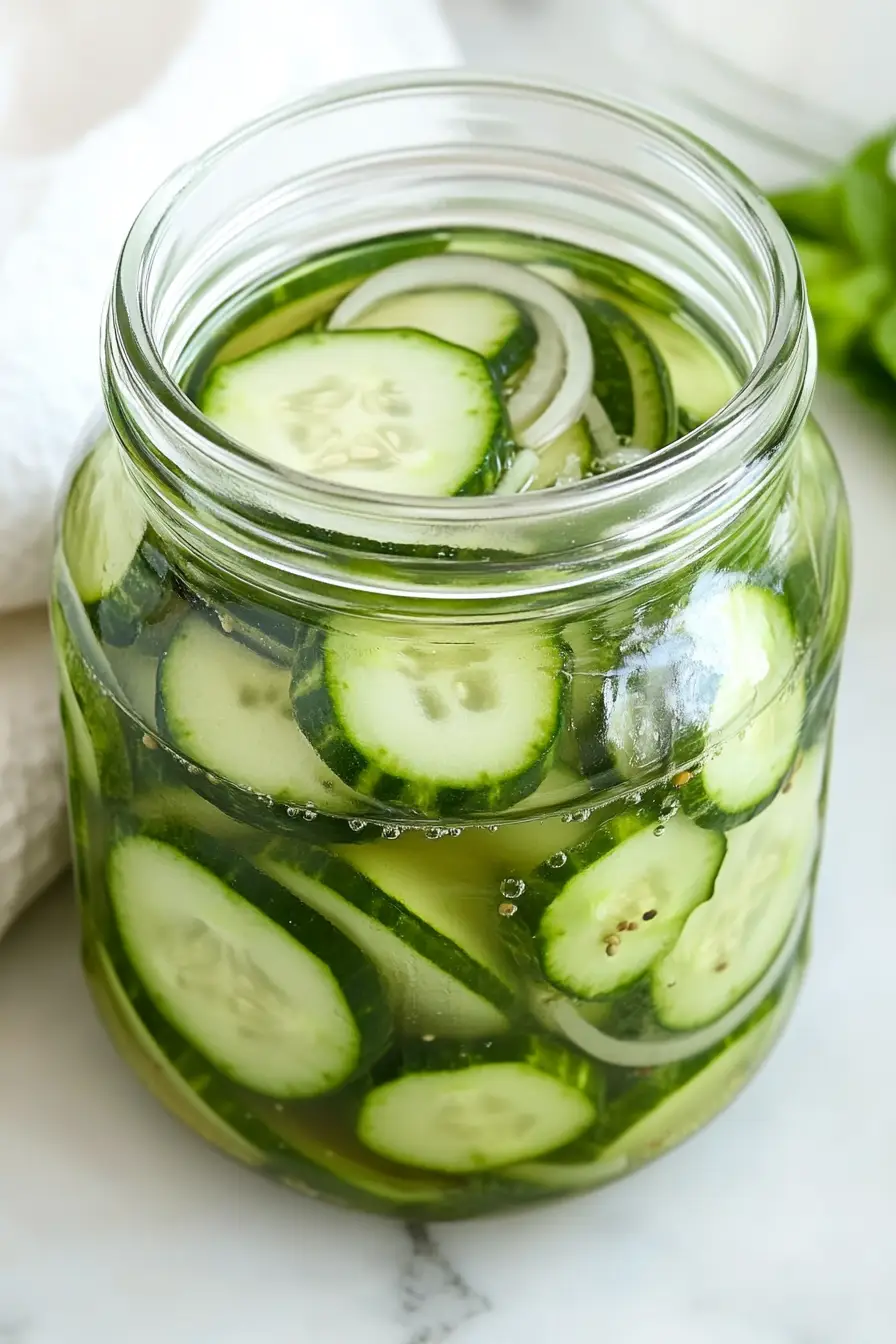
Options for Substitutions
Making these pickles at home gives you room to play around with some ingredients. Here’s what you can swap:
- White vinegar: While white vinegar is the go-to choice, you can use apple cider vinegar instead. Just know it will add a slightly different flavor and might darken your pickles a bit.
- Granulated sugar: You can reduce the sugar amount if you prefer less sweet pickles, or swap in honey (use 1.5 cups instead of 2 cups sugar). However, some sugar is needed for the pickling process.
- Cucumbers: Any variety of cucumber works here – English, Persian, or regular garden cucumbers. Just make sure they’re fresh and crisp. You can’t substitute this main ingredient since it’s what makes them pickles!
- Onions: White, yellow, or red onions all work fine. Red onions will give your pickle mixture a pink tint.
- Green peppers: Feel free to swap these with red, yellow, or orange bell peppers, or leave them out completely. You could also try adding celery or carrots instead.
- Salt: Stick with regular table salt or pickling salt – don’t use iodized salt as it can make your brine cloudy and affect the taste.
Watch Out for These Mistakes While Cooking
The biggest mistake when making homemade pickles is not properly sterilizing your jars, which can lead to unwanted bacteria growth and spoilage – always wash jars in hot, soapy water and heat them in boiling water for at least 10 minutes before using. A common error is cutting your cucumbers too thick, which prevents them from properly absorbing the brine – aim for slices about 1/4 inch thick for the perfect crunch and flavor absorption. To avoid soft or mushy pickles, make sure to trim off the blossom end of the cucumber, as it contains enzymes that can lead to softening, and always use fresh, firm cucumbers without any soft spots or blemishes. For the crispiest results, try soaking your cucumber slices in ice water for 2-3 hours before pickling, and avoid overprocessing the jars, as too much heat can turn your pickles from crispy to mushy.
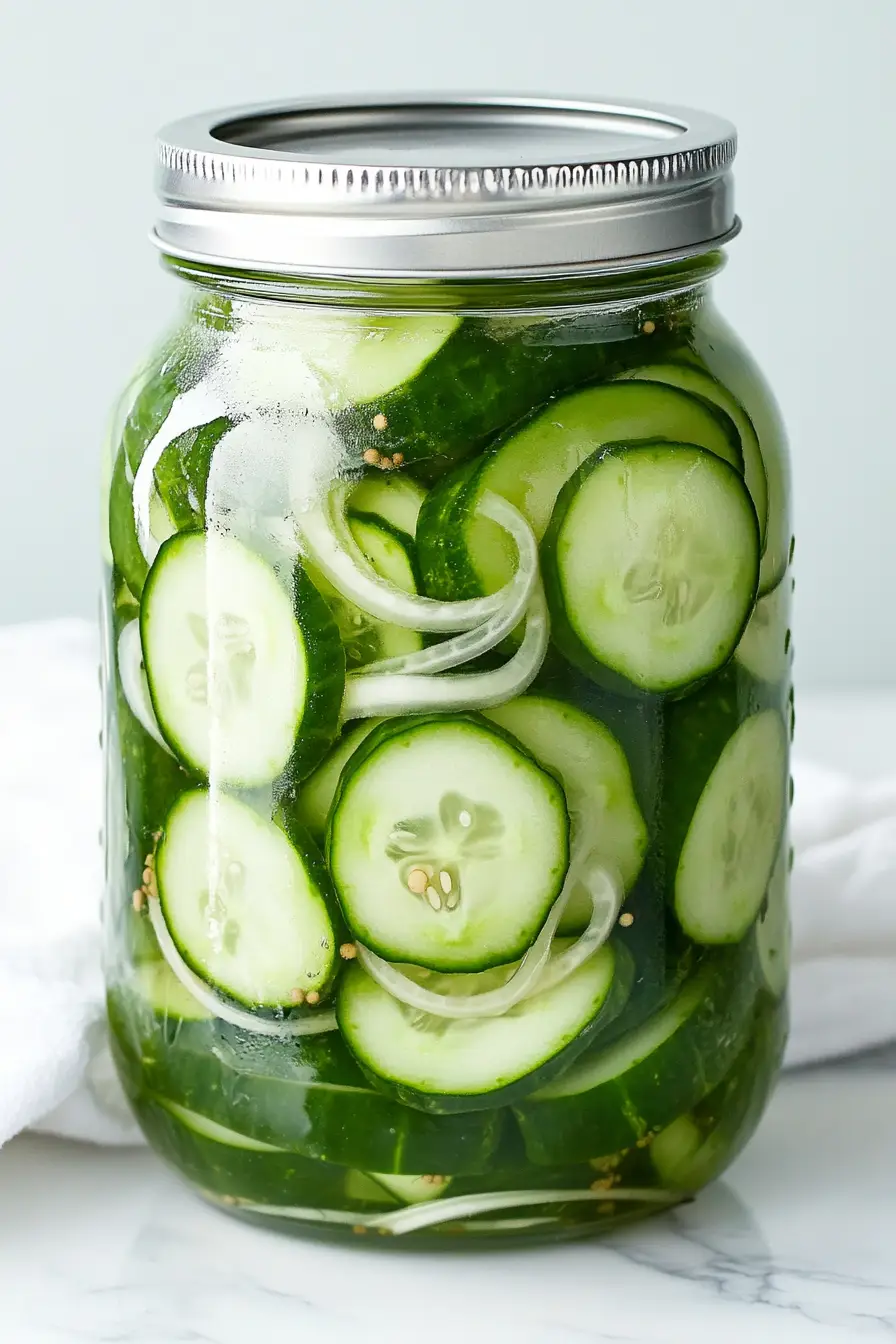
What to Serve With Homemade Pickles?
These sweet and tangy homemade pickles are perfect for adding a crisp, refreshing crunch to your favorite sandwiches and burgers. They’re also great alongside classic barbecue dishes like pulled pork, grilled chicken, or hot dogs – the acidity helps cut through rich, smoky flavors. I love putting out a bowl of these pickles as part of a casual lunch spread with cold cuts, cheese slices, and fresh bread for make-your-own sandwiches. For a fun appetizer setup, try serving them on a charcuterie board alongside different cheeses, cured meats, and crackers.
Storage Instructions
Keep Fresh: These homemade pickles need to be kept in the refrigerator in an airtight jar or container. Make sure the pickles stay submerged in the brine – this helps them stay crisp and tasty. They’ll keep well for about 2-3 weeks in the fridge.
Make Ahead: The great thing about these pickles is that they actually get better with time! Let them sit in the fridge for at least 24 hours before eating – this gives the flavors time to develop and really soak into the cucumbers. After 3-4 days, they’ll reach their peak flavor.
Tip: If you notice the brine getting cloudy or the vegetables becoming soft, it’s time to make a fresh batch. Always use clean utensils when reaching into the jar to prevent contamination and help your pickles last longer.
| Preparation Time | 20-30 minutes |
| Cooking Time | 10 minutes |
| Total Time | 30-40 minutes |
| Level of Difficulty | Medium |
Estimated Nutrition
Estimated nutrition for the whole recipe (without optional ingredients):
- Calories: 800-900
- Protein: 6-8 g
- Fat: 0-2 g
- Carbohydrates: 200-220 g
Ingredients
- 1 tbsp salt (I use Morton Fine Sea Salt)
- 1 cup onion slices (from about 1 small onion)
- 6 cups cucumber slices (about 2 large cucumbers, thinly sliced)
- 1 cup sliced green peppers (about 2 small peppers)
- 1 cup white vinegar
- 2 cups granulated sugar
Step 1: Prepare the Jars and Lids
Begin by gathering all your ingredients to ensure everything is on hand.
Carefully inspect several canning jars for any cracks and check the rings for rust.
Discard any defective ones.
Immerse the suitable jars in simmering water to sterilize them until you need them.
Meanwhile, wash new, unused lids and rings in warm soapy water, then rinse and set aside.
Step 2: Make the Brine
In a medium saucepan, combine the vinegar, sugar, and salt.
Bring this mixture to a boil over medium heat.
Stir occasionally and let it boil until the sugar has completely dissolved, which should take about 10 minutes.
Step 3: Prepare and Mix Vegetables
In a large glass mixing bowl, place the cucumbers, onions, and bell peppers.
Once the brine is ready, pour it over the vegetables in the bowl.
Toss the vegetables in the brine thoroughly for several minutes to ensure they are well-coated.
Step 4: Fill the Jars
Carefully transfer the brine-coated vegetables into the sterilized jars.
Don’t worry if the brine doesn’t completely cover the vegetables.
Seal the jars with the washed lids and rings.
Step 5: Refrigerate and Enjoy
Place the filled jars in the refrigerator.
Let them sit and pickle for 1 to 4 days before enjoying them to allow the flavors to develop.
The longer the refrigeration time, the more flavorful the pickled vegetables will be.