Finding the perfect dessert that strikes a balance between sweet and tangy can feel like searching for a needle in a haystack. Between juggling after-school activities and trying to put a decent dinner on the table, who has time to experiment with complicated recipes that might not even turn out right?
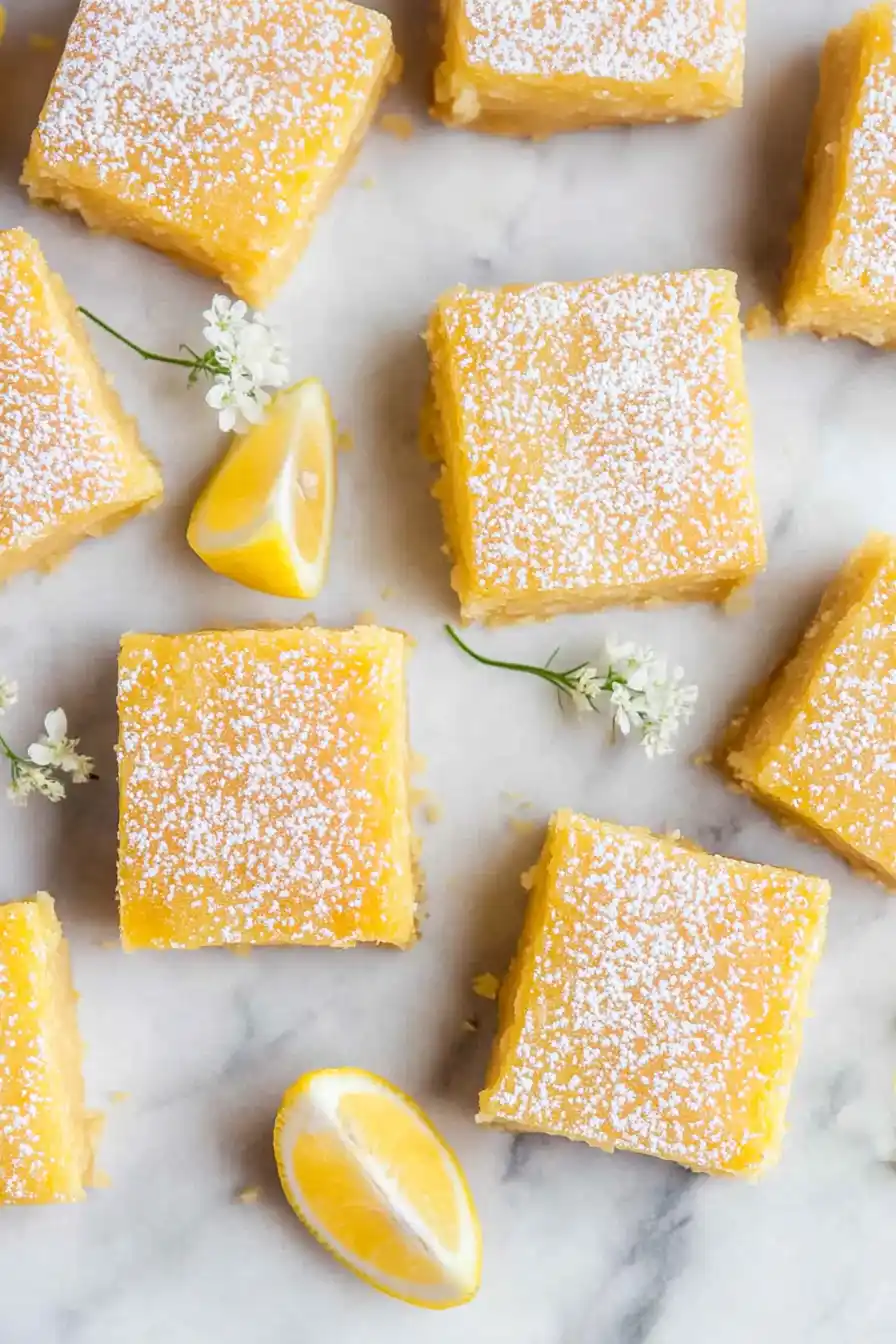
That’s where these lemon shortbread bars come in: they’re foolproof to make, have the perfect buttery-citrus balance, and only need ingredients you probably already have in your pantry. Plus, they’re just as perfect for a casual afternoon snack as they are for bringing to your next potluck or bake sale.
Why You’ll Love These Lemon Bars
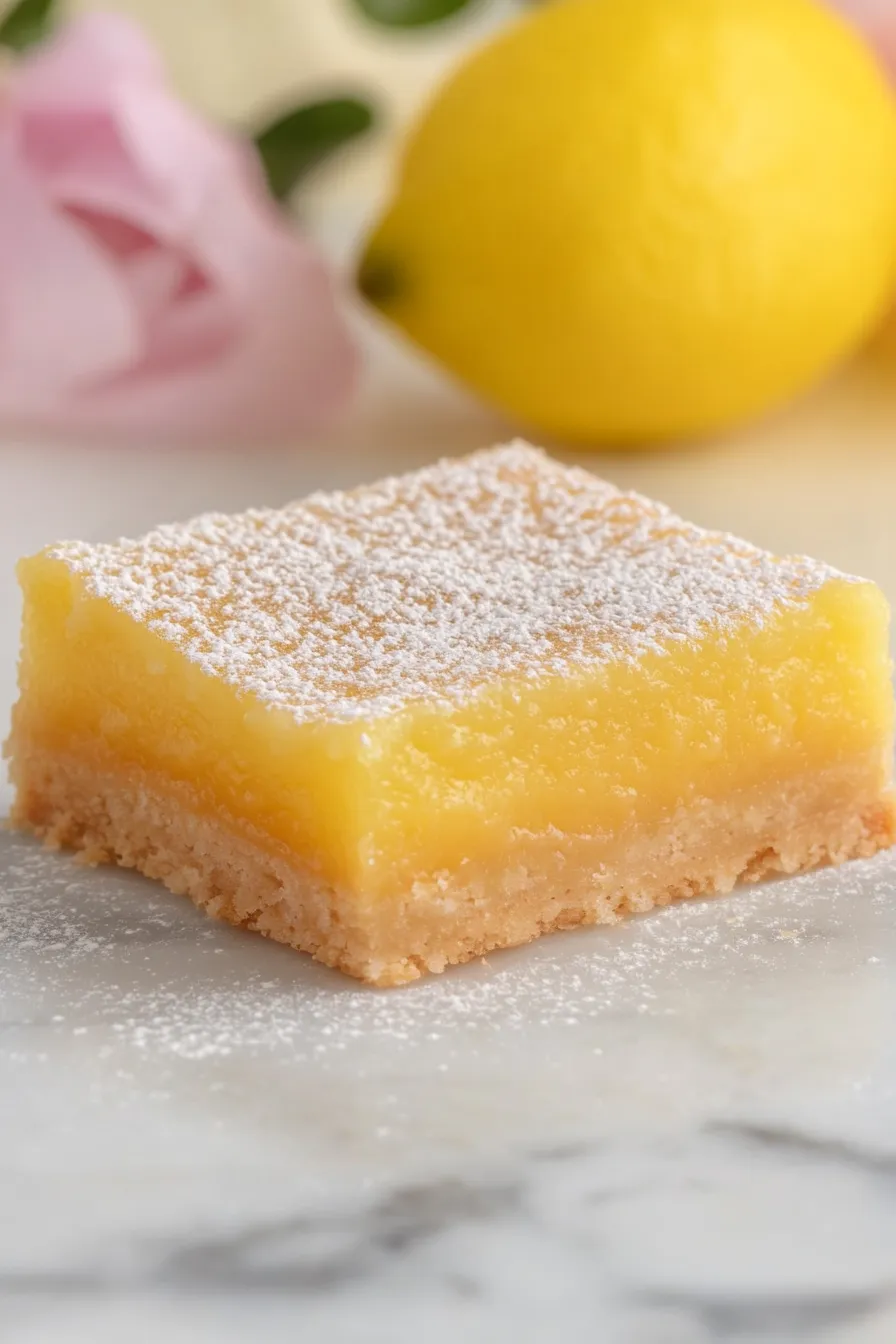
- Perfect balance of flavors – The buttery shortbread crust pairs perfectly with the tangy lemon filling, creating that ideal sweet-tart combination that makes lemon bars so irresistible.
- Simple ingredients – You only need basic pantry staples like flour, sugar, and butter, plus some fresh lemons – no fancy or hard-to-find ingredients required.
- Make-ahead friendly – These bars can be made a day or two in advance and actually taste better after the flavors have had time to develop in the fridge.
- Crowd-pleasing dessert – Whether it’s a bake sale, potluck, or family gathering, these lemon bars are always a hit and disappear quickly from the dessert table.
What Kind of Lemons Should I Use?
Regular lemons from the grocery store (usually Eureka or Lisbon varieties) are perfect for these lemon bars, and they’re easy to find year-round. Meyer lemons can also work if you want a slightly sweeter, less tart flavor – just keep in mind they’ll give you a more subtle lemon taste. When picking your lemons, look for ones that feel heavy for their size and have a bright yellow color – these will give you the most juice. A good trick is to roll your lemons firmly on the counter before juicing them, as this helps break down the internal membranes and makes them easier to squeeze. If you’re in a pinch, bottled lemon juice will work, but fresh lemons will give you that bright, zesty flavor that makes lemon bars so good.
Options for Substitutions
While some ingredients are essential for these classic lemon bars, here are some helpful substitutions you can try:
- Unsalted butter: If you only have salted butter, that’s fine – just reduce the added salt to 1/4 teaspoon. The butter needs to be real butter though – margarine won’t give you the same crisp, buttery shortbread base.
- Vanilla essence: You can use vanilla extract, vanilla bean paste, or even skip it if you don’t have any on hand – it adds depth but isn’t crucial to the recipe.
- Lemon juice: Fresh lemon juice is best, but bottled will work in a pinch. You could also try mixing it up with lime juice or even Meyer lemons when they’re in season (use a bit less sugar if using Meyer lemons as they’re naturally sweeter).
- All-purpose flour: For the crust, you can use pastry flour for an even more tender result. However, stick to all-purpose flour for the filling – it’s needed for the right texture.
- Eggs: The eggs are essential and can’t be substituted – they’re what makes the lemon filling set properly.
- Powdered sugar for dusting: This is optional and can be skipped entirely, or you could try a light sprinkle of granulated sugar or even coconut flakes for a different look.
Watch Out for These Mistakes While Baking
The trickiest part of making lemon bars is achieving the perfect shortbread base – pressing the dough too lightly into the pan can lead to a crumbly mess, so make sure to firmly compact it with the bottom of a measuring cup or glass for a solid foundation. When it comes to the lemon filling, straining your fresh lemon juice is essential to remove any pulp or seeds that could create an uneven texture, and always wait until the bars are completely cool before cutting them (at least 2 hours in the refrigerator). To prevent the dreaded crack in your lemon layer, avoid overbaking – the filling should still have a slight wobble in the center when you remove it from the oven, as it will continue to set while cooling. For clean, professional-looking cuts, dip your knife in hot water and wipe it clean between each slice, and hold off on dusting with powdered sugar until right before serving since it tends to dissolve into the filling over time.

What to Serve With Lemon Shortbread Bars?
These tart and sweet lemon bars are perfect with a hot cup of tea or coffee, especially during an afternoon break or after dinner. A dollop of fresh whipped cream on the side adds a nice creamy contrast to the citrusy filling and buttery crust. For a summer dessert spread, try serving these bars alongside fresh berries – strawberries, raspberries, or blueberries work great and add a pop of color to the plate. If you’re hosting a dessert party, these bars pair wonderfully with other small treats like vanilla ice cream or a scoop of lemon sorbet for an extra citrus kick.
Storage Instructions
Keep Fresh: These lemon shortbread bars stay fresh when kept in an airtight container in the fridge for up to 5 days. I like to place a piece of parchment paper between layers to prevent them from sticking together. The cool temperature helps maintain that perfect balance between the buttery shortbread and zingy lemon filling.
Freeze: Want to save some for later? Cut the bars into squares, place them in a freezer-safe container with parchment paper between layers, and freeze for up to 3 months. Just remember to skip the powdered sugar topping until you’re ready to serve them – it’ll look much prettier that way!
Thaw: When you’re craving a frozen bar, just transfer it to the fridge overnight or let it sit at room temperature for about an hour. Once thawed, dust with fresh powdered sugar if desired. The texture will be just as good as when they were freshly baked!
| Preparation Time | 20-30 minutes |
| Cooking Time | 42-48 minutes |
| Total Time | 2-4 hours |
| Level of Difficulty | Medium |
Estimated Nutrition
Estimated nutrition for the whole recipe (without optional ingredients):
- Calories: 3500-4000
- Protein: 50-60 g
- Fat: 240-250 g
- Carbohydrates: 400-450 g
Ingredients
For the crust:
- 1 cup unsalted butter (I like Kerrygold for its rich flavor)
- 1/2 cup white sugar
- 1/2 tsp salt
- 2 tsp vanilla essence (use pure vanilla for best results)
- 2 cups all-purpose flour
For the lemon filling:
- 1 cup lemon juice (freshly squeezed for the brightest lemon flavor)
- 2 cups white sugar
- 6 tbsp all-purpose flour
- 6 large eggs (at room temperature for better emulsification)
Optional garnish:
- powdered sugar (sifted for a smooth, elegant finish)
Step 1: Prepare the Baking Pan and Preheat Oven
Preheat your oven to 325°F (163°C).
Line the bottom and sides of a 9×13-inch glass baking pan (avoid using metal) with parchment paper, ensuring there’s an overhang on the sides to help lift the finished bars out later, which will make cutting much easier.
Set this preparation aside while you move on to the crust.
Step 2: Make and Bake the Crust
In a medium bowl, combine the melted butter, sugar, vanilla extract, and salt.
Mix these ingredients together thoroughly.
Add the flour and stir until fully combined, forming a thick dough.
Press this dough firmly into the prepared pan, ensuring an even layer for the crust.
Bake the crust for 20-22 minutes or until the edges are lightly browned.
Once baked, remove it from the oven and use a fork to poke holes all over the top of the warm crust (but not all the way through).
This new technique helps the filling stick and holds the crust in place.
Set the crust aside while you prepare the lemon filling.
Step 3: Prepare the Lemon Filling
In a large bowl, sift together the sugar and flour.
Whisk in the eggs, followed by the lemon juice, until the mixture is completely combined and smooth.
This will be your tangy lemon filling.
Step 4: Bake the Lemon Bars
Pour the prepared lemon filling over the warm crust, ensuring it is evenly distributed.
Return the pan to the oven and bake the bars for 22-26 minutes, or until the center is relatively set and no longer jiggles when you lightly tap the pan with an oven mitt.
Once done, remove the lemon bars from the oven and cool them completely at room temperature.
Typically, this takes about 2 hours at room temperature, followed by an additional 1-2 hours in the refrigerator to ensure they are thoroughly chilled.
For the best taste and texture, it is recommended to serve them chilled.
Step 5: Cut and Serve the Lemon Bars
Once the lemon bars are cool and set, use the parchment paper overhang to lift them out of the pan.
Dust the top with confectioners’ sugar before cutting.
For neat squares, wipe the knife clean between each cut.
Serve and enjoy these delightful lemon bars immediately.
Store any leftovers in the refrigerator in a covered container for up to 1 week for future enjoyment.
Step 6: Freeze for Later Enjoyment
If you wish to store lemon bars for longer periods, they can be frozen for up to 3-4 months.
Start by cutting the cooled lemon bars (without a confectioners’ sugar topping) into squares, and place them on a baking sheet.
Freeze for about 1 hour.
Once frozen, wrap each bar individually in aluminum foil or plastic wrap, then place them in a large freezer bag or container.
When you are ready to enjoy them, thaw the bars in the refrigerator and dust with confectioners’ sugar before serving.
