Finding a mac and cheese recipe that lives up to the comfort food hype can be surprisingly tricky. You want something creamy and cheesy, but not too heavy, and definitely something that won’t leave you disappointed after all that effort in the kitchen, especially when you’re trying to feed a crowd or make something special for Sunday dinner.
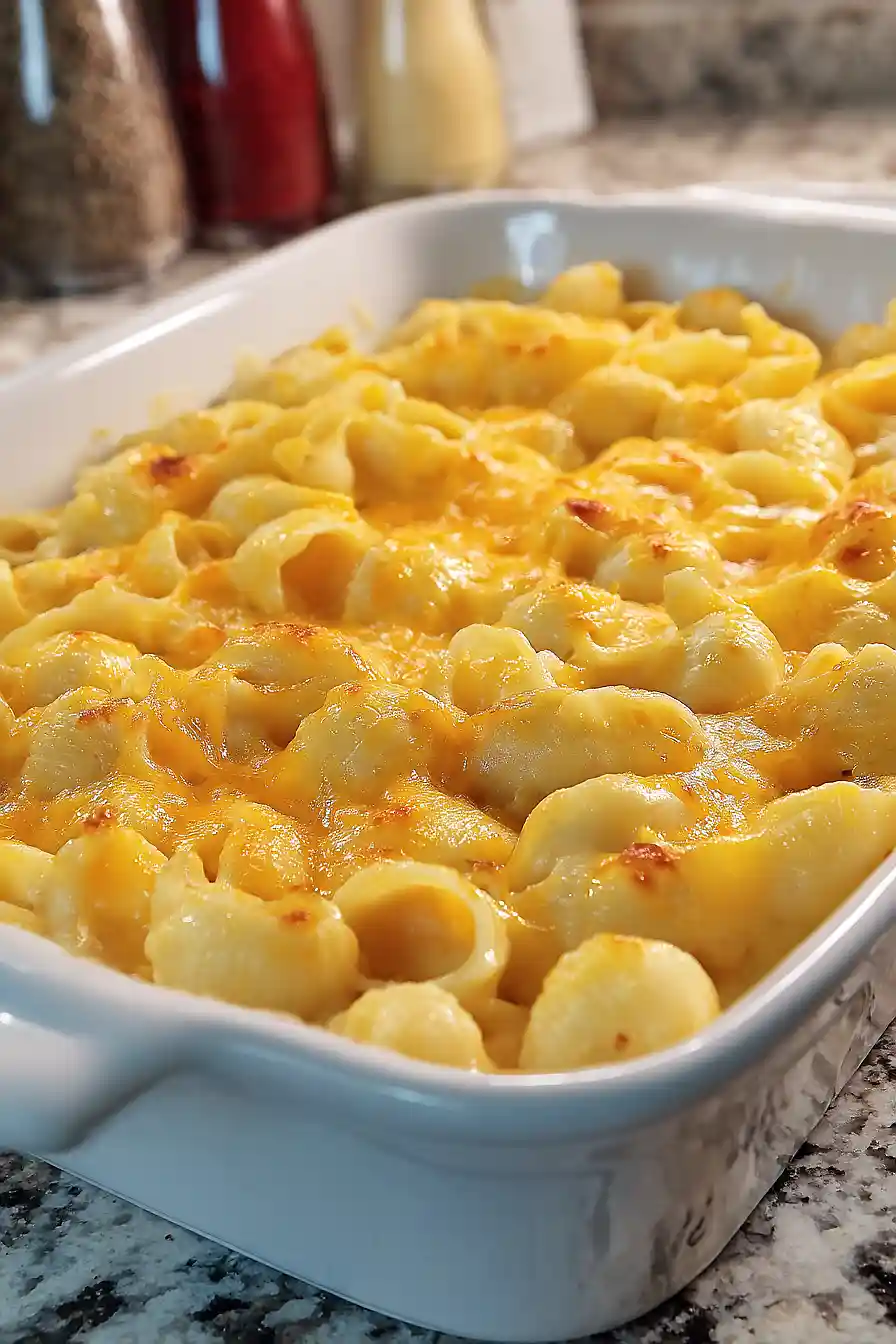
Luckily, Paula Deen’s baked mac and cheese delivers exactly what you’re looking for: it’s rich and satisfying without being overly complicated, uses ingredients you probably already have in your pantry, and creates that perfect golden top that makes everyone gather around the table a little faster.
Why You’ll Love This Baked Mac and Cheese
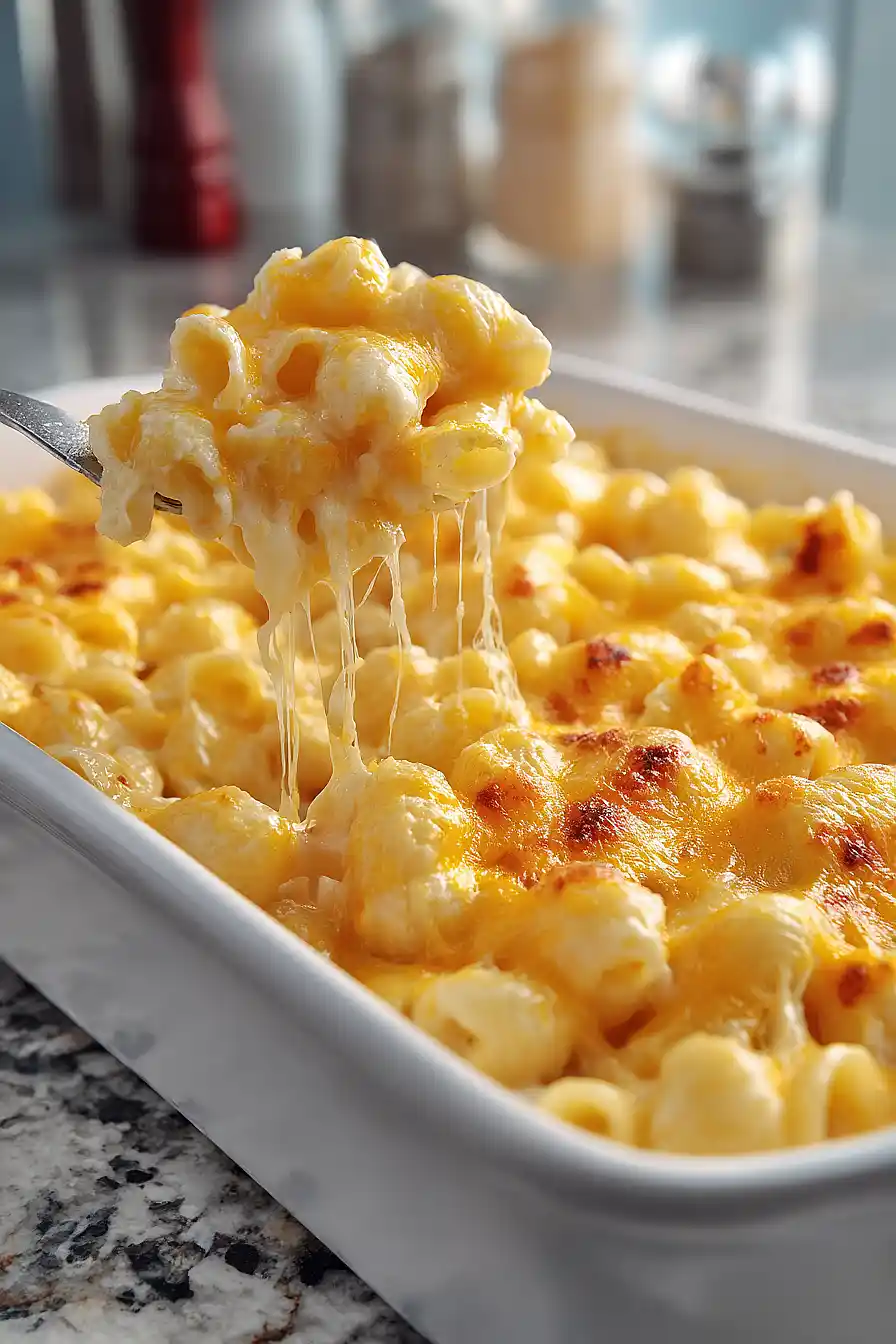
- Rich, creamy texture – The combination of sour cream, evaporated milk, and beaten eggs creates the most luscious, custard-like base that coats every noodle perfectly.
- Simple ingredients – You probably have most of these pantry staples on hand already, making this an easy go-to recipe when you’re craving comfort food.
- Quick preparation – With just 40-55 minutes from start to finish, you can have homemade baked mac and cheese on the table faster than you think.
- Crowd-pleasing comfort food – This classic recipe delivers that golden, bubbly top and creamy interior that makes everyone at the table happy, from kids to adults.
- Perfect for any occasion – Whether it’s a weeknight dinner, potluck, or holiday side dish, this mac and cheese always hits the spot.
What Kind of Cheddar Cheese Should I Use?
For Paula Deen’s baked mac and cheese, sharp cheddar is definitely the way to go since it gives you that bold, tangy flavor that makes this dish so good. You can use extra-sharp if you want even more punch, but regular sharp cheddar works perfectly fine too. I’d recommend grating your own cheese from a block rather than buying pre-shredded – it melts much better and gives you a creamier texture. If you want to mix things up, you can substitute about half of the cheddar with another good melting cheese like Gruyere or even some cream cheese for extra richness.

Options for Substitutions
This classic mac and cheese recipe is pretty forgiving when it comes to swaps:
- Elbow macaroni: You can use other short pasta shapes like shells, cavatappi, or penne – just stick with something that holds cheese well. Cook according to package directions.
- Sharp cheddar cheese: Mix things up with mild cheddar, Gruyere, or a blend of cheddar and Monterey Jack. Just make sure to grate it fresh for the best melting.
- Sour cream: Greek yogurt works as a substitute, or you can use cream cheese (about 4 oz, softened) for extra richness. You could also use heavy cream if that’s what you have.
- Evaporated milk: Regular whole milk or half-and-half can replace this – just use the same amount. Heavy cream will make it richer, while regular milk keeps it lighter.
- Butter: You can use the same amount of margarine if needed, though butter gives the best flavor.
- Eggs: The eggs help set the custard, so I wouldn’t skip these – they’re pretty important for getting that perfect creamy texture.
Watch Out for These Mistakes While Baking
The biggest mistake people make with baked mac and cheese is overcooking the pasta beforehand – your elbows should be slightly underdone since they’ll continue cooking in the oven and you don’t want mushy noodles in your final dish.
Another common error is not tempering your beaten eggs properly, so slowly whisk a little of the warm milk mixture into the eggs first to prevent them from scrambling when you add them to the hot pasta.
Make sure your oven temperature isn’t too high (325°F is perfect) and cover the casserole with foil for the first half of baking to prevent the top from browning too quickly while the center is still setting.
For extra creamy results, let the mac and cheese rest for about 10 minutes after baking – this allows the custard to fully set and makes serving much neater.
What to Serve With Baked Mac and Cheese?
This rich and creamy mac and cheese is perfect as a side dish for barbecue favorites like pulled pork, grilled chicken, or smoky ribs. Since it’s pretty indulgent on its own, I like to balance it out with something fresh and crisp like coleslaw or a simple green salad with a tangy vinaigrette. For a true Southern comfort meal, serve it alongside some cornbread and green beans, or make it the star of the show with just a side of steamed broccoli. You can also turn it into a complete meal by adding some diced ham or bacon bits right into the casserole before baking.
Storage Instructions
Refrigerate: This baked mac and cheese keeps really well in the fridge for up to 4 days. Just cover it tightly with foil or transfer leftovers to an airtight container. I actually think it tastes even better the next day after all those cheesy flavors have had time to meld together!
Freeze: You can definitely freeze this mac and cheese for up to 3 months. I like to portion it out into individual servings in freezer-safe containers – perfect for quick weeknight dinners. Just make sure it’s completely cooled before freezing to maintain the best texture.
Reheat: To warm it back up, cover with foil and bake at 350°F for about 20-25 minutes if it’s been in the fridge, or 45 minutes if frozen. You can also microwave individual portions, but I like to add a splash of milk to keep it creamy and prevent it from drying out.
| Preparation Time | 10-15 minutes |
| Cooking Time | 30-40 minutes |
| Total Time | 40-55 minutes |
| Level of Difficulty | Easy |
Estimated Nutrition
Estimated nutrition for the whole recipe (without optional ingredients):
- Calories: 2100-2300
- Protein: 85-95 g
- Fat: 115-130 g
- Carbohydrates: 165-185 g
Ingredients
- 3 large eggs
- 2 cups shredded sharp cheddar cheese (freshly shredded from a block for best melt)
- 4 cups cooked elbow macaroni
- 1/2 cup sour cream (full-fat for richness)
- 1/4 cup butter (melted)
- 1 cup evaporated milk
- 1/2 tsp salt
Step 1: Preheat the Oven
Preheat your oven to 350 degrees Fahrenheit to ensure it’s ready when your macaroni mixture is prepared.
Step 2: Cook the Macaroni
- 4 cups cooked elbow macaroni
Boil the elbow macaroni for 2-3 minutes longer than the package directions suggest for a softer texture.
Drain the cooked macaroni thoroughly and transfer it into a large mixing bowl while it’s still hot.
Step 3: Mix Butter and Cheese with Hot Macaroni
- 4 cups cooked elbow macaroni (from Step 2)
- 1/4 cup butter, cut into pieces
- 2 cups shredded sharp cheddar cheese
Add the butter pieces and shredded sharp cheddar cheese to the hot macaroni in the bowl.
Stir immediately so the heat from the macaroni helps to melt the butter and some of the cheese, making the mixture creamy.
Step 4: Prepare and Add Creamy Mixture
- 3 large eggs, lightly beaten
- 1/2 cup sour cream
- 1/2 tsp salt
- 1 cup evaporated milk
In a separate bowl, whisk together the lightly beaten eggs, sour cream, salt, and evaporated milk until thoroughly combined.
Pour this creamy mixture over the buttered, cheesy macaroni and stir until everything is well blended.
I like to be sure all the noodles are nicely coated for an extra creamy bite in every forkful.
Step 5: Bake the Macaroni and Cheese
- macaroni mixture from Step 4
Transfer the macaroni mixture into a casserole dish, spreading it evenly.
Bake uncovered in the preheated oven for 20 minutes, then give it a gentle stir to promote even cooking.
Step 6: Finish Baking and Serve
- additional shredded sharp cheddar cheese (optional, for topping)
Continue baking for another 10-15 minutes.
Just before serving, sprinkle a little extra cheddar cheese on top and return the dish to the oven for a couple of minutes until the cheese has melted.
I like to let the finished macaroni and cheese sit for a few minutes before serving so it sets up a bit and scoops out perfectly.
