If you ask me, apple oatmeal crisp is pure comfort in a baking dish.
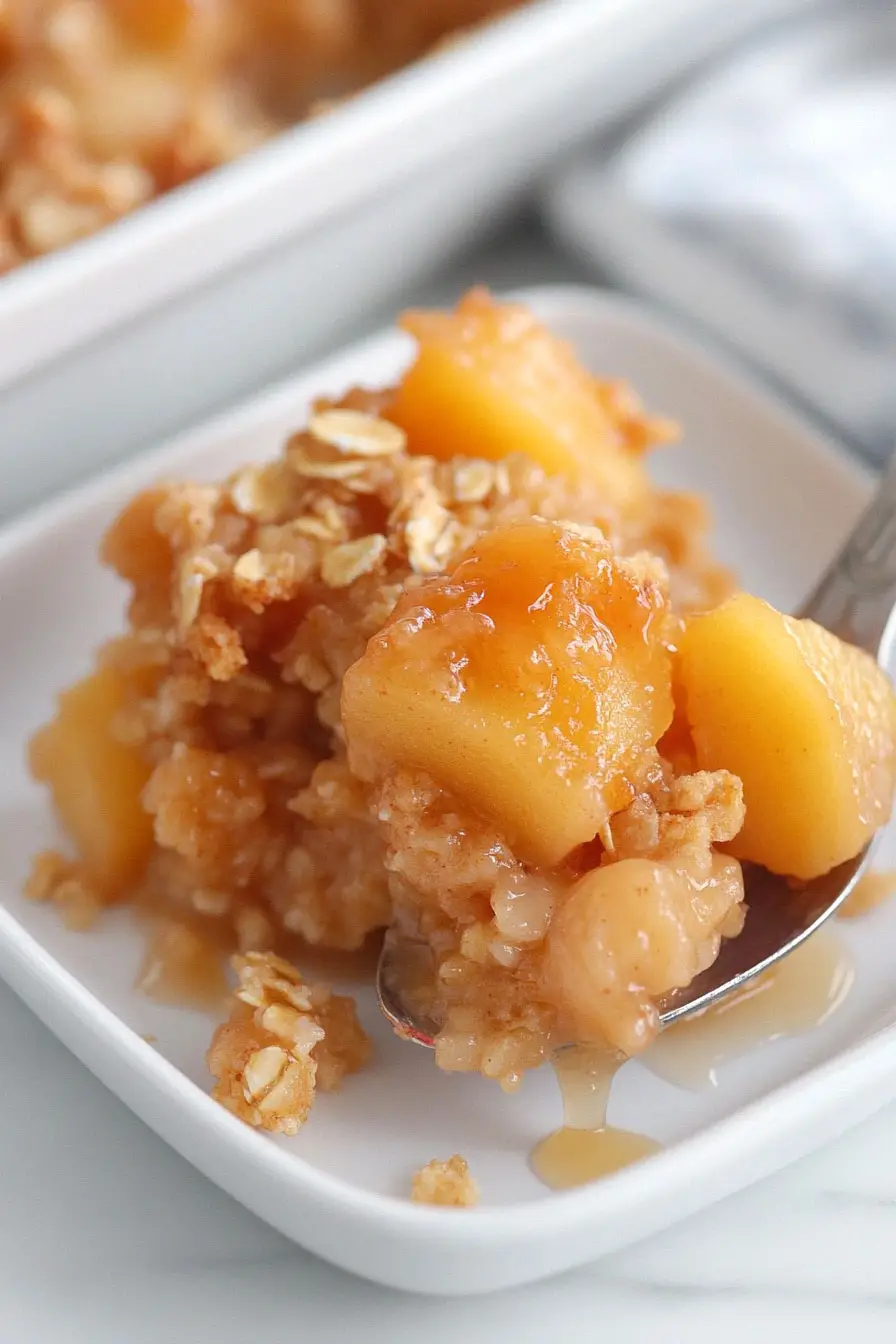
This classic dessert brings together tender, cinnamon-spiced apples and a buttery oat topping that gets golden and crispy in the oven. The contrast between the soft fruit and crunchy topping is just what you want on a cool evening.
I love how the brown sugar melts into the apples while they bake, creating a simple sauce that tastes like fall. The oats get toasty and form little clusters that make every bite interesting.
It’s a no-fuss dessert that feels like home, perfect with a scoop of vanilla ice cream or enjoyed on its own while it’s still warm from the oven.
Why You’ll Love This Apple Crisp
- Simple ingredients – Made with basic pantry staples and fresh apples, you probably have most of these ingredients in your kitchen right now.
- Easy preparation – Just slice the apples, mix the topping ingredients, and pop it in the oven – no fancy techniques or special equipment needed.
- Cozy comfort dessert – The combination of warm spiced apples and crispy oat topping makes this the perfect dessert for chilly evenings or holiday gatherings.
- Customizable sweetness – You can easily adjust the sugar amount based on your apples’ tartness and your personal preference, making this recipe work for everyone.
- Make-ahead friendly – You can prepare the components in advance and bake when needed, perfect for busy days or when entertaining guests.
What Kind of Apples Should I Use?
While this recipe suggests Granny Smith apples, you’ve actually got several great options for making a delicious crisp. Granny Smiths are popular because their tartness holds up well to the sweet topping, and they keep their shape instead of turning to mush when baked. If you’re not a fan of tart apples, try Honeycrisp or Pink Lady apples, which offer a nice balance of sweet and tart flavors. You can even mix two or three different varieties to create more interesting flavors – just make sure to choose firm apples that are good for baking. Whatever type you pick, look for fruits that feel firm when gently squeezed and are free from soft spots or bruises.
Options for Substitutions
This cozy apple crisp recipe is pretty adaptable – here are some helpful swaps if you need them:
- Apples: While Granny Smith apples are perfect for baking, you can use Honeycrisp, Pink Lady, or Braeburn apples too. Just keep in mind that sweeter apples might need less sugar in the filling.
- Orange zest and juice: No oranges? Use lemon zest and juice instead, or skip the zest and use 2 tablespoons of apple juice or water.
- Rolled oats: Quick oats can work in a pinch, though the texture won’t be as nice. Don’t use instant oats – they’ll turn mushy. Steel-cut oats aren’t suitable for this recipe.
- All-purpose flour: You can swap in whole wheat flour, or for a gluten-free version, use oat flour or a 1:1 gluten-free flour blend. Almond flour works too, but reduce the butter by 2 tablespoons since it’s naturally oily.
- Butter: For a dairy-free version, use coconut oil or a plant-based butter substitute. Just make sure it’s in solid form before melting.
- Spices: Out of nutmeg? Use apple pie spice, or add a pinch of ginger or allspice instead. The cinnamon is pretty important for that classic taste, but you can adjust the amount to your liking.
Watch Out for These Mistakes While Baking
The biggest mistake when making apple crisp is choosing the wrong type of apples – soft varieties like Red Delicious will turn to mush during baking, so stick with firm baking apples like Granny Smith, Honeycrisp, or Braeburn that hold their shape.
Another common error is not slicing the apples uniformly – aim for pieces about 1/4 inch thick to ensure even cooking and prevent some pieces from becoming too soft while others remain too firm.
The topping can quickly go from perfectly golden to burnt due to the high sugar content, so keep a close eye on it during the last 10-15 minutes of baking and cover with foil if it’s browning too quickly while the apples aren’t yet tender.
For the crunchiest topping, avoid pressing the oat mixture too firmly onto the apples – instead, sprinkle it loosely and unevenly to create those desirable crispy peaks and valleys.
What to Serve With Apple Crisp?
A warm apple crisp practically begs for a scoop of vanilla ice cream – it’s just one of those perfect dessert combinations! The cold, creamy ice cream melts into all the nooks and crannies of the warm, spiced apples and crunchy oat topping. If you’re not in the mood for ice cream, a dollop of freshly whipped cream or a pour of cold heavy cream works just as well. For a morning treat, you can even serve this crisp with a spoonful of Greek yogurt and a drizzle of maple syrup – it’s basically like having really good oatmeal with apples!
Storage Instructions
Keep Fresh: Once your apple crisp has cooled down, cover it with plastic wrap or aluminum foil and pop it in the fridge. It’ll stay good for about 4-5 days, though the topping might lose some of its crispiness over time. The flavors actually get even better after a day as everything melds together!
Freeze: This dessert freezes really well! Let it cool completely, then wrap it tightly in plastic wrap and aluminum foil. You can keep it frozen for up to 3 months. I like to freeze it in individual portions – it makes for such an easy dessert when unexpected guests drop by.
Warm Up: To bring back that fresh-baked taste, warm individual portions in the microwave for about 30-45 seconds. For the best results, pop it in a 350°F oven for 15-20 minutes – this helps crisp up the topping again. A scoop of vanilla ice cream on warm apple crisp is just perfect!
| Preparation Time | 15-20 minutes |
| Cooking Time | 60-90 minutes |
| Total Time | 75-110 minutes |
| Level of Difficulty | Medium |
Estimated Nutrition
Estimated nutrition for the whole recipe (without optional ingredients):
- Calories: 2200-2500
- Protein: 20-25 g
- Fat: 120-130 g
- Carbohydrates: 300-350 g
Ingredients
For the fruit filling:
- Zest of 1 orange
- 1 tsp cinnamon
- 1/4 tsp nutmeg
- 6 medium baking apples (like Honeycrisp or Granny Smith)
- Juice of 1 orange
- 1/4 cup to 1/2 cup sugar (adjust to apple sweetness)
For the oat topping:
- 1/8 tsp fine sea salt
- 1/2 cup melted butter (unsalted, then cooled slightly)
- 1/2 cup sugar
- 3/4 cup all-purpose flour (I always use King Arthur)
- 3/4 cup rolled oats (old-fashioned, not instant)
Step 1: Prepare the Baking Dish and Fruit Filling
Preheat your oven to 350°F (175°C).
Butter a 9-inch square (or 2-quart) baking dish and set it aside.
Core the apples and cut them into 3/4-inch pieces.
In a large bowl, combine the apple pieces with orange zest, orange juice, 1/4 cup sugar, cinnamon, and nutmeg.
Stir everything together and taste; if the apples are more tart, you might want to add more sugar.
Once mixed, transfer the apple mixture into the prepared baking dish.
Step 2: Prepare the Oat Topping
In a medium bowl, combine flour, oats, 1/2 cup (100g) sugar, and a pinch of salt.
Add the melted butter, then stir until the flour is moistened by the butter and the mixture becomes crumbly.
This will be your delicious oat topping.
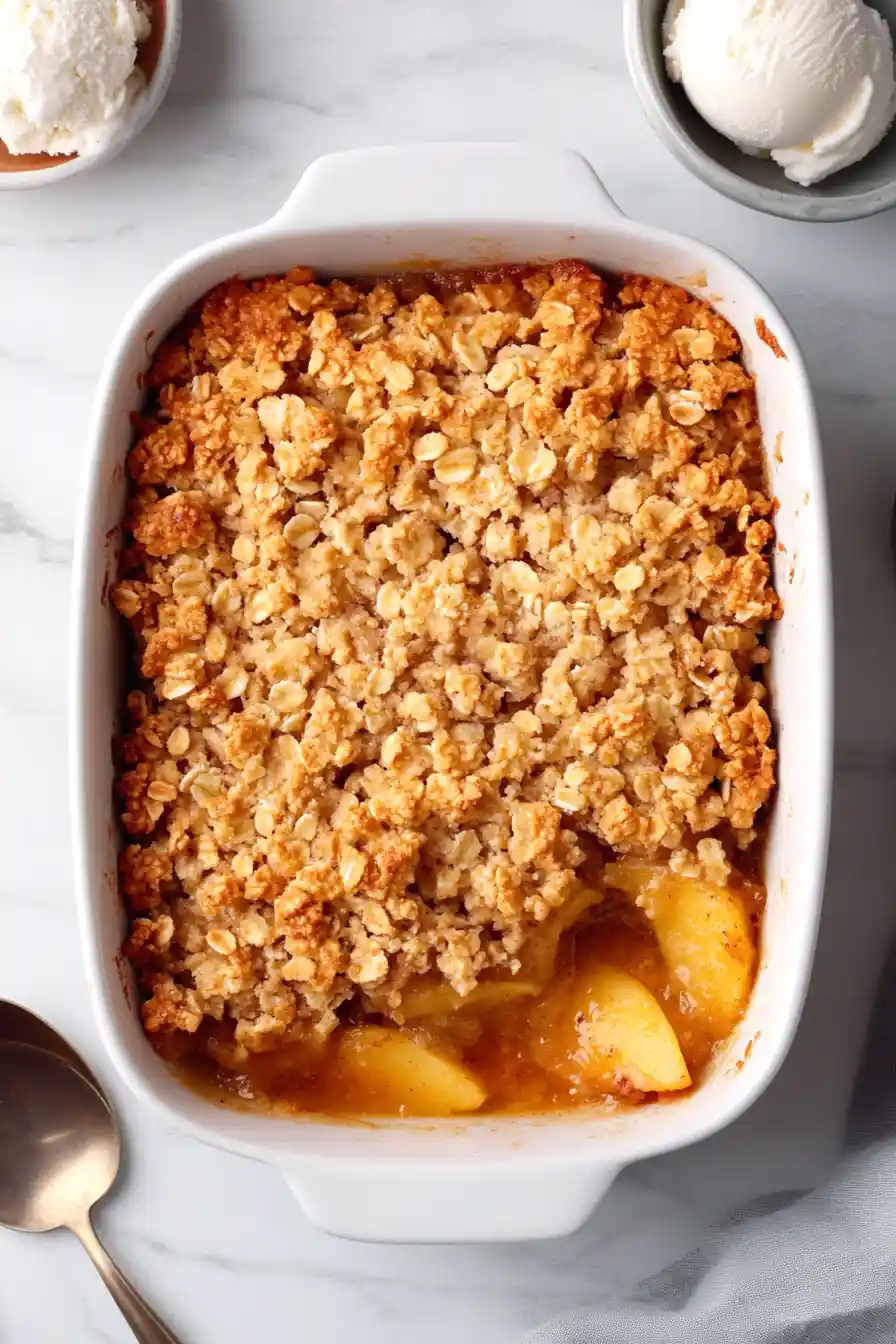
Step 3: Assemble the Apple Crisp
Sprinkle the oat topping evenly over the apple filling in the baking dish.
Use your hands to press the crumbles together as you sprinkle, forming larger clumps of topping if desired for added texture.
Make sure the apple filling is completely covered by the topping.
Step 4: Bake the Apple Crisp
Place the baking dish in the oven and bake for 1 hour to 1 hour and 30 minutes.
You’ll know it’s ready when the juices have thickened, the apples are tender, and the topping has turned a light golden brown.
If you notice the topping browning too quickly, cover the dish with aluminum foil and continue baking until the apples reach the desired tenderness.
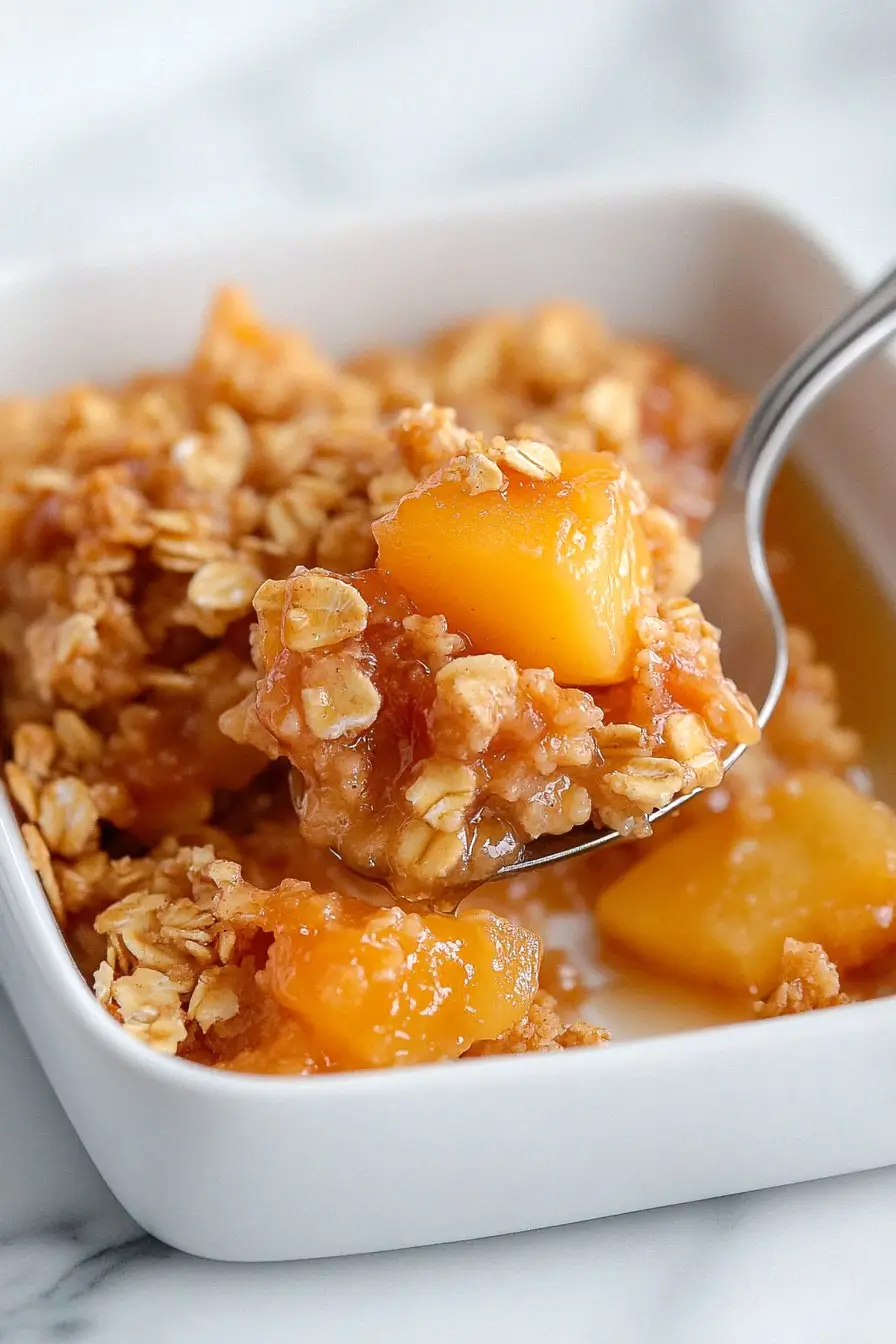
Step 5: Cool and Serve
Once baked, remove the apple crisp from the oven and let it cool slightly before serving.
Enjoy your homemade apple crisp warm, perhaps with a scoop of vanilla ice cream or a dollop of whipped cream for a delightful dessert.
