The holidays always make me want to snack, and having something festive to munch on while wrapping presents or watching Christmas movies just feels right. Trail mix has been my go-to for years, but during December, I like to give it a special holiday twist. My kids get excited when they see the red and green M&Ms mixed with nuts and chocolate-covered treats – it’s like Christmas in a bowl! I started making this mix a few years ago when I needed something easy to package as gifts for teachers and neighbors. Now it’s become such a tradition that my family starts asking for it as soon as they see the first Christmas decorations go up. The best part? You can make a big batch in minutes, and it stays fresh for weeks (though it never lasts that long in our house!).
Why You’ll Love This Trail Mix
- No-bake treat – This festive snack mix comes together without ever turning on the oven – just melt, mix, and let it set!
- Perfect for gifting – Package it in mason jars or holiday bags for an easy homemade gift that friends and family will love to receive during the holiday season.
- Kid-friendly activity – Little helpers can easily join in mixing the cereals and adding candies, making this a fun holiday project for the whole family.
- Make-ahead friendly – You can prepare this mix up to 2 weeks in advance and store it in an airtight container, perfect for busy holiday schedules.
- Simple ingredients – Everything you need can be found at your regular grocery store, using basic cereals and chocolate that are easy to find.
What Kind of White Chocolate Should I Use?
For trail mix, you’ll want to use white chocolate that melts smoothly and sets up firmly at room temperature. Real white chocolate chips or bars containing cocoa butter (like Ghirardelli or Baker’s) will give you the best results, while candy melts or almond bark can work as budget-friendly alternatives. If you’re using chips, look for ones labeled “premium” or “real white chocolate” since these melt better than the cheaper varieties that contain mostly palm oil. Just be careful not to overheat white chocolate when melting – it’s more sensitive than dark or milk chocolate and can seize up quickly if it gets too hot. A double boiler or short bursts in the microwave at 50% power works best for achieving that perfect, creamy consistency.
Options for Substitutions
This fun holiday snack mix is super adaptable and you can easily switch things up based on what you have in your pantry:
- Cereals: Any combination of similar cereals works great here! Try corn flakes, crispy rice cereal, or even honey-flavored O’s. Just keep the total amount of cereal the same (11 cups total).
- Pretzel rods: Regular twisted pretzels, mini pretzels, or even bagel chips can replace the pretzel rods. Just break larger pieces into bite-sized chunks.
- Chocolate candies: M&Ms are perfect, but you can use any chocolate-coated candies. Try Reese’s Pieces, chocolate chips, or even chopped up chocolate bars. For a festive touch, pick red and green colored candies.
- White chocolate: This is pretty important for binding everything together, but you could use milk chocolate or dark chocolate instead. Just avoid candy melts – they won’t taste as good. If using chocolate chips, add 1 tablespoon of coconut oil per cup to help it melt smoothly.
Watch Out for These Mistakes While Making
The biggest challenge when making trail mix with chocolate coating is melting the white chocolate properly – if it gets too hot or comes in contact with water, it can become grainy and unusable, so use low heat and stir frequently. When mixing the ingredients, adding them all at once can lead to uneven coating and clumping, so it’s better to work in batches, gently folding in one type of cereal at a time. Another common mistake is spreading the mixture too thick when cooling – for the best texture and even coating, spread it in a thin, even layer on parchment paper. For perfect results, let the mix cool completely at room temperature rather than rushing it in the refrigerator, as sudden temperature changes can cause the white chocolate to develop a dull appearance or separate from the cereals.

What to Serve With Trail Mix?
Trail mix is one of those perfect grab-and-go snacks that works well on its own, but there are some fun ways to serve it at your holiday gatherings! Set up a hot cocoa bar with marshmallows and whipped cream, and place bowls of this festive trail mix nearby for guests to munch on while they sip their drinks. You can also pair it with other holiday snacks like cookies and candy canes for a cheerful dessert spread. If you’re hosting a movie night, set out individual paper cups or mason jars filled with the mix so everyone has their own portion to enjoy during the film.
Storage Instructions
Keep Fresh: This Christmas trail mix stays crunchy and fresh when kept in an airtight container at room temperature. It’ll keep its best quality for about 2 weeks – if it lasts that long! Just make sure to store it away from direct sunlight or heat to prevent the chocolate from melting.
Package: Want to give this mix as gifts? Pack it in mason jars or cellophane bags, seal them well, and it’ll stay fresh for up to 2 weeks. I love dividing it into smaller portions for holiday gift-giving – it makes such a sweet homemade present!
Tips: If you live in a warm climate, you might want to keep this in the fridge to prevent the white chocolate coating from getting soft. Just let it sit at room temperature for about 10 minutes before snacking for the best texture.
| Preparation Time | 10-15 minutes |
| Cooking Time | 30-60 minutes |
| Total Time | 40-75 minutes |
| Level of Difficulty | Easy |
Estimated Nutrition
Estimated nutrition for the whole recipe (without optional ingredients):
- Calories: 4800-5200
- Protein: 40-50 g
- Fat: 250-270 g
- Carbohydrates: 680-720 g
Ingredients
- 3 cups oat ring cereal
- 3 cups rice square cereal
- 3 cups wheat square cereal
- 2 cups corn square cereal
- 1 cup pretzel rods
- 2 to 3 cups chocolate candies
- 24 ounces white chocolate (extra 4-8 ounces if more is necessary)
Step 1: Prepare the Cereal Mix
In a large bowl, combine Cheerios, Chex, Pretzels, and M&M’s.
Use a spoon or your hands to mix the ingredients until everything is evenly distributed throughout the bowl.
This ensures that each piece will have a good variety of flavors and textures.
Step 2: Melt the White Chocolate
While you’re mixing the dry ingredients, set up a double boiler to melt the white chocolate.
Follow the melting directions on the chocolate package carefully.
Stir continuously until the white chocolate has melted completely and you achieve a smooth consistency.
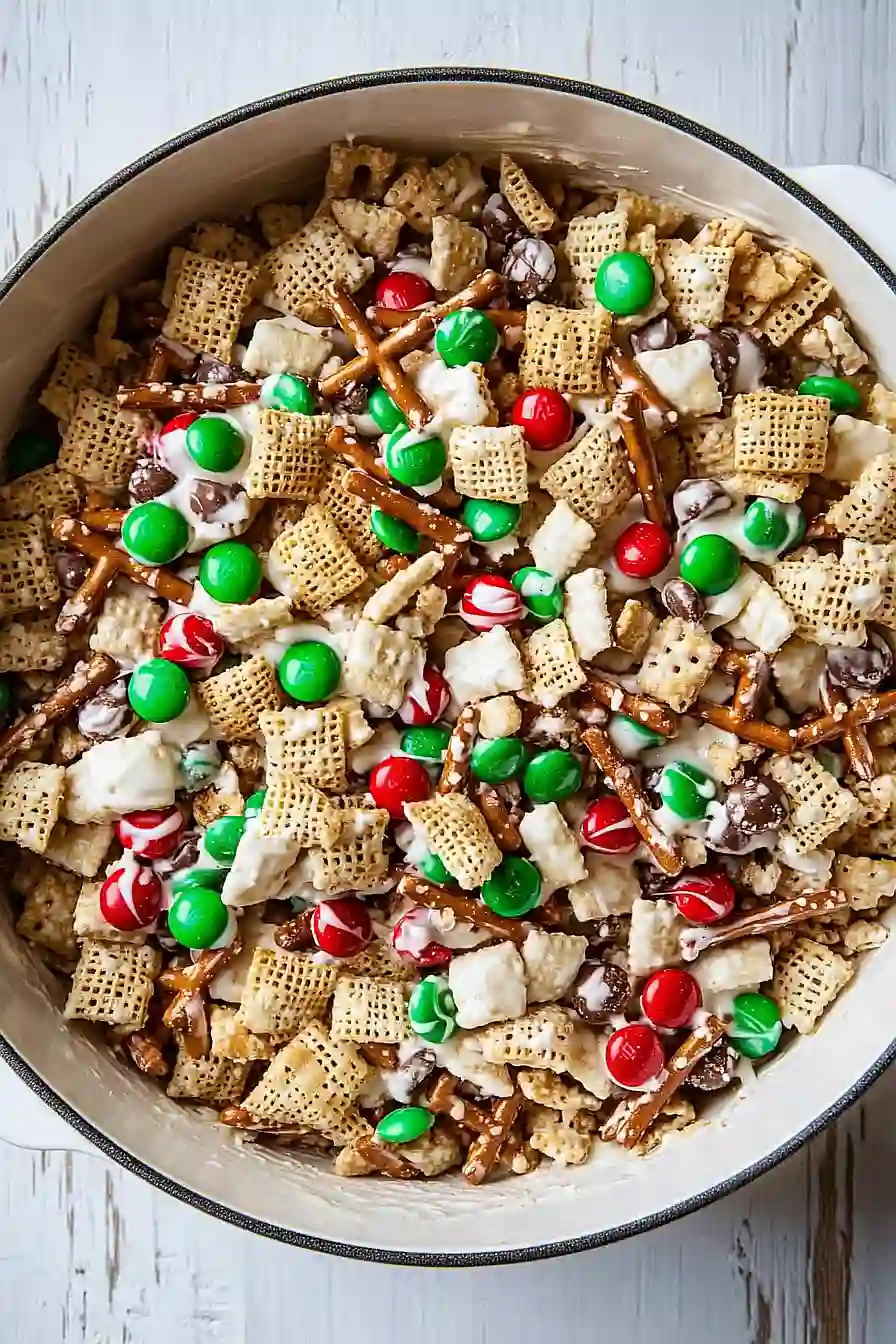
Step 3: Combine Chocolate and Cereal Mix
Once the white chocolate is fully melted, drizzle it over the cereal mix in the bowl.
Use a wooden spoon or your hands to thoroughly combine the chocolate with the cereal mix, making sure that all the ingredients are evenly coated with chocolate.
If necessary, melt additional white chocolate to ensure complete coverage of the cereal mix.
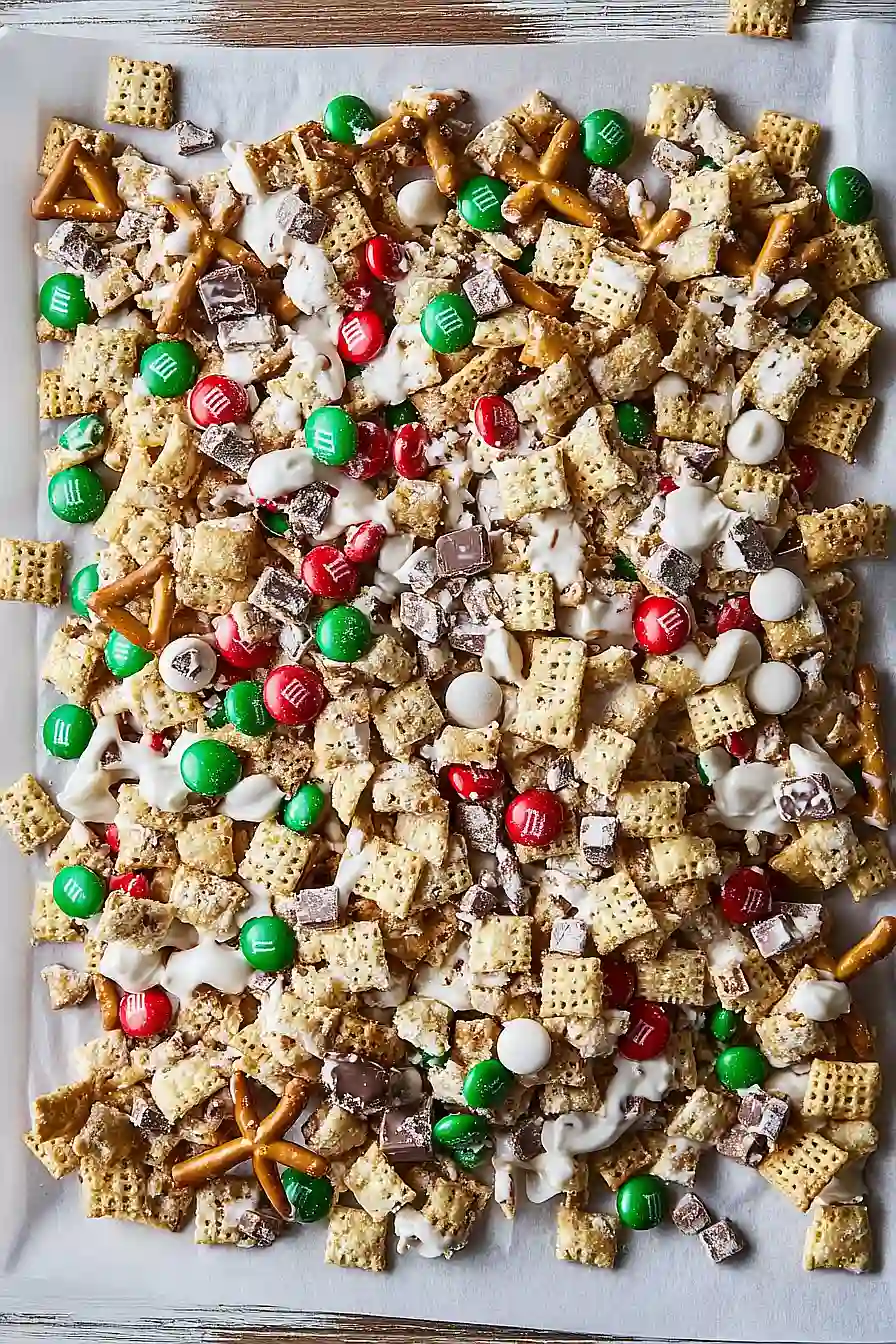
Step 4: Dry the Chocolate-Covered Mix
After mixing, spread the chocolate-covered cereal mixture evenly onto a large sheet of parchment or wax paper.
Allow it to dry for about 1 hour, or until the chocolate has cooled and hardened.
This step will help to set the chocolate so it clings well to the snacks.
Step 5: Break and Store
Once the mix is fully dried, break it up into medium-sized pieces.
Store the pieces in an airtight container to keep them fresh.
For longer storage, keep the container in the fridge or freezer.
This ensures the chocolate stays firm and the snack mix remains fresh for future enjoyment.
