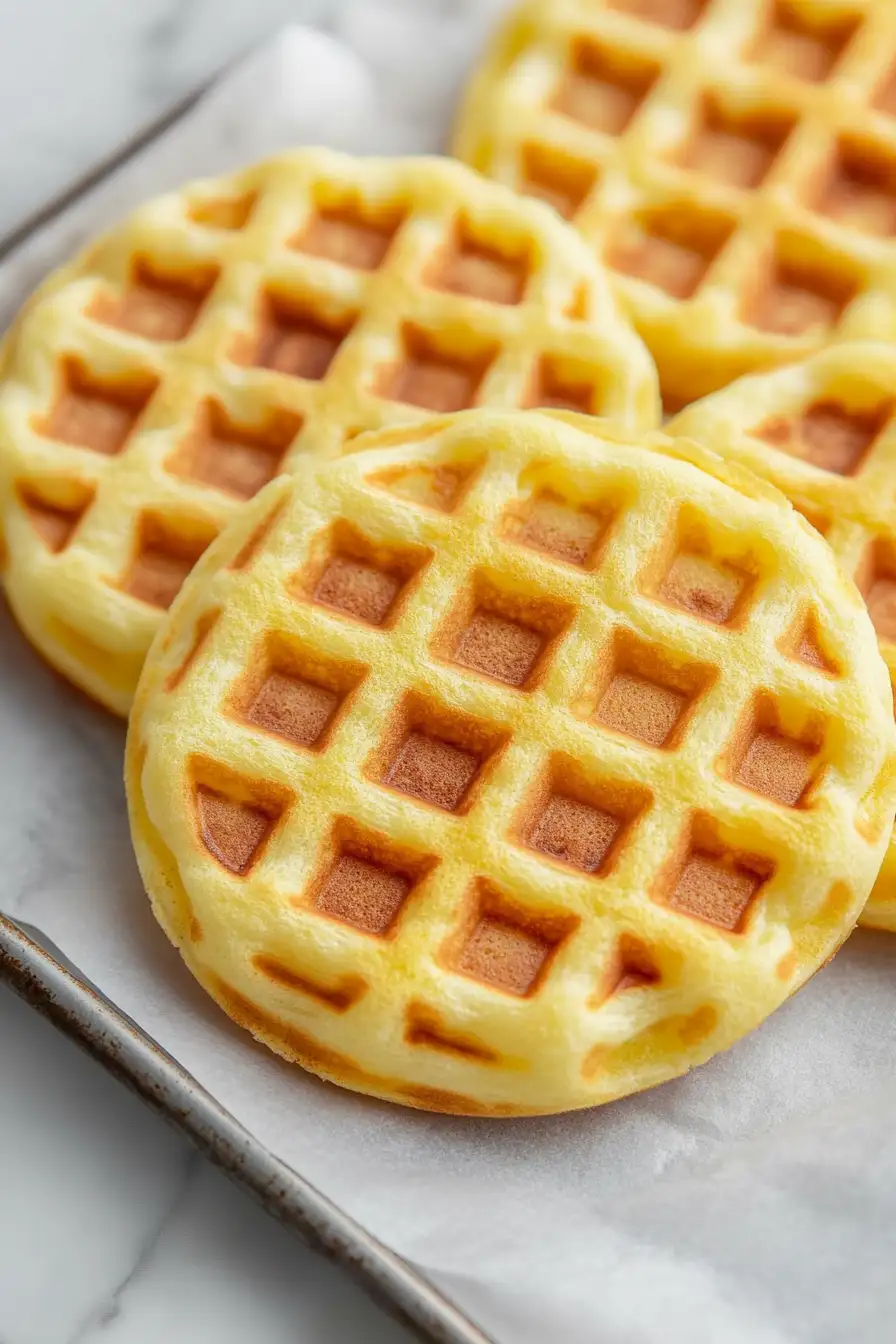
Here is my go-to recipe for egg yolk waffles, with a crispy outside, soft inside, and a rich golden color that comes from using only the yolks instead of whole eggs. These waffles have become my Saturday morning specialty, and the texture is just incredible.
My kids ask for these waffles almost every weekend now, and I totally get why. They’re a bit different from regular waffles, and that extra bit of richness from the egg yolks makes them feel special. Plus, it’s a great way to use up those extra yolks when you’ve made meringue or egg white omelets!

Why You’ll Love These Egg Yolk Waffles
- Quick breakfast option – Ready in just 15 minutes or less, these waffles are perfect for busy mornings when you need something satisfying but don’t have much time.
- Keto and low-carb friendly – Made primarily with egg yolks and butter, these waffles fit perfectly into a keto or low-carb lifestyle without sacrificing taste.
- Minimal ingredients – You only need 4-5 basic ingredients that you probably already have in your kitchen – no special shopping trip needed.
- Zero food waste – This recipe is perfect for using up extra egg yolks from recipes that only called for egg whites, helping you reduce food waste in your kitchen.
What Kind of Egg Yolks Should I Use?
Fresh egg yolks from large eggs are your best bet for these waffles, and you’ll want to make sure they’re at room temperature before you start cooking. While standard grocery store eggs work perfectly fine, farm-fresh eggs often have darker, more orange-colored yolks that can give your waffles a lovely golden hue. If you’re separating the eggs yourself, it’s easiest to do this while they’re still cold from the fridge, then let the yolks come to room temperature for about 30 minutes before using them. Just be careful not to break the yolks during separation – any bits of white that sneak in won’t ruin your recipe, but keeping the yolks pure will give you the best texture.
Options for Substitutions
When it comes to this unique waffle recipe, some ingredients are essential while others can be switched up:
- Egg yolks: The egg yolks are the star of this recipe and cannot be substituted – they’re what makes these waffles special and provide the needed structure.
- Butter: You can swap melted butter with coconut oil or ghee in equal amounts. Just note that each will add its own subtle flavor to the waffles.
- Liquid stevia: Feel free to skip the stevia altogether, or use other sweeteners like monk fruit drops, allulose, or a tiny pinch of regular sugar if you’re not following a sugar-free diet.
- Baking powder: While it’s a small amount, baking powder is important for texture. In a pinch, you can use 1/16 teaspoon of baking soda mixed with a few drops of lemon juice or vinegar.
Watch Out for These Mistakes While Cooking
The biggest challenge when making egg yolk waffles is temperature control – your waffle iron needs to be properly preheated to medium-high heat, as too hot will burn the outside while leaving the inside raw, and too cool will make them stick.
Getting the right consistency is crucial, so make sure to whisk the egg yolks until they’re completely smooth and fully combined with the melted butter (which should be warm but not hot to avoid cooking the yolks prematurely).
A common error is opening the waffle iron too early – these delicate waffles need about 3-4 minutes to cook through and develop a golden crust, and lifting the lid too soon can cause them to split and stick.
For the crispiest results, let your waffles cook until the steam coming from the iron significantly reduces, and resist the urge to stack them when done – placing them in a single layer on a cooling rack helps maintain their crispy texture.

What to Serve With Egg Yolk Waffles?
These rich, buttery waffles are perfect for breakfast or brunch and pair wonderfully with both sweet and savory toppings. For a classic sweet breakfast, try maple syrup and fresh berries, or go all out with whipped cream and a sprinkle of powdered sugar. If you’re in the mood for something savory, these waffles taste great with crispy bacon, a fried egg on top, or even some smoked salmon and cream cheese. Since these waffles are already quite rich, I like to serve them with a side of fresh fruit or a light mixed green salad to balance things out.
Storage Instructions
Keep Fresh: These egg yolk waffles are best enjoyed right after making them, but if you have leftovers, place them in an airtight container and keep them in the fridge for up to 2 days. Put a piece of parchment paper between each waffle to prevent them from sticking together.
Freeze: Good news – these waffles freeze really well! Let them cool completely, then place them in a freezer bag with parchment paper between each waffle. They’ll stay good in the freezer for up to 1 month.
Crisp Up: To get your waffles crispy again, pop them in the toaster or toaster oven for a minute or two. If they’re frozen, no need to thaw first – just add an extra minute to the toasting time. You can also warm them in a regular oven at 350°F for about 5 minutes.
| Preparation Time | 5-10 minutes |
| Cooking Time | 1-5 minutes |
| Total Time | 6-15 minutes |
| Level of Difficulty | Easy |
Estimated Nutrition
Estimated nutrition for the whole recipe (without optional ingredients):
- Calories: 180-220
- Protein: 3-5 g
- Fat: 18-20 g
- Carbohydrates: 1-2 g
Ingredients
- 1/8 tsp baking powder
- 2 tbsp butter (melted and cooled slightly)
- salt as needed (a pinch or two to balance flavor)
- stevia drops to taste (optional, if you prefer a sweeter waffle)
- 2 large egg yolks (from pasture-raised eggs for richer color)
Step 1: Preheat the Waffle Iron
Begin by preheating your waffle iron.
This ensures that the cooking surface is evenly heated, which will help your waffles cook correctly and achieve a crispy exterior.
Step 2: Prepare the Batter
In a glass measuring container with a spout, whisk together the egg yolks, melted butter, baking powder, and salt.
If you prefer a touch of sweetness, feel free to add a few drops of liquid stevia to taste.
Mix until all ingredients are well combined, making sure there are no lumps from the baking powder.
Step 3: Cook the Waffles
Carefully pour the batter into the waffle maker, filling just the bottom half.
Remember, the waffles will expand as they cook, so do not overfill.
Cook the waffles for about 1 minute or less.
Keep an eye on them to ensure they don’t become too brown or overcooked.
Step 4: Serve and Store
Once cooked to a golden perfection, serve the waffles immediately for the best taste.
If you have any leftovers, allow them to cool before freezing them for later use.
Simply reheat in a toaster or oven to enjoy another time.
