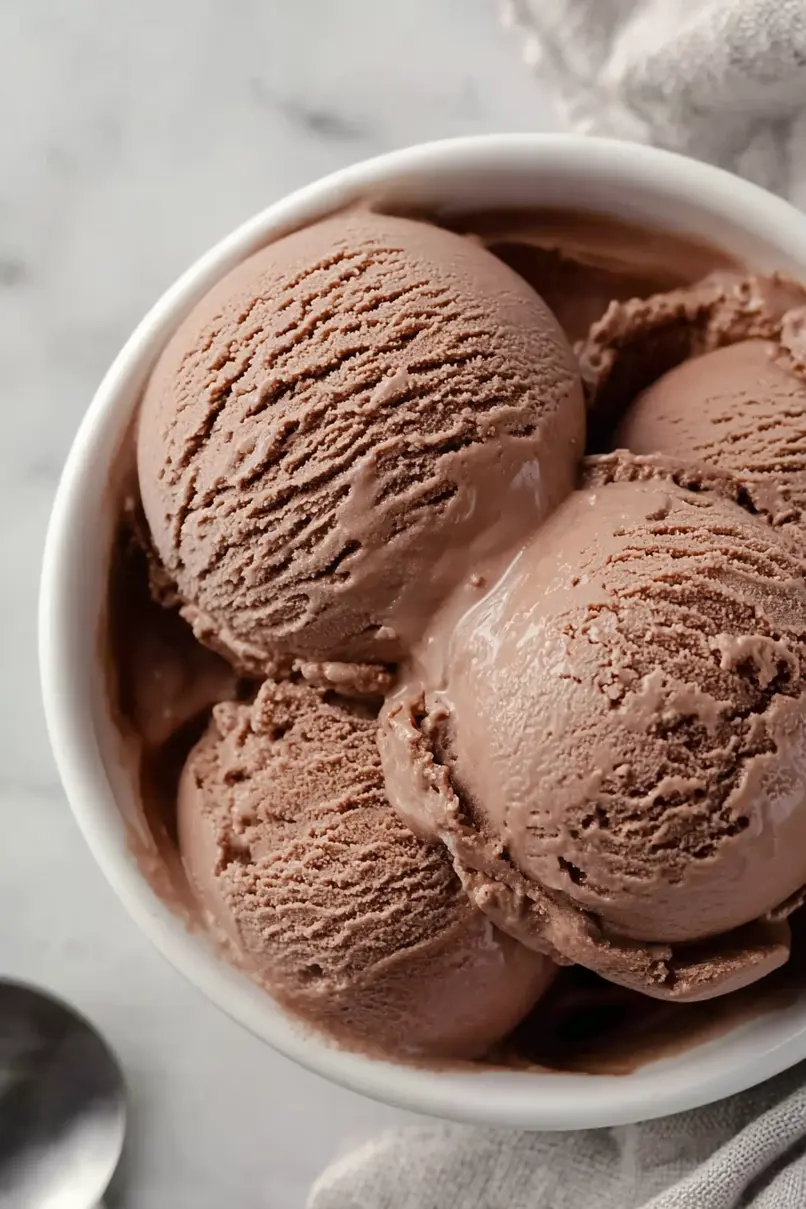
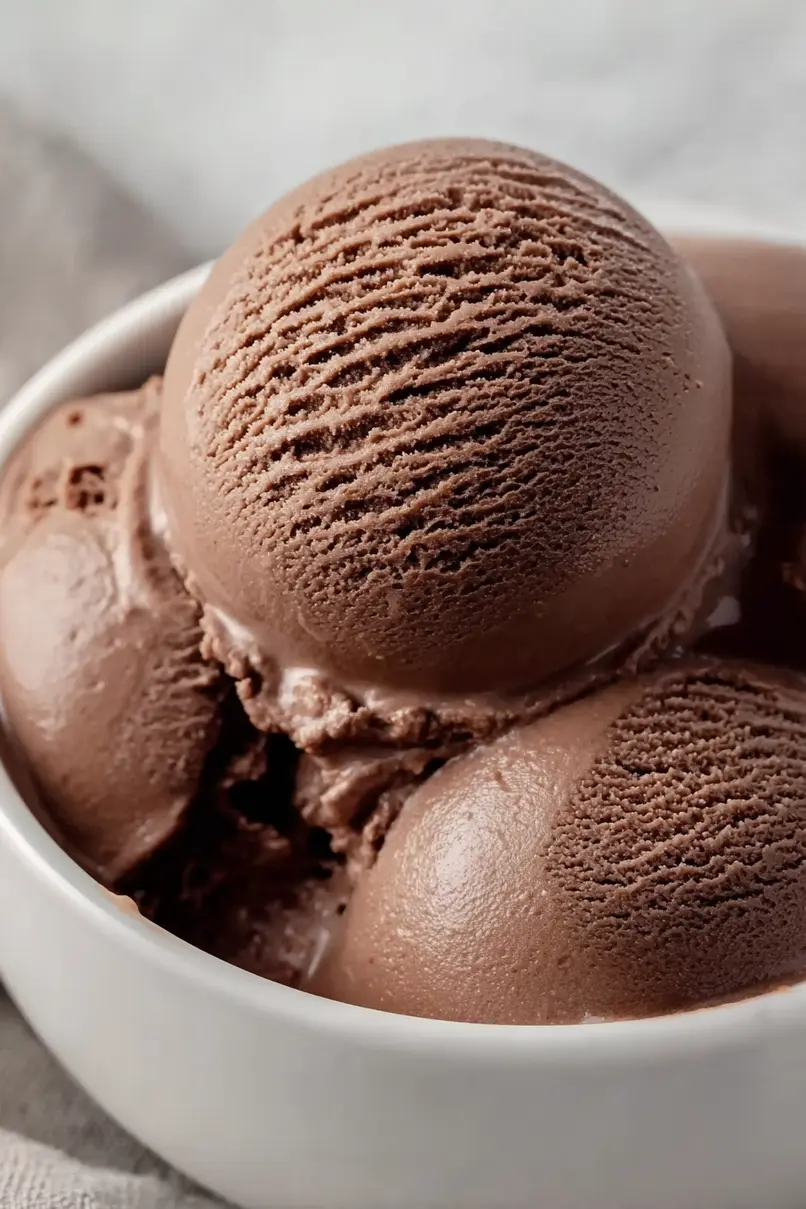
Here is my take on chickpea ice cream, a creamy, dairy-free frozen treat that uses simple pantry ingredients and comes together in just minutes. No fancy equipment needed!
This chickpea ice cream has become my go-to dessert when I want something cool and satisfying without dairy. My kids can’t believe it’s made from chickpeas, and they always ask for seconds. Who knew beans could make such good ice cream?
Why You’ll Love This Chickpea Ice Cream
- Dairy-free and vegan – This creamy ice cream is perfect for those avoiding dairy or following a plant-based diet, without compromising on taste or texture.
- Protein-rich dessert – Thanks to the chickpeas and sunflower seed butter, you’re getting a good dose of protein with your sweet treat – something regular ice cream can’t offer.
- No special equipment needed – You don’t need an ice cream maker to whip up this frozen dessert – just basic kitchen tools you already have at home.
- Allergy-friendly – Free from dairy, nuts (if using sunflower butter), and easily adaptable for different dietary needs, this ice cream is perfect for sharing with friends who have food sensitivities.
What Kind of Chickpeas Should I Use?
For ice cream making, canned chickpeas are totally fine and actually make your life easier since they’re already cooked and ready to go. If you prefer to cook your own, stick with regular white or beige chickpeas rather than black or green varieties, as these will give you the smoothest, most neutral-tasting result. When using canned chickpeas, make sure to rinse them well under cool water to remove any excess sodium or starch that might affect the ice cream’s flavor. If you’re cooking dried chickpeas from scratch, cook them until they’re very tender – slightly softer than you might for hummus – since they’ll be blended into the ice cream base.
Options for Substitutions
This unique ice cream recipe is pretty flexible with substitutions. Here’s what you can swap:
- Plant-based milk: While the recipe calls for soy or oat milk, you can use any unsweetened plant milk like almond, cashew, or coconut milk. Just note that coconut milk will add its own distinct flavor.
- Chickpeas: This is a key ingredient that gives the ice cream its creamy texture, but you can try white beans as an alternative. They’ll provide a similar smooth consistency.
- Sunflower seed butter: Feel free to swap this with any nut butter like almond, cashew, or peanut butter. Just remember to adjust the salt if using unsalted butter.
- Corn starch: Arrowroot powder works equally well as mentioned, or you can use tapioca starch in the same amount.
- Cane sugar: Regular white sugar works fine here, or you can try coconut sugar for a different flavor (though it might darken the color slightly).
- Dairy-free chocolate: Any chocolate in the 60-65% range will work well, but you can go darker or lighter based on your preference. Just make sure it’s dairy-free if you need to keep the recipe vegan.
Watch Out for These Mistakes While Making
The biggest challenge when making chickpea ice cream is achieving the right smooth texture – be sure to blend the chickpeas until absolutely silky smooth, with no grainy bits remaining, or you’ll end up with a gritty final product.
Temperature control is crucial: don’t rush the cooling process, as putting warm mixture directly into your ice cream maker can result in ice crystals and a less creamy texture – instead, chill the base thoroughly for at least 4 hours or overnight in the refrigerator.
When incorporating the melted chocolate, make sure it’s not too hot when you add it to the mixture, or it might seize up and create unwanted chocolate chunks; let it cool slightly but remain fluid before mixing in.
For the creamiest results, don’t skip the corn starch (or arrowroot) step, as this thickener helps prevent ice crystals from forming and creates that smooth, professional ice cream texture you’re looking for.

What to Serve With Chickpea Ice Cream?
Since this chocolate chickpea ice cream is already rich and creamy, simple toppings work best to let the unique flavor shine through. A sprinkle of chopped nuts like almonds or pecans adds a nice crunch, while fresh berries bring a bright, fresh contrast to the chocolate. For a fun sundae setup, set out some dairy-free whipped cream, chocolate sauce, and crushed cookies – just make sure they’re vegan-friendly if you’re keeping things plant-based. If you’re serving this for dessert after dinner, a cup of hot coffee or espresso on the side creates that perfect temperature contrast that makes ice cream even more enjoyable.
Storage Instructions
Keep Cold: Once your chickpea ice cream is churned and ready, transfer it to a freezer-safe container. It’ll stay good in your freezer for up to 2 weeks. Pro tip: press a piece of parchment paper directly onto the surface of the ice cream before putting the lid on – this helps prevent ice crystals from forming!
Soften: Like most homemade ice creams, this one gets pretty firm in the freezer. Take it out about 10-15 minutes before you want to scoop it. This will make it easier to serve and bring out the best texture and flavor.
Container Tips: A shallow, wide container works better than a deep one for storing your ice cream. This makes it easier to scoop and helps maintain a consistent texture throughout. Any airtight container will do, but metal or glass ones are particularly good at maintaining temperature.
| Preparation Time | 30-60 minutes |
| Cooking Time | 2-3 minutes |
| Total Time | 24-27 hours |
| Level of Difficulty | Medium |
Estimated Nutrition
Estimated nutrition for the whole recipe (without optional ingredients):
- Calories: 1200-1400
- Protein: 25-30 g
- Fat: 50-60 g
- Carbohydrates: 160-180 g
Ingredients
For the cocoa pudding:
- 2 tbsp corn starch
- 1/4 cup cocoa powder (I use Ghirardelli Premium baking cocoa)
- 1 cup plant milk
For the ice cream base:
- 1/2 cup cane sugar
- 1 cup cooked chickpeas (ensure they are very soft for a creamy texture)
- 1/3 cup sunflower seed butter
- 2 tsp vanilla extract
- 1/2 tsp sea salt
- 1 cup plain plant milk
- 7 oz dairy-free chocolate (60-65% cocoa solids, finely chopped for faster melting)
Step 1: Prepare the Ice Cream Maker
If you’re using an ice cream maker with a removable canister, ensure you freeze the canister for at least 24 hours prior to making ice cream.
This is crucial for achieving the best texture.
Remember, after churning, the ice cream will need an additional 2 to 3 hours in the freezer to reach a firmer, scoopable consistency.
Step 2: Make the Cocoa Pudding Mixture
In a small saucepan, whisk together 1 cup of milk, cocoa powder, and cornstarch.
Bring the mixture to a simmer over medium heat, whisking frequently.
Once it begins to simmer, reduce heat to medium-low.
Continue whisking constantly and cook until the mixture thickens, about 1 to 2 minutes.
It should resemble pudding.
Remove the saucepan from heat, and set the mixture aside to cool slightly.
Step 3: Blend the Main Ingredients
In a blender, combine the remaining 1 cup of milk, chickpeas, sugar, sunbutter, vanilla, and salt.
Blend on high speed until completely smooth, about 1 minute.
This will ensure a creamy texture in your ice cream.
Step 4: Incorporate the Melted Chocolate
Melt the chocolate using a double boiler or by heating it in a microwave-safe bowl in 15 to 20-second intervals, stirring in between, until fully melted.
Add the melted chocolate to the blender and blend until the mixture is smooth and well combined.
Step 5: Combine Everything and Prepare for Churning
Add the prepared cocoa “pudding” to the blender and blend again until the mixture is homogeneous.
If the mixture feels warm, refrigerate it for 30 minutes to 1 hour until it reaches room temperature.
It doesn’t need to be cold, but should not be warmer than room temperature for optimal results when placed in the ice cream maker.
Step 6: Churn and Freeze the Ice Cream
Pour the mixture into your ice cream maker and churn according to the manufacturer’s instructions.
For reference, a Cuisinart 2 Quart machine typically takes about 22 minutes to reach a soft-serve consistency.
Once churned, transfer the ice cream to a freezer-safe container for firmer, scoopable consistency and freeze for 2 to 3 hours.
Step 7: Serve and Store
After freezing for several hours, the ice cream may become very hard.
Before serving, let it soften at room temperature for at least 20 to 30 minutes, depending on how long it has been in the freezer.
For convenience, consider storing in smaller, individual-sized containers, which will freeze and thaw more quickly.
Enjoy your homemade ice cream!
