Finding crowd-pleasing desserts for parties and gatherings can feel like a real puzzle. Between juggling different tastes, dealing with nut allergies, and trying to make something that won’t melt into a puddle during transport, it’s enough to make anyone reach for store-bought cookies instead.
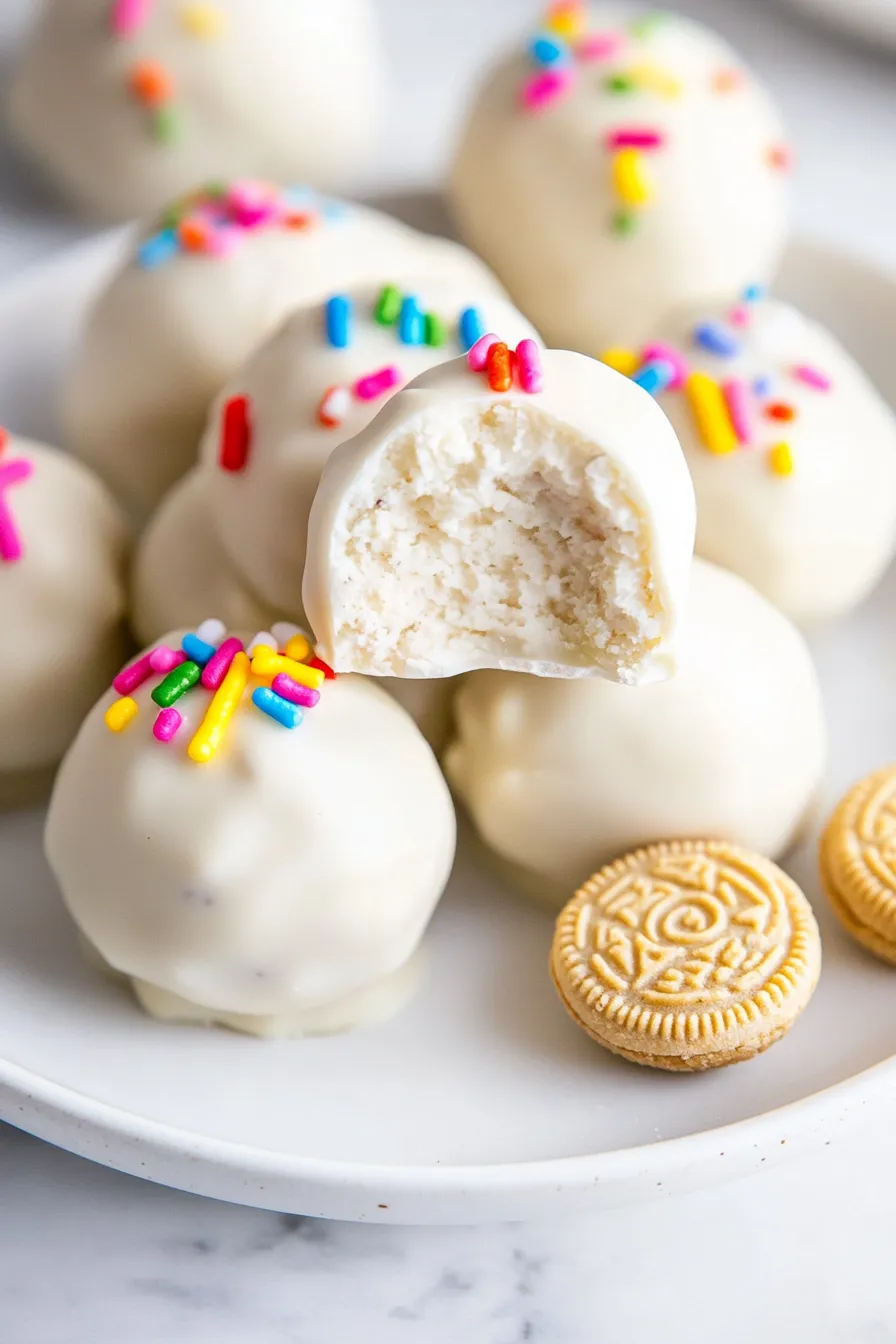
That’s where these vanilla oreo truffles come to the rescue: they’re practically foolproof to make, only need a handful of ingredients, and always get those “Can I have the recipe?” requests at every get-together.
Why You’ll Love These Oreo Truffles
- Quick preparation – These no-bake treats come together in just 15-25 minutes, making them perfect for last-minute dessert needs or when you’re craving something sweet.
- 4-ingredient recipe – With just vanilla cookies, icing, white chocolate, and sprinkles, you probably already have everything you need in your pantry.
- Kid-friendly activity – Rolling the truffles and adding sprinkles is a fun kitchen project that kids can help with – just be prepared for some sweet mess!
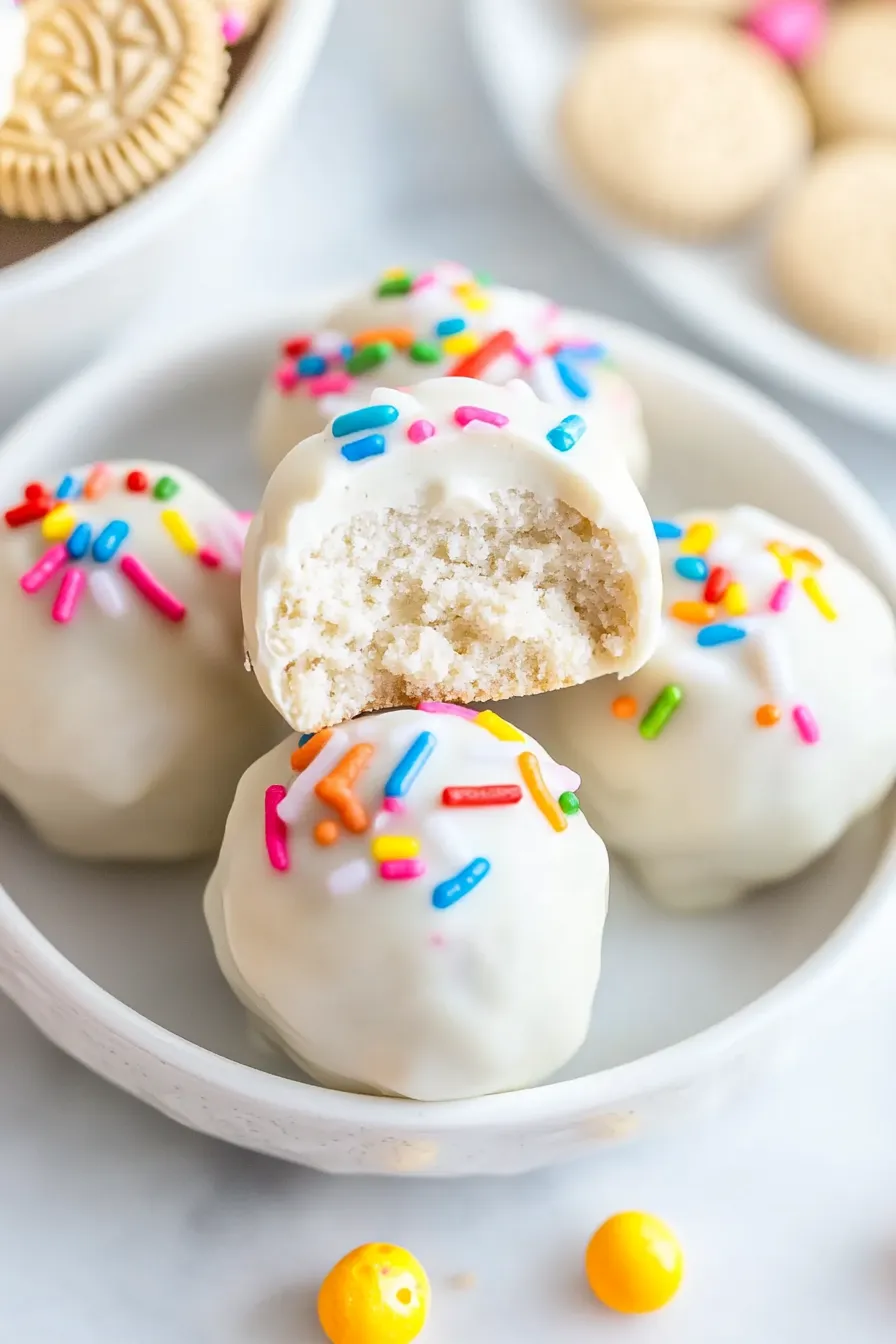
- Perfect for parties – These bite-sized treats are easy to make ahead, transport well, and always disappear fast at gatherings and holiday celebrations.
What Kind of Vanilla Sandwich Cookies Should I Use?
Regular store-brand vanilla sandwich cookies work perfectly fine for these truffles, but you can also use name-brand Golden Oreos if you prefer. The most important thing is to make sure your cookies are fresh and crisp – stale cookies can affect both the texture and taste of your truffles. If you’re looking to switch things up, vanilla sandwich cookies come in different varieties these days, from double-stuffed to thins, and any of them will work in this recipe. Just keep in mind that if you use double-stuffed cookies, you might want to reduce the amount of vanilla icing slightly since there’s more cream filling already in the cookies.

Options for Substitutions
These sweet little truffles are pretty adaptable! Here’s what you can swap if needed:
- Vanilla sandwich cookies: Regular Oreos work perfectly here, or try other sandwich cookies like Golden Oreos, Nutter Butters, or even graham crackers (though you might need to add a bit more icing if using graham crackers to get the right consistency).
- Vanilla icing: You can use cream cheese instead of vanilla icing – just make sure it’s softened. Mascarpone cheese is another good option. If using either of these, start with 1/4 cup since they’re more moisture-rich than icing.
- White chocolate morsels: Milk chocolate or dark chocolate chips work great too! You could also use candy melts or almond bark for coating. Just remember to melt any substitute slowly to avoid burning.
- Sprinkles: Feel free to skip these or try other toppings like crushed cookies, chopped nuts, coconut flakes, or cocoa powder. You can even leave them plain – they’ll still taste great!
Watch Out for These Mistakes While Making
The biggest challenge when making Oreo truffles is getting the right consistency in your cookie mixture – if you over-crush the cookies or add too much icing, you’ll end up with a paste that’s too wet to roll into balls. A food processor works best for crushing cookies, but pulse them just until they’re fine crumbs, not powder.
Temperature control is crucial when working with white chocolate – overheating will cause it to seize and become grainy, so melt it slowly in 30-second intervals in the microwave, stirring between each interval.
When dipping your truffles, make sure they’re thoroughly chilled (at least 30 minutes in the freezer), as room-temperature balls will fall apart in the warm chocolate, and add your sprinkles immediately after dipping each truffle before the chocolate sets. A fork or special dipping tool works much better than a spoon for coating the truffles evenly.
What to Serve With Oreo Truffles?
These sweet little truffles are perfect for serving at parties or gatherings alongside other bite-sized treats! A hot cup of coffee or cold glass of milk makes the perfect beverage pairing, helping to balance out the sweetness of these rich treats. For a dessert spread, try placing them next to some fresh berries or fruit – the tartness creates a nice contrast with the sweet white chocolate coating. I like to serve these chilled, straight from the fridge, especially during warmer months when you want something cool and satisfying.
Storage Instructions
Keep Fresh: These vanilla Oreo truffles stay perfectly sweet in an airtight container in the fridge for up to 2 weeks. I like to place them in a single layer to keep the chocolate coating looking nice, but you can stack them with wax paper between layers if needed.
Freeze: Want to make these ahead? Pop your finished truffles in a freezer-safe container, separating layers with wax paper, and they’ll keep for up to 3 months. They’re great to have on hand for unexpected guests or sweet cravings!
Serve: When you’re ready to enjoy frozen truffles, just transfer them to the fridge the night before. Let them sit at room temperature for about 15 minutes before serving – this helps the chocolate coating soften up just enough for the best texture.
| Preparation Time | 10-15 minutes |
| Cooking Time | 5-10 minutes |
| Total Time | 15-25 minutes |
| Level of Difficulty | Easy |
Estimated Nutrition
Estimated nutrition for the whole recipe (without optional ingredients):
- Calories: 800-900
- Protein: 5-10 g
- Fat: 40-50 g
- Carbohydrates: 100-110 g
Ingredients
For the truffles:
- 3 oz vanilla sandwich cookies (such as vanilla-flavored Oreos)
- 1/3 cup vanilla icing
For the coating and garnish:
- 2/3 cup white chocolate morsels
- sprinkles (optional, for fun decoration)
Step 1: Prepare the Oreo Mixture
Using a food processor or blender, grind Oreo cookies into a fine powder.
Make sure the consistency is even and there are no large chunks remaining.
Step 2: Combine Ingredients
Transfer the Oreo cookie powder to a bowl.
Add frosting and mix until well-blended.
If you desire, add sprinkles at this stage to incorporate some festive color into the mixture.
This should form a dough-like consistency.
Step 3: Shape and Chill the Balls
Form the mixture into small 1/2 tablespoon-sized balls.
Arrange the balls on a tray or plate and place them in the freezer to chill while you prepare the chocolate.
This helps to firm up the centers, making them easier to dip.
Step 4: Melt the White Chocolate
In a microwave-safe bowl, melt the white chocolate by heating it for 30 seconds at a time, stirring in between each interval, until smooth.
It usually takes about 60-90 seconds total.
Be careful not to overheat to prevent the chocolate from seizing.
Step 5: Coat the Truffles
Once the cookie centers have chilled and become firm, dip each ball into the melted white chocolate.
Make sure each ball is fully coated, using a fork to lift and allow excess chocolate to drip off before placing them on a surface.
Step 6: Add Sprinkles and Set
Place the dipped truffles on a cookie sheet lined with waxed paper or parchment paper.
Immediately add sprinkles on top before the white chocolate sets for a festive look.
To expedite the setting process, place the truffles in the fridge or freezer until the chocolate hardens.
