Finding a dessert that satisfies those chocolate cravings while keeping things dairy-free can feel like mission impossible. Between navigating ingredient labels at the store and dealing with recipes that just don’t quite hit the spot, getting that perfect fudgy texture without traditional milk and butter often leads to disappointment.
That’s where this vegan fudge recipe comes to the rescue: it’s rich and creamy, takes just minutes to put together, and uses simple ingredients you can actually pronounce. Best of all, even your non-vegan friends won’t believe it’s made without dairy.
Why You’ll Love This Vegan Fudge
- Dairy-free indulgence – This fudge proves you don’t need dairy to make rich, creamy chocolate treats. It’s perfect for vegans and those with dairy sensitivities.
- No-bake simplicity – Just melt, mix, and chill – no oven needed! The hardest part is waiting for it to set in the fridge.
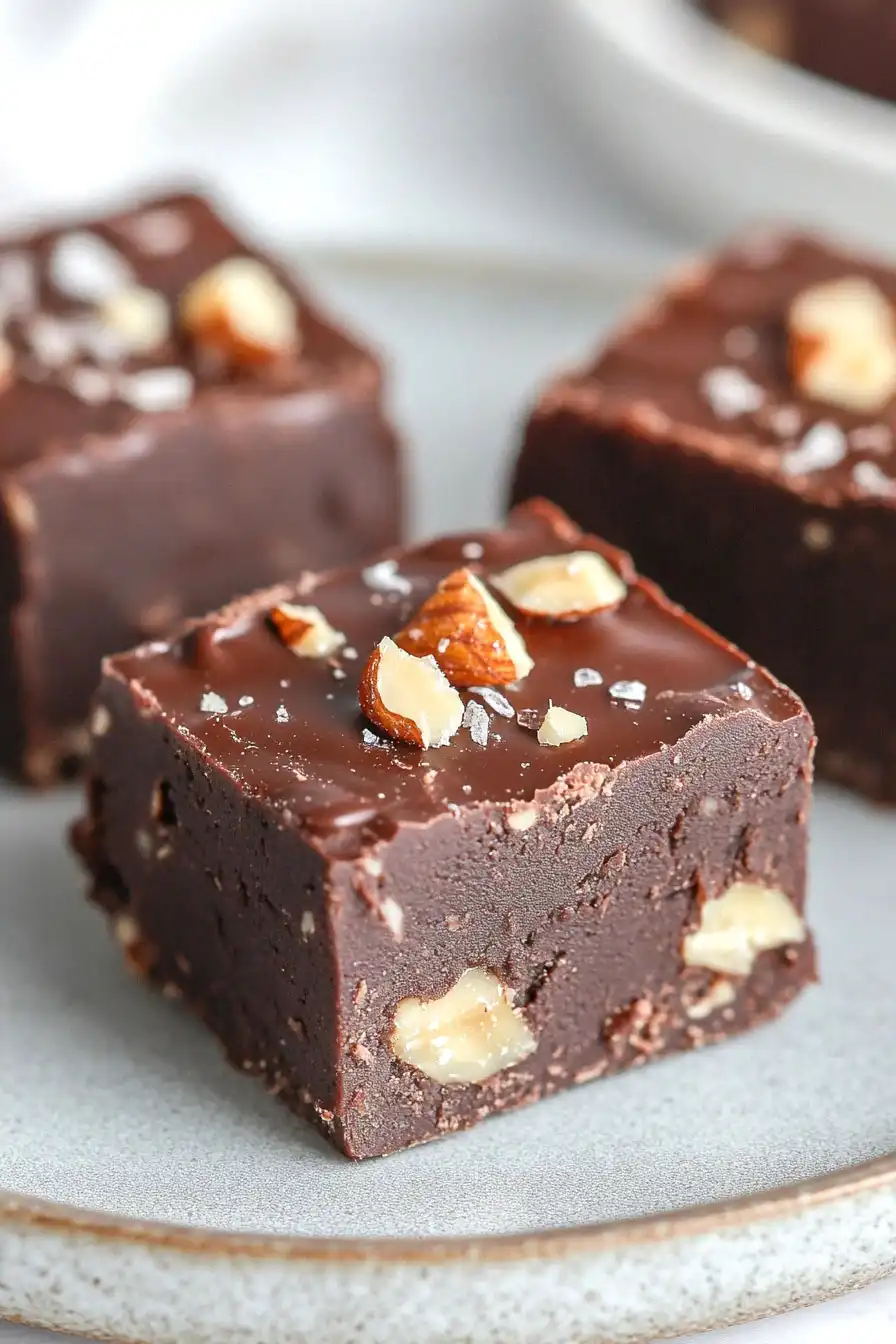
- Five main ingredients – With just chocolate, condensed coconut milk, almond butter, hazelnuts, and vanilla, you can create this decadent dessert using simple pantry items.
- Make-ahead friendly – You can prepare this fudge days in advance and store it in the fridge, making it perfect for parties or when you need a quick chocolate fix.
What Kind of Dark Chocolate Should I Use?
For this vegan fudge, you’ll want to stick with dark chocolate that’s between 60% to 70% cocoa content – this range gives you the perfect balance of sweetness and rich chocolate flavor. Look for chocolate that’s specifically labeled as dairy-free or vegan, as some dark chocolate brands may still contain milk products. You can use either chocolate bars chopped into pieces or chocolate chips, though bars often melt more smoothly. Just make sure to check the ingredient list carefully, as higher quality chocolate with fewer additives will give you the best results in your fudge. If you’re buying chocolate chips, brands like Enjoy Life or Guittard make reliable vegan options that melt beautifully.
Options for Substitutions
This vegan fudge recipe is pretty adaptable! Here are some swaps you can try:
- Hazelnuts: Not a fan of hazelnuts? Feel free to use any other nuts like walnuts, pecans, or almonds. You can even skip the nuts entirely if you prefer smooth fudge.
- Sweetened condensed coconut milk: This is a key ingredient for texture, but you can make your own by simmering 2 cups of full-fat coconut milk with 1/2 cup sugar until reduced by half. Regular sweetened condensed milk works too if you’re not strictly vegan.
- Dark chocolate: Any dairy-free chocolate with 60-70% cocoa content will work. Just make sure to check the label to confirm it’s vegan. You can also use dairy-free chocolate chips.
- Almond butter: Feel free to swap this with any other nut butter like cashew, peanut, or sunflower seed butter for nut-free version. Just make sure it’s creamy and doesn’t have added sugar.
- Vanilla extract: While pure vanilla extract gives the best flavor, you can use vanilla bean paste or powder. For a different twist, try almond or hazelnut extract.
Watch Out for These Mistakes While Making
The biggest challenge when making vegan fudge is temperature control – if your chocolate gets too hot during melting, it can become grainy or seize up, so always use a double boiler or microwave in short 30-second bursts, stirring between each interval. Getting the right consistency depends on your condensed coconut milk – make sure it’s properly sweetened and thick, as regular coconut milk won’t work and could leave you with fudge that won’t set. Another common mistake is rushing the cooling process – patience is key here, as the fudge needs at least 4 hours in the refrigerator to set properly (overnight is even better). For the smoothest results, make sure your almond butter is well-stirred and at room temperature before mixing it in, as cold nut butter can create unwanted lumps in your fudge.

What to Serve With Vegan Fudge?
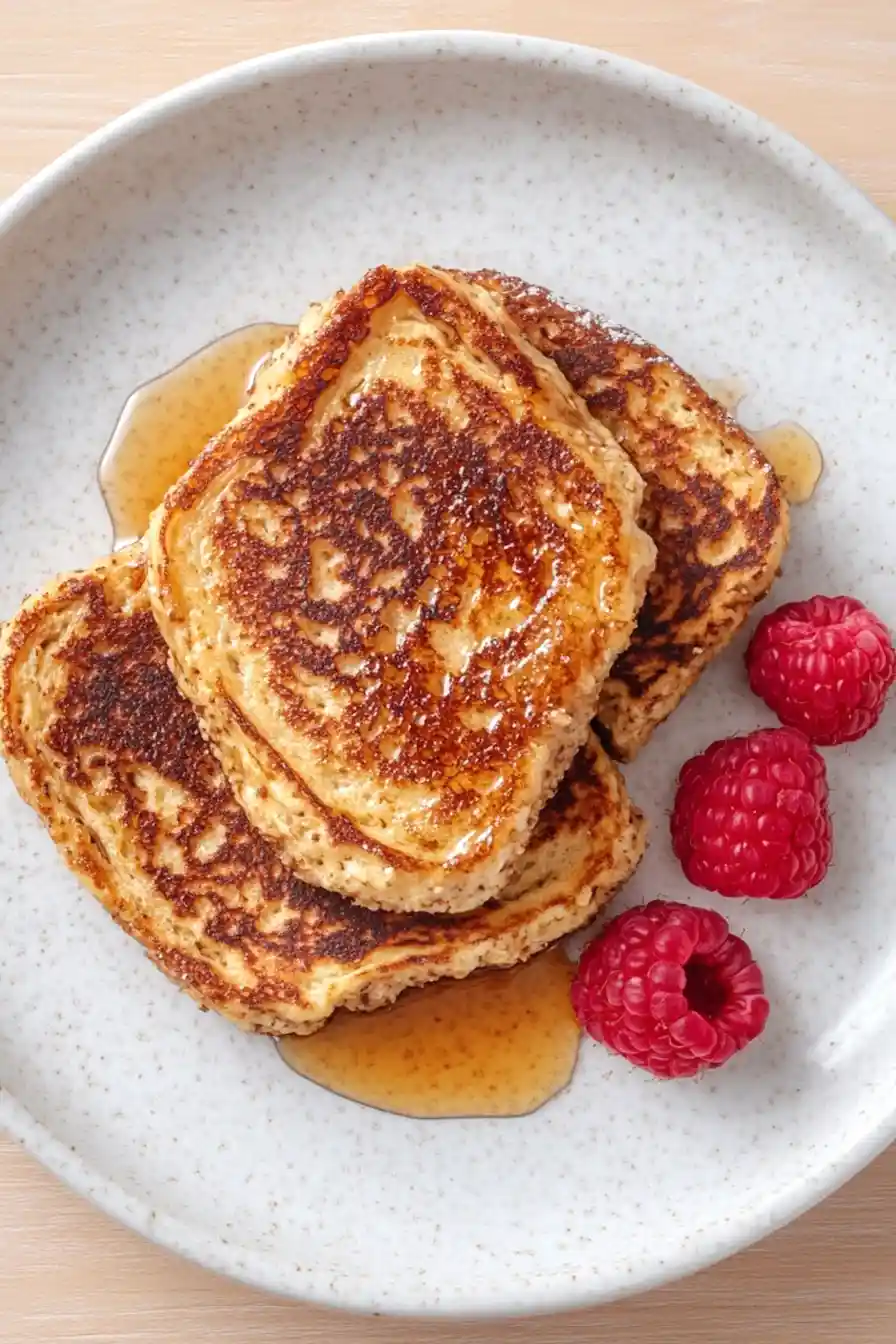
This rich vegan fudge pairs perfectly with a hot cup of coffee or tea, creating that perfect afternoon treat moment. Since fudge is pretty sweet and dense, I like to serve it with fresh berries on the side – raspberries or strawberries add a nice tart contrast that helps balance out the chocolate. For a cozy winter gathering, try serving small squares of this fudge alongside warm non-dairy hot chocolate topped with coconut whipped cream. If you’re putting together a dessert platter, this fudge works great next to other bite-sized treats like fresh fruit, dairy-free cookies, or roasted nuts.
Storage Instructions
Keep Cool: This vegan fudge needs to stay cool to maintain its perfect texture. Place it in an airtight container in the fridge, where it’ll stay fresh for up to 2 weeks. I like to separate layers with parchment paper to prevent the pieces from sticking together.
Freeze: For longer storage, pop your fudge pieces in a freezer-safe container with parchment paper between layers. They’ll keep well for up to 3 months in the freezer. This is great when you want to make a big batch and save some for later!
Serve: When you’re ready to enjoy frozen fudge, let it thaw in the fridge for about 30 minutes. If you’re serving from the fridge, you can take it out about 5 minutes before serving to let it soften slightly. Just remember that this fudge gets quite soft at room temperature, so it’s best enjoyed cool!
| Preparation Time | 15-20 minutes |
| Cooking Time | 10-15 minutes |
| Total Time | 1-2 hours |
| Level of Difficulty | Medium |
Estimated Nutrition
Estimated nutrition for the whole recipe (without optional ingredients):
- Calories: 2200-2400
- Protein: 30-40 g
- Fat: 150-170 g
- Carbohydrates: 200-220 g
Ingredients
- 2/3 cup hazelnuts (90-100g)
- 8 ounces sweetened condensed coconut milk (227g)
- 12 ounces dark chocolate pieces (340g, 60%-70% cocoa)
- 1/2 cup creamy almond butter (125g, no added sugar)
- 1 teaspoon vanilla extract (pure)
- Pinch of sea salt
Step 1: Roast the Hazelnuts
Preheat your oven to 350ºF (175ºC).
Spread the hazelnuts out on a rimmed baking sheet and place it on the middle rack.
Roast the hazelnuts for 10-13 minutes until they become very fragrant and toasty.
Smaller hazelnuts will need closer to 10 minutes.
Once roasted, transfer the hazelnuts to a clean, thin dish towel, wrap them tightly, and let them steam for 2 minutes.
Rub the hazelnuts vigorously through the towel using your hands to help loosen the skins.
It’s okay if not all skins come off.
Let them cool enough to handle, then roughly chop.
Step 2: Prepare the Loaf Pan
Lightly oil an 8×4-inch or 9×5-inch loaf pan, or a square 8×8-inch baking pan.
Line the pan with parchment paper; the oil will help the paper stick, but it will not affect the fudge.
This step ensures easy removal of the fudge later on.
Step 3: Melt the Chocolate Mixture
Add condensed coconut milk and chocolate to a heat-safe bowl.
Microwave the mixture on high for 90 seconds.
Allow it to rest for 1 minute without stirring.
After resting, stir with a silicone whisk until the mixture is smooth and melted.
If you have a low wattage microwave, you may need to microwave for an additional 15 seconds to achieve complete melting.
Step 4: Combine and Add the Hazelnuts
While the chocolate mixture is still warm, add almond butter, vanilla, and a pinch or two of sea salt.
Whisk the mixture together until it becomes thick and well combined.
Fold in the chopped hazelnuts using a silicone spatula, ensuring they are evenly distributed throughout the fudge mixture.
Step 5: Set the Fudge
Transfer the fudge into the prepared and lined pan.
Pat it down with a silicone spatula or your fingers to spread it evenly.
Lightly sprinkle about a scant ¼ teaspoon of sea salt over the top.
Place the fudge in the fridge for 1 to 2 hours until it sets completely.
Once set, let it come to room temperature before slicing.
Step 6: Serve and Store
For a more pronounced sweet-salty flavor, sprinkle a pinch of flaky sea salt on the fudge just before serving.
Store leftover fudge tightly wrapped in plastic or in an airtight container at room temperature for 1 to 2 weeks, or longer in the fridge.
You can also freeze the fudge for up to 3 months for longer storage.
