Let’s talk about vegan vanilla cake – a dessert that’s become my go-to when hosting friends with different dietary preferences. I used to think making a cake without eggs and dairy would be tricky, but this recipe changed my mind completely. It’s the kind of cake that makes everyone happy, whether they’re vegan or not.
What I love most about this recipe is how it produces a soft, moist cake that tastes just like the traditional version. My non-vegan friends often can’t believe it when I tell them there’s no butter or eggs in the mix. I usually make it the day before a gathering, and it stays fresh and tasty – perfect for when you want to get ahead on your baking.
Looking for a reliable dessert that works for everyone? This vegan vanilla cake has you covered. It’s straightforward to make, uses ingredients you can find at any grocery store, and trust me – it’ll become your new favorite too.

Why You’ll Love This Vegan Vanilla Cake
- Dairy-free perfection – This cake is completely vegan but tastes just as rich and satisfying as traditional vanilla cake – your non-vegan friends won’t even know the difference!
- Simple ingredients – You probably have most of these pantry staples at home already, and any grocery store carries the plant-based items you might need.
- Quick preparation – With just 40-50 minutes total time and simple mixing steps, you can have this cake ready for any celebration without spending hours in the kitchen.
- Beginner-friendly recipe – No complicated techniques or special equipment needed – just basic mixing bowls and measuring tools are all you need to create this foolproof cake.
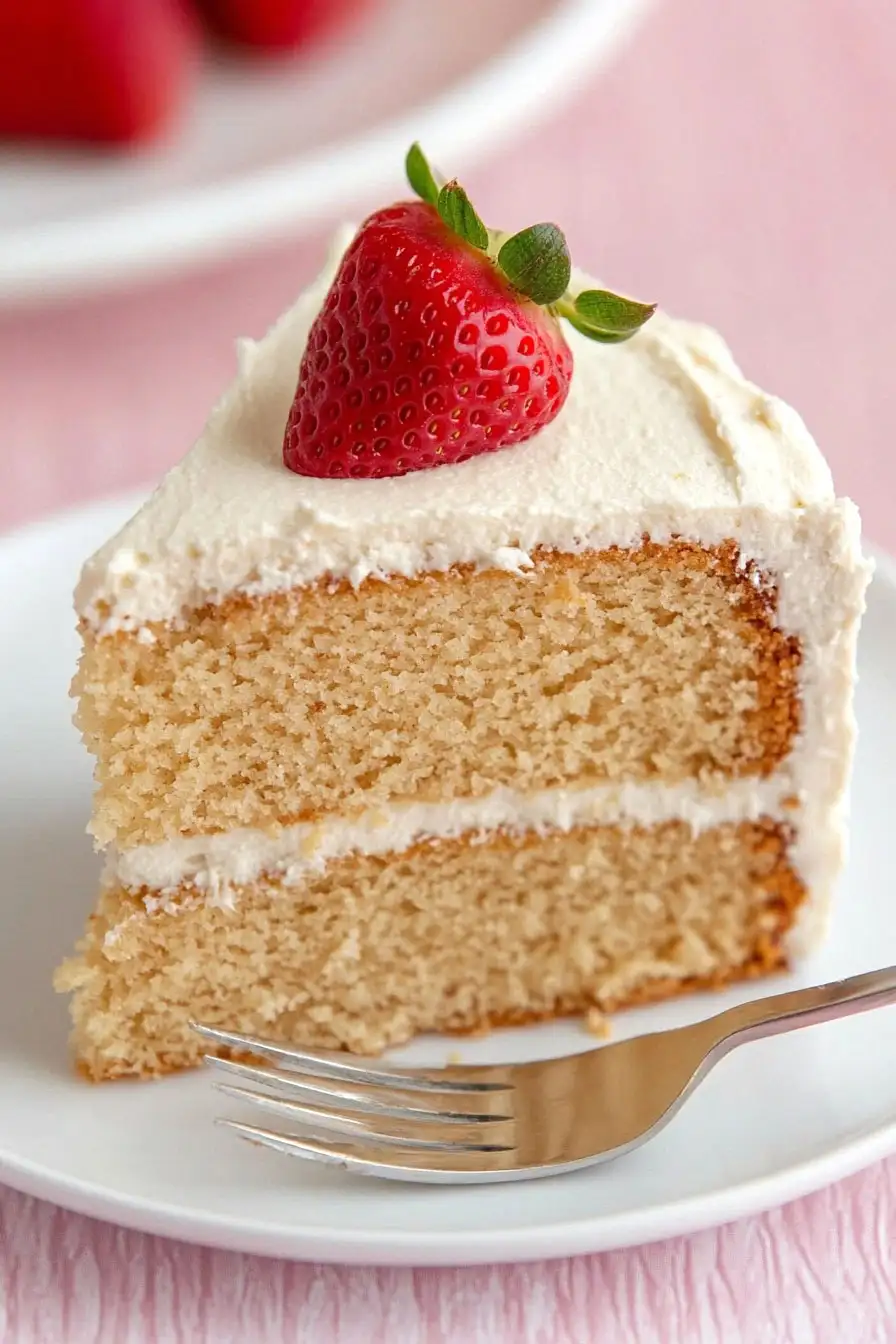
- Customizable dessert – The basic vanilla base works perfectly with any toppings you like, from fresh strawberries to chocolate ganache, making it perfect for any occasion.
What Kind of Flour Should I Use?
Regular all-purpose flour is your best bet for this vegan vanilla cake, though you might see it labeled as “plain flour” in some stores. While cake flour can make traditional cakes more tender, all-purpose flour actually works better in vegan baking because its higher protein content helps provide structure when you’re not using eggs. Just make sure to measure your flour correctly – either use a kitchen scale for precise measurement, or spoon the flour into your measuring cup and level it off with a knife rather than scooping directly from the flour bag. If you’re in a pinch, you can substitute pastry flour, but avoid bread flour as it will make your cake too dense and chewy.

Options for Substitutions
This vegan cake recipe is super adaptable and works well with several substitutions:
- All-purpose flour: You can use cake flour for a lighter texture – just add 2 extra tablespoons per cup. For a gluten-free version, try a 1:1 gluten-free flour blend, but the texture might be slightly different.
- Soy milk: Any non-dairy milk works great here – try almond, oat, or coconut milk. Just avoid anything with strong flavors unless you want that taste in your cake.
- Canola oil: Any neutral-tasting oil works well – vegetable, sunflower, or melted coconut oil are all good options. If using coconut oil, make sure other ingredients are at room temperature to prevent solidifying.
- White vinegar: Apple cider vinegar or lemon juice work just as well – you need the acid to react with the baking soda, so don’t skip this ingredient!
- Plant-based butter: For the frosting, you can use any vegan butter substitute, or even solid coconut oil (though this will give a coconut flavor). Just make sure it’s at room temperature for smooth mixing.
- White sugar: Regular white sugar works best for color, but you can use coconut sugar – just note that it will make the cake darker and slightly less sweet.
Watch Out for These Mistakes While Baking
The success of a vegan vanilla cake heavily depends on the reaction between vinegar and baking soda, so using old or expired leavening agents can prevent your cake from rising properly – always check the freshness of your baking soda before starting. Another common mistake is overmixing the batter, which can lead to a tough, dense cake instead of a light and fluffy one – mix just until the ingredients are combined and no flour streaks remain. The temperature of your ingredients matters more than you might think, so make sure your non-dairy milk is at room temperature before mixing it with the oil and vinegar, as cold ingredients can cause the batter to curdle or bake unevenly. For the best texture, resist the urge to open the oven door while baking, as this can cause your cake to sink in the middle – instead, use the oven light to check on your cake’s progress.
What to Serve With Vegan Vanilla Cake?
This light and fluffy vegan vanilla cake pairs perfectly with your favorite dairy-free ice cream – I especially love it with vanilla bean or strawberry flavors. A warm cup of coffee or tea makes the cake even more enjoyable, and I often serve both to guests who come over for afternoon treats. For a fresh twist, try adding some seasonal berries on the side, like raspberries, blackberries, or sliced strawberries, which add a nice pop of color and tartness to balance the cake’s sweetness. If you’re hosting a party, consider setting up a little toppings bar with dairy-free whipped cream, chocolate sauce, and various fruits so everyone can customize their slice.
Storage Instructions
Keep Fresh: Your vegan vanilla cake will stay moist and yummy when stored in an airtight container at room temperature for up to 3 days. If you’ve added the frosting, it’s best to pop it in the fridge where it’ll keep well for up to 5 days. Just remember to place it in a cake container to protect that pretty frosting!
Freeze: This cake freezes really well! You can freeze unfrosted cake layers wrapped in plastic wrap and aluminum foil for up to 3 months. For frosted cake, freeze individual slices on a baking sheet until firm, then wrap them up – they’ll keep for about 2 months in the freezer.
Make Ahead: Want to get ahead? You can bake the cake layers up to 2 days before you need them. Just wrap them well and keep at room temperature. The frosting can be made 1-2 days ahead and stored in the fridge – just let it come to room temperature and give it a quick whip before using.
| Preparation Time | 15-20 minutes |
| Cooking Time | 25-30 minutes |
| Total Time | 40-50 minutes |
| Level of Difficulty | Medium |
Estimated Nutrition
Estimated nutrition for the whole recipe (without optional ingredients):
- Calories: 2800-3200
- Protein: 25-30 g
- Fat: 100-110 g
- Carbohydrates: 500-550 g
Ingredients
For the cake:
- 1/3 cup canola oil
- 1 tsp baking soda
- 1 tbsp white vinegar
- 1 3/4 cups all-purpose flour
- 2 tsp vanilla essence (pure vanilla extract for superior flavor)
- 1 cup white sugar
- 1 cup soy milk (unsweetened original for best results)
- 1/2 tsp salt
For the frosting:
- 3 3/4 cups icing sugar (sifted to prevent lumps)
- 3 tbsp plant-based butter (softened at room temperature)
- 4 tbsp soy milk
- 2 tsp vanilla flavoring
Optional garnish:
- fresh strawberries (sliced for a beautiful presentation)
Step 1: Prepare the Cake Pans and Preheat the Oven
Preheat your oven to 350°F (180°C).
Prepare two 7-inch round cake pans by spraying them with non-stick spray.
Cut parchment paper into circles to fit the bottom of each pan and lay it at the base to ensure easy removal of your cakes after baking.
Step 2: Mix the Cake Batter
Sift the flour into a mixing bowl and add the sugar, baking soda, and salt.
Stir the dry ingredients together until well combined.
Pour in the soy milk, vanilla, oil, and vinegar.
Use a hand whisk to mix everything until just combined, making sure not to overmix the batter.
Step 3: Bake the Cakes
Evenly divide the batter between the two prepared cake pans.
Place the pans in the preheated oven and bake for 25-30 minutes.
Check for doneness by inserting a toothpick into the center of each cake; they are ready when the toothpick comes out clean.
Allow the cakes to cool in their pans for a few minutes before transferring them to a wire cooling rack to cool completely.
Step 4: Make the Frosting
In another bowl, combine powdered sugar, vegan butter, vanilla, and half the soy milk.
Start mixing with an electric mixer on low speed, gradually increasing to high speed.
Add the remaining soy milk as needed to achieve a smooth and creamy consistency.
If the frosting is too thin, gradually add more powdered sugar until it thickens.
If too thick, add more soy milk a drop at a time.
The perfect consistency is spreadable but firm enough not to slide off the cake.
Step 5: Assemble and Frost the Cake
Once the cakes are completely cool, place one layer on a serving plate and spread frosting generously over the top.
Position the second cake layer on top of the first one, and proceed to frost the top and sides evenly.
Use a knife or offset spatula for a smooth finish.
Step 6: Decorate and Serve
Decorate the cake with fresh strawberries for a finishing touch and serve immediately for the freshest taste.
If you plan to serve the cake later, it is best to omit the strawberries until serving time or present them on a separate plate to prevent the cake from becoming soggy.
