Looking for a quick and reliable way to get fresh-baked biscuits on the table without all the fuss of making them from scratch? After years of trying different recipes and methods, I’ve found that Bisquick biscuits are a real lifesaver when you need something warm and comforting but don’t have time for all the measuring and mixing that comes with traditional biscuit making.
These biscuits are perfect for busy weeknight dinners or lazy weekend breakfasts, and they turn out great every time. Best of all, you only need a few basic ingredients you probably already have in your kitchen.
Why You’ll Love These Biscuits
- Quick preparation – These biscuits go from mixing bowl to table in just 20 minutes, making them perfect for busy mornings or last-minute dinner sides.
- Two-ingredient simplicity – With just pancake mix and milk, you can whip up fresh, warm biscuits anytime – no need for a long grocery list or complicated measurements.
- Beginner-friendly recipe – If you can stir ingredients together, you can make these biscuits. They’re practically foolproof and perfect for novice bakers.
- Versatile side dish – These biscuits pair perfectly with everything from breakfast eggs to dinner soups, and they’re great with both sweet and savory toppings.
What Kind of Pancake Mix Should I Use?
While this recipe calls for homemade pancake mix, you can actually use store-bought Bisquick or any all-purpose baking mix as your base. The key difference between regular pancake mix and Bisquick is that Bisquick typically contains a bit more fat, which helps create flakier biscuits. If you’re making your own mix at home, be sure it includes flour, baking powder, salt, and some form of fat (usually shortening or butter) that’s been cut into the dry ingredients. For the flakiest results, keep your mix cold before using it, just like you would with regular biscuit dough.

Options for Substitutions
Making these biscuits but need to switch things up? Here are some helpful substitution tips:
- Homemade pancake mix: If you’re out of homemade mix, you can use store-bought Bisquick or any all-purpose baking mix. Just make sure it’s a complete mix that already contains leavening agents and salt.
- Milk: Regular milk can be swapped with buttermilk for tangier biscuits, or plant-based alternatives like almond or soy milk. If using buttermilk, add ¼ teaspoon of baking soda to the dry mix. For non-dairy milks, stick to plain, unsweetened varieties. You can also use water in a pinch, but the biscuits won’t be as rich.
- Additional options: While not in the original recipe, you can add 2-3 tablespoons of cold butter to the mix for richer biscuits. Just cut it into the dry ingredients before adding the liquid.
Watch Out for These Mistakes While Baking
The biggest mistake when making Bisquick biscuits is overworking the dough – mix just until the ingredients come together, as too much handling will result in tough, dense biscuits instead of light and fluffy ones.
Temperature control is crucial – using cold milk and working with cool hands helps create those sought-after flaky layers, while a preheated oven (425°F) ensures the biscuits rise properly.
When cutting your biscuits, avoid twisting the cutter as this seals the edges and prevents proper rising – instead, press straight down and lift straight up.
For the best results, place your biscuits close together on the baking sheet (about 1/2 inch apart) as this helps them rise higher, and brush the tops with a little extra milk for that perfect golden-brown finish.

What to Serve With Biscuits?
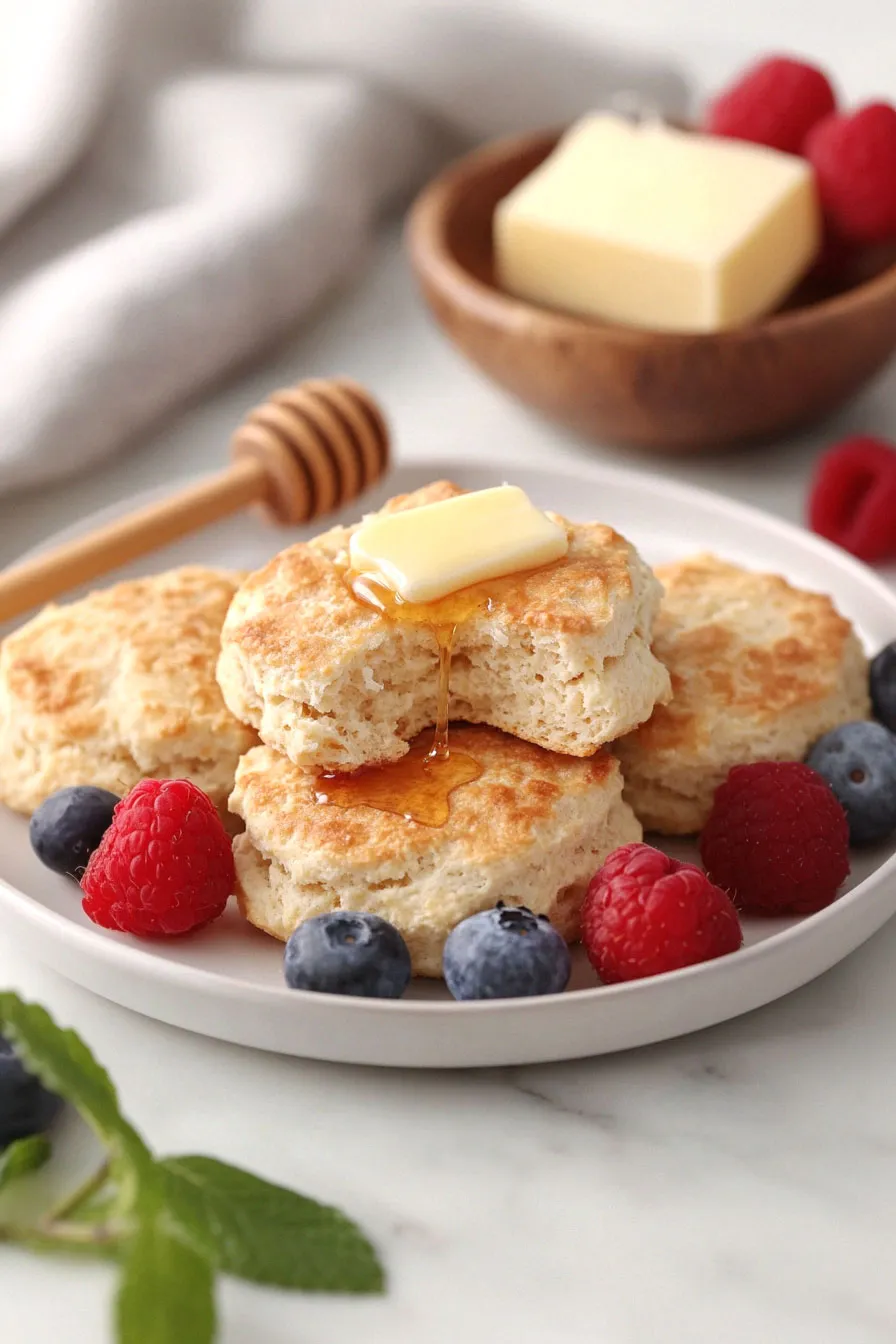
These warm, fluffy biscuits are super flexible and go well with just about any meal of the day! For breakfast, I love serving them with sausage gravy, or simply spreading them with butter and honey while they’re still warm from the oven. At dinner time, they’re perfect for soaking up the sauce from chicken pot pie filling or beef stew. You can also split them in half and use them as a base for breakfast sandwiches with eggs, cheese, and bacon – my family’s favorite weekend breakfast!
Storage Instructions
Keep Fresh: Once your biscuits have cooled completely, place them in an airtight container or zip-top bag. They’ll stay fresh at room temperature for about 2 days. For longer storage, pop them in the fridge where they’ll keep for up to a week.
Freeze: These biscuits are perfect for freezing! Just wrap them individually in plastic wrap and place them in a freezer bag. They’ll stay good for up to 3 months. This is super handy when you want just one or two biscuits at a time.
Warm Up: To enjoy your stored biscuits, wrap them in a slightly damp paper towel and microwave for 15-20 seconds, or until warm. For frozen biscuits, thaw them first, then warm them up in the oven at 350°F for about 5 minutes to get that fresh-baked taste back.
| Preparation Time | 5-10 minutes |
| Cooking Time | 8-10 minutes |
| Total Time | 13-20 minutes |
| Level of Difficulty | Easy |
Estimated Nutrition
Estimated nutrition for the whole recipe (without optional ingredients):
- Calories: 800-900
- Protein: 15-20 g
- Fat: 15-20 g
- Carbohydrates: 150-160 g
Ingredients
- 2/3 cup milk (whole milk for richness, or 2% for slightly lighter)
- 2 1/4 cups pancake mix (Bisquick recommended for classic results)
Step 1: Preheat the Oven
Begin by preheating your oven to 450℉.
This ensures that the oven reaches the proper temperature while you prepare the dough, resulting in a perfectly baked batch of goodies.
Step 2: Prepare the Dough
In a large bowl, gather all your ingredients.
Stir them together until a soft dough forms.
Ensure that all components are well mixed to create a consistent texture throughout the dough.
This step is crucial for achieving the right rise and fluffiness.
Step 3: Shape and Bake the Dough
Using a spoon, drop spoonfuls of the soft dough onto an ungreased baking sheet.
Make sure to space them slightly apart to allow room for spreading as they bake.
Place the baking sheet in the preheated oven and bake for 8-10 minutes, or until the tops are golden brown.
Keep an eye on them during the last few minutes to prevent over-browning.
Step 4: Cool and Serve
Once baked to a golden perfection, remove the baking sheet from the oven.
Let the baked goods cool for a few minutes on the sheet before transferring them to a wire rack to cool completely.
Serve warm or allow to cool completely before enjoying with your favorite accompaniments.
