Finding a reliable, budget-friendly dinner solution for those nights when you’re too tired to cook can feel like an impossible task. Between managing work deadlines, helping with homework, and trying to keep the house in order, the last thing anyone wants to think about is spending hours in the kitchen preparing an elaborate meal.
That’s where this canned tuna gravy recipe comes to the rescue: it’s quick and wallet-friendly, uses pantry staples you probably already have, and brings a comforting warmth to the dinner table when you need it most.
Why You’ll Love This Tuna Gravy
- Quick preparation – Ready in just 15-25 minutes, this recipe is perfect for those busy weeknights when you need dinner on the table fast.
- Budget-friendly ingredients – Using pantry staples like canned tuna and basic kitchen ingredients, this meal is easy on your wallet while still being satisfying.
- Simple cooking process – With just a few basic steps and minimal ingredients, you can create a warm, comforting meal even if you’re a beginner cook.
- Protein-rich meal – Tuna provides a good source of lean protein, making this a filling dish that will keep you satisfied.
What Kind of Canned Tuna Should I Use?
For a creamy tuna gravy, you’ll want to start with chunk light or solid white albacore tuna packed in water. While solid white albacore has a milder, cleaner taste and lighter color, chunk light tuna is perfectly fine and usually more budget-friendly. The key is to drain the tuna really well – I like to press down on it in the strainer to get rid of as much liquid as possible, which helps the gravy stay thick and flavorful. If you happen to have tuna packed in oil instead of water, that’ll work too – just know that it might add a slightly richer flavor to your gravy. Just avoid any flavored or seasoned varieties since they could throw off the classic comfort-food taste we’re going for here.
Options for Substitutions
This simple comfort food recipe can be adapted with several easy substitutions:
- Canned tuna: While canned tuna is the star here, you can use canned salmon or even canned chicken if you prefer. Just make sure to drain it well, just like you would the tuna.
- Whole milk: 2% milk works fine here, though it will make the gravy slightly less rich. For a dairy-free version, try unsweetened plain almond milk or oat milk, but know the gravy might be a bit thinner.
- Butter: You can swap butter with margarine or olive oil, though butter gives the best flavor. If using olive oil, you might want to add a pinch of garlic powder for extra flavor.
- All-purpose flour: Cornstarch works as a substitute (use 1.5 teaspoons instead of 1 tablespoon flour), but be sure to mix it with cold water first to prevent lumps.
- Toast: Any bread works here! Try it over biscuits, English muffins, or even rice if you’re out of bread. Gluten-free bread works too.
Watch Out for These Mistakes While Cooking
The biggest challenge when making tuna gravy is getting the roux just right – rushing through this step can leave you with either a lumpy sauce or a raw flour taste, so take your time to cook the butter and flour together for at least 2-3 minutes until it’s golden and smells nutty. Another common mistake is adding cold milk all at once, which can create lumps – instead, warm your milk slightly and add it gradually while whisking constantly. When it comes to the tuna, be careful not to break it up too much while stirring or you’ll lose those nice chunks that give the gravy texture; gently fold it in at the end after your gravy has thickened. For the best flavor, make sure to taste and adjust your seasoning at the very end, as canned tuna can vary in saltiness depending on the brand.
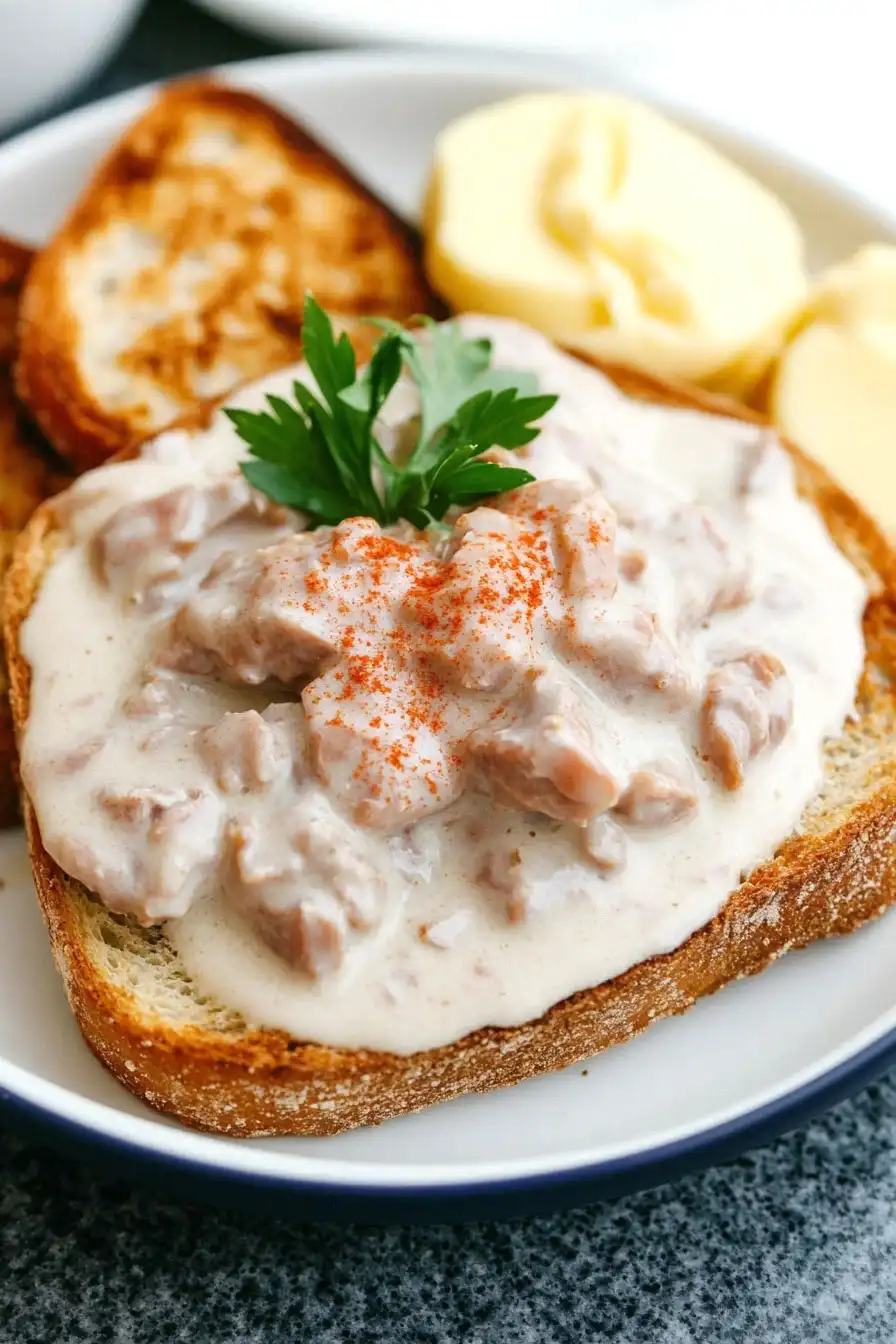
What to Serve With Tuna Gravy?
This creamy tuna gravy is super cozy served over more than just toast! Try spooning it over fluffy white rice, hot biscuits, or even mashed potatoes for a filling meal. Since it’s such a rich dish, I like to balance it with something fresh on the side – steamed broccoli or a simple green salad works perfectly. You can also add some sliced hard-boiled eggs on top or serve it alongside some buttered peas for a classic comfort food combination that reminds me of what my grandma used to make.
Storage Instructions
Keep Fresh: Tuna gravy is best enjoyed fresh, but if you have leftovers, place them in an airtight container in the fridge. It’ll stay good for up to 2 days. The gravy might thicken up a bit in the fridge, which is totally normal.
Make Ahead: I don’t recommend making this gravy too far in advance since the texture is best when served fresh. If you need to prep ahead, you can measure out your ingredients and have your toast ready to go, then whip up the gravy just before serving.
Warm Up: To enjoy leftover tuna gravy, warm it gently in a saucepan over low heat, stirring frequently. You might need to add a splash of milk to thin it out. Skip the microwave for this one – it tends to make the gravy separate and heat unevenly.
| Preparation Time | 5-10 minutes |
| Cooking Time | 10-15 minutes |
| Total Time | 15-25 minutes |
| Level of Difficulty | Easy |
Estimated Nutrition
Estimated nutrition for the whole recipe (without optional ingredients):
- Calories: 900-1000
- Protein: 60-70 g
- Fat: 50-60 g
- Carbohydrates: 70-80 g
Ingredients
- 12 oz canned tuna (drained well, I use Bumble Bee Solid White Albacore)
- pepper (freshly ground for best flavor)
- 1 tbsp all-purpose flour
- 4 slices toast
- 1/4 cup butter (unsalted preferred)
- salt (to taste)
- 1 cup whole milk
Step 1: Melt the Butter
Begin by placing a saucepan over medium heat.
Add the desired amount of butter to the pan and allow it to melt completely, ensuring that it coats the bottom of the pan evenly.
Step 2: Create the Roux
Once the butter is melted, stir in an equal amount of flour.
Use a whisk or a spoon to blend the flour into the melted butter, creating a smooth, lump-free mixture.
Cook this mixture for a minute or two to eliminate the raw flour taste while keeping it from browning.
Step 3: Add Milk and Tuna
Gradually pour in the milk, whisking continuously to combine it with the roux.
This will help prevent any lumps from forming.
Add your choice of drained tuna and continue to stir until well combined with the milk mixture.
Step 4: Season and Thicken the Sauce
Stir in your preferred seasonings, such as salt, pepper, or any other spices you enjoy.
Continue stirring the mixture as it heats and thickens.
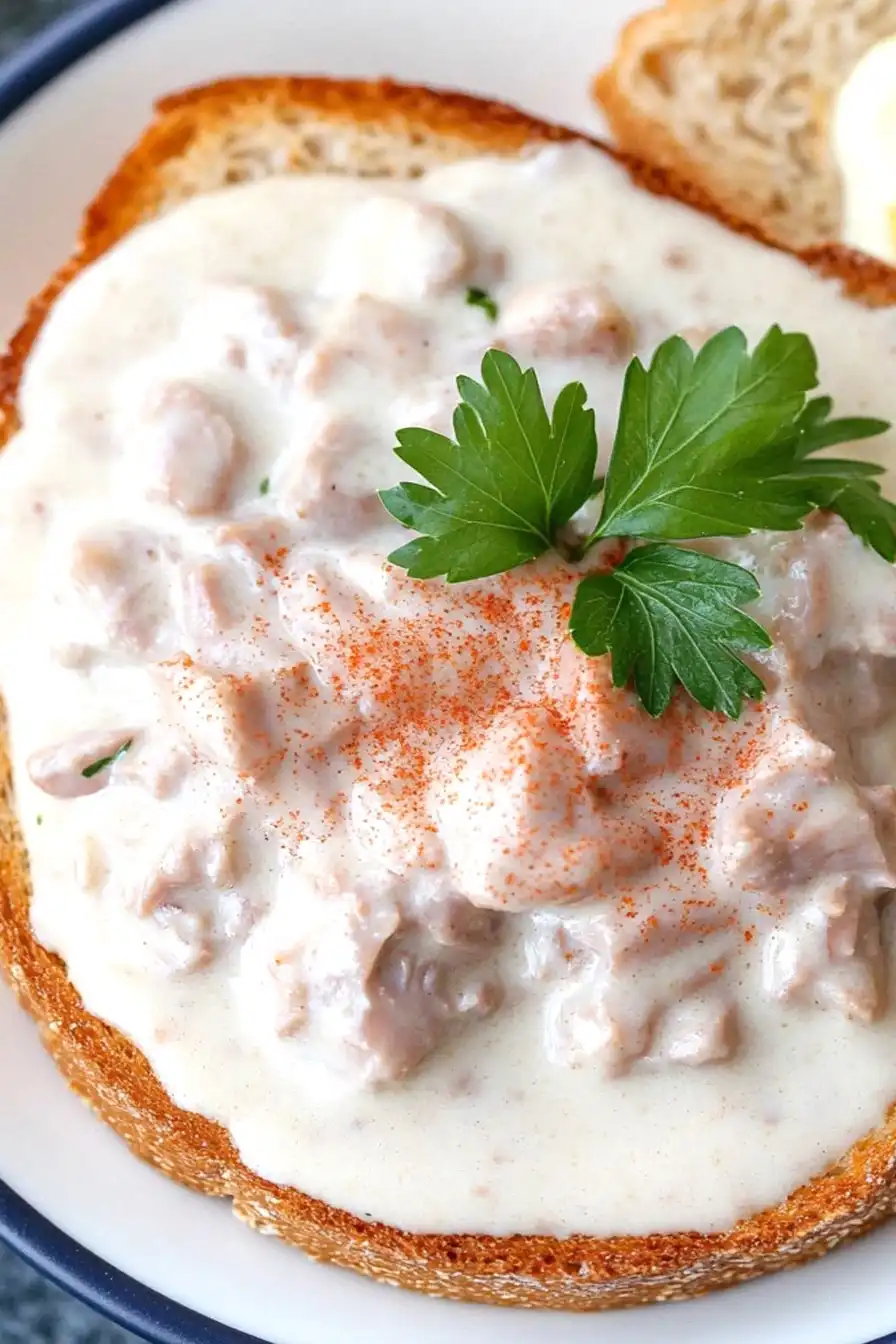
The goal is to achieve a creamy consistency that can generously pour over toast.
If the sauce becomes too thick, gradually add more milk until the desired consistency is reached.
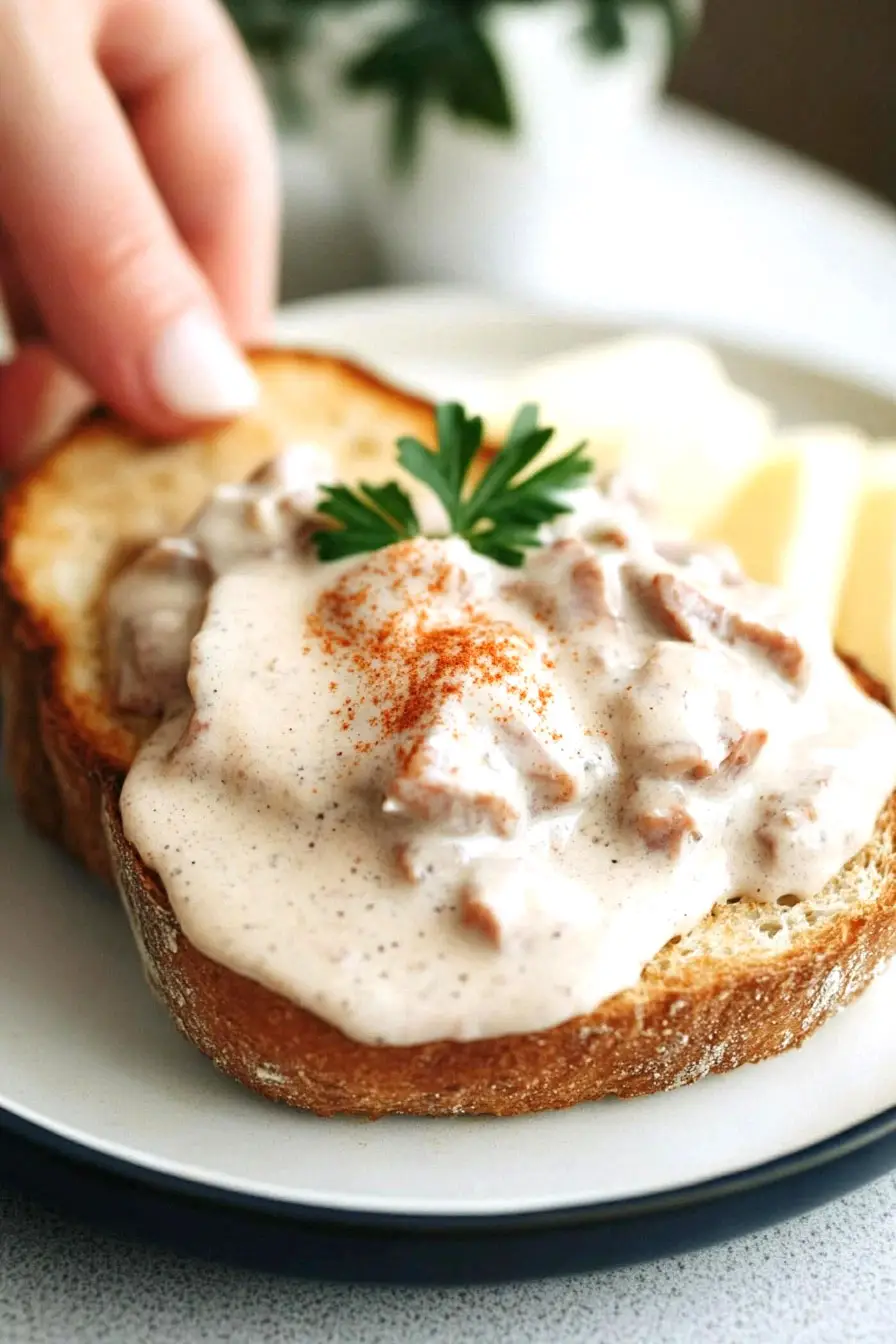
Step 5: Serve Over Toast
Once the tuna sauce is thickened to your preference, remove it from heat.
Pour the sauce generously over slices of toasted bread and serve immediately.
Enjoy your savory and comforting tuna toast!
