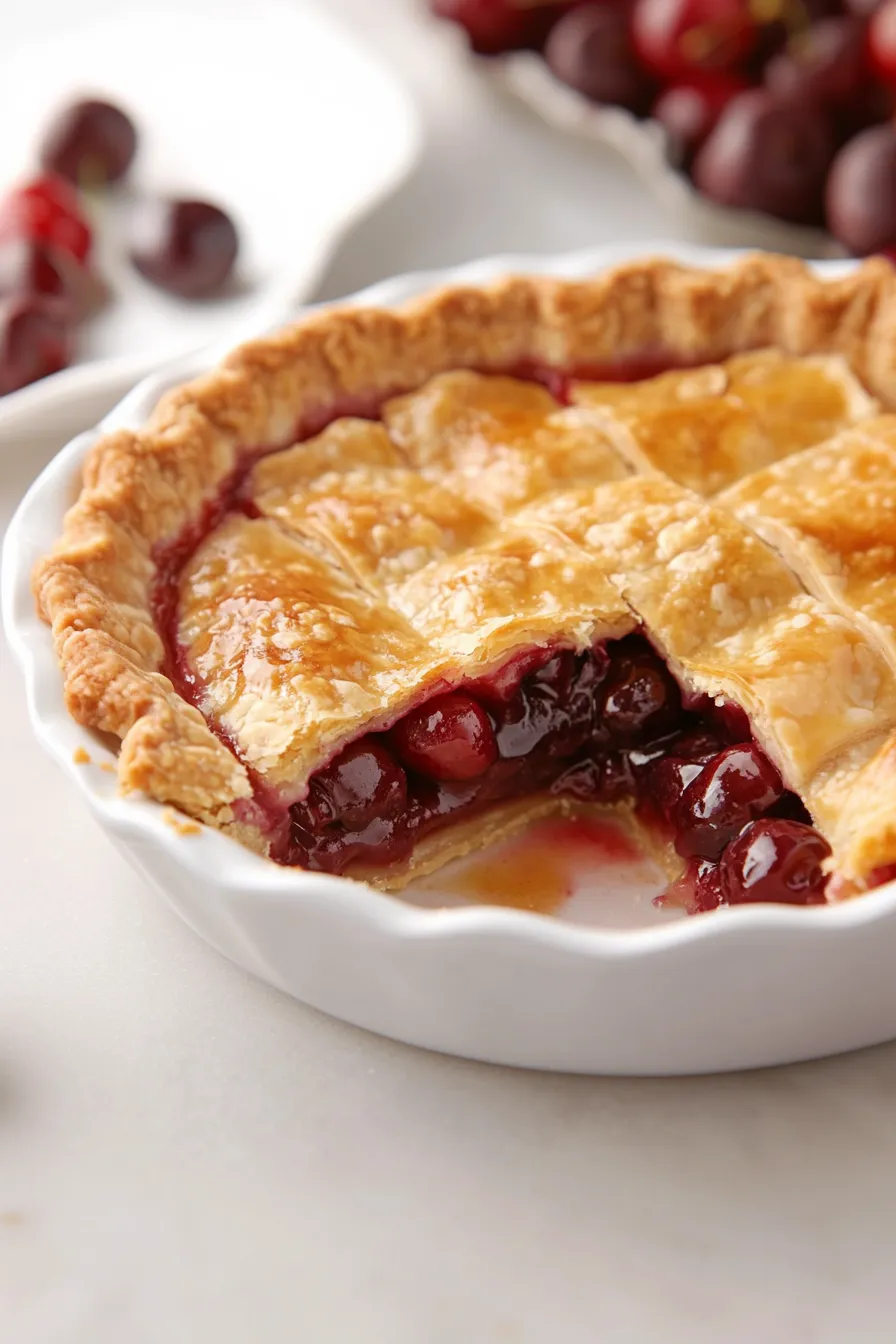
I never knew cherry pie could be made with fresh cherries until I was in my twenties. Growing up, my mom always reached for the canned filling – it was quick, easy, and honestly, that’s what everyone used back then. The few times we tried fresh cherries, they turned into a runny mess.
Turns out we were doing it all wrong – nobody told us about adding the right amount of cornstarch or letting the filling cool before putting it in the crust. Making cherry pie with fresh cherries isn’t complicated at all, it just needs a few simple tricks that make all the difference. And trust me, once you try it this way, you might never go back to the canned stuff.

Why You’ll Love This Cherry Pie
- Fresh, natural ingredients – Using real cherries instead of canned filling makes a world of difference in flavor. You can taste the natural sweetness of the fruit in every bite.
- Perfect balance of flavors – The combination of vanilla and almond extracts with fresh cherries creates a classic taste that’s not too sweet. The touch of lemon juice adds just the right amount of brightness.
- Made from scratch – There’s something special about a homemade pie crust filled with fresh fruit filling. It’s the kind of recipe that makes your kitchen smell amazing and creates lasting memories.
- Customizable sweetness – Since you’re making it yourself, you can adjust the sugar to match your taste preferences. It’s especially great when cherries are in season and naturally sweet.
What Kind of Cherries Should I Use?
For a classic cherry pie, sweet dark cherries like Bing or Lambert are your best bet, though you can also use tart cherries like Montmorency if you prefer a more tangy flavor. If you’re using sweet cherries, look for ones that are deep red to almost purple in color and feel firm when gently squeezed. Fresh cherries are ideal when in season (typically summer months), but if you’re making this pie off-season, frozen cherries can work just as well – just thaw and drain them before using. When pitting your cherries, try to catch as much of the natural juice as possible, since that’s where a lot of the flavor lives.
Options for Substitutions
Here are some helpful substitutions for this classic cherry pie recipe:
- Fresh cherries: If fresh cherries aren’t in season, you can use frozen cherries – just thaw and drain them well first. In a pinch, you could also use canned cherries, but drain them thoroughly and reduce the sugar by 2-3 tablespoons since they’re usually pre-sweetened.
- Cornstarch: You can swap cornstarch with all-purpose flour (use 1/2 cup instead of 1/4 cup) or instant tapioca (use 1/3 cup). If using tapioca, grind it first in a spice grinder for better texture.
- Heavy cream: For the egg wash, you can use milk or even just plain water instead of heavy cream. The shine won’t be quite as nice, but it’ll still work to help brown the crust.
- Almond essence: If you don’t have almond essence, you can leave it out or add an extra 1/4 teaspoon of vanilla instead. The almond adds a nice touch but isn’t crucial to the recipe.
- Homemade pie crust: While homemade is great, you can use store-bought pie crusts if you’re short on time. Just make sure to get two crusts – one for the bottom and one for the top.
Watch Out for These Mistakes While Baking
The biggest challenge when making cherry pie is dealing with excess moisture – fresh cherries release a lot of juice during baking, which can lead to a soggy bottom crust if not properly managed. To prevent this, make sure to thoroughly mix your cherries with cornstarch and let them sit for 15-20 minutes before filling the pie, allowing the cornstarch to properly absorb the juices. Another common mistake is underbaking the pie – you’ll want to look for bubbling fruit in the center of the pie, not just around the edges, which typically takes about 45-50 minutes at 375°F. For the flakiest crust, keep your ingredients cold throughout the process – if your dough starts feeling warm or sticky while you’re working with it, pop it back in the fridge for 15 minutes before continuing. Remember to cut adequate vents in your top crust (or use a lattice design) to allow steam to escape during baking, otherwise, your filling might bubble over and create a mess in your oven.
What to Serve With Cherry Pie?
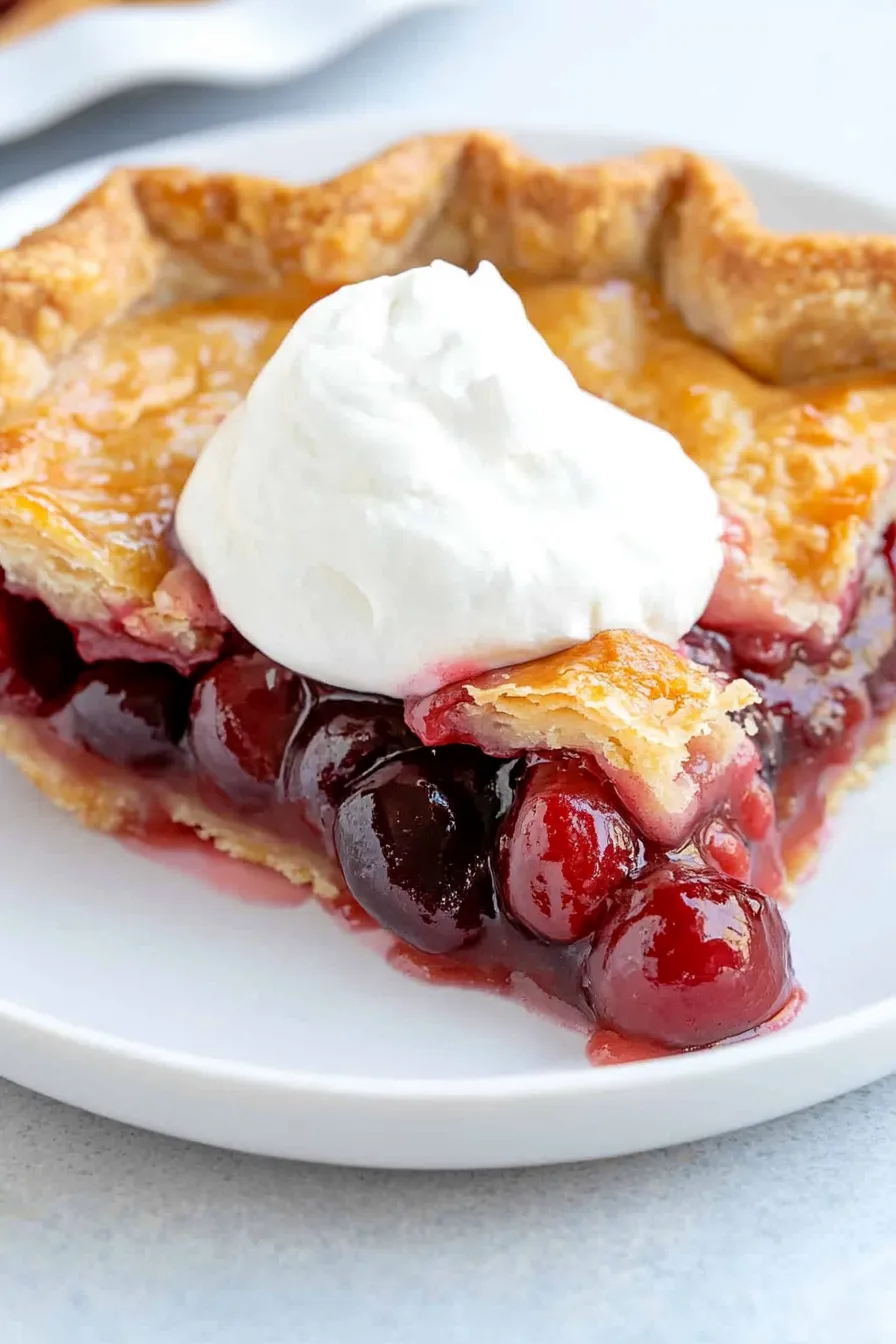
A slice of warm cherry pie practically begs for a scoop of vanilla ice cream – it’s a classic combo that just works! If you’re not in the mood for ice cream, a dollop of freshly whipped cream or a pour of cold heavy cream over the top adds a nice creamy contrast to the sweet-tart cherries. For a morning treat, serve your cherry pie with a hot cup of coffee or tea, or make it extra special with a drizzle of warm caramel sauce and a sprinkle of toasted almonds. You really can’t go wrong with any of these options – they all complement the buttery crust and juicy fruit filling perfectly.
Storage Instructions
Counter or Fridge: Your freshly baked cherry pie can sit at room temperature, covered with foil or plastic wrap, for up to 2 days. If you want it to last longer, pop it in the fridge where it’ll stay good for up to 5 days. Just cover it well to prevent it from drying out or absorbing other flavors.
Freeze: Cherry pie freezes really well! Let it cool completely, then wrap it tightly in plastic wrap and aluminum foil. It’ll keep in the freezer for up to 4 months. You can freeze individual slices too – perfect for when you need a quick pie fix!
Warm Up: To enjoy your pie warm, heat it in a 350°F oven for about 15-20 minutes if it’s room temperature, or 30-35 minutes if frozen. You can also microwave individual slices for 30-45 seconds, though the crust won’t be as crispy this way.
| Preparation Time | 30-45 minutes |
| Cooking Time | 55-65 minutes |
| Total Time | 90-120 minutes |
| Level of Difficulty | Medium |
Estimated Nutrition
Estimated nutrition for the whole recipe (without optional ingredients):
- Calories: 1800-2000
- Protein: 20-25 g
- Fat: 90-100 g
- Carbohydrates: 250-280 g
Ingredients
For the pie crust:
- 1 homemade 9-inch pie crust (top and bottom)
For the cherry filling:
- 1/8 tsp salt
- 2.5 lb fresh cherries (pitted, preferably sweet varieties like Bing or Rainier)
- 1/4 cup cornstarch (Country Kitchen brand works great)
- 1.25 tsp vanilla essence
- 2/3 cup granulated sugar
- 1/4 tsp almond essence (enhances the cherry flavor beautifully)
- 1 tbsp fresh lemon juice (adds brightness and helps balance sweetness)
- 1 tbsp cold unsalted butter (cut into small pieces for even distribution)
For the egg wash:
- 1 egg yolk
- 1 tbsp heavy cream
For sprinkling:
- granulated sugar
Step 1: Prepare the Bottom Pie Crust
Roll out half of the pie dough on a floured surface, fitting it to a 9-inch pie dish.
Remember to sprinkle flour on your work surface and rolling pin to prevent sticking.
Roll from the center outwards, lifting and rotating the dough by a quarter turn for even thickness.
Check the size by inverting the pie dish over the dough; it should be around 2 inches larger than the dish.
Carefully place the dough into the pie dish without stretching, trimming the edges to within 1 inch of the dish.
Refrigerate the crust while you prepare the filling.
Step 2: Prepare the Cherry Filling
Pit the cherries and cut some halves and others into quarters to create variety in the filling texture.
In a large bowl, combine the pitted cherries, sugar, cornstarch, vanilla extract, almond extract, lemon juice, and salt.
Gently toss everything together until well combined.
Let it sit and set aside while you work on the top crust.
Step 3: Prepare the Top Pie Crust
Roll out the remaining pie dough into a 12-inch round on a lightly floured surface.
If the dough sticks, sprinkle a bit more flour.
This larger crust will cover the pie filling completely.
Step 4: Assemble the Pie
Spoon the cherry filling into the prepared pie crust, leaving most of the liquid behind to avoid a soggy pie.
Scatter small squares of cold butter over the filling.
Carefully place the top crust over the filling.
Trim it to within 1 inch of the dish’s edge.
Fold the top crust edges under the bottom crust’s edges and press to seal, creating a thick edge that rests on the pie dish’s lip.
Crimp as desired for a decorative touch.
Step 5: Prepare for Baking
Whisk the egg yolk and cream together to create an egg wash, then brush it over the top crust.
Sprinkle with extra sugar for added sweetness and texture.
Refrigerate the pie for 10 minutes before baking.
Preheat your oven to 400°F (204°C) and arrange a rack in the lower third.
Place a baking sheet in the oven to catch drips.
Step 6: Bake and Cool the Pie
Transfer the pie to the preheated baking sheet and bake for 20 minutes.
Reduce the oven temperature to 350°F (177°C) and continue baking for another 35 to 45 minutes, or until the crust is golden brown and the filling bubbles.
If the crust edges brown too quickly, cover them with aluminum foil for the remaining baking time.
Allow the pie to cool for 3 to 4 hours before slicing to let the filling set properly.
