Growing up, I thought pickle juice was just that briny liquid you’d pour down the drain when the pickles were gone. That’s what everyone in my family did, anyway. The few times I suggested saving it, my mom would give me a confused look and ask “what for?”
Turns out, that pickle juice is liquid gold when it comes to making chicken tenders. Not only does it work as a marinade, but it also keeps the chicken incredibly moist and adds a tangy flavor that regular marinades just can’t match. And the best part? It’s basically free if you’re already buying pickles.
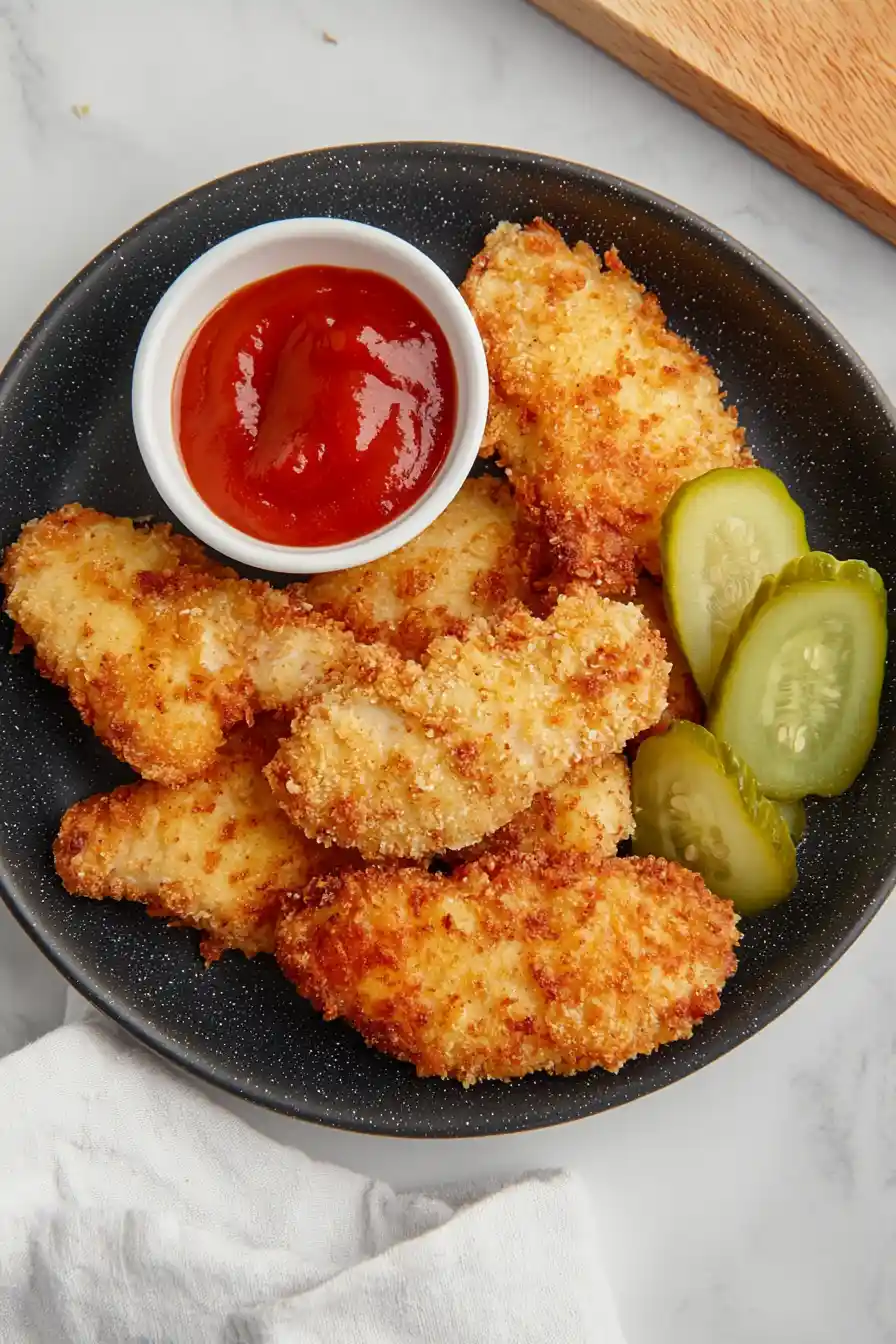
Why You’ll Love These Pickle-Brined Chicken Tenders
- Extra juicy meat – The pickle brine works like magic to create incredibly moist chicken tenders that stay juicy even after cooking.
- Unique flavor – The tangy pickle brine adds a subtle, crave-worthy flavor that makes these chicken tenders stand out from regular versions.
- Perfect crunch – The combination of regular breadcrumbs and panko creates an extra-crispy coating that stays crunchy.
- Simple ingredients – You only need a handful of basic ingredients, plus that pickle juice you usually throw away – it’s practical and reduces waste!
- Kid-friendly – These tenders are a guaranteed hit with children, making them perfect for family dinners or parties.
What Kind of Chicken Tenders Should I Use?
You’ve got two good options when it comes to chicken tenders for this recipe. You can either buy pre-cut chicken tenders from the store (which saves time), or slice your own from whole chicken breasts (which often saves money). If you’re cutting your own, look for the naturally occurring tender – it’s the small strip of meat that runs along the underside of each chicken breast. For the juiciest results, try to choose tenders that are roughly the same size so they cook evenly. Fresh chicken tenders work best for this recipe, but if you’re using frozen ones, just make sure they’re completely thawed and patted dry before you start the brining process.
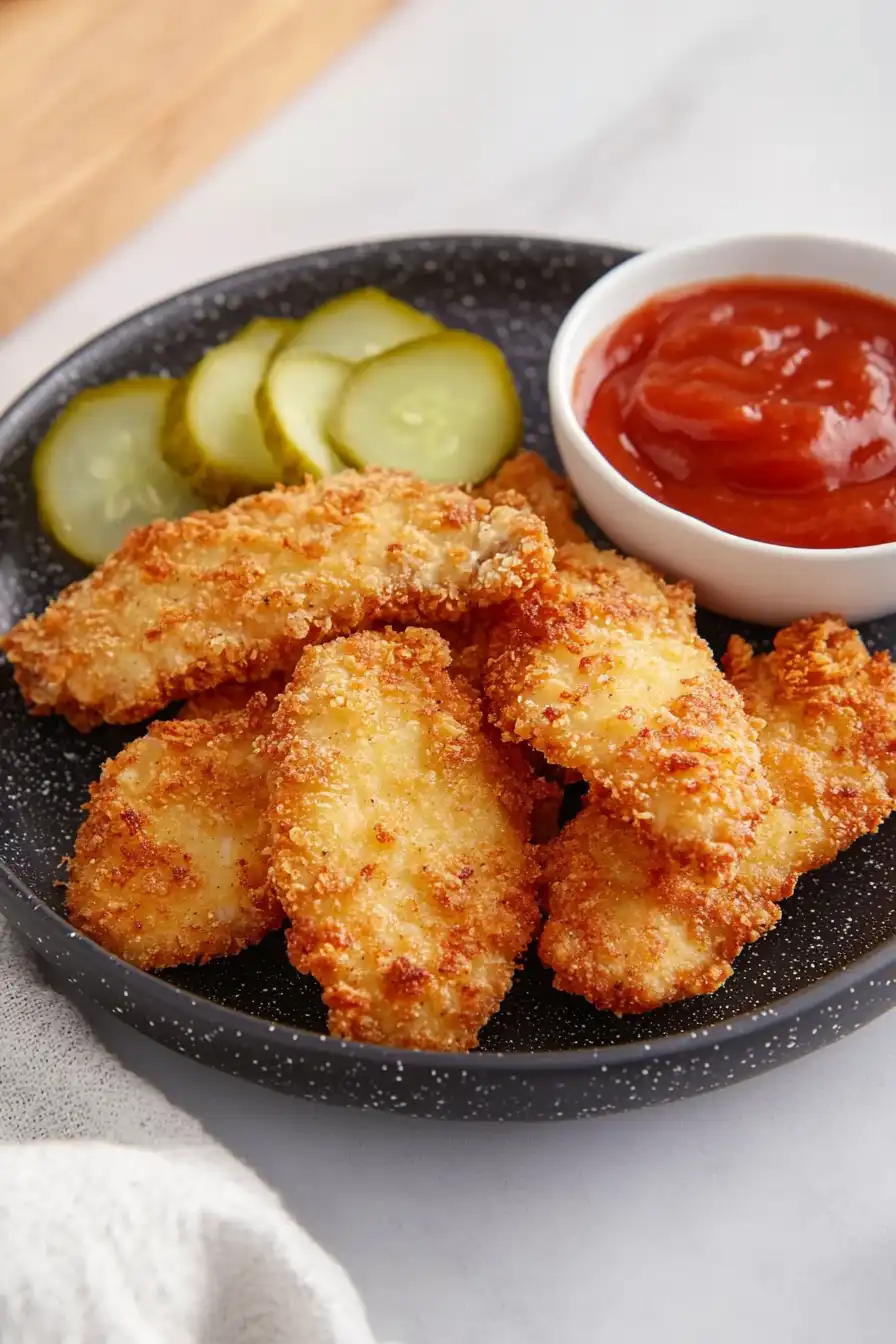
Options for Substitutions
This recipe is pretty straightforward, but here are some helpful swaps if you need them:
- Chicken tenders: No tenders? You can use chicken breasts cut into 1-inch strips. Just make sure to cut them evenly so they cook at the same rate.
- Dill pickle brine: This is key for the signature taste, but if you’re in a pinch, you can use a mix of apple cider vinegar and water (1:1 ratio) with 1 teaspoon of dried dill and ½ teaspoon of garlic powder. The flavor won’t be exactly the same, but it’ll work!
- Breadcrumb mixture: Feel free to use all regular breadcrumbs or all panko if that’s what you have. You can even crush up crackers or corn flakes for a different crunch. Just keep the total amount the same.
- Eggs: If you’re out of eggs, you can use ½ cup of buttermilk or mayo as your wet ingredient to help the coating stick.
- Olive oil spray: Any cooking spray works here, or you can brush on regular olive oil or vegetable oil with a pastry brush.
Watch Out for These Mistakes While Cooking
The biggest mistake when making pickle-brined chicken tenders is rushing the marinating process – letting your chicken soak in pickle juice for at least 4 hours (or ideally overnight) is crucial for that tangy, juicy result. A common error is overcrowding the pan while frying, which causes the tenders to steam instead of getting crispy – work in batches and give each piece enough space to develop that golden crust. Another key mistake is not patting the chicken dry after brining, which can make your breading soggy and prevent it from sticking properly – use paper towels to remove excess moisture before coating. For the crispiest results, make sure your oil is hot enough (around 350°F) before adding the chicken, and avoid flipping the tenders more than once during cooking to maintain that perfect crunchy coating.
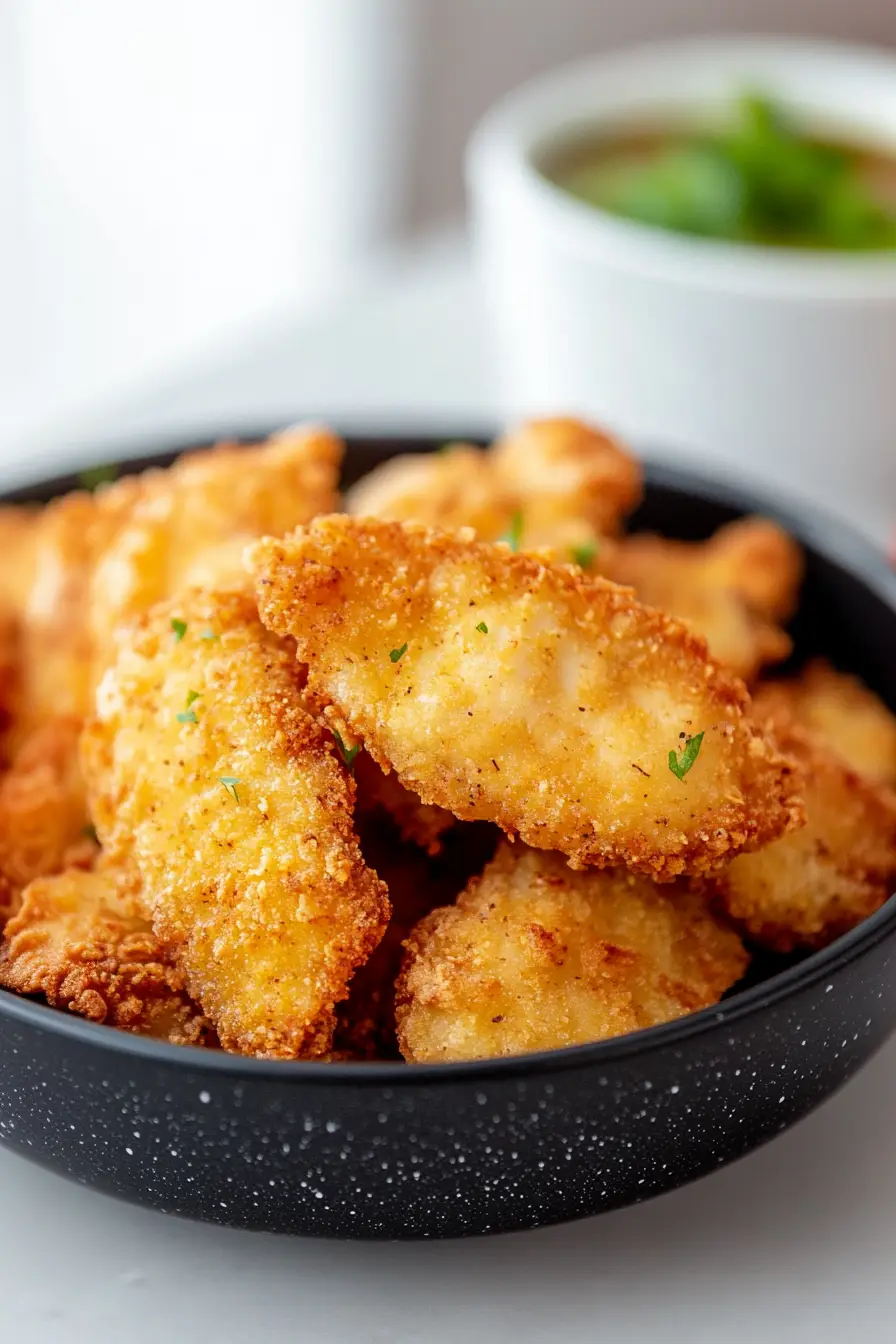
What to Serve With Pickle-Brined Chicken Tenders?
These tangy chicken tenders are super tasty with classic dipping sauces like honey mustard, ranch, or even more pickle juice on the side! For sides, you can’t go wrong with crispy french fries or sweet potato fries – they’ll pick up any extra seasoning left on your plate. A cool, creamy coleslaw makes a perfect partner since it complements the pickle flavor and adds a nice crunch to your meal. If you want to keep things lighter, a simple green salad or some roasted vegetables will round out the plate nicely.
Storage Instructions
Keep Fresh: These pickle-brined chicken tenders stay good in an airtight container in the fridge for up to 3 days. I like to place a paper towel in the container to absorb any excess moisture and help keep that crispy coating intact.
Freeze: Want to make a big batch? These tenders freeze really well! Once they’re completely cool, place them on a baking sheet and freeze until solid (about 1-2 hours), then transfer to a freezer bag. They’ll keep for up to 3 months – perfect for quick weeknight dinners!
Crisp Up: To get these tenders crispy again, pop them in the oven at 375°F for about 10-15 minutes, or use an air fryer at 350°F for 5-7 minutes. Skip the microwave – it’ll make them soggy. If reheating from frozen, add a few extra minutes to the cooking time.
| Preparation Time | 480-480 minutes |
| Cooking Time | 14-20 minutes |
| Total Time | 494-500 minutes |
| Level of Difficulty | Medium |
Estimated Nutrition
Estimated nutrition for the whole recipe (without optional ingredients):
- Calories: 900-1000
- Protein: 80-90 g
- Fat: 40-50 g
- Carbohydrates: 50-60 g
Ingredients
For the chicken:
- 1.25 cups dill pickle brine (for marinating)
- 12 chicken tenders
For the breading:
- 0.5 cup flavored breadcrumbs (I use Progresso Italian style)
- 0.5 tsp kosher salt
- black pepper to taste (freshly ground recommended)
- 2 eggs (whisked well)
- 0.5 cup panko crumbs (for extra crispiness)
For cooking:
- olive oil spray
Step 1: Marinate the Chicken
Place the chicken in a shallow bowl and cover it with pickle juice.
Cover the bowl and let the chicken marinate in the fridge for 8 hours.
This will infuse the chicken with flavor and tenderize it.
Step 2: Prepare the Chicken for Breading
Once marinated, drain the chicken and pat it completely dry using paper towels.
Discard the marinade.
In a medium bowl, beat together one whole egg, one egg white, and salt and pepper to taste.
In a separate shallow bowl, place the bread crumbs for coating the chicken.
Step 3: Bread the Chicken
Working with one piece of chicken at a time, dip it into the egg mixture, then into the bread crumbs.
Gently press to ensure the crumbs adhere.
Shake off any excess crumbs and place the chicken on a work surface.
Generously spray both sides of the chicken with cooking oil to help it crisp up during baking.
Step 4: Bake the Chicken
Preheat your oven to 425°F (220°C).
Line a baking sheet with parchment paper, then place the breaded chicken onto the prepared baking sheet.
Spray the top of the chicken pieces generously with oil.
Bake in the oven for 8 to 10 minutes until the bottom is golden brown.
Turn the chicken pieces over and bake for an additional 6 minutes until golden.
Step 5: Air Fry the Chicken for Extra Crispiness
Preheat your air fryer to 400°F (204°C).
Working in batches, arrange the chicken in a single layer in the air fryer basket.
Cook for 10-12 minutes, flipping halfway through the cooking time.
The chicken should be cooked through, crispy, and golden.
Step 6: Serve
Once the chicken is perfectly cooked and crispy, serve it immediately with your favorite dipping sauce.
Enjoy the flavorful, crispy delight!

