I never thought I’d be able to enjoy scones after going gluten-free. My first attempts were like hockey pucks – dense, dry, and definitely not what I remembered from my pre-gluten-free days. That’s just how gluten-free baking was, I figured.
But here’s the thing about gluten-free scones – they can actually be light and tender if you know the right tricks. While regular flour does make things easier, these blueberry scones prove that going gluten-free doesn’t mean giving up your favorite breakfast treats. After lots of trial and error in my kitchen, I’ve finally cracked the code.
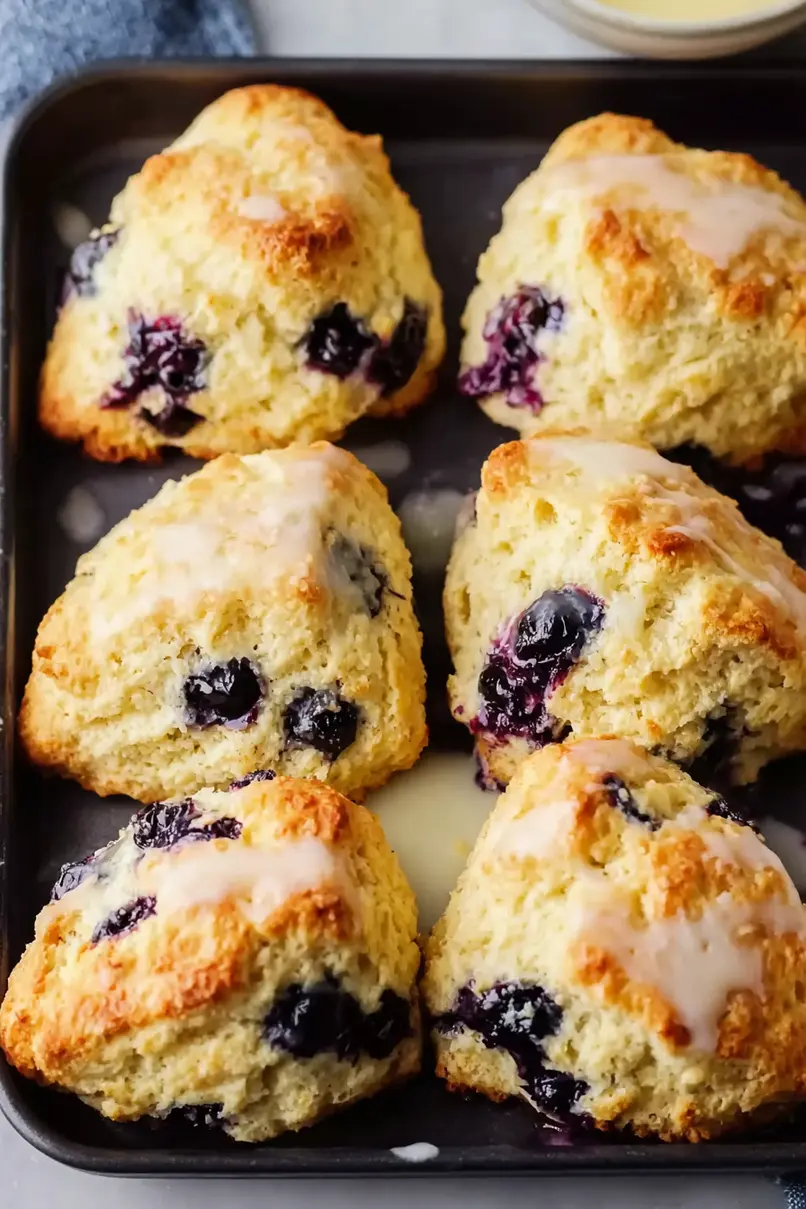
Why You’ll Love These Blueberry Scones
- Allergy-friendly – These scones are completely gluten-free and can easily be made dairy-free with simple substitutions, making them perfect for those with dietary restrictions.
- Quick preparation – You can have fresh, warm scones ready in under 45 minutes – perfect for weekend brunches or afternoon tea time.
- Classic taste and texture – Even though they’re gluten-free, these scones have the same buttery, flaky texture and sweet-tart flavor combination you’d expect from traditional scones.
- Make-ahead friendly – You can prepare the dough ahead of time and freeze it, then bake the scones whenever you’re craving something fresh and sweet.
What Kind of Gluten-Free Flour Should I Use?
Not all gluten-free flours are created equal when it comes to making scones. While Pillsbury gluten-free flour is recommended for this recipe, other brands like Bob’s Red Mill 1-to-1 or King Arthur Measure for Measure will also work well. The key is to use a blend that already contains rice flour, starches, and other ingredients designed to mimic regular flour’s properties. Just remember to check if your flour blend includes xanthan gum – if it does, you can skip adding extra to the recipe. If you’re new to gluten-free baking, stick with a pre-made blend rather than trying to mix your own, as these have been tested to provide the right texture and consistency for baked goods.

Options for Substitutions
Since this is a gluten-free recipe, some ingredients need careful substitution to maintain the right texture. Here’s what you can swap:
- Gluten-free flour blend: While Pillsbury is recommended, you can use other brands like Bob’s Red Mill 1-to-1 or King Arthur Measure for Measure. Just check if your blend includes xanthan gum – if it does, skip adding extra.
- Buttermilk: No buttermilk? Mix 3/4 cup of any dairy-free milk with 1 tablespoon lemon juice or white vinegar. Let it sit for 5 minutes before using.
- Blueberries: Fresh or frozen both work great. You can also try raspberries or blackberries. If using frozen berries, don’t thaw them first – add them while frozen to prevent color bleeding.
- Butter: Besides Smart Balance, you can use Earth Balance sticks or coconut oil (solid, not melted) for dairy-free options. Just make sure whatever you use is cold!
- Xanthan gum: If your flour doesn’t have it and you can’t find it, try using 1 teaspoon of psyllium husk powder or 1 teaspoon of guar gum instead.
- White sugar: You can swap this with coconut sugar or raw sugar, though it might change the color slightly. Keep the amount the same.
Watch Out for These Mistakes While Baking
The temperature of your ingredients makes a huge difference in gluten-free scones – using warm butter instead of cold butter will result in flat, dense scones rather than the light, flaky texture you’re after, so keep that butter chilled until the last possible moment. Working the dough too much is another common mistake that leads to tough scones – mix just until the ingredients come together, as overworking gluten-free flour can make it gummy and unpleasant. When adding your blueberries, frozen ones work better than fresh since they’re less likely to burst and stain your dough, but if using fresh ones, fold them in very gently at the last minute to prevent breaking. For the best texture, don’t skip the xanthan gum if your flour blend doesn’t include it, as this ingredient helps hold your scones together and prevents them from being crumbly.
What to Serve With Blueberry Scones?
These gluten-free blueberry scones are perfect for breakfast or afternoon tea, and there are lots of tasty ways to serve them! A hot cup of Earl Grey or English Breakfast tea is the traditional choice, but they’re also wonderful with a strong cup of coffee or a creamy café au lait. For a complete breakfast spread, serve these scones alongside some fresh fruit (strawberries and raspberries work really well) and maybe some yogurt with honey. If you’re feeling extra fancy, you can add some lemon curd or clotted cream on the side – both are amazing with the blueberry and lemon flavors in these scones.
Storage Instructions
Counter Storage: These gluten-free blueberry scones are best enjoyed the day they’re baked, but you can keep them at room temperature for up to 2 days. Just place them in an airtight container and line it with paper towels to absorb any extra moisture from the blueberries.
Refrigerate: Pop your scones in an airtight container and store them in the fridge for up to 5 days. The texture might change slightly, but they’ll still taste great! If you’ve added the glaze, keep in mind it might get a bit sticky in the fridge.
Freeze: These scones freeze really well! Place them unglazed in a freezer bag or container and they’ll keep for up to 3 months. I like to freeze them individually wrapped so I can grab just one whenever I want. When you’re ready to eat, thaw them overnight in the fridge, then add fresh glaze if desired.
Warm Up: To bring back that fresh-baked taste, pop a scone in the microwave for 15-20 seconds, or warm it in the oven at 300°F for about 5 minutes. They’re also pretty good at room temperature with your morning coffee!
| Preparation Time | 15-25 minutes |
| Cooking Time | 15-20 minutes |
| Total Time | 30-45 minutes |
| Level of Difficulty | Medium |
Estimated Nutrition
Estimated nutrition for the whole recipe (without optional ingredients):
- Calories: 1800-2000
- Protein: 25-30 g
- Fat: 80-90 g
- Carbohydrates: 250-270 g
Ingredients
For the scones:
- 1 cup blueberries (fresh or frozen, do not thaw)
- 1/3 cup white sugar
- 3/4 tsp xanthan gum
- 1/2 tsp salt
- 2 large eggs, beaten
- 1/2 cup cold butter (diced into 1/2-inch pieces)
- 3/4 cup buttermilk (chilled for best results)
- 1 tbsp lemon zest (from about 1 medium lemon)
- 2 tbsp milk
- 3 cups gluten-free all-purpose flour (I use Bob’s Red Mill 1-to-1 Baking Flour)
- 2 tbsp gluten-free baking powder
For the glaze:
- 1 tbsp water (add gradually to desired consistency)
- 1 cup powdered sugar (sifted to prevent lumps)
- 1/2 tsp vanilla essence
- 1 tbsp lemon juice
Step 1: Prepare Ingredients and Oven
Start by preheating your oven to 425°F (220°C) and lining a baking sheet with parchment paper.
Cut the butter into small pieces and place them in the freezer for about 10 minutes to chill.
If you don’t have buttermilk on hand, make your own by adding 1 tablespoon of white vinegar or lemon juice to a cup of milk, then let it stand in the refrigerator for 5-10 minutes.
This can also be done with dairy-free milk if needed.
Step 2: Mix Dry Ingredients
In a large bowl, combine the flour, xanthan gum (omit if your flour blend already includes it), sugar, baking powder, salt, and lemon peel.
Stir these ingredients well to ensure they are evenly distributed.
Step 3: Incorporate Butter and Liquids
Using a pastry cutter or fork, cut the chilled butter into the flour mixture until it resembles small peas.
Next, add the prepared buttermilk and whisked eggs to the flour mixture.
Combine them gently until a soft dough forms.
Be cautious not to overmix, as this can result in tough scones.
The dough should be sticky.
Gently stir in the blueberries, being careful not to squish them.
Step 4: Shape the Dough
Sprinkle one tablespoon of flour onto a large piece of parchment paper, then place the dough on top.
Lightly dust the top of the dough with another tablespoon of flour.
Gently fold the dough over onto itself twice, folding it in half each time.
With your hands, shape the dough into a 7-inch diameter round that is about 2 inches thick to ensure properly sized, fluffy scones.
Step 5: Cut and Bake the Scones
Run a sharp knife under warm water for a clean cut, then slice the dough round in half.
Cut each half into 4 slices, making a total of 8 triangles.
Carefully transfer the dough triangles to the prepared baking sheet.
Brush the tops with 2 tablespoons of milk.
Bake in the preheated oven for 15-20 minutes or until the tops are golden brown.
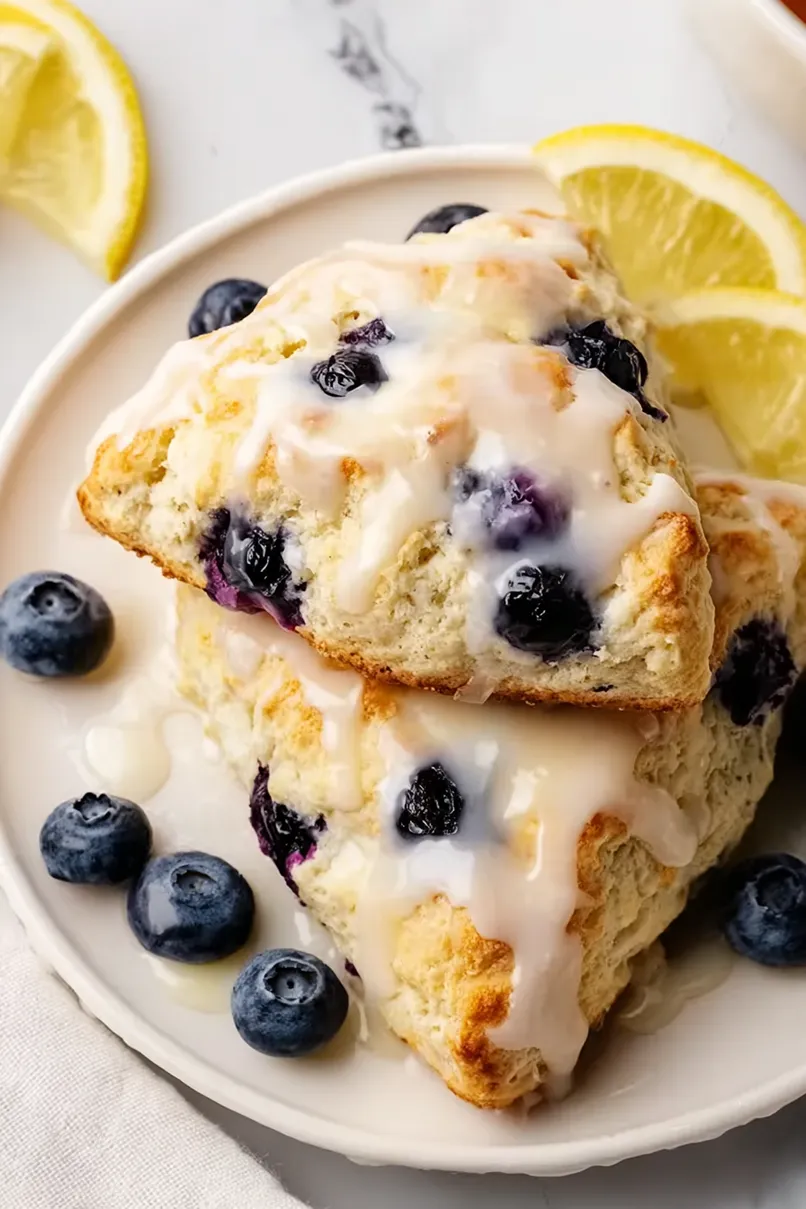
Step 6: Glaze and Serve
While the scones are baking, prepare the glaze by combining the glaze ingredients in a small bowl and stirring until smooth.
Once the scones are baked and slightly cooled, drizzle the glaze over them.
Serve warm and enjoy!
