Finding that perfect chili recipe that hits all the right notes can feel like an endless search. Between juggling work deadlines, after-school activities, and trying to get dinner on the table before everyone gets hangry, most of us don’t have time to spend hours experimenting with different recipes and spice combinations.
That’s why this homemade chili recipe has become my family’s go-to comfort meal: it’s rich and flavorful without being complicated, works great for busy weeknight dinners or weekend meal prep, and you can easily adjust the ingredients based on what you’ve got in your pantry.
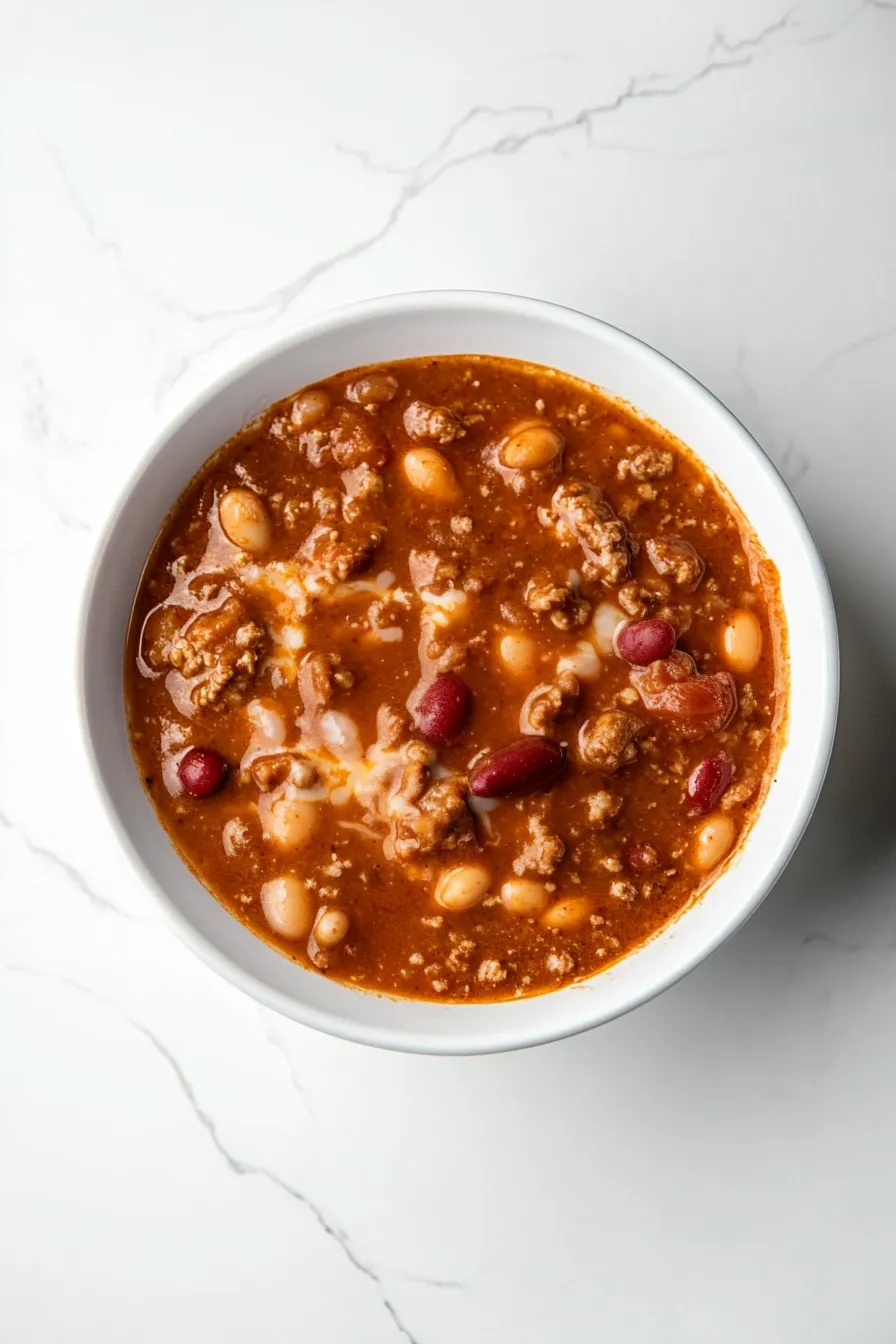
Why You’ll Love This Chili
- Rich, deep flavor – The combination of smoky chipotle peppers, fresh garlic, and carefully selected spices creates a chili that’s packed with authentic flavor in every spoonful.
- One-pot meal – Everything cooks in a single pot, which means less cleanup and more time to enjoy your meal with family or friends.
- Perfect for meal prep – This chili actually tastes better the next day, making it ideal for batch cooking and freezing for future meals.
- Customizable heat level – You can easily adjust the amount of chipotle peppers and chili powder to make it as mild or spicy as you prefer.
- Protein-packed – With lean ground beef and pinto beans, each bowl delivers a hearty serving of protein that will keep you satisfied for hours.
What Kind of Ground Beef Should I Use?
For a hearty pot of chili, lean ground beef with about 85-90% lean meat content hits the sweet spot. While you could use extra lean (93-95%), it tends to become a bit dry and tough during the long cooking time that chili requires. On the flip side, regular ground beef (80% lean) will release too much fat, making your chili greasy and requiring you to spoon off the excess. If you’re grabbing packaged ground beef from the store, look for one that’s bright red with no gray spots and feels firm to the touch. For the best flavor, you might want to ask your butcher to grind a chuck roast fresh – this cut has the ideal fat content and rich beefy flavor that makes chili taste amazing.
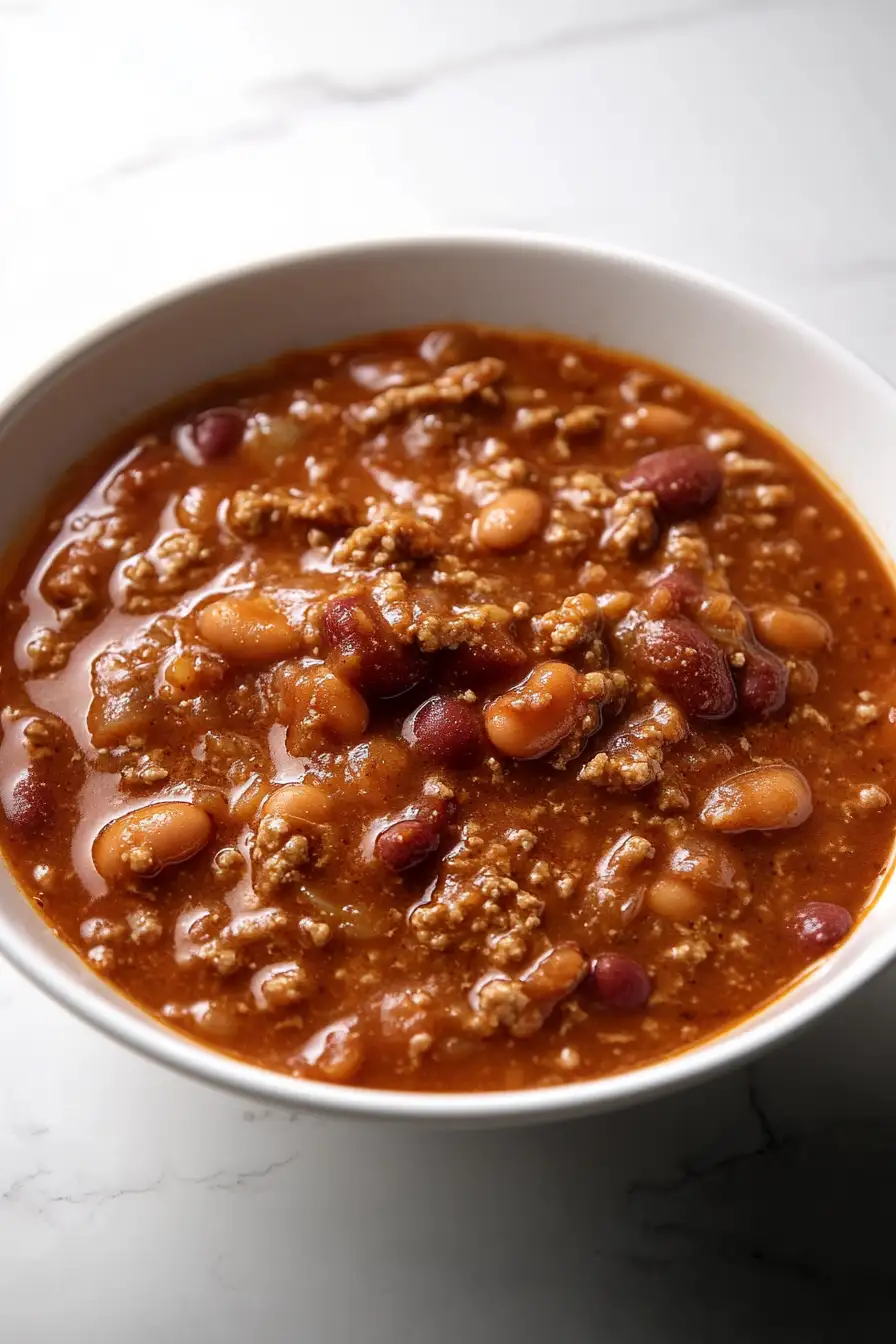
Options for Substitutions
This chili recipe is pretty flexible and you can make several swaps based on what you have in your pantry:
- Ground beef: You can swap the ground beef for ground turkey, chicken, or pork. For a vegetarian version, try using crumbled tempeh or a mix of mushrooms and walnuts (pulsed in a food processor). Just note that if using turkey or chicken, you might want to add a bit more oil when browning to prevent dryness.
- Pinto beans: Feel free to use black beans, kidney beans, or any combination of beans you like. Just make sure to drain and rinse them the same way.
- Chipotle in adobo: If you can’t find chipotle peppers, you can use 1-2 tablespoons of regular hot sauce plus 1/2 teaspoon of liquid smoke to get that smoky heat. Or try 1-2 diced jalapeños plus some smoked paprika.
- Beef broth: Chicken or vegetable broth work just fine here. If using vegetable broth, you might want to add an extra tablespoon of tomato paste for deeper flavor.
- Cornstarch: To thicken your chili, you can use flour instead (use 6 tablespoons mixed with cold water), or let it simmer longer uncovered to reduce naturally.
- Chili powder: This is a key ingredient for chili, but if you’re running low, you can make your own blend with paprika, cumin, oregano, and cayenne – though the flavor will be slightly different.
Watch Out for These Mistakes While Cooking
The biggest mistake when making chili is rushing the cooking process – letting it simmer slowly allows the flavors to develop properly and the meat to become tender, so plan for at least 2-3 hours of cooking time. A common error is adding cornstarch too quickly or directly to the hot chili, which can create lumps – instead, always mix it with cold water first to make a slurry, then stir it into the simmering pot gradually. To avoid ending up with bland chili, don’t skip browning the meat properly – work in batches if needed and let it develop a nice crust, as this builds a crucial flavor foundation. For the best texture, resist the urge to stir constantly; occasional stirring is enough, and too much can break down the meat and beans into mush. Finally, remember to taste and adjust seasonings only at the end of cooking, since the flavors concentrate as the liquid reduces.
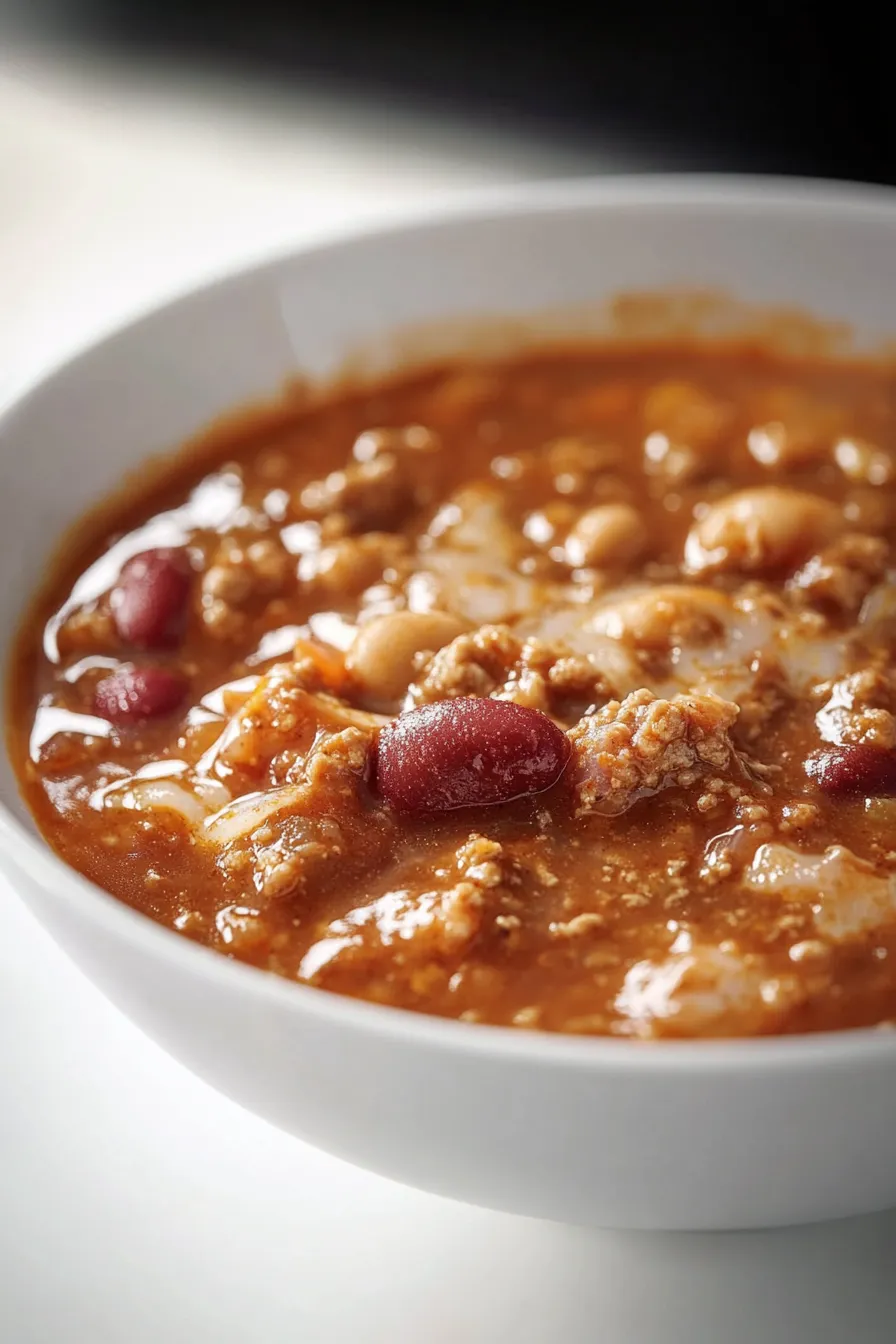
What to Serve With Chili?
A warm bowl of chili practically begs for some good cornbread on the side – whether it’s sweet, savory, or loaded with jalapeños and cheese. For toppings, I always put out bowls of shredded cheddar cheese, sour cream, diced onions, and sliced avocado so everyone can customize their bowl. If you want to keep things simple, tortilla chips make great scoopers and add a nice crunch, or you can serve the chili over a bed of steamed rice to soak up all that tasty sauce. And don’t forget about the lime wedges – a little squeeze of citrus really brings out all the flavors!
Storage Instructions
Keep Fresh: This chili gets even better after a day or two! Keep it in an airtight container in the fridge for up to 5 days. The flavors will continue to develop and meld together, making each bowl tastier than the last. It’s perfect for meal prep or when you want easy dinners throughout the week.
Freeze: Chili is a freezer-friendly champion! Let it cool completely, then portion it into freezer-safe containers or bags. It’ll stay good in the freezer for up to 3 months. I like to freeze it in individual portions for quick lunches or family-sized portions for easy weeknight dinners.
Reheat: To warm up your chili, simply heat it on the stovetop over medium-low heat, stirring occasionally. You can also microwave it in 1-minute intervals, stirring between each. If it seems a bit thick after storage, just add a splash of beef broth while reheating to reach your desired consistency.
| Preparation Time | 10-15 minutes |
| Cooking Time | 75-90 minutes |
| Total Time | 85-105 minutes |
| Level of Difficulty | Medium |
Estimated Nutrition
Estimated nutrition for the whole recipe (without optional ingredients):
- Calories: 2800-3200
- Protein: 210-230 g
- Fat: 140-160 g
- Carbohydrates: 130-150 g
Ingredients
For the chili:
- 7 cups low sodium beef broth
- 3 tbsp tomato paste (I use Cento brand)
- 3 lb lean ground beef (90/10 lean preferred for less grease)
- 4-5 garlic cloves (freshly minced for best flavor)
- 1 large onion (finely diced for even cooking)
- 1 chipotle pepper
- 2 (15 oz) cans pinto beans (rinsed and drained thoroughly)
- 2 tbsp adobo sauce
For the seasonings:
- salt to taste
- 3 tsp onion powder
- 3 tsp ground cumin (freshly ground preferred for more flavor)
- pepper to taste
- 3 tsp smoked paprika
- 3 tsp garlic powder
- 6 tbsp chili powder
For the slurry:
- 4 tbsp cold water
- 4 tbsp corn starch
Step 1: Brown the Meat
Preheat a 6.5-quart pot over medium-high heat and add 3 tablespoons of oil.
Once the oil is hot, add 3 pounds of ground beef (or a combination of ground beef and chopped top sirloin) to the pot.
Season with salt and pepper to taste.
Cook the meat for about 5 to 8 minutes until it is browned, breaking it into smaller pieces as it cooks.
Step 2: Add Aromatics
Add 4 to 5 cloves of minced garlic and 1 finely chopped large onion to the pot.
Stir the onions and garlic into the browned meat and let them cook for an additional 3 to 5 minutes until the onions become translucent and the garlic is fragrant.
Step 3: Incorporate Seasonings
Stir in the dry seasonings: 6 tablespoons of chili powder, 3 teaspoons of smoked paprika, 3 teaspoons of garlic powder, 3 teaspoons of onion powder, and 3 teaspoons of ground cumin.
Mix everything well to coat the meat evenly, and cook the spices for 2 to 3 minutes to develop their flavors.
Step 4: Add Tomato Paste and Liquids
Add 3 tablespoons of tomato paste to the mixture, cooking it for an additional 1 to 2 minutes to enhance its flavor.
Pour in 7 cups of low-sodium beef broth and stir to combine.
Add 1 chopped chipotle pepper in adobo sauce along with 2 tablespoons of adobo sauce.
Bring the mixture to a gentle boil.
Step 5: Simmer and Thicken
Once boiling, cover the pot with a lid and reduce the heat to let it simmer for 1 hour, stirring occasionally to prevent sticking.
After an hour has passed, prepare a cornstarch slurry by mixing 4 tablespoons of cornstarch with 4 tablespoons of cold water.
Add the slurry to the chili to help thicken it.
Step 6: Final Touches and Serve
Stir in 2 drained and rinsed cans of pinto beans (15 oz each) into the pot.
Let the chili simmer for an additional 15 to 20 minutes, allowing the flavors to meld and the chili to thicken further.
Once done, serve the chili in bowls, and garnish with your choice of toppings or condiments.
Enjoy your hearty and flavorful chili!