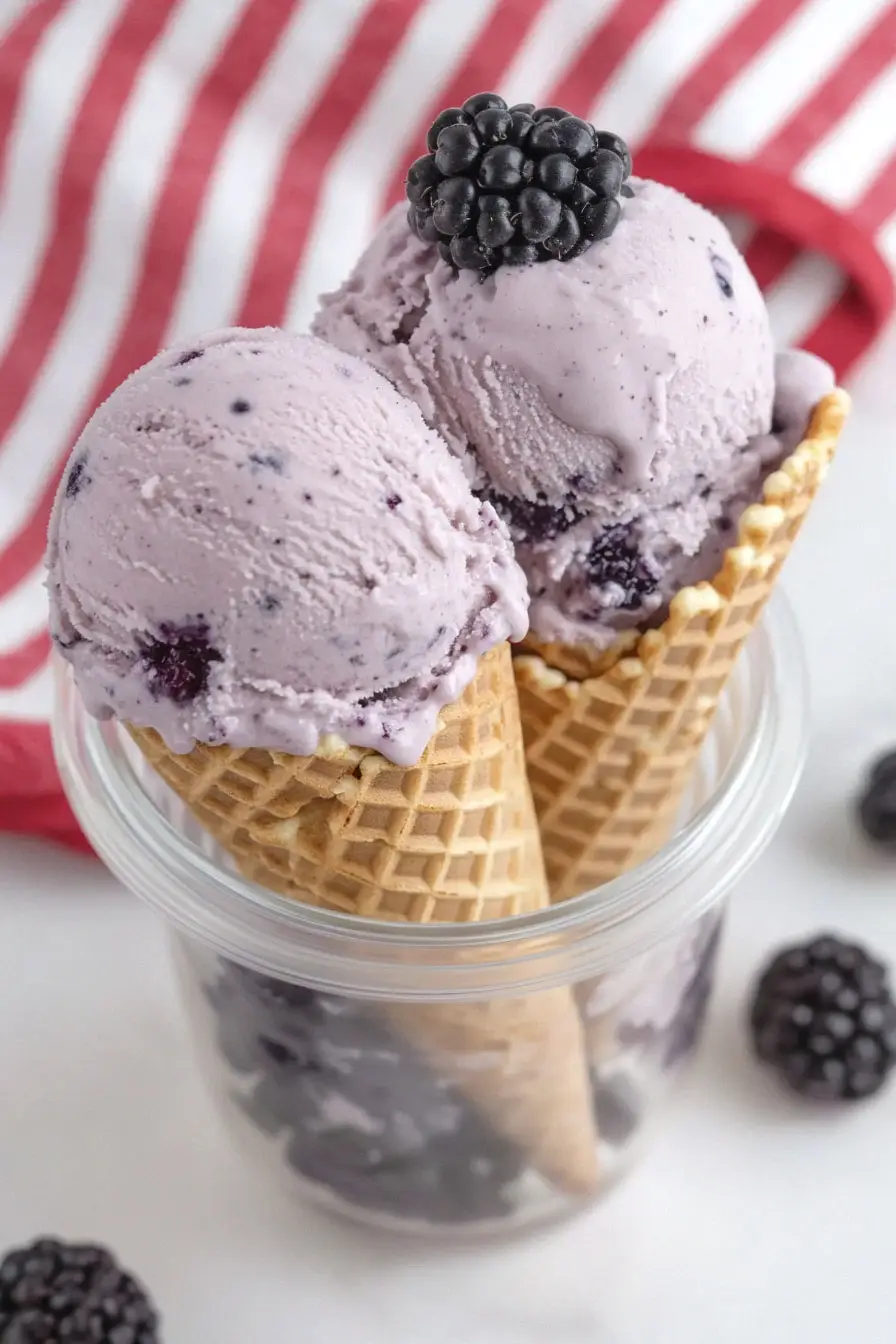
I was well into my thirties before I tasted my first mulberry, believe it or not. They weren’t something we had in our backyard growing up, and I’d never spotted them at the grocery store. But last summer, my neighbor’s mulberry tree dropped so much fruit, she practically begged me to take some off her hands.
That’s when I discovered these berries make the smoothest, most interesting ice cream I’ve ever had. Unlike raspberries or strawberries that can get a bit icy when frozen, mulberries blend right in, creating this naturally creamy texture that’s just perfect for homemade ice cream. For anyone who’s never tried it, you’re in for a real treat.
Why You’ll Love This Mulberry Ice Cream
- Fresh fruit flavor – This ice cream captures the sweet-tart taste of fresh mulberries, giving you a unique flavor you won’t find in store-bought varieties.
- Creamy texture – The combination of heavy cream and full-fat milk creates an incredibly smooth, rich ice cream that melts perfectly on your tongue.
- Simple ingredients – With just 7 basic ingredients, you can make this restaurant-quality dessert right in your kitchen.
- Make-ahead friendly – You can prepare this ice cream days in advance, making it perfect for summer gatherings or whenever you want a cool treat ready to go.
- No ice cream maker needed – This recipe works great even without special equipment – just your freezer and a few basic kitchen tools are all you need.
What Kind of Mulberries Should I Use?
For ice cream, you’ll want to use fully ripe mulberries that are deep purple or black in color – these have the sweetest flavor and will give your ice cream the best taste. Fresh mulberries are ideal, but if you can’t find them in season (typically late spring to mid-summer), frozen mulberries work just as well since they’re going to be blended into the ice cream base anyway. If you’re picking your own, look for berries that are soft and come away from the stem easily – if you have to tug at them, they’re not ready yet. Just remember to remove any little green stems before using them in your ice cream, as these can add an unwanted bitter taste to your final product.
Options for Substitutions
Here’s what you need to know about making swaps in this ice cream recipe:
- Mulberries: If mulberries aren’t in season, you can use blackberries or black raspberries instead. The color might be slightly different, but you’ll still get a lovely berry ice cream. Just make sure to use the same amount.
- Heavy cream and milk: For the creamiest texture, stick to full-fat dairy. If needed, you can use half-and-half instead of the heavy cream, but your ice cream won’t be as rich. For a dairy-free version, try full-fat coconut milk and coconut cream, though the texture will be slightly different.
- Granulated sugar: Regular white sugar works best here, but you can try coconut sugar or raw sugar. Keep in mind these might change the color slightly. Honey isn’t recommended as it can make the ice cream too hard when frozen.
- Lemon juice: Out of lemons? Try lime juice, or even a splash of orange juice. You just want something acidic to balance the sweetness.
- Vanilla essence: Feel free to skip it or swap with almond extract (use half the amount) or even a splash of bourbon for grown-up ice cream.
Watch Out for These Mistakes While Making
The biggest challenge when making mulberry ice cream is preventing ice crystals from forming, which can make your dessert grainy instead of smooth – always use full-fat dairy products and make sure your ice cream base is completely chilled before churning.
When preparing the mulberries, avoid the temptation to add them straight to the mixture without straining, as the seeds and stems can create an unpleasant texture – instead, press them through a fine-mesh sieve to get a smooth puree.
Temperature control is crucial throughout the process, so don’t rush the cooling stages – let your mixture chill thoroughly in the refrigerator for at least 4 hours (or overnight) before churning, and ensure your ice cream maker bowl has been frozen for at least 24 hours.
For the creamiest results, store your finished ice cream in a shallow, wide container and place plastic wrap directly on the surface before freezing to prevent freezer burn and ice crystal formation.
What to Serve With Mulberry Ice Cream?
This rich and creamy mulberry ice cream pairs perfectly with warm desserts like apple crisp or peach cobbler – the contrast between hot and cold is just amazing! A simple butter cookie or shortbread makes a great sidekick too, giving you something to crunch on between spoonfuls of ice cream. For an extra special touch, try serving your mulberry ice cream with a drizzle of dark chocolate sauce or a sprinkle of toasted almonds on top. If you’re feeling fancy, add a fresh mint leaf and a few whole mulberries as garnish – it’s such a nice way to show off what’s in the ice cream.
Storage Instructions
Keep Frozen: Your homemade mulberry ice cream needs to stay in the freezer at 0°F (-18°C) or below. Place it in an airtight container – I like using a shallow, wide container rather than a tall one to help prevent ice crystals from forming. It’ll keep its best texture and flavor for about 2 weeks.
Prevent Freezer Burn: To keep your ice cream super smooth and free from ice crystals, press a piece of plastic wrap directly onto the surface before putting the lid on. This helps prevent that pesky freezer burn that can make ice cream grainy.
Serve: Take your mulberry ice cream out of the freezer about 5-10 minutes before serving to let it soften slightly – this makes it easier to scoop and brings out the mulberry flavor. If it gets too soft, just pop it back in the freezer for 30 minutes to firm up again.
| Preparation Time | 30-40 minutes |
| Cooking Time | 30-40 minutes |
| Total Time | 24 hours + 4 hours (for freezing) |
| Level of Difficulty | Medium |
Estimated Nutrition
Estimated nutrition for the whole recipe (without optional ingredients):
- Calories: 1800-2000
- Protein: 20-25 g
- Fat: 100-110 g
- Carbohydrates: 200-220 g
Ingredients
For the mulberry syrup:
- 1 cup granulated sugar
- 2 cups mulberries (freshly picked for best flavor)
- 1 tbsp lemon juice (freshly squeezed for brighter taste)
- 1/4 tsp salt
For the ice cream base:
- 1 cup milk
- 1.5 cups heavy cream (I use Organic Valley heavy cream)
- 2 tsp vanilla essence
Step 1: Prepare the Ice Cream Maker
Begin by freezing the ice cream maker bowl for at least 24 hours.
This is crucial for achieving the right consistency when churning the ice cream.
Step 2: Cook the Mulberry Mixture
Combine fresh mulberries, sugar, salt, and lemon juice in a saucepan over medium heat.
Cook until the sugar dissolves and the mulberries start releasing their juices.
After cooking, place the saucepan in an ice bath to cool it down slightly, ensuring it is not too hot to handle.
Step 3: Blend and Simmer the Syrup
Using an immersion blender, carefully pulse the mulberries to break them down further without completely liquefying them.
Alternatively, transfer them to a blender or food processor and pulse a few times.
Put the saucepan back on low heat, simmering for about 10 minutes, and stir frequently to prevent boiling over.
The syrup is ready when it starts to stick to the sides a bit.
Cool it again in the ice bath.
Step 4: Strain and Prepare The Syrup
Pour the mulberry syrup through a fine mesh sieve into a large bowl, using a spoon or spatula to extract as much syrup as possible.
You should end up with roughly ¾ cup of syrup and ½ cup of leftover mulberry pulp.
If needed, adjust by cooking down for more syrup or squeezing out more liquid.
Remember, the leftover pulp can be used as a delicious spread for toast or stirring into yogurt.
Step 5: Mix Ice Cream Base
Add heavy cream, milk, and vanilla extract to the bowl containing the syrup.
Mix thoroughly to ensure even distribution.
Note that some of the syrup may naturally settle at the bottom; ensure it’s all well combined.
Step 6: Churn the Ice Cream
Following your ice cream maker instructions, pour the mulberry mixture into the frozen bowl as it is churning.
Let it churn for about 20 minutes.
If desired, add up to ¼ cup of fresh mulberries during the last few seconds of churning for added texture and flavor.
Step 7: Freeze and Set the Ice Cream
Carefully transfer the churned ice cream into a freezer-safe container, such as a bread loaf pan.
Cover the surface with plastic wrap to prevent freezer burn.
Freeze the ice cream for at least 4 hours, or until it reaches the desired firmness.
Enjoy your homemade mulberry ice cream once it’s fully set!
