If you ask me, turning classic tiramisu into ice cream is one of the smartest dessert mash-ups ever.
This creamy frozen treat brings together all the flavors you love about traditional tiramisu – rich coffee, mascarpone, and those lovely coffee-soaked ladyfingers. Using the Ninja Creami makes it surprisingly simple to whip up at home.
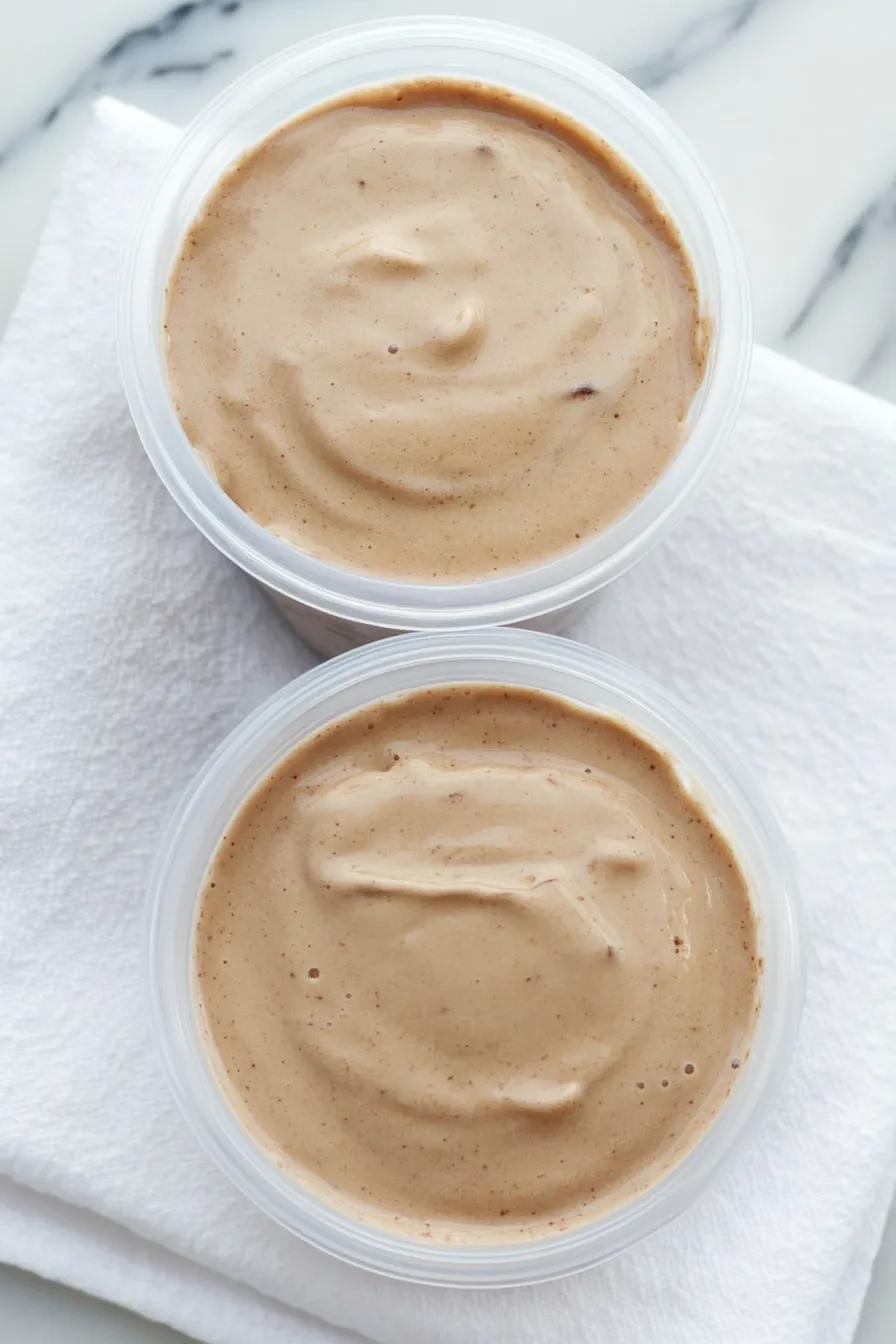
The machine transforms the base mixture into a smooth, coffee-infused ice cream that tastes just like the Italian dessert we all know and love. A dusting of cocoa powder on top gives it that authentic tiramisu look.
It’s a cool and refreshing spin on the classic dessert that’s perfect for coffee lovers and anyone looking for something a bit different from regular ice cream.
Why You’ll Love This Tiramisu Ice Cream
- No ice cream maker needed – The Ninja Creami does all the hard work, turning your base mixture into perfectly creamy ice cream without the need for an expensive traditional ice cream maker.
- Classic Italian flavor – All the beloved flavors of traditional tiramisu – coffee, mascarpone, and cocoa – transformed into a cool, creamy treat you can enjoy any time.
- Simple ingredients – Most of these ingredients are probably already in your kitchen, and they’re easy to find at any grocery store.
- Make-ahead dessert – While it needs freezing time, the actual hands-on prep is quick and easy, making it perfect for planning ahead for parties or special occasions.
What Kind of Mascarpone Should I Use?
When it comes to mascarpone for ice cream, you’ll want to stick with fresh, high-quality Italian-style mascarpone cheese, which you can find in most grocery stores’ specialty cheese section. While some brands might be less expensive, traditional Italian mascarpone tends to have the smoothest, creamiest texture that works best in frozen desserts. Make sure your mascarpone is fresh and hasn’t been sitting in your fridge too long – it should have a clean, mild taste without any sour notes. Before adding it to your ice cream base, let it sit at room temperature for about 15 minutes and give it a good stir to ensure it blends smoothly with the other ingredients.
Options for Substitutions
Need to make some swaps for this ice cream recipe? Here are some helpful substitutions:
- Mascarpone cheese: If you can’t find mascarpone, cream cheese works well as a substitute. Just make sure it’s at room temperature for smooth mixing.
- Whipping cream: Heavy cream can be used instead of whipping cream. Just avoid using half-and-half or light cream as they won’t give you that rich, creamy texture.
- Full-fat milk: While full-fat milk gives the best results, you can use 2% milk. I wouldn’t go lower fat than that, or your ice cream might become icy.
- Instant coffee powder: You can use espresso powder or strong brewed coffee that’s been cooled (use 1 tablespoon). Just remember that liquid coffee might make your ice cream a bit icier.
- Spiced rum: Skip it entirely or try coffee liqueur, amaretto, or brandy for different flavor profiles.
- Shortbread cookies: Lady fingers are perfect here, or try other cookies like biscotti, vanilla wafers, or even graham crackers crushed up.
Watch Out for These Mistakes While Making
The biggest challenge when making Ninja Creami tiramisu ice cream is getting the right consistency – using reduced-fat milk or cream will lead to icy, hard-to-scoop results, so stick with full-fat dairy products for that smooth, creamy texture.
Temperature control is crucial – your base mixture needs to be completely frozen (at least 24 hours in the freezer) before processing, and the Ninja Creami container should be frozen for the same amount of time to prevent partial melting during churning.
If your ice cream turns out crumbly after the first spin, don’t worry – simply use the Re-spin function, and if needed, add a tablespoon of milk through the top of the container to achieve that perfect creamy consistency.
For the best coffee flavor, dissolve the instant coffee powder in a tiny bit of hot water before adding it to your mixture, and make sure to crush your shortbread cookies into very small pieces to prevent them from jamming the machine.
What to Serve With Tiramisu Ice Cream?
This homemade tiramisu ice cream is pretty amazing on its own, but there are some fun ways to dress it up! I love serving it with extra crushed shortbread cookies or ladyfingers sprinkled on top for that authentic tiramisu crunch. A light dusting of cocoa powder or a shot of hot espresso poured over the top creates an awesome affogato-style dessert that’s perfect for coffee lovers. For a simple weeknight treat, try sandwiching the ice cream between two soft chocolate cookies or serving it alongside some fresh berries to cut through the richness.
Storage Instructions
Keep Frozen: Your homemade tiramisu ice cream needs to stay in the freezer to maintain its creamy texture. Keep it in the Ninja Creami pint container or transfer it to a freezer-safe ice cream container. It’ll stay fresh and tasty for up to 2 weeks when stored properly.
Prevent Freezer Burn: To avoid ice crystals from forming, press a piece of plastic wrap directly onto the surface of the ice cream before putting the lid on. This helps keep that smooth, creamy texture we all love in homemade ice cream.
Serving Tips: When you’re ready to enjoy your ice cream, let it sit at room temperature for about 5 minutes to soften slightly. If it’s too hard, you can always re-spin it in your Ninja Creami to bring back that perfectly smooth consistency. Remember to serve it right away for the best taste and texture!
| Preparation Time | 10-15 minutes |
| Cooking Time | 5-10 minutes |
| Total Time | 1,440-1,445 minutes |
| Level of Difficulty | Easy |
Estimated Nutrition
Estimated nutrition for the whole recipe (without optional ingredients):
- Calories: 600-700
- Protein: 8-10 g
- Fat: 45-50 g
- Carbohydrates: 50-60 g
Ingredients
- 1/3 cup granulated sugar
- 1/2 tsp unsweetened cocoa powder
- 1 tbsp spiced rum (optional, but adds depth)
- 1 cup whole milk
- 1 tbsp mascarpone cheese (for a rich, authentic Italian flavor)
- shortbread cookies (crumbled for texture)
- 1 tsp vanilla extract (Rodelle is my go-to for baking)
- 3/4 cup heavy cream
- 1/2 tbsp instant coffee powder (Medaglia D’Oro is excellent here)
Step 1: Prepare the Flavor Base
In a medium bowl, combine 1 tablespoon mascarpone cheese, 1 teaspoon vanilla extract, 1/3 cup granulated sugar, 1/2 tablespoon instant espresso powder, and 1/2 teaspoon unsweetened cocoa powder.
Use a whisk to mix these ingredients until they are well combined and smooth.
Step 2: Incorporate Dairy
Slowly whisk in 1 cup of whole milk and 3/4 cup of heavy cream into the flavored base.
Continue whisking until all the dairy has been fully combined with the other ingredients, creating a smooth and consistent mixture.
Step 3: Add the Optional Ingredient
If desired, add 1 tablespoon of spiced rum to the mixture.
Whisk again until the rum is thoroughly incorporated, enhancing the depth of flavor in the mixture.
Step 4: Freeze the Mixture
Carefully pour the mixture into a Ninja Creami pint container, ensuring it does not exceed the max fill line marked on the pint.
Place the container on a flat surface in the freezer and allow it to freeze for a full 24 hours.
Step 5: Process the Ice Cream
After the 24-hour freezing period, remove the pint from the freezer.
Plug in your Ninja Creami machine.
Remove the lid from the pint and position the pint securely into the Ninja Creami’s outer bowl.
Cover with the lid provided.
Twist the outer bowl to the right until it is locked into place.
Press the “Ice Cream” button and allow the machine to process until complete.
Step 6: Serve the Ice Cream
Once the cycle is complete, press and hold the button on the left side of the Creami machine to twist the bowl to the left.
This will allow you to remove the bowl from the machine safely.
Your crafted ice cream is now ready to serve and enjoy!
