Let’s be honest – making ice cream at home used to feel like a complicated process that rarely turned out as good as store-bought. Between the rock-hard results and the endless churning, it was enough to make anyone stick to their favorite pint from the grocery store. But ever since I got my hands on a Ninja Creami, homemade ice cream has become a regular treat in our house.
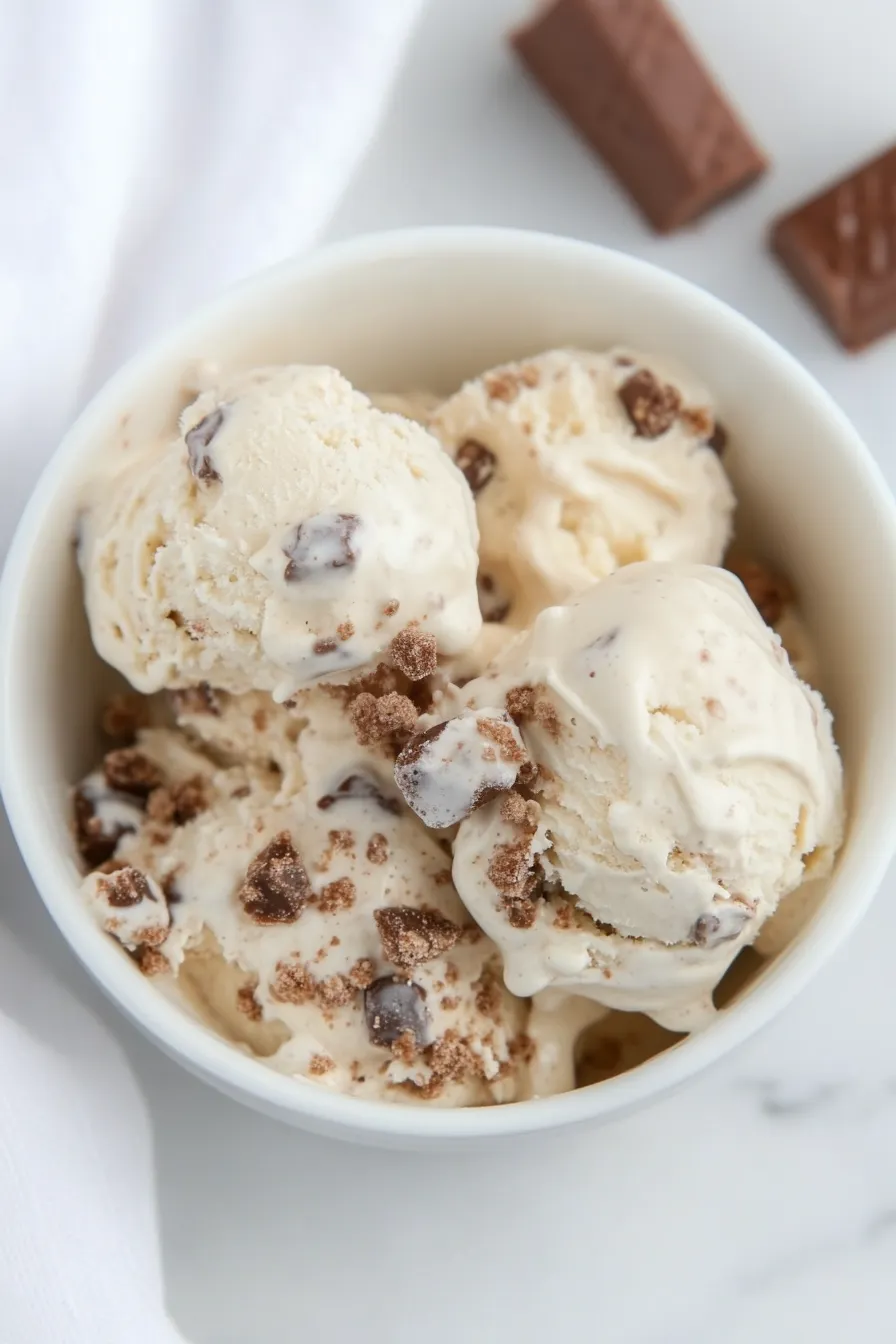
This Twix ice cream recipe brings together the classic candy bar flavors we all grew up loving, but in a creamy, homemade frozen dessert that’s surprisingly easy to make. If you’ve got a Ninja Creami sitting on your counter, you’re already halfway to enjoying a scoop of caramel-swirled, chocolate-flecked ice cream that tastes just like your favorite candy bar.
Why You’ll Love This Twix Ice Cream
- Copycat candy bar flavor – This ice cream tastes just like your favorite Twix bar, with real candy pieces and caramel swirls mixed throughout the creamy base.
- No ice cream maker needed – The Ninja Creami does all the hard work, turning your ingredients into perfectly smooth ice cream without the need for an expensive traditional ice cream maker.
- Simple ingredients – With just a handful of basic ingredients you can probably find at your local store, you’ll create restaurant-quality ice cream at home.
- Customizable mix-ins – You can easily swap out the Twix bars for your favorite candy or adjust the amount of chocolate syrup to make it exactly how you like it.
What Kind of Twix Bars Should I Use?
Regular Twix bars are perfect for this ice cream recipe, but you’ve actually got several options to play with. The classic milk chocolate Twix works great, but you could also try using White Chocolate Twix or Dark Chocolate Twix for a different flavor profile. When chopping your Twix bars, aim for pieces about the size of a small pea – this ensures you’ll get that perfect candy bar bite without having chunks that are too big and freeze too hard. It’s best to use fresh, room temperature Twix bars for chopping, as they’re easier to cut cleanly and won’t crumble as much. Just make sure to store your Twix bars at room temperature before using them, as cold bars straight from the fridge can be tricky to chop evenly.
Options for Substitutions
Let’s talk about how you can switch things up with this ice cream recipe:
- Cream cheese: If you’re out of cream cheese, mascarpone makes a great substitute. You could also use Greek yogurt, though this will give a slightly tangier taste.
- Heavy whipping cream: This is pretty important for the right texture, but you can use half-and-half mixed with butter (1 cup half-and-half plus 1/3 cup melted butter equals 1 cup heavy cream). Just know your ice cream might be slightly less creamy.
- Twix Bars: Feel free to swap these with any similar chocolate-caramel candy bar like Milky Way, Mars Bar, or even Snickers. Each will give its own unique twist to the final flavor.
- Chocolate syrup: Dulce de leche, caramel sauce, or even melted chocolate work great here. Pick what matches your candy bar choice!
- Crushed cookies: Any crunchy cookie works – try graham crackers, digestive biscuits, or even crushed wafer cookies. Just make sure they’re crispy, not soft cookies.
- Full-fat milk: Stick with full-fat milk here – lower fat options will make your ice cream more icy and less creamy. If you must substitute, use 2% milk mixed with a bit of heavy cream.
Watch Out for These Mistakes While Making
The biggest challenge when making Ninja Creami ice cream is getting the right consistency – make sure your pint container is frozen solid for at least 24 hours at the coldest setting of your freezer, or you’ll end up with a slushy mess instead of creamy ice cream.
Temperature control is crucial throughout the process, so avoid letting your dairy mixture sit at room temperature before freezing, and work quickly when adding the mix-ins to prevent the base from melting – if the mixture becomes too warm, you’ll get ice crystals forming during the freezing process.
When it comes to the Twix bars and cookies, resist the urge to add them during the initial spin cycle; instead, use the “mix-in” function after the first spin is complete, as this prevents them from being ground too finely and maintains those delicious chunks in your ice cream.
For the smoothest results, let your Ninja Creami bowl sit at room temperature for 1-2 minutes before spinning, and if your ice cream turns out too crumbly on the first spin, use the “re-spin” function to achieve that perfect, creamy texture.
What to Serve With Twix Ice Cream?
This homemade Twix ice cream is already packed with goodies, but there are some fun ways to take it to the next level! A drizzle of warm caramel sauce or hot fudge creates an amazing temperature contrast with the cold ice cream. I love serving this in a waffle cone or bowl, which adds a nice crunch factor that complements the creamy texture. For a quick dessert bar setup, put out some extra chopped Twix bars, crushed graham crackers, and whipped cream so everyone can add their own toppings. If you’re feeling extra indulgent, a shot of hot espresso poured over top makes an amazing affogato-style dessert.
Storage Instructions
Keep Frozen: Your homemade Twix ice cream needs to stay in the freezer to maintain its creamy texture. Keep it in the Ninja CREAMi pint container with the lid on tight, or transfer it to a freezer-safe ice cream container. It’ll stay fresh and tasty for up to 2 weeks.
Re-spin: If your ice cream gets too hard or develops ice crystals after a few days, no worries! Just pop it back in your Ninja CREAMi and use the Re-spin function. This will bring back that smooth, creamy texture you love. For extra indulgence, try the Re-spin with mix-in function to add more Twix pieces.
Serve: For the best scooping experience, let your ice cream sit at room temperature for about 5 minutes before serving. This helps it soften just enough to scoop easily while keeping its perfect creamy consistency. If you notice any separation, just give it another quick Re-spin in your Ninja CREAMi.
| Preparation Time | 15-20 minutes |
| Cooking Time | 24 hours (freezing time) |
| Total Time | 24 hours 15-20 minutes |
| Level of Difficulty | Medium |
Estimated Nutrition
Estimated nutrition for the whole recipe (without optional ingredients):
- Calories: 800-900
- Protein: 6-10 g
- Fat: 50-60 g
- Carbohydrates: 80-90 g
Ingredients
For the ice cream base:
- 3/4 cup heavy cream
- 1 tbsp cream cheese (softened, for a smoother base)
- 1/3 cup sugar
- 1 tsp vanilla extract (pure vanilla extract for best flavor)
- 1/2 cup whole milk
For the mix-ins:
- 2 tsp crushed cookies
- 2 tsp chocolate syrup (I use Hershey’s chocolate syrup)
- 2 twix bars (diced into small pieces)
Step 1: Prepare the Ice Cream Base
Begin by adding cream cheese, granulated sugar, vanilla extract, heavy cream, and whole milk into a Ninja Creami pint container.
Mix well until all ingredients are fully combined and smooth.
Place the lid on the pint container and position it on a level surface in your freezer.
Allow the mixture to freeze for 24 hours for the best results.
Step 2: Process in the Ninja Creami
After the ice cream base has frozen for 24 hours, remove the Ninja Pint container from the freezer and take off the lid.
Insert the pint container into the outer container of your Ninja Creami Machine.
Press the Ice Cream button to process the frozen mixture into creamy ice cream.
Step 3: Add Mix-Ins
Once the ice cream is processed, it’s time to add your mix-ins.
Insert crushed Twix Bars, chocolate sauce, and crushed cookies into the center of the ice cream.
Use a spoon or wooden spoon to make a 1-2 inch hole in the middle of the ice cream for your mix-ins.
This will help incorporate them evenly through the ice cream.
Step 4: Incorporate Mix-Ins
Place the Ninja Pint container back into the outer bowl of the Ninja Creami Machine.
Press the Mix-In Button to combine the mix-ins thoroughly into the ice cream.
If you prefer, you can also stir the mix-ins by hand to ensure they’re evenly distributed throughout the ice cream.
Step 5: Serve and Enjoy
Once the mix-ins are incorporated, your homemade ice cream is ready to enjoy.
Serve it immediately, adding your favorite toppings if desired.
Indulge in your deliciously creamy creation with family and friends!
