Looking for a dessert that’s both easy to make and guaranteed to please a crowd? We all know those moments when you need something sweet but don’t want to spend hours in the kitchen measuring ingredients and following complicated steps. That’s where this strawberry shortcake with yellow cake mix comes in – it’s my go-to solution for those times when I want something homemade but need a helping hand from the pantry.
This recipe combines the convenience of boxed cake mix with fresh strawberries to create a dessert that’s both simple and satisfying. Whether you’re heading to a summer potluck or just craving something sweet after dinner, this shortcut version delivers all the flavor without the fuss.
Why You’ll Love This Strawberry Shortcake
- Time-saving shortcuts – Using cake mix and pre-made pudding means you can have this classic dessert ready without spending hours in the kitchen.
- Foolproof recipe – Even if you’re new to baking, this recipe is nearly impossible to mess up – the cake mix does most of the work for you!
- Make-ahead friendly – You can bake the cake and prep the strawberries a day in advance, then just assemble when you’re ready to serve.
- Budget-friendly ingredients – Using simple pantry staples and cake mix makes this dessert much more affordable than store-bought versions, but just as delicious.
What Kind of Strawberries Should I Use?
Fresh strawberries are the way to go for shortcake, and you’ll want to look for berries that are bright red all the way through with no white or green patches near the stem. The best ones will have a sweet, fragrant smell – if they don’t smell like anything, they probably won’t taste like much either. While you can use frozen strawberries in a pinch, they tend to get mushy when thawed and won’t give you that perfect shortcake texture. When picking your berries at the store, check the bottom of the container for any signs of mold or squished berries, and try to choose medium-sized ones since they usually have the best flavor (those giant strawberries might look impressive, but they’re often less sweet).
Options for Substitutions
Need to make some swaps? Here are some helpful substitutions for this shortcake recipe:
- Cake mix: While yellow or vanilla cake mix works best, you can use white cake mix too. Just avoid chocolate or other flavored mixes as they’ll overpower the strawberry taste.
- Milk: Out of regular milk? Try using buttermilk for extra tang, or mix equal parts half-and-half with water. Non-dairy alternatives like almond or oat milk work too, but might make the cake slightly less rich.
- Vanilla pudding: If you can’t find pre-made pudding, use instant pudding mix prepared according to package directions. French vanilla or cheesecake pudding flavors are good options too.
- Strawberry preserves: You can skip the preserves or replace them with strawberry jam, raspberry jam, or even a bit of honey mixed with some mashed strawberries.
- Whipped cream: Store-bought whipped cream works fine, or make your own by whipping heavy cream. Cool Whip is another option, or try coconut whipped cream for a dairy-free version.
- Fresh strawberries: When fresh strawberries aren’t in season, you can use frozen ones – just thaw and drain them well first. Mixed berries can work too, though the classic strawberry version is hard to beat!
Watch Out for These Mistakes While Baking
The biggest challenge when making shortcake with cake mix is overmixing the batter – stop mixing as soon as the ingredients are combined, as excessive stirring will lead to a tough, dense cake instead of the light, fluffy texture we’re after. A common error is using cold ingredients straight from the fridge, so make sure your eggs, milk, and butter are at room temperature before starting, which helps them blend smoothly and creates a more even texture. To prevent your strawberries from making the cake soggy, avoid preparing them too far in advance – instead, mix them with the preserves just 30 minutes before serving, allowing enough time for the juices to develop without becoming too wet. For the best results, let your cake cool completely before adding any toppings, and if you’re making this ahead, store the components separately and assemble just before serving to maintain the perfect texture.
What to Serve With Strawberry Shortcake?
Strawberry shortcake is such a perfect dessert on its own, but there are some great ways to round out your dessert spread! A scoop of vanilla ice cream on the side adds an extra layer of creamy goodness and makes the dessert even more special. I love serving this with hot beverages like coffee or tea, which help balance out the sweetness of the cake and berries. For a really nice summer dessert spread, you could add some fresh mint leaves as a garnish and maybe even put out a bowl of extra berries for people who want more fruit with their cake.
Storage Instructions
Keep Fresh: Once assembled, this strawberry shortcake is best enjoyed within 24 hours. Keep it in the refrigerator, loosely covered with plastic wrap or in a cake container. The cake by itself (before adding strawberries and cream) can stay fresh in an airtight container at room temperature for up to 3 days.
Make Ahead: You can prep the components separately ahead of time! Bake the cake up to 2 days in advance and store it wrapped at room temperature. The strawberry mixture can be made a day ahead and kept in the fridge. Just wait to add the whipped cream until you’re ready to serve – this keeps everything fresh and prevents the cake from getting soggy.
Leftovers: If you have leftover assembled shortcake, pop it in the fridge in an airtight container for up to 2 days. Keep in mind that the texture won’t be quite the same as fresh, since the strawberries and cream will gradually soften the cake – but it’ll still taste good!
| Preparation Time | 20-30 minutes |
| Cooking Time | 40 minutes |
| Total Time | 60-70 minutes |
| Level of Difficulty | Medium |
Estimated Nutrition
Estimated nutrition for the whole recipe (without optional ingredients):
- Calories: 3000-3400
- Protein: 30-40 g
- Fat: 180-220 g
- Carbohydrates: 350-400 g
Ingredients
For the cake:
- 4 large eggs (at room temperature)
- 1 container (3.25 oz) vanilla pudding (instant pudding mix works best)
- 1 box yellow cake mix (I like Duncan Hines yellow cake mix)
- 1/2 cup unsalted butter (melted and cooled slightly)
- 1 cup milk (whole milk recommended for richness)
For the strawberry topping and filling:
- 4 cups strawberries (hulled and sliced)
- 2 to 3 tbsp strawberry preserves
For the assembly:
- 2 cups whipped cream (freshly made for best results)
Step 1: Prepare the Cake Batter
In a mixing bowl, combine butter, eggs, milk, and pudding.
Mix these ingredients until the mixture is smooth.
Next, add in the cake mix and mix just until the ingredients are combined.
Be careful not to over-mix.
Pour the batter into two greased and floured 8×2 inch round cake pans, ensuring it’s distributed evenly between the pans.
Step 2: Bake the Cakes
Preheat your oven to 350 degrees F.
Place the cake pans in the oven and bake for about 40 minutes.
To check for doneness, insert a toothpick into the center of each cake; it should come out clean.
Once baked, remove the cakes from the oven and allow them to cool completely before proceeding.
Step 3: Make the Strawberry Filling/Topping
While the cakes are baking and cooling, prepare the strawberry filling.
In a large mixing bowl, add the strawberries and strawberry jam.
Mix until the strawberries are well-coated and the mixture looks glossy.
Set this mixture aside for later use.
Step 4: Trim the Cakes
Once the cakes have cooled, use a serrated knife to carefully trim the domes and any slightly browned edges of the cakes.
This will ensure a flat and even surface for assembly and decoration.
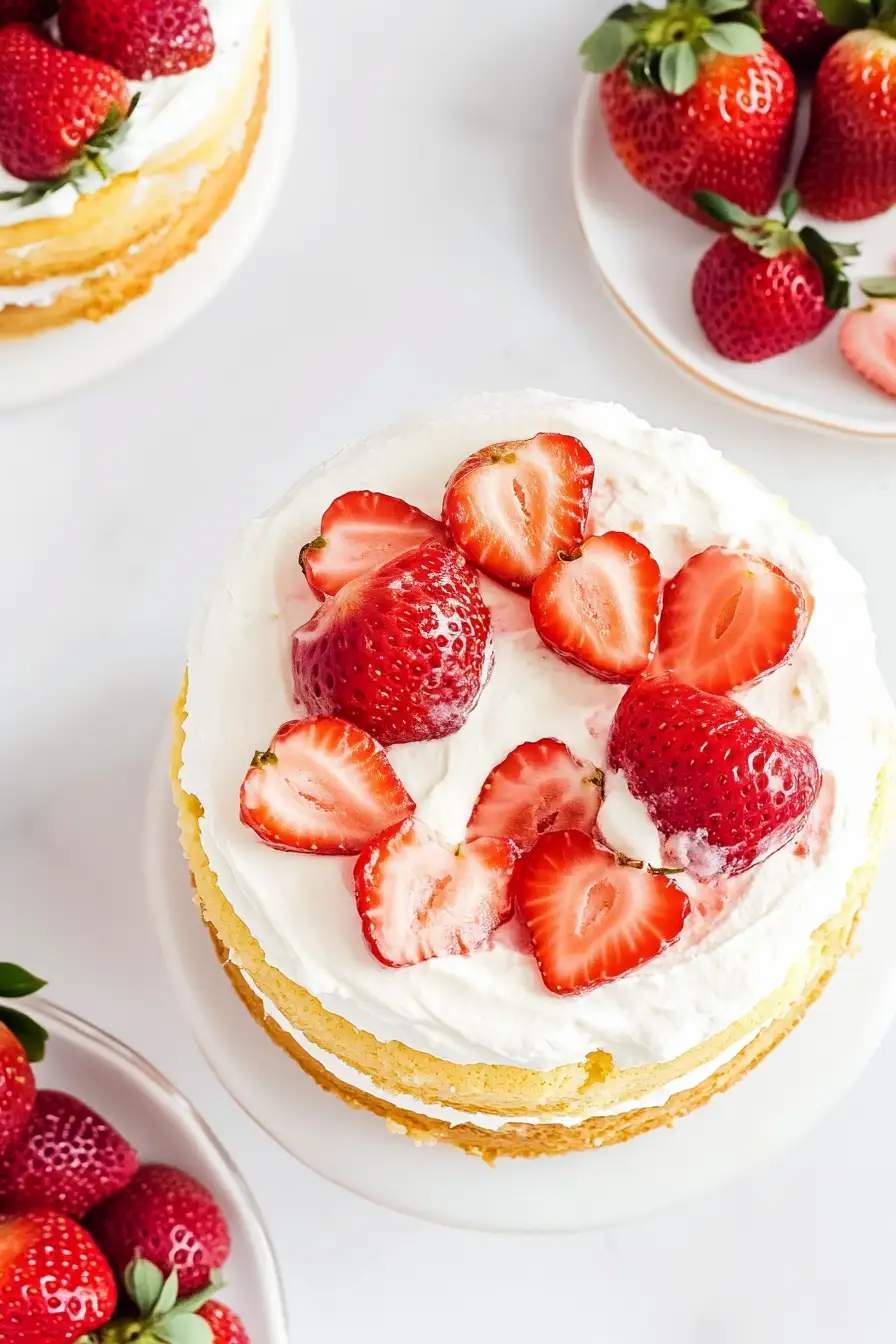
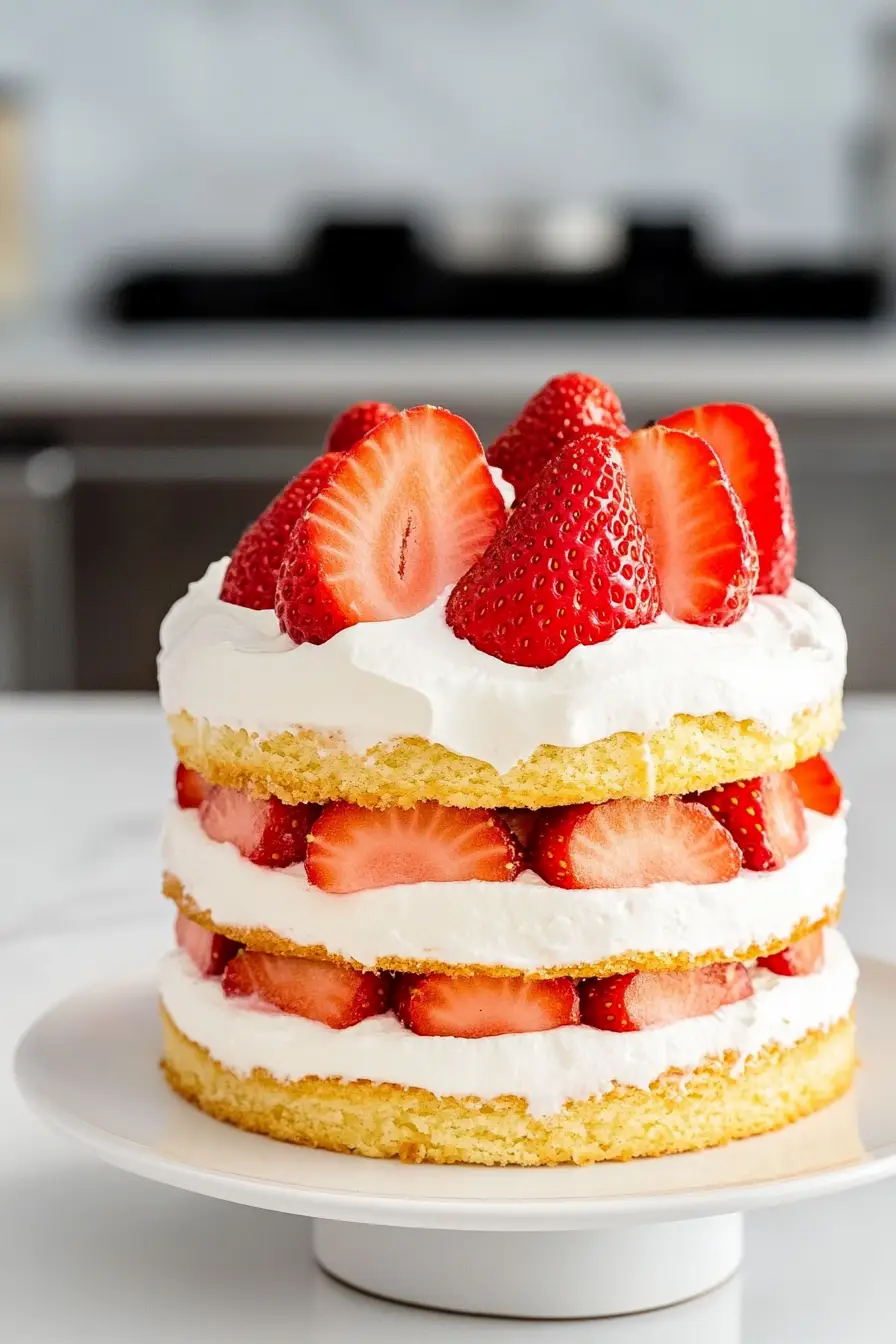
Step 5: Assemble the Cake
Place one of the cakes on a cake stand.
Spread a generous layer of whipped cream on top of the cake, followed by spoonfuls of the strawberry mixture.
Carefully place the second cake on top of the first.
Again, spread whipped cream over the top of this cake and finish with strawberries.
Step 6: Chill and Serve
Cover the assembled cake and chill it in the fridge until you’re ready to serve.
Avoid using saran wrap as it can stick to the icing, ruining the cake’s appearance.
Instead, use a cake caddy or large cake box.
The cake caddy is not only reusable and washable but also ideal for safely transporting cakes to parties.
