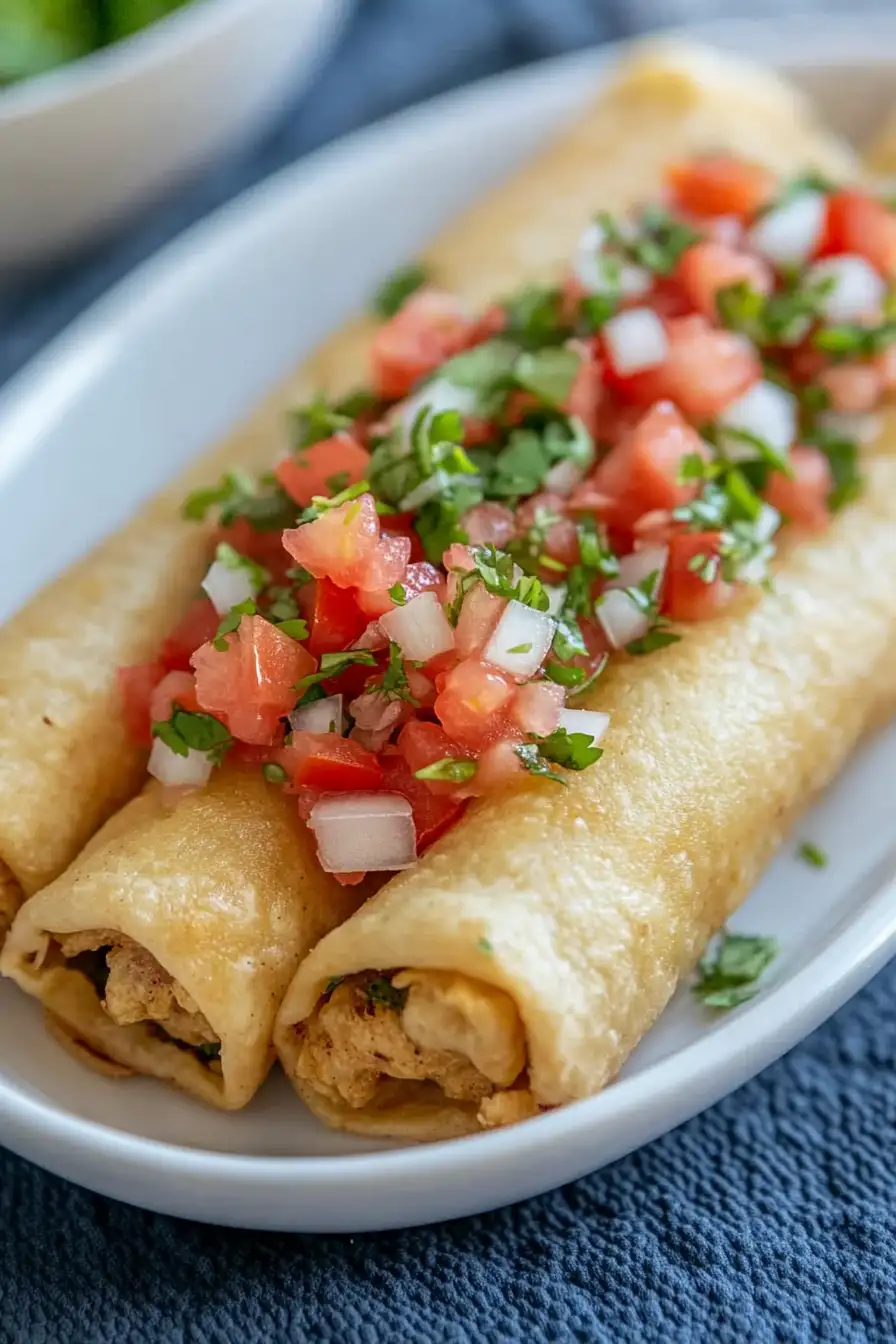
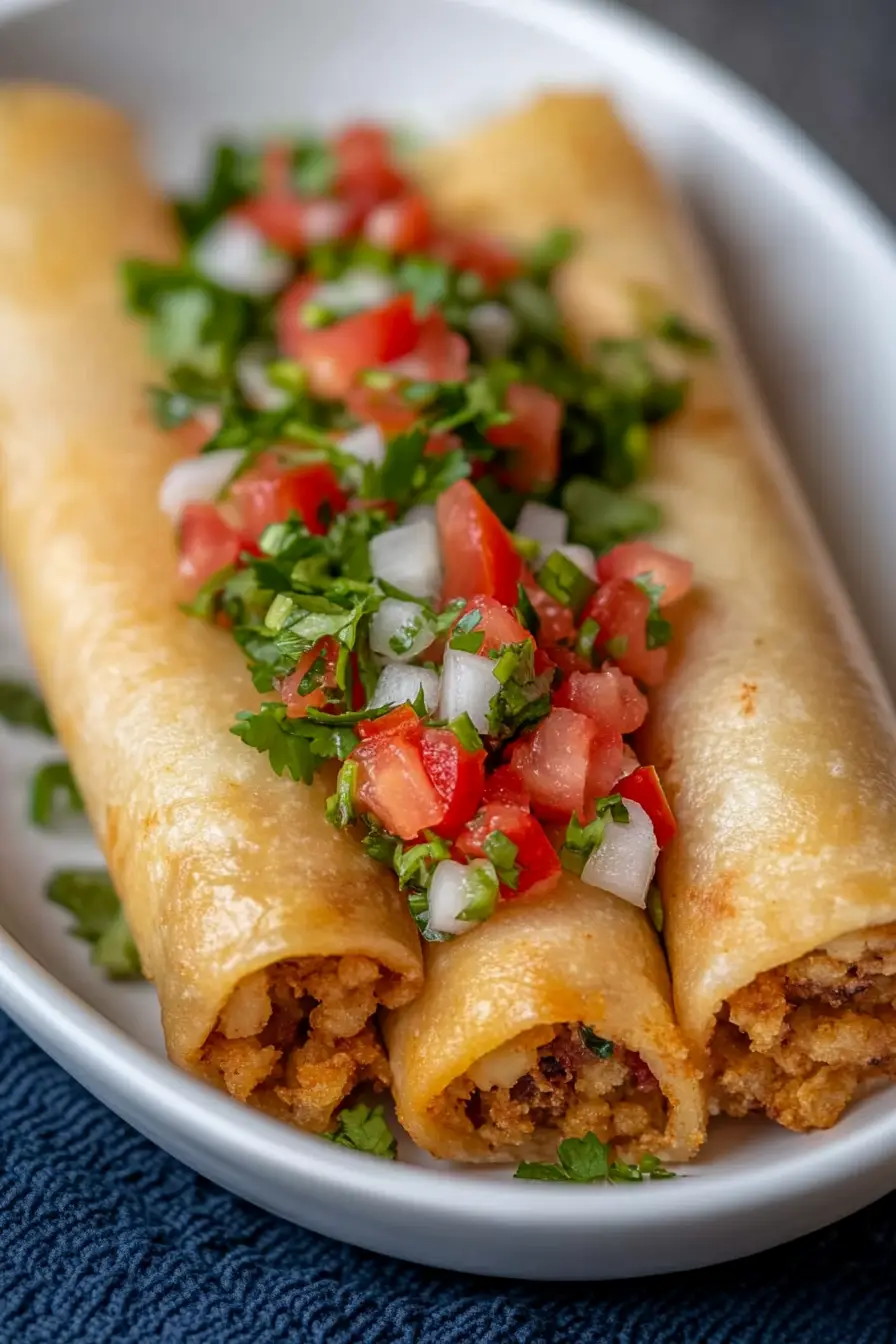
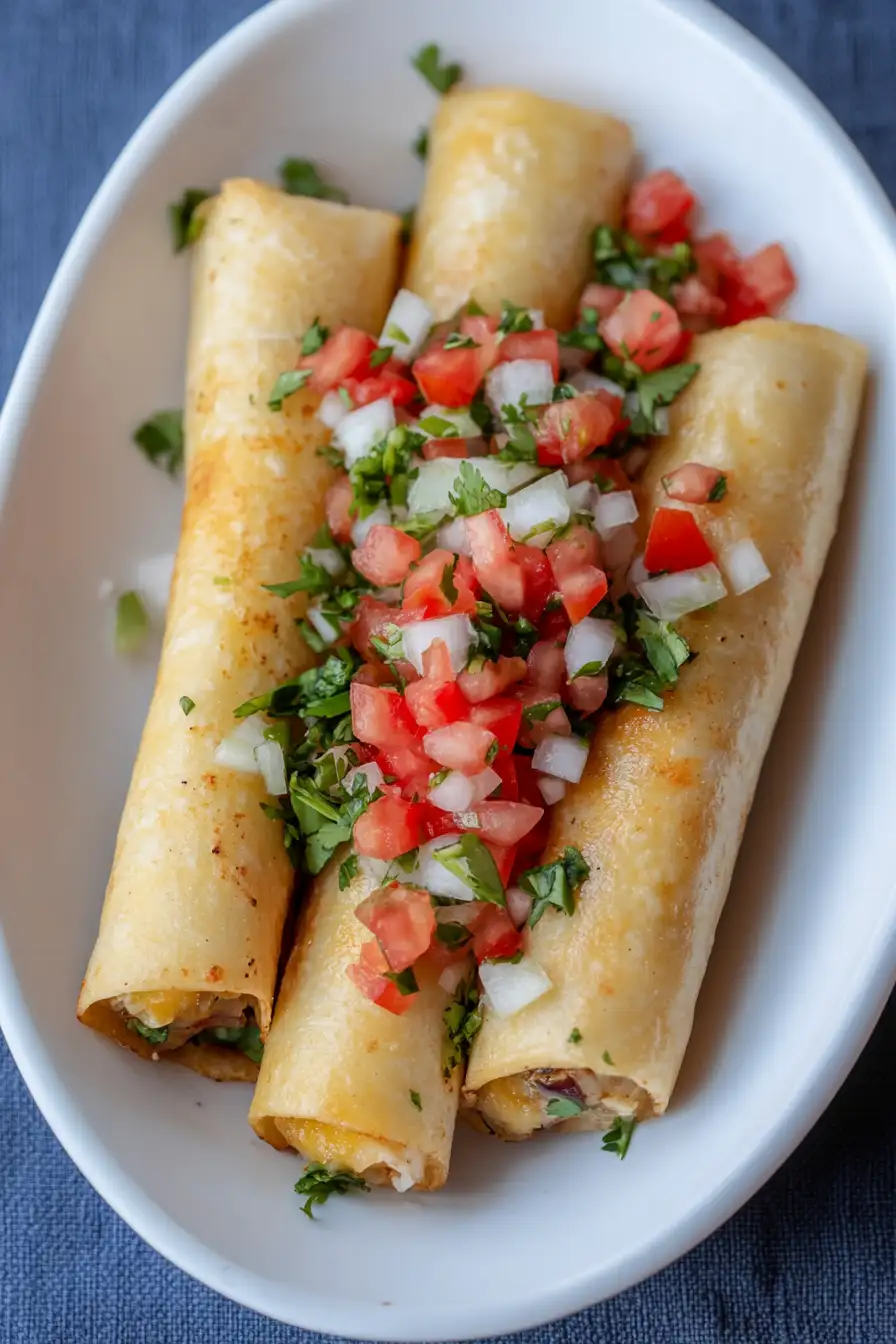
Here’s my go-to recipe for taquitos dorados, with crispy corn tortillas rolled around seasoned shredded chicken, topped with fresh lettuce, crema, and a sprinkle of queso fresco.
These rolled tacos are a regular at our family dinner table, and I always make a big batch because they disappear so quickly. Plus, they’re perfect for lunch the next day – if there are any left, that is!
Why You’ll Love These Taquitos
- Quick and adaptable – These taquitos come together in just 25-40 minutes, and you can use any type of pulled meat you have on hand – chicken, turkey, or even pheasant.
- Crispy texture – The corn tortillas fry up perfectly golden and crunchy, creating that satisfying crackle when you bite into them.
- Simple ingredients – You only need a handful of basic ingredients to make these, and most are probably already in your kitchen.
- Customizable toppings – Make them your own with your favorite salsa, a dollop of sour cream, or a sprinkle of cheese – everyone can dress them up exactly how they like.
What Kind of Tortillas Should I Use?
For authentic taquitos dorados, corn tortillas are definitely the way to go – flour tortillas just won’t give you that classic crispy texture and authentic flavor. Yellow or white corn tortillas both work great, but make sure they’re fresh and pliable to prevent cracking when you roll them. A helpful trick is to warm your tortillas slightly before rolling – either wrap them in slightly damp paper towels and microwave for 30 seconds, or give them a quick pass over a hot skillet. If your tortillas feel stiff or brittle at room temperature, they might break during rolling, so that quick warm-up step can make all the difference in getting perfect rolls.
Options for Substitutions
This classic Mexican dish is pretty adaptable – here’s what you can switch up:
- Corn tortillas: For authentic taquitos, stick with corn tortillas – flour tortillas will give you flautas instead. The corn tortillas are essential for that classic crispy texture and traditional taste.
- Pulled meat: The meat filling is super flexible! Besides chicken, pheasant, or turkey, you can use shredded beef, pork, or even jackfruit for a vegetarian version. Just make sure whatever you use is finely shredded and not too wet.
- Dark salsa/hot sauce: Feel free to use any sauce you like – enchilada sauce, chipotle sauce, or even a mix of regular salsa and some adobo sauce. Just make sure it’s not too watery to prevent soggy taquitos.
- Corn oil: Any neutral-flavored oil with a high smoke point works well – try canola, vegetable, or avocado oil. Avoid olive oil as its flavor can be too strong.
- Toppings: The toppings are totally customizable! Instead of cotija, try feta or queso fresco. Swap sour cream with Mexican crema or Greek yogurt. Add guacamole, pickled onions, or shredded lettuce too.
Watch Out for These Mistakes While Cooking
The biggest challenge when making taquitos is preventing them from unrolling during frying – secure each one with a toothpick through the seam, but remember to remove it before serving. Getting the oil temperature right is crucial – too hot and your taquitos will burn before the filling heats through, too cool and they’ll become greasy, so maintain the oil at 350°F using a thermometer. Another common mistake is overfilling the tortillas – stick to about 2-3 tablespoons of filling per tortilla, as overstuffed taquitos tend to burst during frying. To keep your tortillas from cracking when rolling, warm them slightly in the microwave between damp paper towels for 30 seconds, or quickly pass them through hot oil – this makes them pliable and easy to work with.
What to Serve With Taquitos?
These crispy rolled tacos are begging to be paired with some classic Mexican side dishes! A scoop of Mexican rice and refried beans makes the perfect base for your taquitos, creating that restaurant-style combo we all love. For freshness, I always add a simple cabbage slaw with lime juice or a side of pico de gallo to cut through the richness of the fried tortillas. If you’re feeding a crowd, put out some guacamole, pickled jalapeños, and extra lime wedges so everyone can customize their plate. Just don’t forget to keep some extra salsa and sour cream on the table – you can never have too many dipping options with taquitos!
Storage Instructions
Keep Fresh: These crispy taquitos are best enjoyed right after cooking, but if you have leftovers, place them in an airtight container and pop them in the fridge for up to 3 days. To prevent them from getting too soft, try to avoid stacking them on top of each other – laying them in a single layer works best.
Freeze: Want to make a big batch? These taquitos freeze really well! Let them cool completely, then place them in a freezer bag or container with parchment paper between layers. They’ll keep in the freezer for up to 2 months. It’s like having your own stash of ready-to-go Mexican food!
Crisp Up: To get your taquitos crispy again, pop them in the oven at 350°F for about 10-15 minutes if refrigerated, or 15-20 minutes if frozen. You can also use an air fryer for 3-4 minutes – they’ll come out perfectly crunchy! Avoid microwaving as this will make them soggy.
| Preparation Time | 10-15 minutes |
| Cooking Time | 15-25 minutes |
| Total Time | 25-40 minutes |
| Level of Difficulty | Medium |
Estimated Nutrition
Estimated nutrition for the whole recipe (without optional ingredients):
- Calories: 3200-3500
- Protein: 180-200 g
- Fat: 290-310 g
- Carbohydrates: 180-200 g
Ingredients
For the taquitos:
- 1/2 cup dark salsa (I like Herdez brand)
- 3 cups shredded cooked chicken (finely shredded for easy rolling)
- 16 corn tortillas (6-inch, warmed for flexibility)
- 1 1/2 cups corn oil (or neutral oil like vegetable or canola)
For topping (optional):
- cotija or shredded cheese
- salsa
- sour cream
Step 1: Prepare the Shredded Meat Filling
Mix the shredded meat with your choice of salsa or hot sauce, making sure to break up any large pieces.
This ensures that the filling is smooth and free of big lumps, allowing you to roll the tortilla easily.
Step 2: Soften the Tortillas
Heat oil in a large frying pan over medium heat for about 4 minutes.
Using tongs, dip each tortilla briefly in the hot oil for a few seconds to soften them.
Once softened, place the tortillas on a tray or plate to cool slightly.
Step 3: Roll the Taquitos
Take a softened tortilla and place a tablespoon or two of the shredded meat in a thin rectangle on the first third of the tortilla.
Gently, but tightly, wrap the tortilla around the filling, ensuring the seam is on the bottom.
Set the rolled taquito aside, seam side down.
Repeat this process with the remaining tortillas and filling.
Step 4: Fry the Taquitos
Increase the oil temperature to at least 325°F, ideally 350°F.
Use a thin spatula to carefully place each taquito in the hot oil seam side down.
Hold the taquito’s top down for about 10 seconds to secure the seam.
Fry a few taquitos at a time, and prepare to flip them over when they reach a golden brown hue.
Step 5: Keep Taquitos Warm
Setting a cooling rack on a baking sheet, place it in the oven on the “keep warm” setting.
After frying each batch of taquitos for 1 to 2 minutes on one side, turn them over and fry for another 1 to 2 minutes until they’re crispy and golden all around.
Transfer the cooked taquitos to the rack in the oven to keep them warm while you fry the rest.
Step 6: Serve
Once all the taquitos are ready, serve them with your favorite accompaniments such as salsa, cheese, sour cream, or any topping that brings you joy.
Enjoy your deliciously crispy taquitos!
