Here’s my go-to recipe for vanilla protein balls, made with simple pantry ingredients like oats, nut butter, honey, and your favorite protein powder. They’re perfectly sweet and satisfying, without any baking required.
These protein balls have become a regular snack in our house, and I usually make a double batch because they disappear so quickly. Perfect for a quick breakfast on busy mornings or as a post-workout treat – and the kids love them too!
Why You’ll Love These Protein Balls
- No-bake convenience – These protein balls come together in just 15 minutes with zero oven time – perfect for when you want a healthy snack without the wait.
- Meal prep friendly – Make a batch on Sunday and you’ll have nutritious snacks ready to grab all week long – they store perfectly in the fridge for up to 7 days.
- Protein-packed energy boost – With protein powder, peanut butter, and chia seeds, these little bites give you the perfect pick-me-up for post-workout or afternoon slumps.
- Customizable recipe – You can easily make these vegan by using plant-based protein powder and maple syrup, plus they work with any nut butter you prefer.
- Simple ingredients – You probably have most of these pantry staples on hand already, making this a budget-friendly snack option.
What Kind of Protein Powder Should I Use?
For these protein balls, you’ll want to stick with vanilla-flavored protein powder, but you’ve got plenty of options to choose from. Whey protein works great if you’re not following a plant-based diet, while pea, hemp, or brown rice protein are excellent vegan alternatives that blend well with the other ingredients. Just keep in mind that different protein powders can affect the texture – some absorb more moisture than others, which is why the recipe includes a range for the water amount. If you’re new to protein powders, start with a brand that’s known for baking (many brands will mention this on their packaging) since these tend to mix better and won’t leave a chalky aftertaste. Whatever type you choose, make sure it’s one you actually enjoy drinking in smoothies, as that same flavor will come through in your protein balls.
Options for Substitutions
These protein balls are super adaptable and you can switch things up based on what’s in your pantry:
- Chia seeds: You can swap chia seeds with ground flaxseed, hemp hearts, or even poppy seeds. They all provide similar texture and nutritional benefits.
- Rolled oats: Quick oats work fine here too, though the texture will be slightly different. You could also try quinoa flakes for a different grain option.
- Peanut butter: Any nut or seed butter works great – try almond butter, cashew butter, or sunflower seed butter for a nut-free version. Just make sure it’s smooth and well-stirred.
- Honey: Maple syrup works perfectly for a vegan option. You could also use brown rice syrup or date syrup – just note that the sweetness levels might vary slightly.
- Vanilla protein powder: While protein powder adds nice flavor and nutrition, you can replace it with the same amount of almond flour or coconut flour. You might want to add an extra splash of vanilla essence if you make this swap.
- Vanilla essence: Vanilla bean paste or vanilla powder work well too. You could even try other flavors like almond extract for variety.
Watch Out for These Mistakes While Making
The biggest challenge when making protein balls is getting the consistency right – if your mixture is too dry, the balls won’t hold together, and if it’s too wet, they’ll be sticky and difficult to roll. To achieve the perfect texture, start by adding just 1 tablespoon of water and mix thoroughly before deciding if you need more.
A common mistake is using warm or melted peanut butter, which makes the mixture too soft – instead, use room temperature peanut butter and chill the mixture for 15-20 minutes before rolling if it feels too sticky.
Getting the protein powder well-mixed is crucial – clumps of powder can make your protein balls taste chalky, so take extra time to break up any lumps when combining your dry ingredients. For easier rolling and better texture, dampen your hands slightly with water and roll the balls with gentle pressure – pressing too hard will make them dense and heavy.
What to Serve With Protein Balls?
These protein balls make a perfect grab-and-go snack, but there are lots of tasty ways to enjoy them as part of a bigger spread! Try serving them alongside your morning coffee or tea for breakfast – they’re especially good with a warm latte or chai tea. For a post-workout treat, pair them with a cold glass of almond milk or your favorite protein shake. You can also add them to a snack board with fresh fruit like sliced apples or banana, which complement the peanut butter and vanilla flavors really well. If you’re packing them for lunch, they go great with yogurt or a smoothie bowl for an extra protein boost.
Storage Instructions
Keep Fresh: These protein balls are perfect for grab-and-go snacks! Pop them in an airtight container and keep them in the fridge for up to 2 weeks. I like to separate layers with parchment paper to prevent them from sticking together.
Freeze: Want to make a bigger batch? These little energy bites freeze really well! Place them in a freezer-safe container or zip-top bag and they’ll stay good for up to 3 months. It’s super handy to have them ready whenever you need a quick snack.
Thaw: When you’re ready to enjoy your frozen protein balls, just transfer them to the fridge the night before. If you’re in a hurry, let them sit at room temperature for about 30 minutes – they’ll be perfect for snacking!
| Preparation Time | 10-15 minutes |
| Cooking Time | 0 minutes |
| Total Time | 10-15 minutes |
| Level of Difficulty | Easy |
Estimated Nutrition
Estimated nutrition for the whole recipe (without optional ingredients):
- Calories: 1800-2000
- Protein: 60-70 g
- Fat: 90-100 g
- Carbohydrates: 200-220 g
Ingredients
- 1/3 cup vanilla protein powder (whey or plant-based protein works best)
- 1/3 cup honey or maple syrup
- 1.5 cups rolled oats
- 1/4 cup chia seeds
- 1 to 2 tsp vanilla extract (use good quality for best flavor)
- 1/2 cup smooth peanut butter (I use Jif creamy peanut butter)
- 1 pinch salt
- 1 to 2 tbsp water
Step 1: Combine Ingredients
Place all your ingredients into a large bowl.
Using either a spatula or your hands, mix everything together until you achieve a well-combined, pliable but firm dough-like consistency.
Step 2: Adjust the Consistency
If your mixture is too tough and doesn’t roll into a ball easily, gradually add more water or honey.
Do this one tablespoon at a time, stirring well after each addition before attempting to roll again.
Conversely, if the mixture is too soft and isn’t holding a ball shape, gradually add oats, one tablespoon at a time, stirring well, and then attempt to roll again.
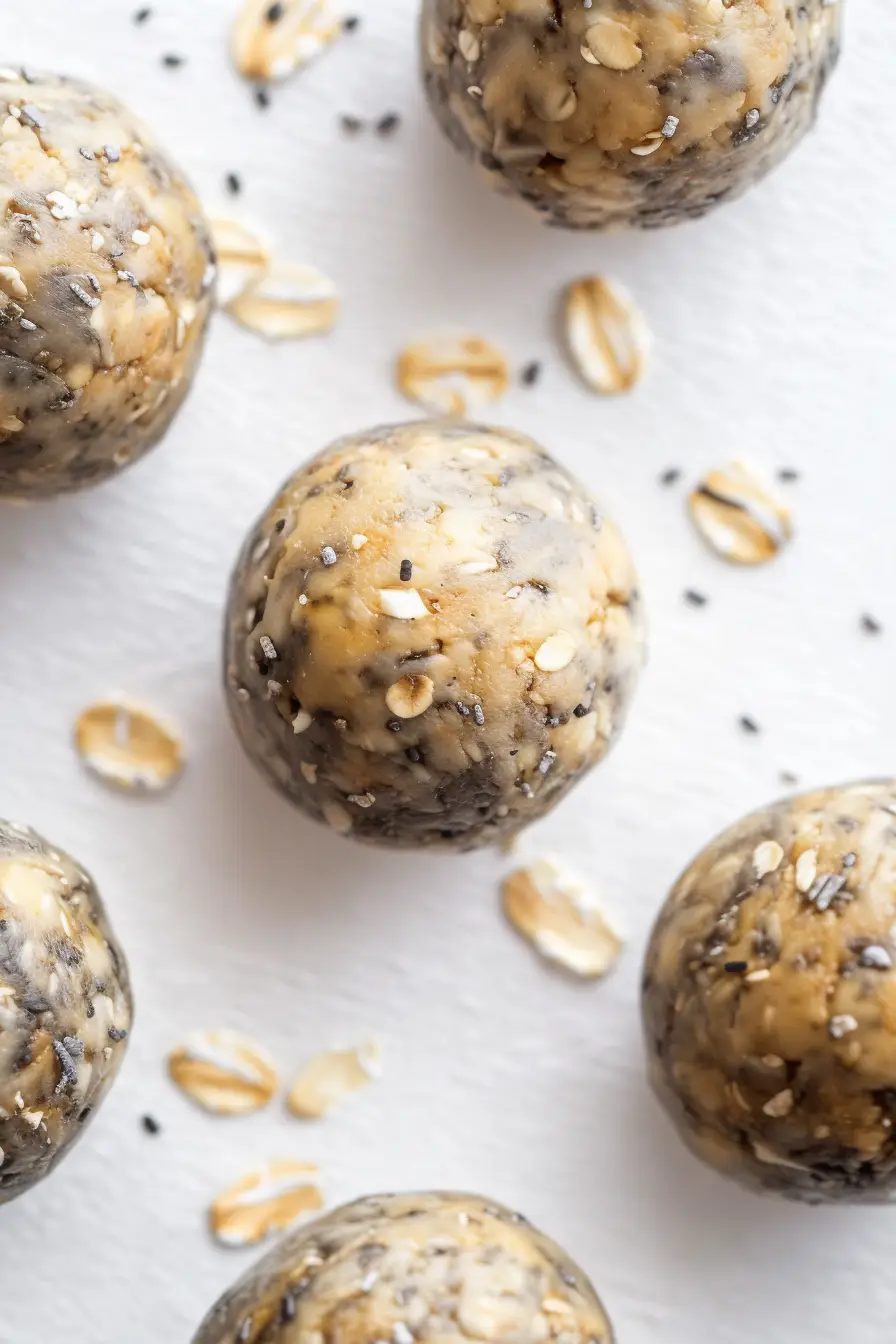
Step 3: Roll the Dough into Balls
Take a tablespoon-sized piece of dough and tightly roll it into an even ball using your palms.
You can use an ice cream scoop to help portion out even sizes if needed.
Continue this process until all the dough is used up.
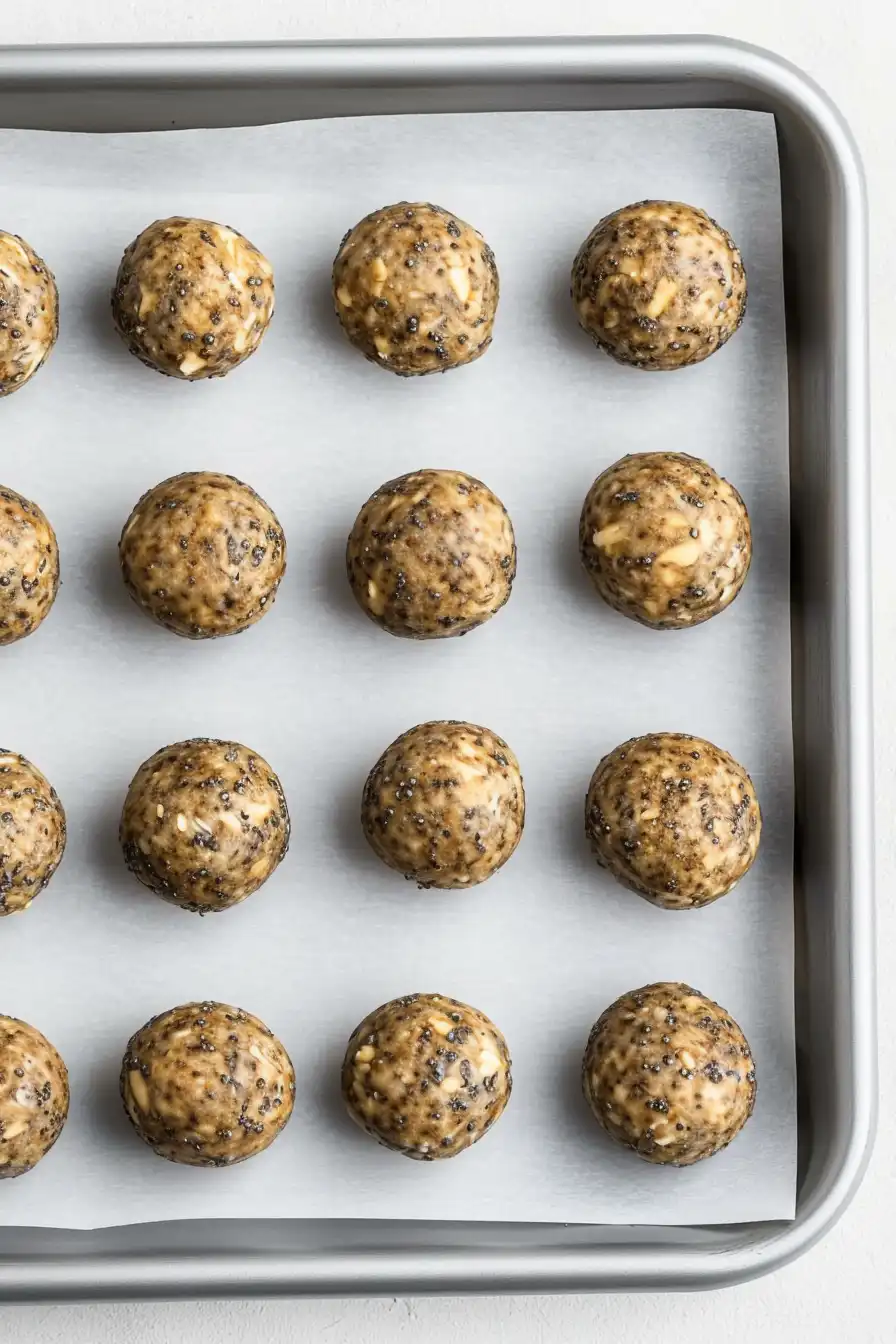
Step 4: Chill the Energy Balls
Place the rolled balls onto a sheet lined with parchment paper.
Chill them in the refrigerator for about 10 minutes to allow them to firm up.
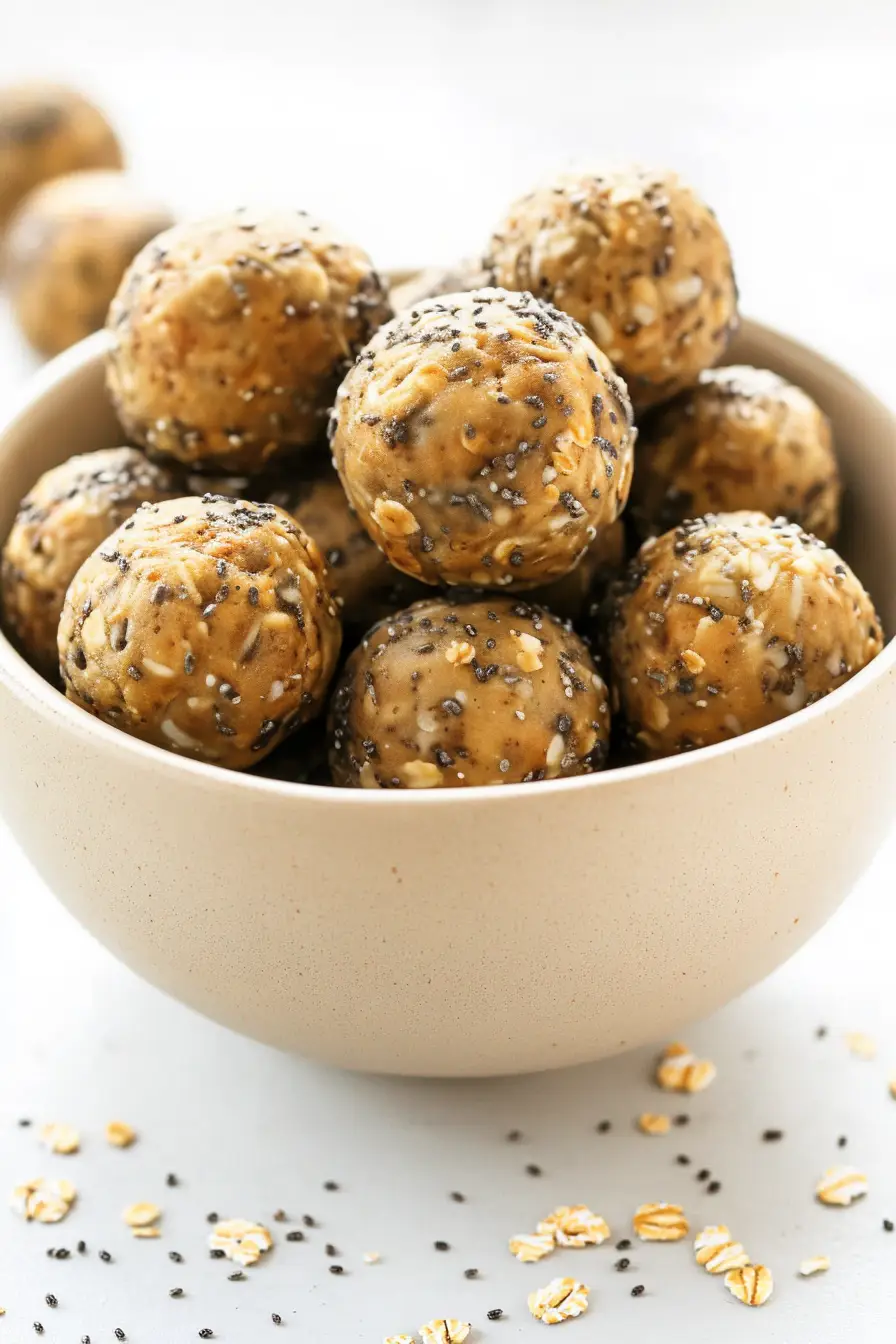
Step 5: Store and Enjoy
Once the balls have chilled, transfer them into an airtight container and store them in the fridge.
Enjoy your energy balls within 5 days for the best freshness and flavor.
