Looking for a quick and filling snack that won’t have you reaching for cookies an hour later? These 3 ingredient protein balls have become my go-to solution for busy afternoons. I started making them when I noticed my kids were always hungry after school, but I wanted something healthier than packaged treats.
What I love most about these protein balls is how simple they are to make. No fancy equipment needed, and you can whip up a batch while dinner’s in the oven. I usually make a double batch on Sunday nights, keep them in the fridge, and grab them throughout the week. They’re perfect for those times when you need a little energy boost but don’t want to deal with the sugar crash later.
And let’s be honest – sometimes the best recipes are the ones that don’t require a grocery list longer than your arm. With just three ingredients, these protein balls prove that good snacking doesn’t have to be complicated.
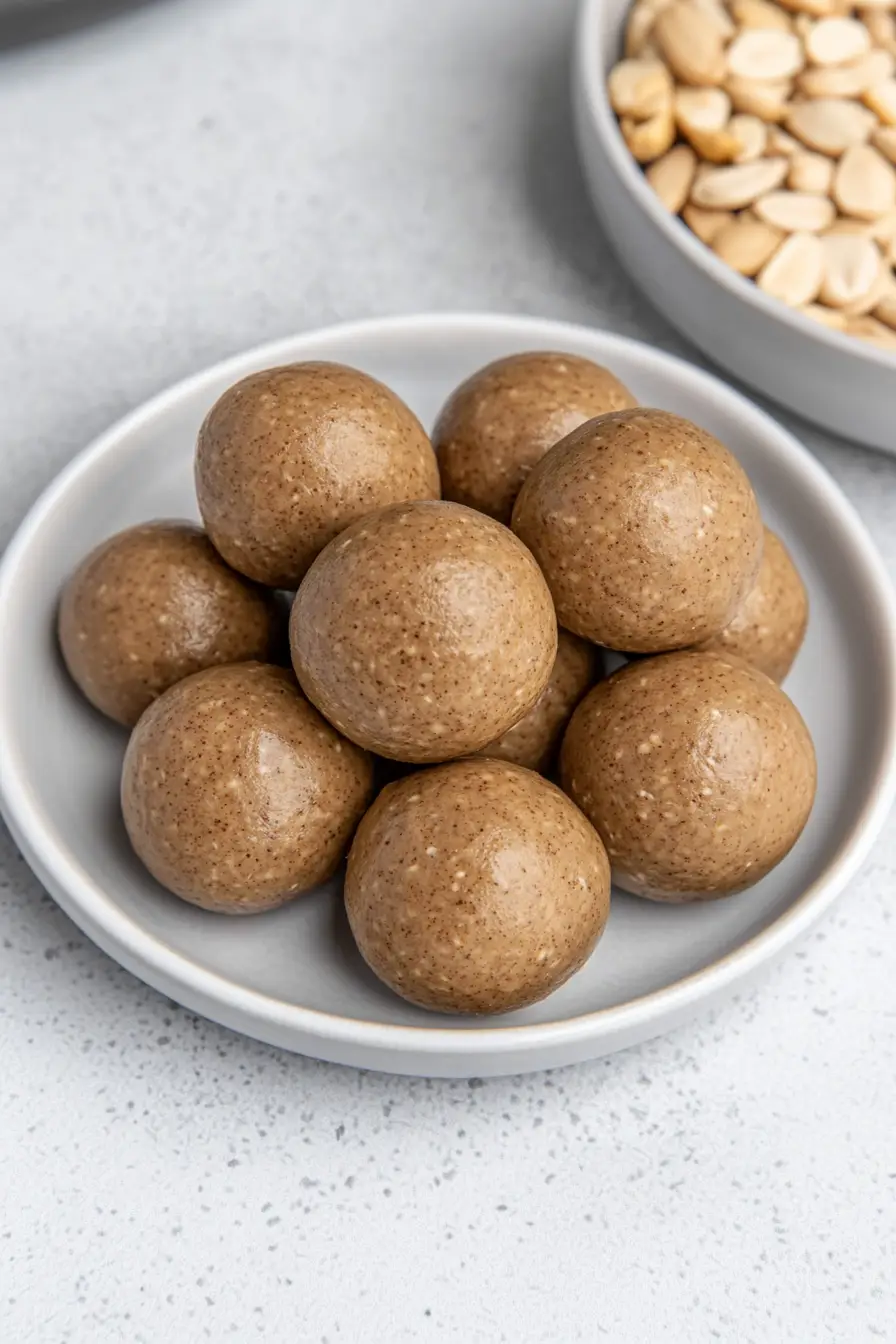
Why You’ll Love These Protein Balls
- Quick and easy – With just 3 ingredients and 10-20 minutes of your time, you can make a batch of these protein-packed snacks that’ll last all week.
- High protein content – These protein balls are perfect for post-workout recovery or as a filling snack, thanks to the whey protein powder and almond butter combination.
- No baking required – Just mix, roll, and you’re done – no need to turn on the oven or deal with complicated cooking steps.
- Customizable flavor options – You can switch up the taste by using different protein powder flavors like chocolate, vanilla, or peanut butter to keep things interesting.
- Meal prep friendly – Make a batch on Sunday, and you’ll have healthy, grab-and-go snacks ready for the entire week.
What Kind of Almond Butter Should I Use?
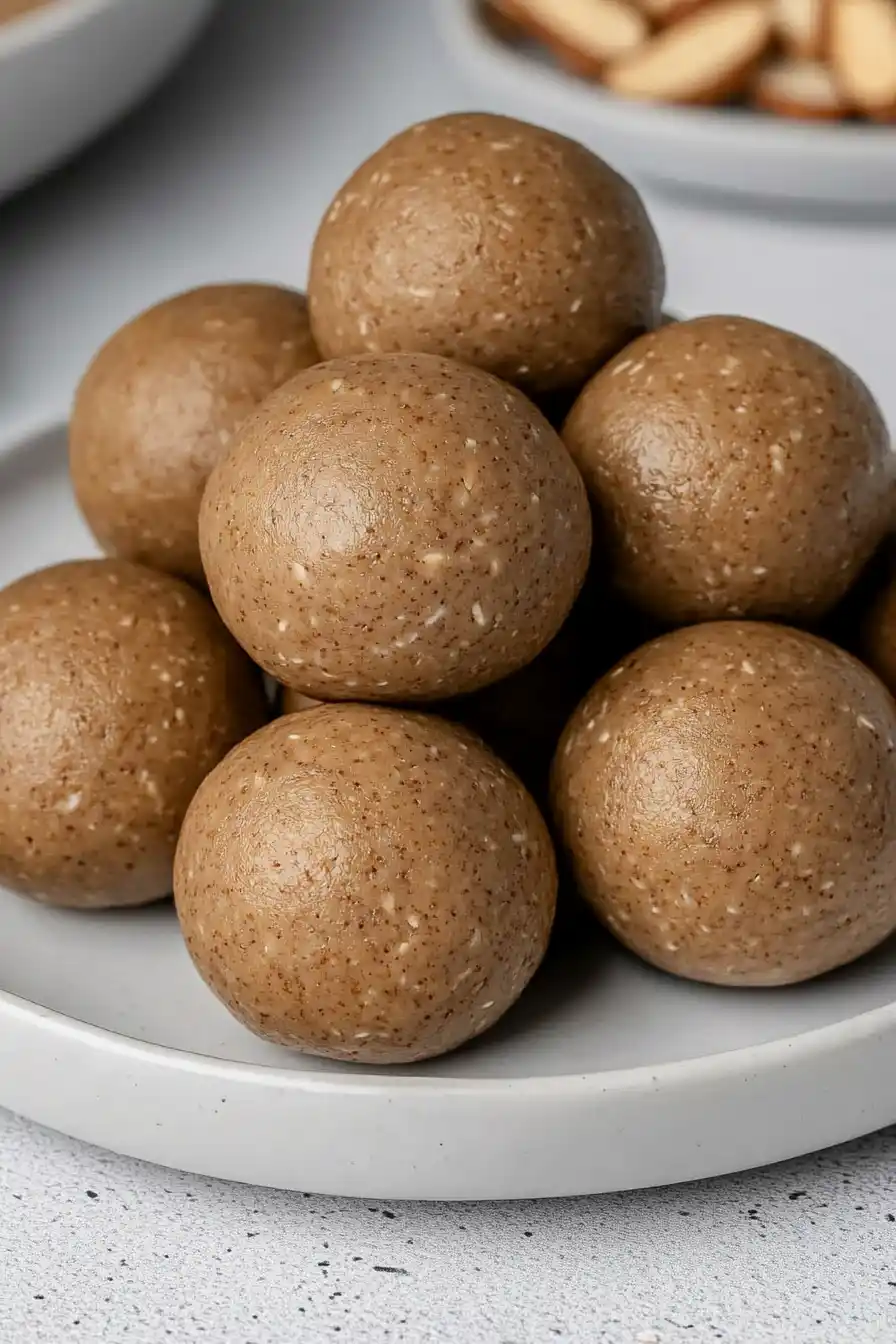
For protein balls, you’ll want to use a fresh, well-stirred almond butter that’s fairly runny in consistency. Natural almond butter works great here, but make sure to give it a really good stir before measuring since the oils tend to separate. If your almond butter is too stiff or dry (which can happen when it’s stored in the fridge or getting close to its expiration date), your protein balls might turn out crumbly and hard to roll. You can also try slightly warming your almond butter in the microwave for 15-20 seconds to make it easier to work with – just don’t let it get hot. If you’re in a pinch, other nut butters like peanut or cashew butter will work too, though they’ll change the flavor profile of your protein balls.
Options for Substitutions
These protein balls are super adaptable! Here’s how you can mix things up:
- Rolled oats: Quick oats can work in place of rolled oats, though the texture will be slightly different. You can also use a mix of rolled oats and crushed rice cereal for added crunch. Avoid using steel-cut oats as they’ll be too hard.
- Almond butter: Any nut butter works great here! Try peanut butter, cashew butter, or sunflower seed butter for a nut-free option. Just make sure it’s well-stirred and not too dry or oily for the best results.
- Whey protein powder: Not a fan of whey? Plant-based protein powders like pea protein, hemp protein, or brown rice protein can work too. Keep in mind that plant proteins tend to be more absorbent, so you might need to add 1-2 tablespoons of milk or water to get the right consistency.
Watch Out for These Mistakes While Making
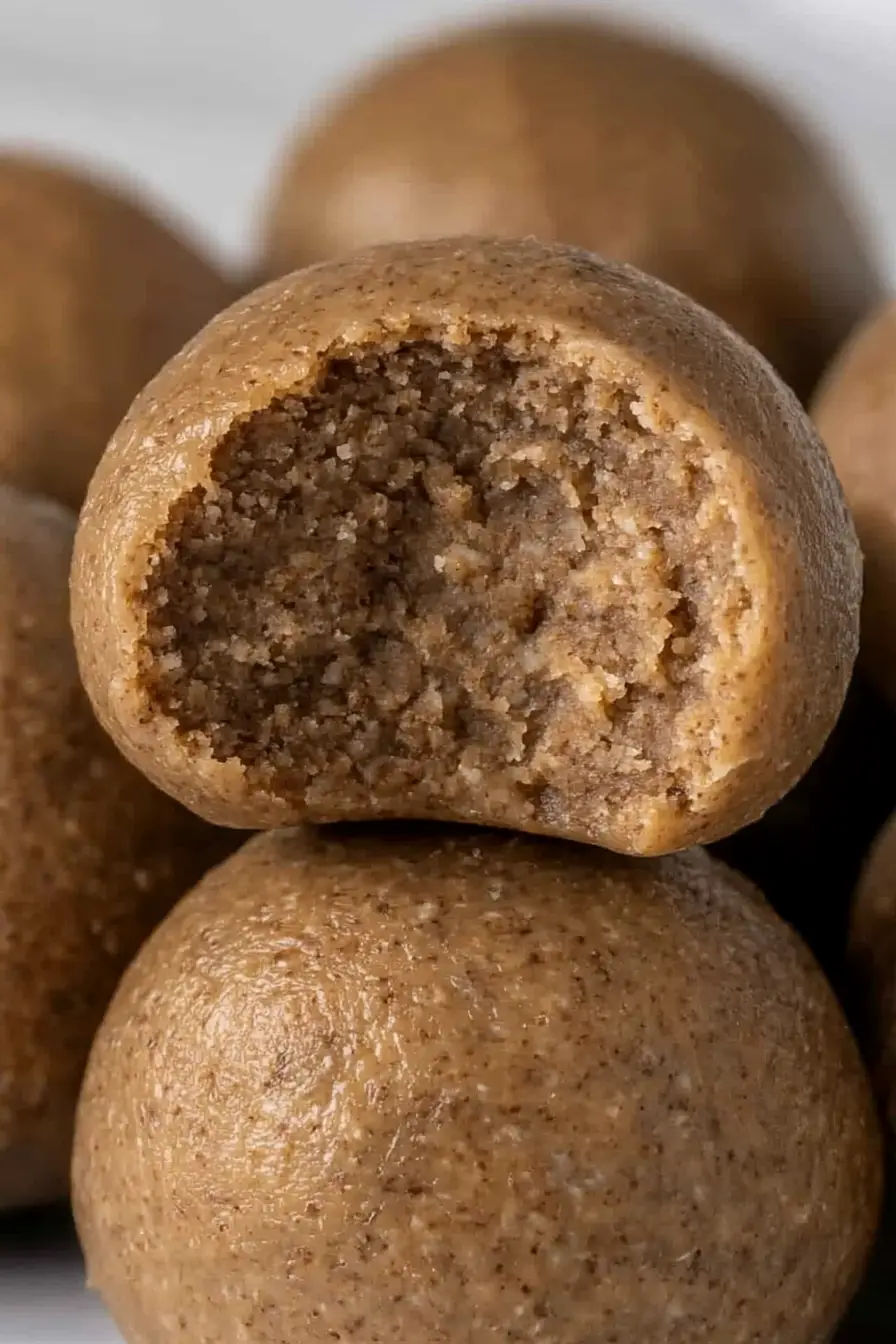
The biggest challenge when making protein balls is getting the right consistency – if your mixture is too dry, the balls won’t hold together, and if it’s too wet, they’ll be sticky and messy to handle. A good test is squeezing a small amount in your palm – it should hold its shape without crumbling or sticking excessively to your hands.
Using warm almond butter makes mixing much easier, so if yours is straight from the fridge, let it sit at room temperature for 30 minutes or microwave it for 20-30 seconds. Another common mistake is not measuring ingredients precisely – even small variations can throw off the texture, so stick to exact measurements rather than eyeballing it.
If your mixture seems too dry, add almond butter one tablespoon at a time until you reach the right consistency, and if it’s too wet, gradually add more protein powder or oats. For the best results, chill the balls for at least 30 minutes before eating – this helps them firm up and develop a better texture.
What to Serve With Protein Balls?
These protein balls make a perfect grab-and-go snack, but you can turn them into a more substantial mini-meal with a few simple additions. I like to pair them with a cold glass of almond milk or your favorite plant-based milk, which helps balance out the dense texture of the balls. For a post-workout snack, try serving them alongside some fresh fruit like bananas or apples – the natural sugars from the fruit work really well with the protein and healthy fats in these balls. You can also pack them in your lunch box with a handful of mixed berries or add them to your morning routine alongside a hot cup of coffee or tea.
Storage Instructions
Keep Fresh: These protein balls are perfect for grab-and-go snacks! Keep them in an airtight container in the fridge for up to 2 weeks. I like to line the container with parchment paper to prevent them from sticking together. They actually taste better after a day in the fridge when the flavors have had time to meld together.
Freeze: Want to make a big batch? These protein balls are great for freezing! Place them in a freezer-safe container with parchment paper between layers and they’ll stay good for up to 3 months. It’s super convenient to grab a few whenever you need a quick energy boost.
Thaw: When you’re ready to enjoy your frozen protein balls, just transfer them to the fridge the night before. Or if you’re in a hurry, let them sit at room temperature for about 30 minutes – they’ll be perfect for snacking!
| Preparation Time | 10-15 minutes |
| Cooking Time | 0-5 minutes |
| Total Time | 10-20 minutes |
| Level of Difficulty | Easy |
Estimated Nutrition
Estimated nutrition for the whole recipe (without optional ingredients):
- Calories: 2200-2400
- Protein: 130-150 g
- Fat: 150-160 g
- Carbohydrates: 180-200 g
Ingredients
- 2 cups rolled oats
- 1.5 cups almond butter (I use Justin’s classic almond butter for its smooth texture)
- 1 cup whey protein powder
Step 1: Prepare the Oat Flour
Begin by placing the oats into a food processor or a powerful blender.
Blend the oats until they transform into a fine oat flour.
This will serve as the base for your protein balls.
Step 2: Blend the Ingredients
Add almond butter and a cup of protein powder to the processed oat flour in the blender or food processor.
Blend the mixture until it is completely incorporated and a dough-like consistency is achieved.
If the mixture is too crumbly to form into balls, add water a teaspoon at a time until the desired consistency is reached.
Step 3: Portion and Form the Protein Balls
Using a cookie scoop, portion the mixture into 20 equal servings.
Roll each portion into even-sized balls.
You can enjoy the protein balls immediately or allow them to set in the refrigerator for a couple of hours for firmer texture and more developed flavor.
Step 4: Store the Protein Balls
Place the protein balls in an airtight container and store them in the refrigerator.
They can be kept fresh for up to 2 weeks, making them a convenient snack option that’s ready whenever you need a quick boost of energy.