There’s something so comforting about a warm apple crisp, especially one without oats. I know some folks might raise an eyebrow at skipping the oats, but trust me on this one. Growing up, my mom always made her apple crisp this way, and it’s still my go-to recipe when I want something sweet but don’t feel like fussing with pie crust.
The best part about this dessert is how simple it is to put together. You probably have most of the ingredients in your pantry right now. When my kids smell the cinnamon and butter baking, they come running to the kitchen, asking how much longer until it’s ready. I usually prep the apples while I’m making dinner, so by the time we’re done eating, this cozy dessert is ready to go.
Not a fan of traditional apple crisp? This might be the recipe that changes your mind. The buttery, crumbly topping gets perfectly crispy while the apples underneath turn soft and sweet. Sometimes the simplest recipes really are the best.
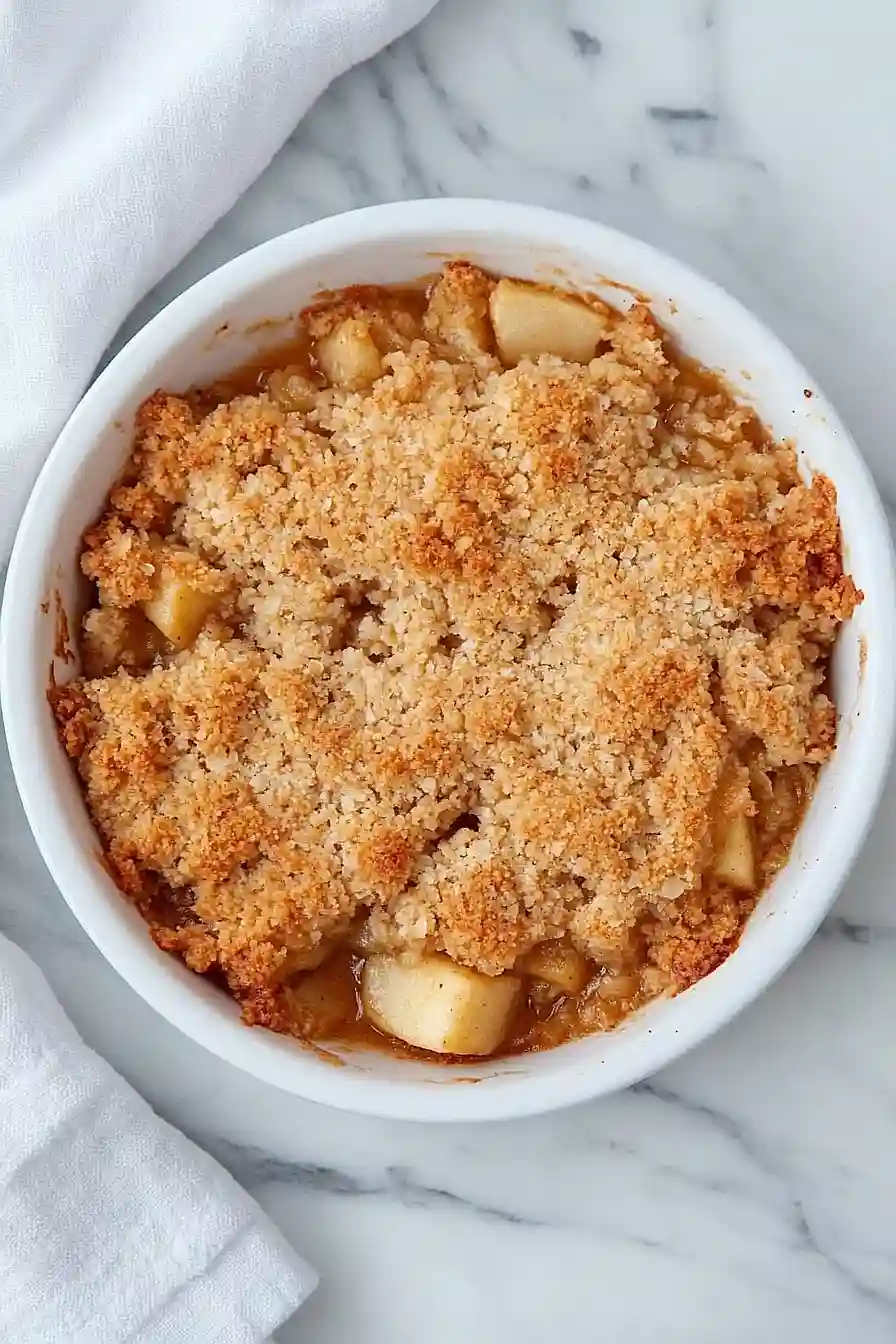
Why You’ll Love This Apple Crisp
- No oats needed – Perfect for those who prefer their crisp without oats or don’t have them on hand – this version uses a buttery flour-based topping that’s just as delicious.
- Customizable recipe – You can mix and match apple varieties to control the sweetness, and even add nuts to the topping if you want some extra crunch.
- Simple ingredients – Uses basic pantry staples you likely already have at home – no special trips to the store needed.
- Classic comfort dessert – The combination of warm spiced apples and buttery crisp topping makes this the perfect cozy dessert, especially when served with a scoop of vanilla ice cream.
What Kind of Apples Should I Use?
The best apple crisps combine both tart and sweet apples to create a balanced flavor profile. Granny Smith apples are a must-have because they hold their shape well during baking and provide that perfect tartness, but you’ll want to mix them with sweeter varieties like Honeycrisp, Gala, or Fuji for the best results. When picking your apples, look for firm fruits without any soft spots or bruising – they should feel heavy for their size. For this recipe, you can leave the peels on or remove them based on your preference, but make sure to slice the apples to a similar thickness (about 1/4 inch) so they cook evenly.
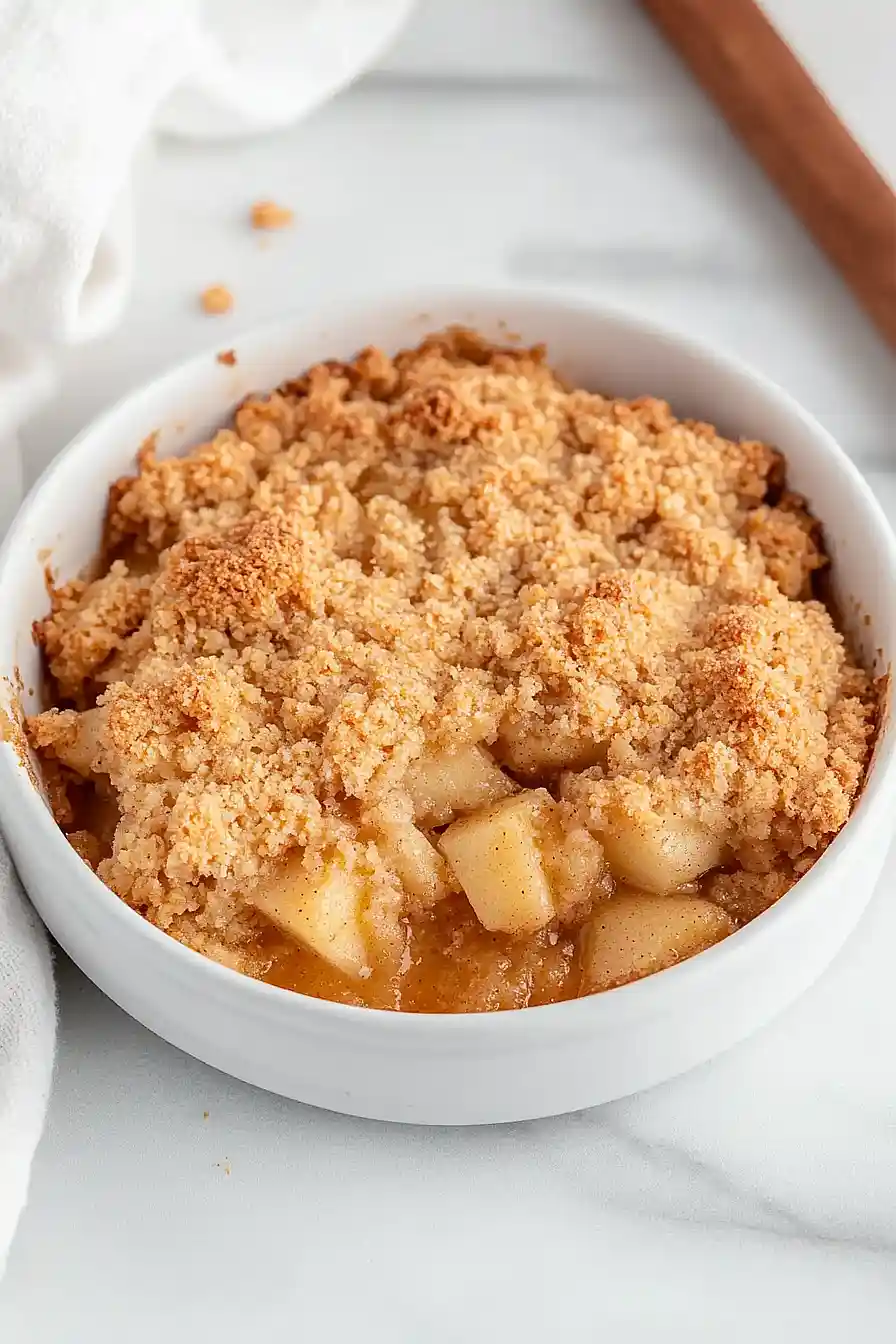
Options for Substitutions
This apple crisp recipe is pretty flexible and allows for several easy swaps:
- Apples: While the recipe suggests Granny Smith and sweet apples, you can use any baking apples you have. Honeycrisp, Jonagold, Braeburn, or Pink Lady all work great. Just avoid Red Delicious as they get too mushy.
- Lemon juice: Out of fresh lemons? Use bottled lemon juice, or try orange juice or apple cider vinegar instead – use the same amount to prevent the apples from browning.
- Cornflour: You can swap cornflour (cornstarch) with all-purpose flour or arrowroot powder – use the same amount for either substitute.
- Light brown sugar: Dark brown sugar works just as well, or try coconut sugar for a different flavor. White sugar plus a teaspoon of molasses can also work in a pinch.
- Vanilla essence: Vanilla extract, vanilla bean paste, or even a splash of bourbon can work here. If you’re out of vanilla, you can skip it – the dessert will still taste great.
- Nutmeg: If you don’t have fresh nutmeg, use ground nutmeg (reduce to 1/8 teaspoon), or replace it with allspice or an extra pinch of cinnamon.
- Butter: While butter gives the best flavor, you can use margarine or coconut oil if needed. Just make sure it’s cold when you cut it into the flour mixture.
Watch Out for These Mistakes While Baking
The biggest mistake when making apple crisp is choosing the wrong apples – using only sweet varieties can lead to a mushy, overly sweet dessert, while using only tart apples might make it too sour, so aim for a mix of both for the perfect balance. The second common error is not cutting your apples into even-sized pieces, which can result in some pieces being overcooked while others remain too firm – aim for slices about 1/4 inch thick for consistent baking. When preparing the topping, avoid using warm or room-temperature butter, as cold butter creates those desirable crispy crumbs; work quickly with your fingertips to prevent the butter from warming up too much. For the best texture, don’t pack down the topping too firmly on the apples – a loose, uneven sprinkle allows for better browning and creates those irresistible crispy peaks and valleys.
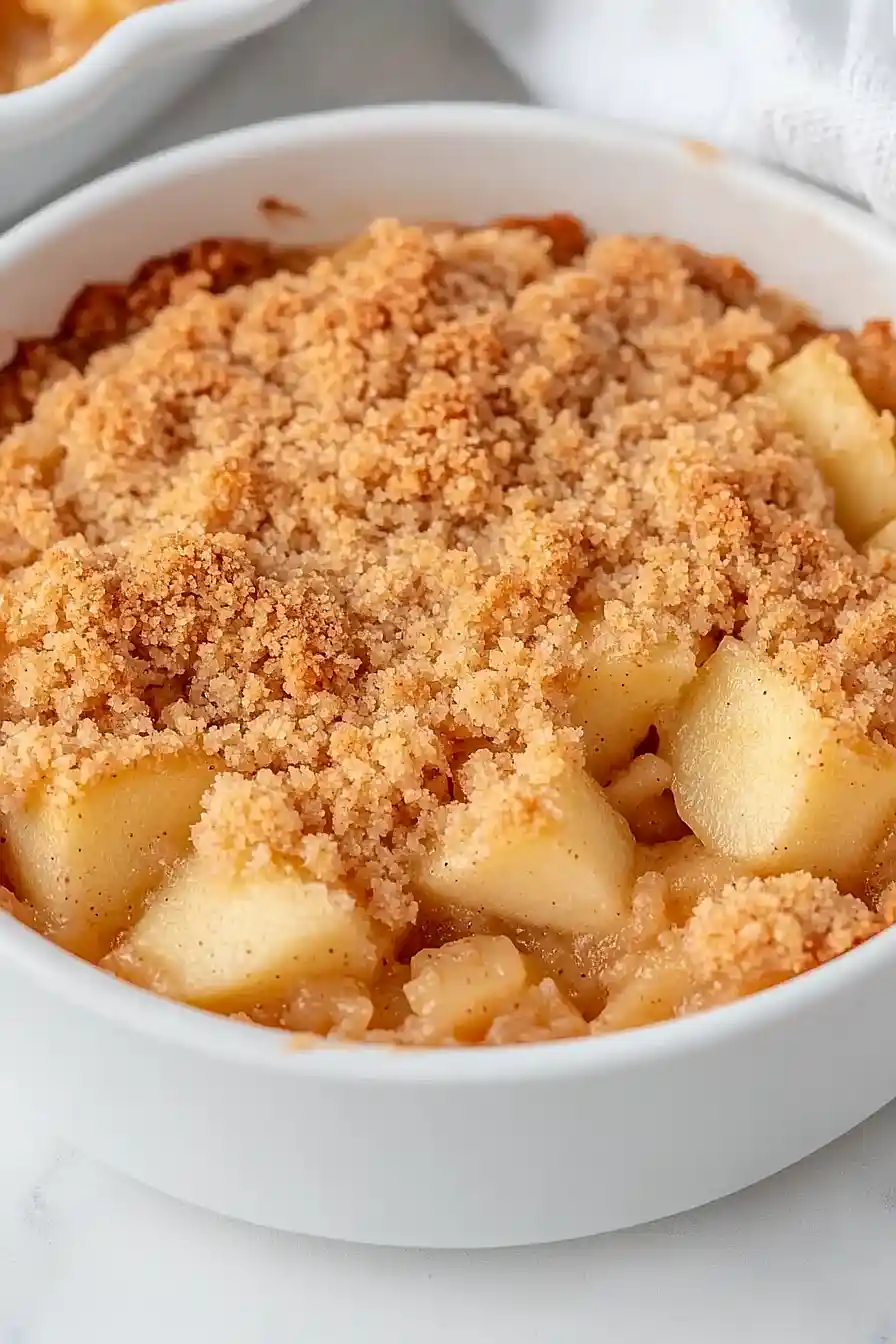
What to Serve With Apple Crisp?
A warm apple crisp practically begs for a scoop of vanilla ice cream on top – the way it melts into all those sweet, buttery crevices is pure dessert magic! If you’re feeling fancy, a drizzle of caramel sauce or a dollop of freshly whipped cream adds an extra special touch. For breakfast or brunch, try serving it with a spoonful of Greek yogurt and a light drizzle of honey. And don’t forget about drinks – this dessert pairs wonderfully with a cup of hot coffee, spiced chai tea, or even a glass of cold milk for the kiddos.
Storage Instructions
Keep Fresh: This apple crisp stays good in the fridge for up to 5 days when covered with plastic wrap or stored in an airtight container. The topping might lose some of its crunch over time, but it’s still really tasty! I actually think the flavors get even better after a day or two in the fridge.
Freeze: You can freeze your apple crisp for up to 3 months! Just wrap it well in plastic wrap and aluminum foil, or pop it in a freezer-safe container. I like to freeze it before baking – this way, you can have a fresh-baked crisp whenever you want.
Warm Up: When you’re ready to eat your refrigerated apple crisp, pop it in the oven at 350°F for about 15-20 minutes. If it’s frozen, let it thaw in the fridge overnight first. To get that topping crispy again, you can put it under the broiler for a minute or two – just keep an eye on it so it doesn’t burn!
| Preparation Time | 15-20 minutes |
| Cooking Time | 45-50 minutes |
| Total Time | 60-70 minutes |
| Level of Difficulty | Easy |
Estimated Nutrition
Estimated nutrition for the whole recipe (without optional ingredients):
- Calories: 1800-2100
- Protein: 20-25 g
- Fat: 80-100 g
- Carbohydrates: 250-280 g
Ingredients
For the apple filling:
- 2 tbsp cornstarch
- 4-5 apples (peeled, cored, and sliced into 1/4-inch pieces)
- 1 pinch coarse salt
- 2 tbsp lemon juice
- 1/2 tsp vanilla essence (I recommend using a good quality pure vanilla extract)
- 1 tbsp light brown sugar
- 1/2 tsp ground cinnamon
For the topping:
- 1 pinch coarse salt
- 1 stick unsalted butter (cold and diced into 1/2-inch pieces)
- 1 1/2 cups plain flour (King Arthur all-purpose flour works great here)
- 1 cup light brown sugar
- 1/2 tsp ground cinnamon
- 1/4 tsp freshly grated nutmeg (for best flavor and aroma)
Step 1: Prepare the Apples
Preheat your oven to 375°F.
Butter a medium-sized shallow casserole dish, slightly smaller than a 9×13 dish.
Peel and chop the apples into 1/2-inch pieces directly into the buttered dish.
Drizzle the lemon juice over the apples and gently toss to coat them.
Add vanilla, cinnamon, brown sugar, and cornstarch to the apples, mixing gently until the ingredients are evenly distributed.
Step 2: Prepare the Topping
In a separate bowl, stir together the flour, 1 cup of brown sugar, 1/2 teaspoon of cinnamon, a small amount of freshly grated nutmeg, and a pinch of salt.
Mix these dry ingredients well.
Cut in the butter and use your hands to mix it until the mixture becomes pebbly and crumbly.
Step 3: Assemble the Apple Crisp
Sprinkle about one-third of the crumbly topping over the apples.
Gently move the apples around so some of the topping is mixed in with them.
Then, sprinkle the remaining topping evenly over the apples to cover them completely.
Step 4: Bake the Apple Crisp
Place the dish into the preheated oven and bake for 45-50 minutes, until the topping is golden brown.
Keep an eye on it, as some ovens may require less time; it may bake in 35 minutes.
Once done, remove from the oven and let it rest for fifteen minutes to cool slightly and set.
Step 5: Serve and Enjoy
Serve the apple crisp warm, pairing it with a scoop of vanilla ice cream and a drizzle of caramel sauce for an extra decadent treat.
Enjoy this comforting dessert with friends and family!