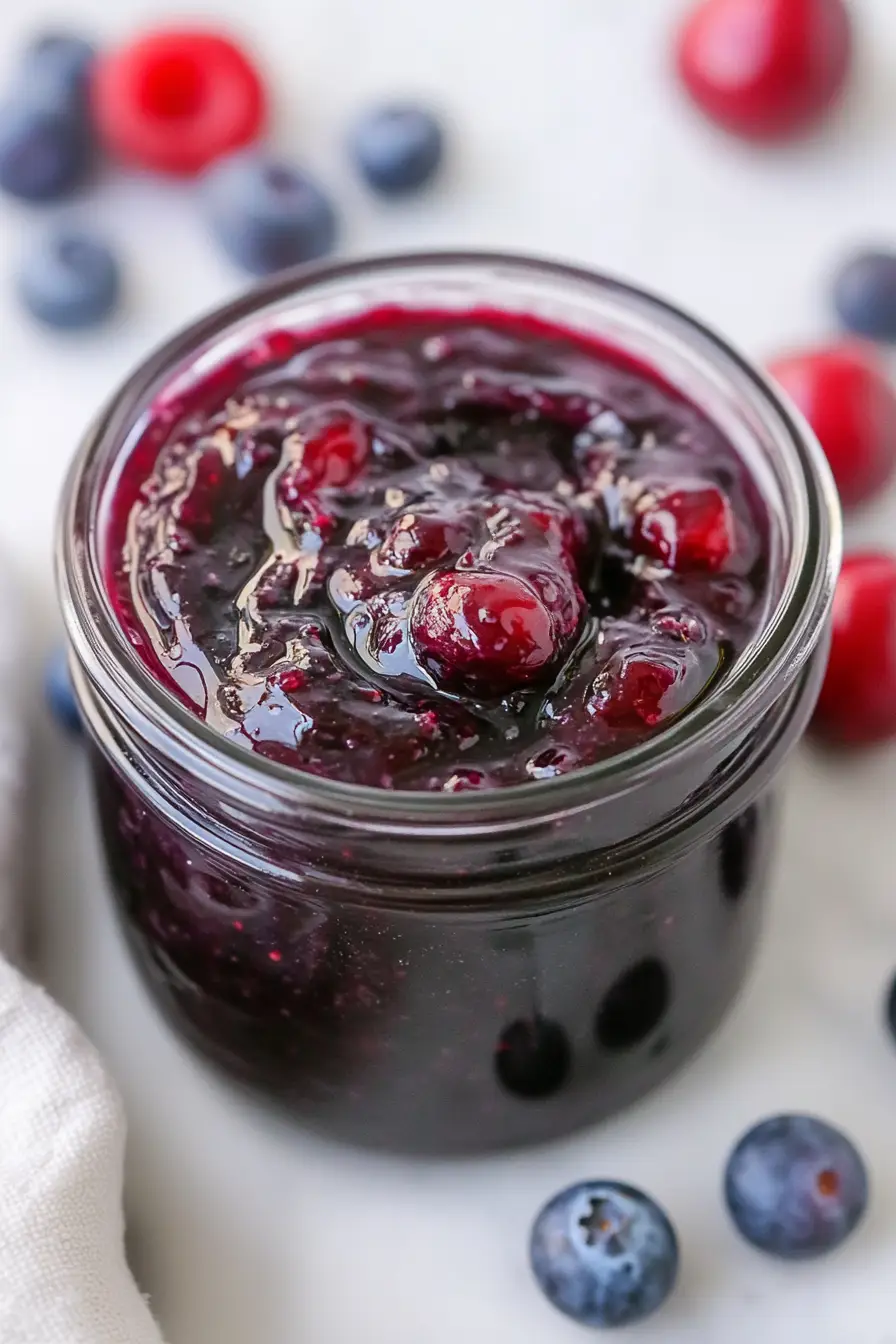
Here is my favorite cherry blueberry jam recipe, with a simple method that brings together sweet cherries and fresh blueberries, a touch of lemon, and just the right amount of sugar to make it perfectly spreadable.
This jam has become our go-to summer preserve in my house. I usually make a double batch because it disappears so quickly – especially when the kids discover it’s ready. Nothing better than warm toast with homemade jam in the morning, right?
Why You’ll Love This Berry Jam
- 3-ingredient recipe – You only need berries, lemon juice, and maple syrup to make this simple jam – no refined sugar or artificial preservatives needed.
- Quick preparation – This jam comes together in less than 45 minutes, making it much faster than traditional jam recipes that can take hours to prepare.
- Naturally sweetened – Using pure maple syrup instead of processed sugar means you can control the sweetness while keeping things natural and healthy.
- Flexible recipe – Works great with either fresh or frozen berries, so you can make this jam any time of year with whatever berries you have on hand.
What Kind of Berries Should I Use?
For this simple jam recipe, you’ve got lots of tasty options when it comes to your berry mix. Fresh cherries and blueberries work great when they’re in season (usually summer months), but frozen berries are just as good and often more budget-friendly. If you’re using cherries, sweet varieties like Bing or Rainier are perfect, though tart cherries can add an interesting flavor dimension if you prefer. When picking fresh berries, look for plump, firm fruit without any soft spots or mold. If you’re going the frozen route, make sure your berries aren’t covered in frost – that’s usually a sign they’ve been hanging out in the freezer a bit too long.

Options for Substitutions
This simple jam recipe is pretty flexible and allows for several substitutions:
- Berries: While the recipe calls for cherries and blueberries, you can experiment with other berry combinations like raspberries, blackberries, or strawberries. Just keep the total amount to 4 cups. Remember that different berries have varying levels of natural pectin, so cooking time might need small adjustments.
- Lemon juice: If you’re out of fresh lemons, you can use lime juice instead. In a pinch, bottled lemon juice works too, though you might want to start with a smaller amount as it can be more concentrated. The acid is important for helping the jam set, so don’t skip it completely.
- Maple syrup: You can swap maple syrup with honey, agave nectar, or even regular sugar. Start with smaller amounts and taste as you go – different sweeteners have different levels of sweetness. If using regular sugar, you might need to cook the jam a bit longer to achieve the same consistency.
Watch Out for These Mistakes While Cooking
The biggest challenge when making homemade jam is achieving the right consistency – cooking it too briefly will leave it runny, while overcooking will make it too thick and sticky. To nail the perfect texture, try the “plate test” by placing a small amount of jam on a cold plate and running your finger through it – if it wrinkles and stays separated, it’s ready. Another common mistake is skipping the lemon juice, which isn’t just for flavor but actually helps the jam set properly and ensures safe preservation. When using frozen berries, avoid thawing them completely before cooking as this can make your jam watery – instead, add them to the pot while still partially frozen. For the best results, make sure to stir frequently and gently to prevent the bottom from scorching, and remember that the jam will continue to thicken as it cools.
What to Serve With Berry Jam?
This homemade berry jam is perfect for so many breakfast and snack options! Spread it on warm toast, English muffins, or bagels for a quick morning treat – I especially love it on whole grain bread with a little butter. You can also swirl it into plain yogurt or oatmeal for a naturally sweet breakfast boost, or use it as a filling between layers of French toast or pancakes. For a simple afternoon snack, try spreading this jam on crackers with cream cheese or use it to make classic PB&J sandwiches that are way better than anything from the store.
Storage Instructions
Keep Fresh: This homemade berry jam will stay good in the refrigerator for up to 2 weeks when stored in clean, airtight jars or containers. Make sure to always use a clean spoon when scooping out the jam to prevent any contamination that could shorten its shelf life.
Freeze: Want to save some jam for later? Pour it into freezer-safe containers, leaving about 1/2 inch of space at the top for expansion, and it’ll keep well in the freezer for up to 6 months. I like to freeze in smaller portions so I can thaw just what I need.
Thaw: When you’re ready to use your frozen jam, just move it to the fridge and let it thaw overnight. Give it a good stir once it’s completely thawed, and it’ll be ready to spread on your morning toast or swirl into yogurt.
| Preparation Time | 10-15 minutes |
| Cooking Time | 20-30 minutes |
| Total Time | 30-45 minutes |
| Level of Difficulty | Easy |
Estimated Nutrition
Estimated nutrition for the whole recipe (without optional ingredients):
- Calories: 240-320
- Protein: 2-4 g
- Fat: 0-1 g
- Carbohydrates: 60-80 g
Ingredients
- 4 cups mixed berries (I like a 50/50 blend of cherries and blueberries)
- 1 to 3 tbsp pure maple syrup (adjust to your sweetness preference)
- 2 to 4 tbsp fresh lemon juice (key for setting the jam)
Step 1: Prepare the Fresh Fruit
Begin by washing fresh fruit thoroughly.
Remove and discard any stems and pits.
For larger fruit, cut them into manageable pieces for cooking.
If using frozen fruit, you can skip this step as it’s ready to be used straight from the freezer.
In this recipe, I chose to use 2 cups of cherries, 1 cup of blueberries, and 1 cup of cranberries.
Step 2: Prepare for Testing the Jam
Place two small plates or bowls into the freezer.
These will be used later to test the consistency of the jam, ensuring it has reached the desired thickness before completing the cooking process.
Step 3: Combine Ingredients and Start Cooking
Combine the prepared fruit with lemon juice and maple syrup in a medium saucepan over medium-high heat.
Stir occasionally as the mixture heats up and the fruit begins to soften and cook down.
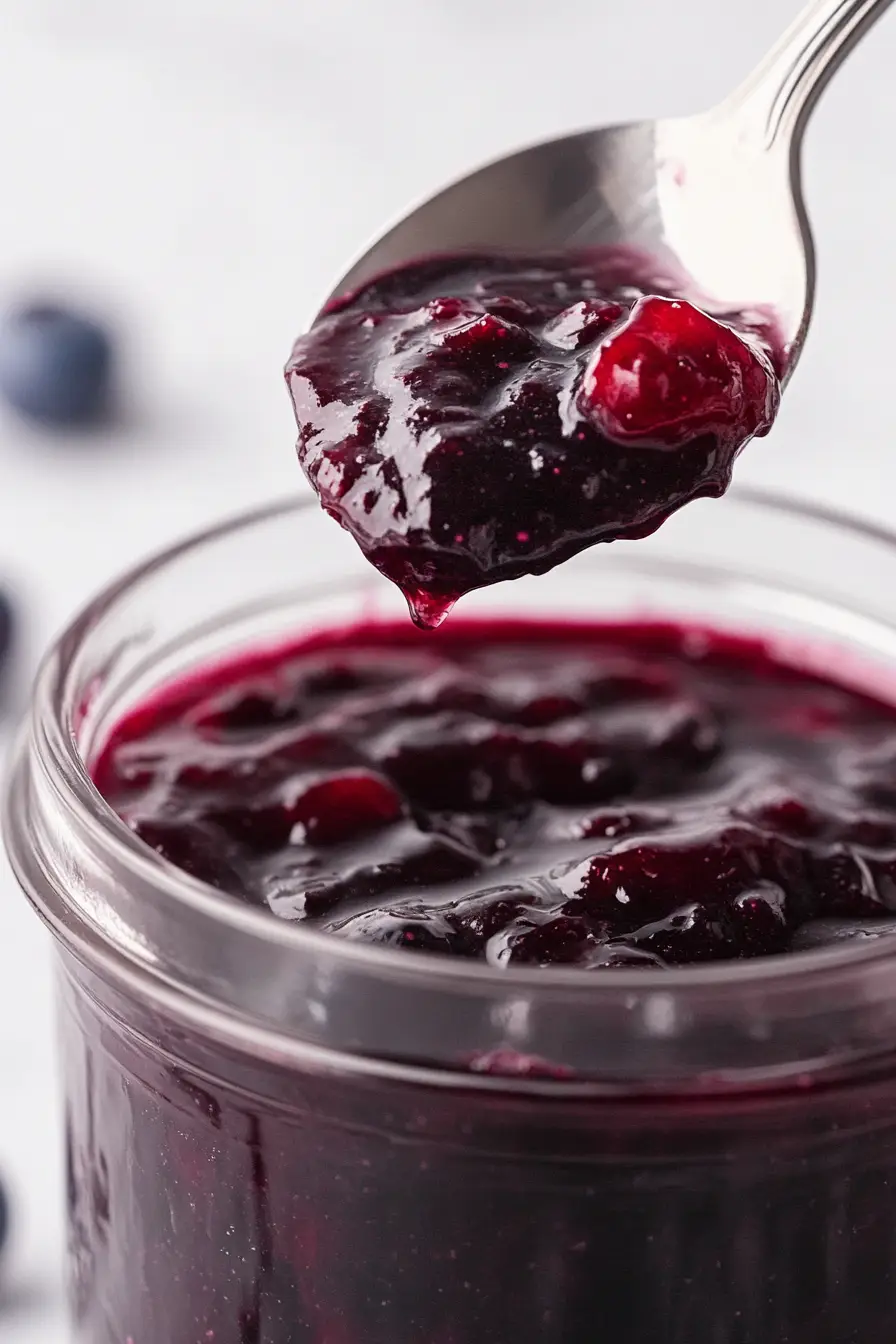
Step 4: Mash and Cook Down the Jam
Once the fruit starts to break down, use a large slotted spoon or a potato masher to mash the fruit to your preferred jam consistency, whether smooth or chunky.
Continue to cook over medium-high to high heat, stirring frequently, to prevent sticking or burning, until the jam has thickened.
This process should take about 15 minutes.
Taste and adjust the sweetness with more maple syrup if needed.
Step 5: Test the Jam Consistency
Remove a plate from the freezer and drop a small spoonful of jam onto it.
Return the plate to the freezer for 1-2 minutes.
If the jam wrinkles when pushed with your finger, it’s ready.
If not, continue cooking for a few more minutes and repeat the test.
Step 6: Cool and Store the Jam
Once the jam reaches the desired consistency, remove it from the heat and allow it to cool.
The jam will continue to thicken as it cools.
Once cooled, transfer the jam into a clean glass jar with a lid and store it in the refrigerator.
Enjoy your homemade fruit jam!
