There’s something special about making jam during cherry season. The sweet smell of cooking fruit takes me right back to helping my mom in the kitchen, watching her line up mason jars on the counter. I’ve carried on that tradition, and now my own kids peek into the kitchen to see what’s bubbling away on the stove.
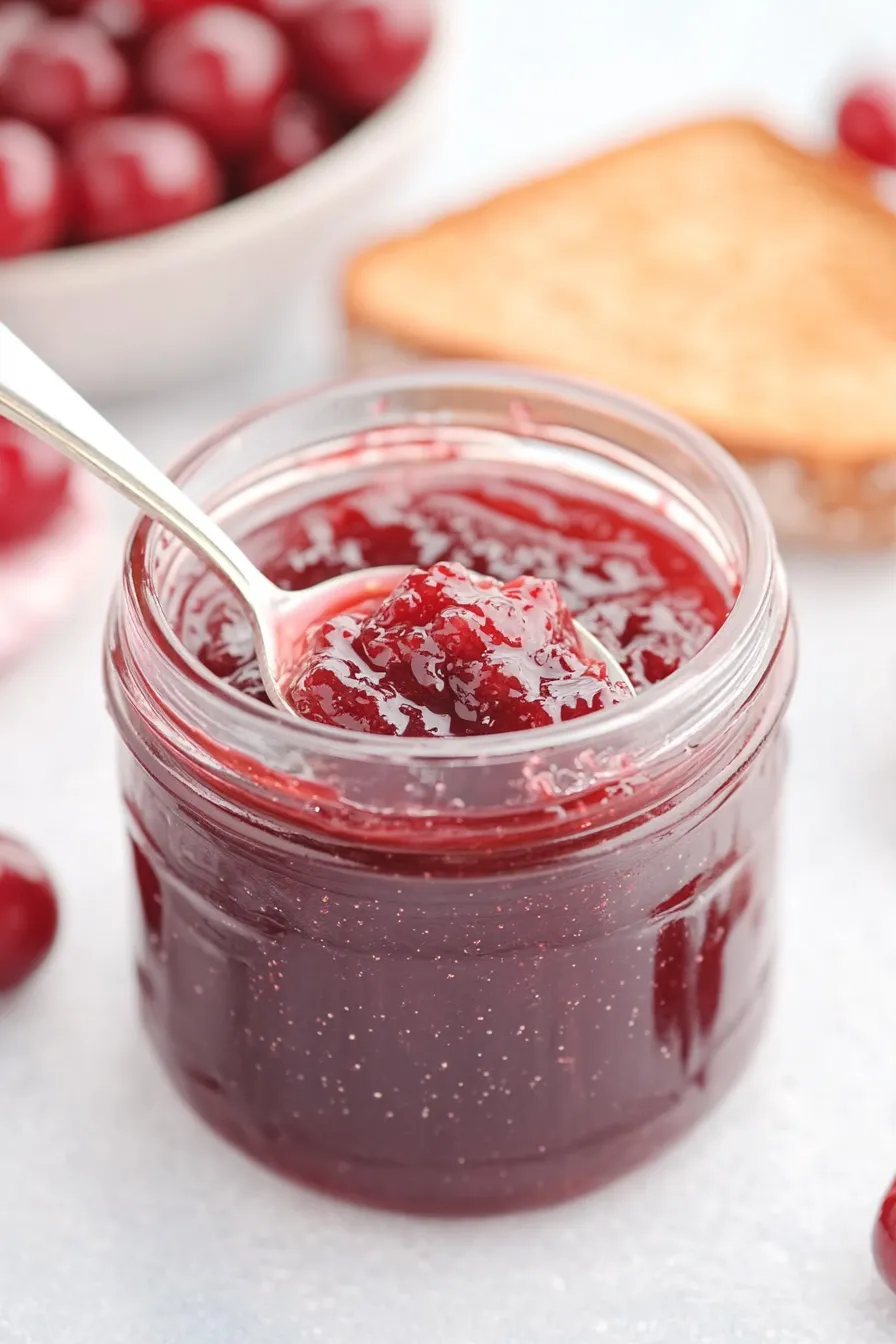
Cherry jam holds a special place in my heart – it’s simple enough for beginners but turns out so good that even experienced canners keep coming back to it. Whether you spread it on morning toast or gift it to friends, homemade cherry jam just hits different than anything from the store.
I’ve spent years tweaking this recipe to get it just right. Not too sweet, not too tart, and with that perfect spreadable consistency. If you’ve got fresh cherries and a few hours to spare, let me show you how to turn them into jars of pure happiness that’ll brighten up your pantry shelves all year long.
Why You’ll Love This Cherry Jam
- Just 4 ingredients – With only cherries, sugar, lemon juice, and pectin needed, this recipe keeps things wonderfully simple while delivering amazing flavor.
- Perfect consistency – The combination of pectin and natural cherry pectin ensures your jam sets up beautifully every time – not too runny and not too firm.
- Make-ahead friendly – Once canned, this jam stays good for up to a year, letting you enjoy fresh cherry flavor long after cherry season ends.
- Great gift option – A jar of homemade cherry jam makes a thoughtful holiday or hostess gift that friends and family will actually use and enjoy.
What Kind of Cherries Should I Use?
For homemade cherry jam, you’ve got several good options when it comes to cherry varieties. Sweet cherries like Bing or Rainier work great and are widely available during summer months at grocery stores and farmers markets. If you prefer a jam with more tang, you might want to try sour cherries (also called pie cherries) like Montmorency – though these can be harder to find fresh and often come frozen. A mix of sweet and sour cherries can give you a nice balanced flavor too. When picking your cherries, look for firm, plump fruit without bruises or soft spots, and make sure they still have their stems attached as this usually means they’re fresher. Just remember that no matter which type you choose, the cherries should be ripe but not overripe for the best jamming results.
Options for Substitutions
While canning recipes need to be followed carefully for safety, there are still some substitutions you can make in this cherry jam:
- Cherries: You can use any variety of fresh cherries – sweet or sour cherries both work great. If using frozen cherries, make sure they’re completely thawed and drained before starting. Just don’t change the total amount of fruit as this could affect the safety of the recipe.
- White sugar: For canning safety, you must use real sugar – don’t substitute with artificial sweeteners or sugar alternatives. However, you can use raw sugar or cane sugar instead of white sugar. The amount needs to stay the same to ensure proper preservation.
- Lemon juice: For safe canning, use only bottled lemon juice, not fresh. The acidity level needs to be consistent, and bottled lemon juice has standardized acid levels. This ingredient cannot be substituted or omitted.
- Pectin: Different types of pectin aren’t directly interchangeable. If using liquid pectin instead of powdered, you’ll need to adjust the amount – typically one pouch of liquid pectin (3 oz) equals one box of powdered. Also, the order of adding ingredients will change – check your pectin package instructions.
Watch Out for These Mistakes While Cooking
The biggest challenge when making cherry jam is achieving the right consistency – if you don’t properly test for gel point (place a small amount on a cold plate and run your finger through it; it should wrinkle and not run back together), you might end up with syrup instead of jam.
Temperature control is crucial – rushing the cooking process with high heat can lead to scorched fruit and a bitter taste, so maintain a steady medium-high heat and stir frequently to prevent the bottom from burning.
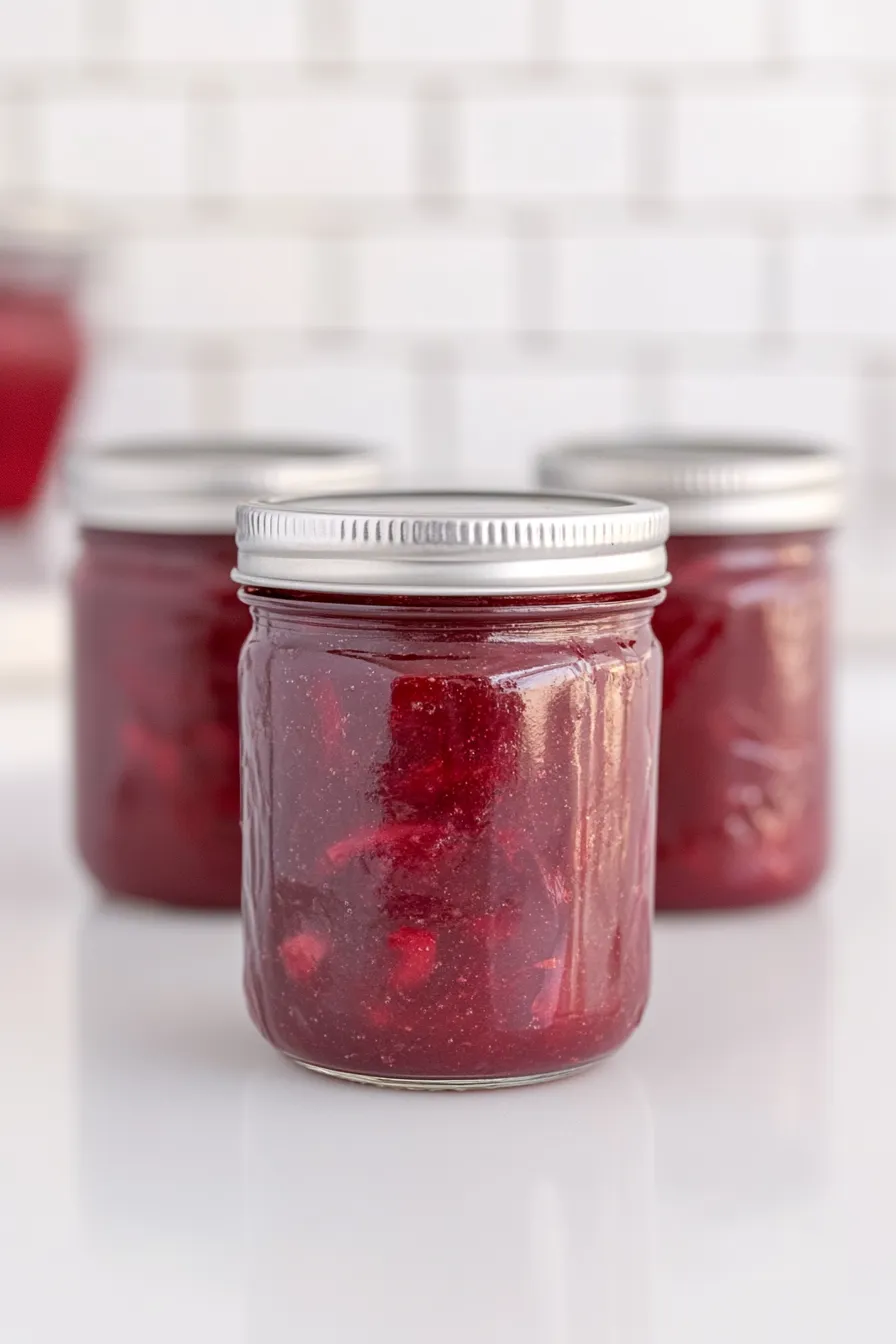
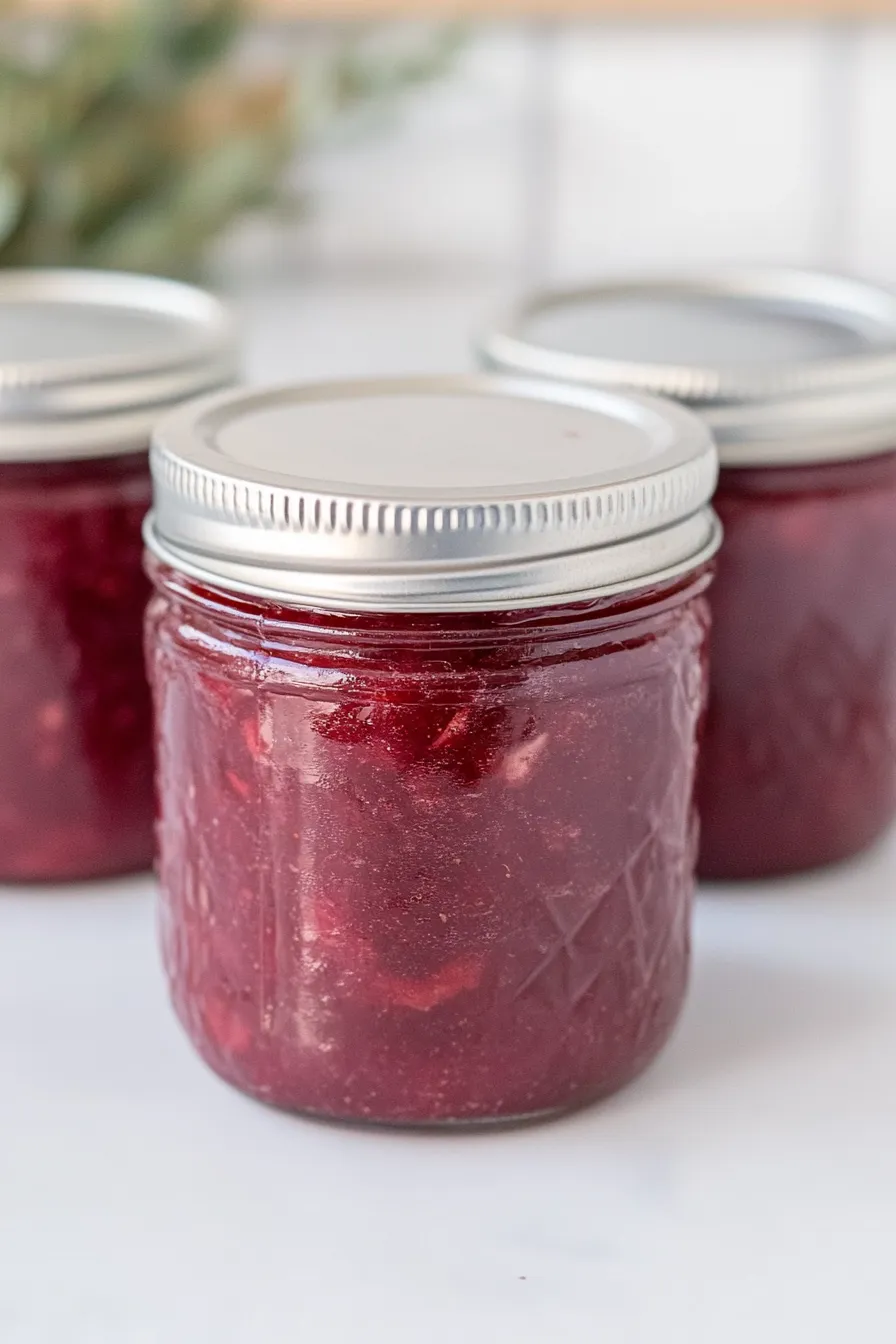
When it comes to canning safety, skipping the proper sterilization of jars or not achieving a proper seal can lead to spoilage – always use clean, hot jars and ensure you hear that satisfying ‘ping’ of the lids sealing as they cool.
For the best cherry flavor, avoid over-processing the fruit – leaving some chunks gives your jam a more homemade texture and ensures you get bursts of real cherry in every bite.
What to Serve With Cherry Jam?
Fresh homemade cherry jam is super versatile and works great as part of your breakfast or snack spread! The sweet-tart flavor pairs perfectly with warm buttermilk biscuits, English muffins, or thick slices of toasted brioche bread. For a quick breakfast idea, spread it on bagels with cream cheese or swirl it into plain yogurt with some granola on top. I also love using this jam as a filling between vanilla cake layers, or warming it up slightly to drizzle over vanilla ice cream or cheesecake for an easy dessert upgrade.
Storage Instructions
Shelf Storage: When properly canned and sealed, your homemade cherry jam can sit pretty on your pantry shelf for up to 18 months. Just keep those jars in a cool, dark place and make sure to check that the seals remain intact before using.
Refrigerate After Opening: Once you’ve popped open a jar of this sweet cherry goodness, keep it in the fridge. It’ll stay fresh and tasty for about 3-4 weeks – though in my house, it rarely lasts that long! The jam might get a bit thicker in the fridge, but that’s totally normal.
Check Seals: Before storing your newly canned jam, double-check those seals after 24 hours. The lid should be curved downward and shouldn’t flex when pressed. If any jars haven’t sealed properly, just pop them in the fridge and use them first – they’ll be good for about 3 weeks.
| Preparation Time | 30-45 minutes |
| Cooking Time | 15-30 minutes |
| Total Time | 45-75 minutes |
| Level of Difficulty | Medium |
Estimated Nutrition
Estimated nutrition for the whole recipe (without optional ingredients):
- Calories: 3200-3500
- Protein: 4-6 g
- Fat: 0-2 g
- Carbohydrates: 800-850 g
Ingredients
- 1 tbsp lemon juice (freshly squeezed for best flavor)
- 3 lb pitted cherries (fresh or frozen, thawed)
- 1 packet pectin (Sure-Jell recommended for consistent results)
- 2 1/4 cups white sugar (granulated)
Step 1: Prepare and Sanitize Jars
Begin by pouring hot water into the mason jars and soaking the lids in hot water.
This step sanitizes them and helps prevent the glass from cracking when the hot jam is poured in.
Set them aside once sanitized.
Step 2: Clean and Prep Cherries
Wash the cherries thoroughly and lay them evenly on a towel to dry.
Once dried, use a cherry pitter or knife to pit the cherries, aiming for a yield of 3 lbs of pitted cherries.
For your desired chunk size in the jam, slice the cherries in half or quarters.
Step 3: Mix Pectin and Sugar
In a small bowl, combine the pectin with 3/4 cup of sugar, mixing them evenly.
Set this mixture aside to be added later during the cooking process.
Step 4: Cook the Cherry Mixture
In a saucepan, combine the pitted cherries, lemon juice, and the remaining 1.5 cups of sugar.
Place the saucepan over medium-high heat and boil the mixture, stirring constantly until the sugar has completely dissolved and the cherries start releasing their liquid.
If you prefer a smoother texture, use an immersion blender or potato masher to mash the cherries before continuing to boil.
Step 5: Bring to a Rolling Boil and Skim Scum
Bring the cherry mixture to a rolling boil, ensuring to stir and scrape the bottom and sides of the saucepan to prevent the jam from burning.
Let it boil for about 15 minutes, and remove any scum that forms on top of the boiling jam.
This will help keep your jam smooth and preserve its natural flavors.
Step 6: Add Pectin and Sugar Mixture
Once the jam is at a rolling boil, add the sugar and pectin mixture you prepared earlier.
Stir it into the boiling jam, mixing well to ensure it is evenly distributed.
Continue cooking as needed to reach the desired consistency of your jam.
