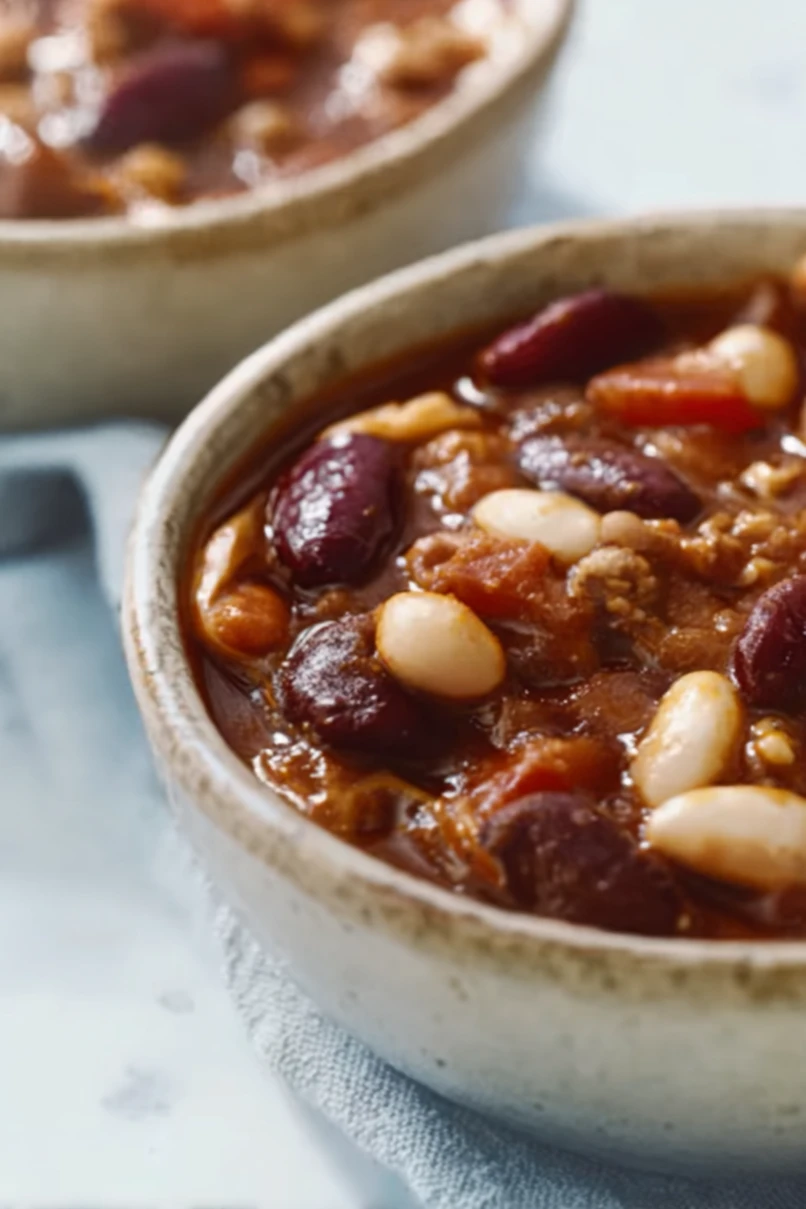
Here is my go-to chili recipe that’s perfect for kids, with ground beef, mild spices, beans, and just enough tomato flavor to keep everyone happy at the dinner table.
This kid-friendly chili has become our family’s favorite weeknight meal. I usually make a big batch on Sundays so we have leftovers for busy school nights. Nothing better than coming home to a warm bowl of chili, right?
Why You’ll Love This Kid-Friendly Chili
- Family-friendly flavor – This mild chili is perfectly seasoned for young taste buds, making dinner time peaceful instead of a battle over spicy food.
- Quick preparation – Ready in under an hour, this chili fits perfectly into busy weeknight schedules when you need to get dinner on the table fast.
- Simple ingredients – With basic pantry staples and ground meat, you can whip this up without a special trip to the grocery store.
- Protein-packed meal – Between the meat and two types of beans, this chili provides plenty of protein to keep growing kids satisfied and energized.
- Make-ahead friendly – This chili actually tastes better the next day, making it perfect for meal prep or busy family schedules.
What Kind of Ground Meat Should I Use?
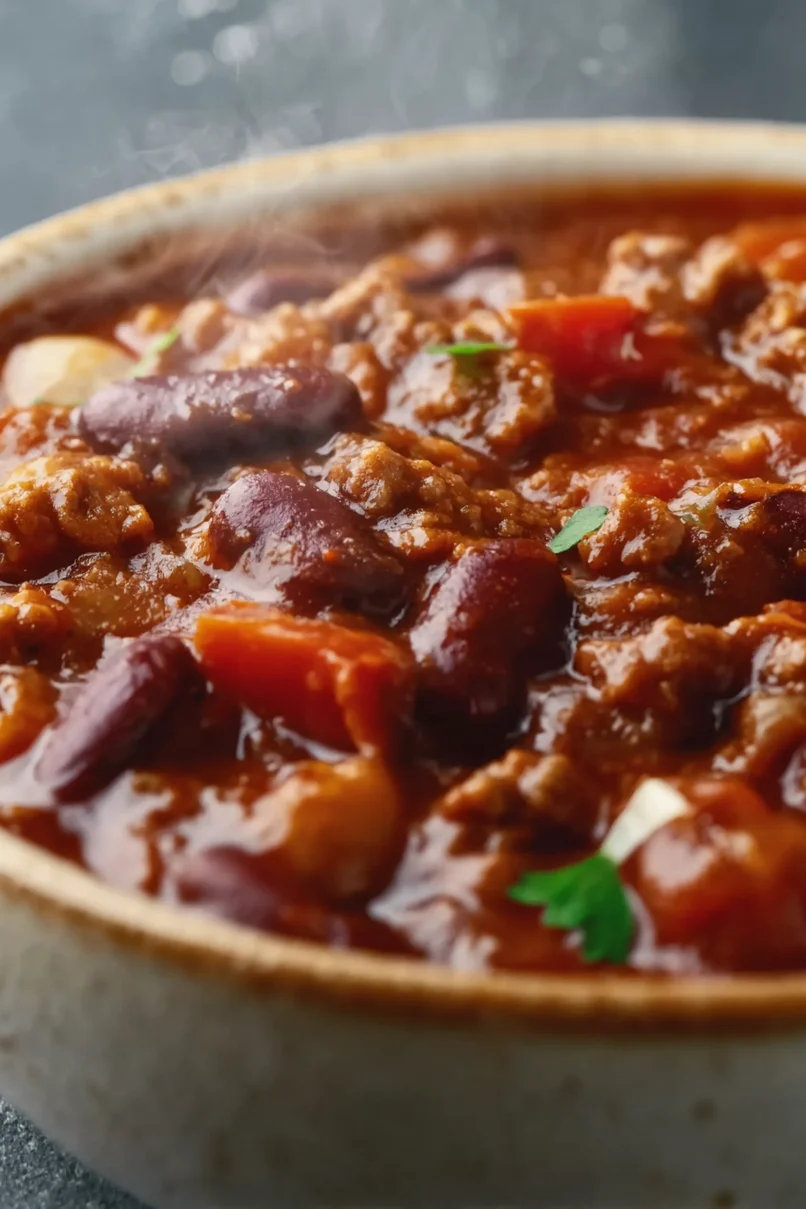
For a kid-friendly chili, both ground beef and ground sausage are excellent choices, and each brings something different to the table. If you’re going with ground beef, look for an 80/20 or 85/15 lean-to-fat ratio – this gives you enough fat to keep the meat juicy and flavorful without making the chili too greasy. Ground sausage adds extra flavor since it’s already seasoned, but you might want to use mild Italian sausage instead of hot to keep things kid-friendly. You can even use a mix of both meats to create a more interesting flavor profile. Just remember to drain off some of the fat after browning the meat if you want to keep the chili from becoming too heavy.
Options for Substitutions
This kid-friendly chili recipe is super adaptable! Here are some easy swaps you can try:
- Ground meat: You can use any ground meat you have on hand – turkey, chicken, or even plant-based alternatives work great. If using turkey or chicken, add an extra tablespoon of olive oil since these meats are leaner.
- Beans: Any beans will work in this recipe! Try black beans, pinto beans, or chickpeas. Just make sure to drain and rinse them like you would the kidney and white beans.
- Crushed tomatoes: Out of crushed tomatoes? Use diced tomatoes, or blend whole canned tomatoes. In a pinch, you can even use pasta sauce – just reduce any added seasonings since sauce comes pre-seasoned.
- Chili powder: If cooking for really spice-sensitive kids, you can cut the chili powder in half. Or try mild paprika for a gentler flavor. Just know that the chili won’t have that classic taste without some chili powder.
- Olive oil: Any neutral cooking oil works fine here – vegetable oil, canola oil, or even avocado oil are good options.
Watch Out for These Mistakes While Cooking
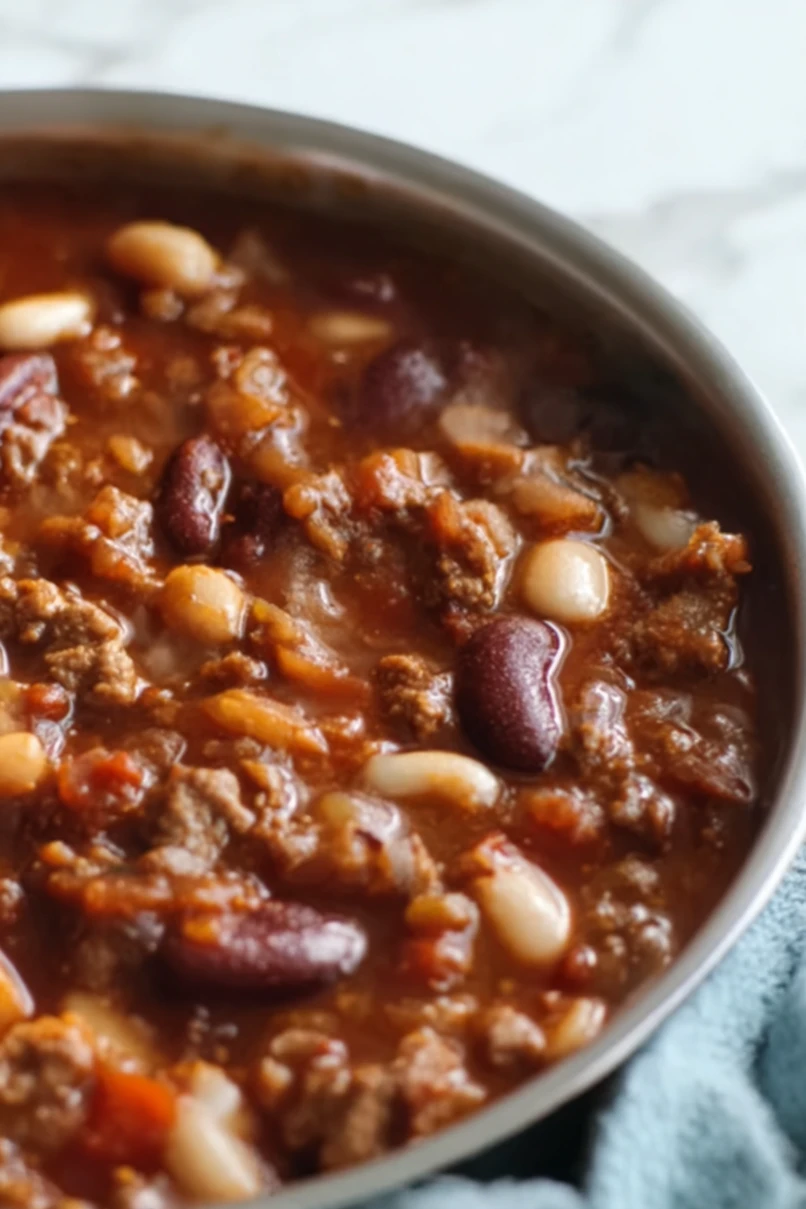
The biggest mistake when making kid-friendly chili is adding all the spices at once – instead, start with half the recommended amount and gradually add more to taste, since children often prefer milder flavors and you can always add more but can’t take it away. A common error is rushing the cooking process – letting your chili simmer for at least 30 minutes allows the flavors to develop and the meat to become tender, making it more appealing to young eaters. To avoid ending up with a watery chili, make sure to drain and rinse your beans thoroughly, and if the chili seems too thick, add beef broth instead of water to maintain the rich flavor. For the best texture, resist the urge to stir constantly – occasional stirring is enough to prevent sticking, and letting the chili sit undisturbed helps develop those wonderful caramelized bits at the bottom of the pot that add extra flavor.
What to Serve With Chili?
When it comes to serving chili, there are so many fun ways to make it even more kid-friendly! A warm piece of cornbread is always a hit – kids love using it to scoop up the chili or crumbling it right on top. For easy toppings that let everyone customize their bowl, set out shredded cheese, sour cream, and diced avocado (these are great for picky eaters who might want to make their chili milder). You can also put out some corn chips or tortilla chips, which kids love using as edible spoons or crushing up over their chili for a satisfying crunch.
Storage Instructions
Keep Fresh: This kid-friendly chili tastes even better the next day! Pop it in an airtight container and keep it in the fridge for up to 4 days. It’s perfect for making ahead on Sunday and having easy dinners ready during the busy week.
Freeze: Chili is a freezer-friendly superstar! Let it cool completely, then portion it into freezer bags or containers. It’ll stay good in the freezer for up to 3 months. I like to freeze it in family-sized portions for easy weeknight dinners.
Warm Up: When you’re ready to eat your leftover chili, just warm it up on the stovetop over medium heat, stirring occasionally. If it seems a bit thick, add a splash of water or broth. You can also microwave individual portions in 1-minute intervals, stirring between each, until it’s heated through.
| Preparation Time | 10-15 minutes |
| Cooking Time | 35-40 minutes |
| Total Time | 45-55 minutes |
| Level of Difficulty | Easy |
Estimated Nutrition
Estimated nutrition for the whole recipe (without optional ingredients):
- Calories: 1200-1400
- Protein: 80-90 g
- Fat: 70-80 g
- Carbohydrates: 120-140 g
Ingredients
- 1 lb ground sausage (or ground beef, 80/20 lean for flavor)
- 1 tsp pepper
- 1 can kidney beans, drained (rinsed well to reduce gas)
- 1 tbsp cumin
- 1 tsp salt
- 1 can white beans, drained
- 1 can crushed tomatoes (28 oz, good quality like Muir Glen, not 32 oz)
- 1/2 onion, diced (finely diced for kids-friendly texture)
- 2 tbsp chili powder
- 2 tbsp olive oil (I use Bertolli extra virgin olive oil)
Step 1: Sauté the Onions
Begin by heating some olive oil in a large skillet over medium heat.
Add chopped onions to the skillet and sauté them until they become translucent, approximately 3 minutes.
Stir occasionally to ensure even cooking.
Step 2: Cook the Sausage
Add your choice of sausage to the skillet with the onions.
Include any seasonings you prefer to complement the dish.
Continue cooking the sausage, breaking it apart with a spatula, until it is fully cooked through, about 12 minutes.
The sausage should be browned and fragrant.
Step 3: Simmer the Mixture
Once the sausage is cooked, add the remaining ingredients of your recipe to the skillet.
Stir to combine all the flavors.
Lower the heat and let the mixture simmer gently for about 20 minutes, allowing the flavors to meld together and the sauce to thicken slightly.
